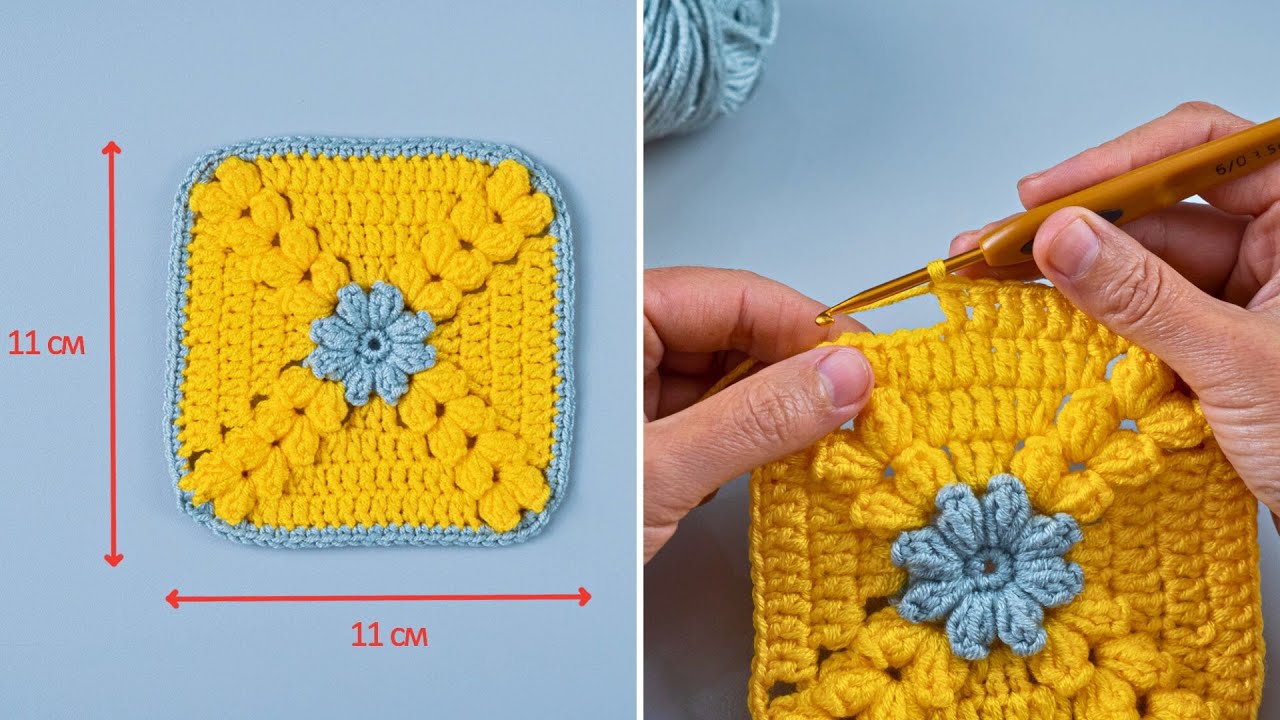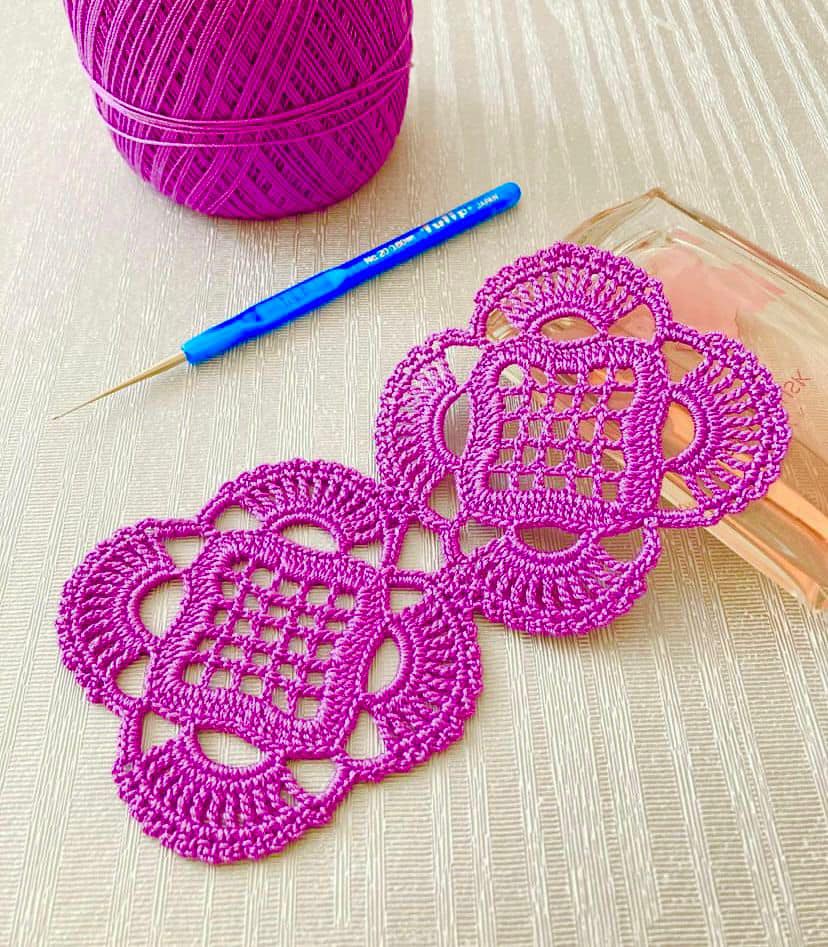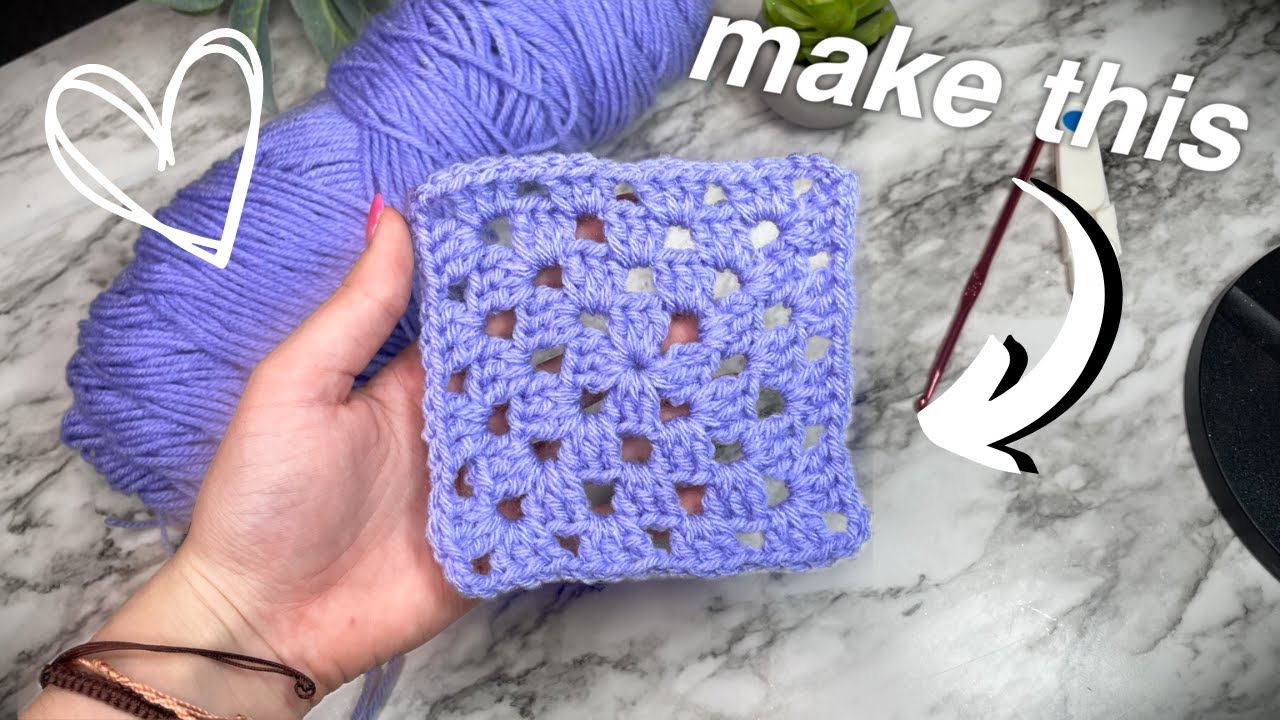
Create your own chic and practical wallet with this fantastic crochet pattern! Inspired by a detailed, step-by-step tutorial, this design guides you through crafting a unique accessory that features a beautiful “wheatear” granny square motif. This compact and sturdy purse is a wonderful way to showcase your crochet skills and create a personalized item for holding coins, cards, or other small essentials.
Skill Level: Intermediate (familiarity with granny square construction and special stitches recommended)

Finished Size (Approximate):
- Varies based on yarn, hook, and tension.
- The pattern is built around a single granny square motif, which will be folded to create the wallet.
Materials You’ll Need:
- Yarn: Small amounts of a durable yarn that creates a firm fabric, such as:
- Cotton/Polyester Blend: For a sturdy, structured finish.
- Fingering/Sock Weight Yarn: Use two strands held together for added durability.
- A smooth, firm yarn is best for a wallet to prevent stretching.
- Crochet Hook: A hook size appropriate for your chosen yarn, typically 3.0 mm (D/3) to 4.0 mm (G/6).
- Choose a hook size that creates a very firm, dense fabric with no gaps. This is crucial for a durable wallet.
- Tapestry Needle: For weaving in ends and seaming.
- Scissors
- Stitch Marker (Optional): To mark the beginning of rounds or specific stitches.
- Button or Magnetic Snap (Optional): For wallet closure.
Gauge (Crucial for Wallet Structure!):
Achieving a very firm, dense fabric is crucial for this wallet to hold its shape and be durable. Work a swatch to ensure your stitches are tight with no visible gaps. If your fabric is too loose, go down a hook size.
Abbreviations (US Crochet Terms):
- ch: chain
- sl st: slip stitch
- sc: single crochet
- dc: double crochet
- st(s): stitch(es)
- FO: Fasten off
- Wheatear Cluster: Yarn over, insert hook into stitch, yarn over, pull up a loop, yarn over, insert hook into same stitch, yarn over, pull up a loop, yarn over, pull through all 5 loops on hook. Ch 1 to close. (A variation of a puff or bobble stitch).
Let’s Crochet Your Wheatear Granny Square Motif Wallet!
This wallet is constructed by creating a single, large granny square motif that is then folded to create the wallet’s shape.
Part 1: The Wheatear Granny Square Motif
You will create one large square motif that will form the body of the wallet.

- Round 1: Create a Magic Ring (MR). Ch 3 (counts as 1 dc). Work 2 dc into the ring. Ch 2. Work 3 dc into the ring. Repeat from * to * 3 more times. Ch 2. Join with a sl st to the top of the initial ch 3. (4 sets of 3 dc, 4 ch-2 spaces)
- Pull the MR tight to close. This forms the central point of your square.
- Round 2: Sl st into the next 2 dc to get to the first ch-2 space. (Ch 3, 2 dc, ch 2, 3 dc) in the ch-2 space.(This is your first corner).
- Ch 1. Work (3 dc, ch 2, 3 dc) in the next ch-2 space. Repeat from * to * 2 more times. Ch 1. Join with a sl st to the top of the initial ch 3.
- Round 3: Sl st into the next 2 dc to get to the first ch-2 space. (Ch 3, 2 dc, ch 2, 3 dc) in the ch-2 space.(This is your first corner).
- Ch 1. Work 3 dc in the next ch-1 space. Ch 1. (This is your first side).
- Work (3 dc, ch 2, 3 dc) in the next ch-2 space. Repeat the corner and side sequence around. Join with a sl st to the top of the initial ch 3.
- Round 4 (The Wheatear Cluster Round): Sl st to the first corner space. (Ch 3, 2 dc, ch 2, 3 dc) in the ch-2 space.(This is your first corner).
- Work 1 Wheatear Cluster in the ch-1 space from the previous round. Ch 1.
- Repeat the corner and side sequence around, working a Wheatear Cluster in each of the ch-1 spaces. Join with a sl st to the top of the initial ch 3.
- Continue to work rounds in this manner, increasing the number of Wheatear Clusters on each side of the square until your motif is the desired size. The final size will determine the size of your finished wallet.
- Final Round (for folding): Work a round of single crochet around the entire square. Work 3 sc in each corner ch-2 space to keep the corners from curling. Join with a sl st to the first sc.
FO, leaving a long tail for seaming.
Part 2: Assembly
The video demonstrates folding the finished granny square to create the wallet.

- Fold the Motif: Lay your finished granny square flat with the right side facing down. Fold one of the corners up to create a triangle. This will form the flap of the wallet.
- Fold the Bottom: Fold the bottom of the square up to the base of the flap. This will form the front and back of the wallet.
- Seam the Sides: Using your tapestry needle and the long tail, sew the side edges of the folded wallet together. You can use a whip stitch or a mattress stitch to create a neat seam.
- Attach Closure (Optional):
- Button & Loop: Sew a button onto the front of the wallet. Create a small chain loop (ch 5-10) at the end of the flap and use it to close the wallet around the button.
- Magnetic Snap: Sew a magnetic snap to the underside of the flap and the corresponding position on the front of the wallet.
Part 3: Finishing Touches

- Weave in all ends: Use your tapestry needle to neatly weave in any remaining loose yarn tails.
- Shape: Gently shape your wallet, ensuring all seams are neat and the folds are crisp.
Video tutorial
Versatile Uses for Your Crocheted Wallet:
- Everyday Wallet: Perfect for carrying your essential cards, cash, and ID.
- Coin Purse: Ideal for loose change.
- Small Pouch: Use for earbuds, lip balm, or other small items.
- Gift: A thoughtful and impressive handmade gift for friends or family.
Customization & Tips:
- Color Play: Experiment with different color combinations for each round of your granny square to create a unique effect.
- Size Adjustment:
- Larger Wallet: Work more rounds on your granny square motif.
- Smaller Wallet: Work fewer rounds on your granny square motif.
- Stitch Variation: You could substitute the Wheatear Cluster with another textured stitch like a puff stitch or a bobble stitch for a different look.
Enjoy crocheting your own beautiful, practical, and unique wallet! It’s a fantastic way to create a personalized accessory that’s sure to become a favorite.


