 by
by 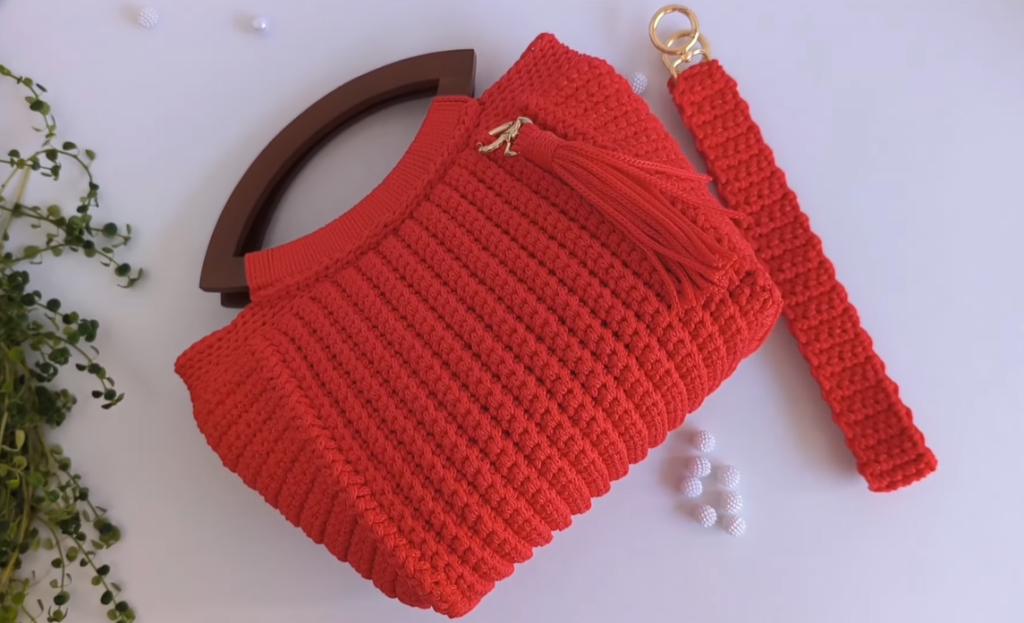
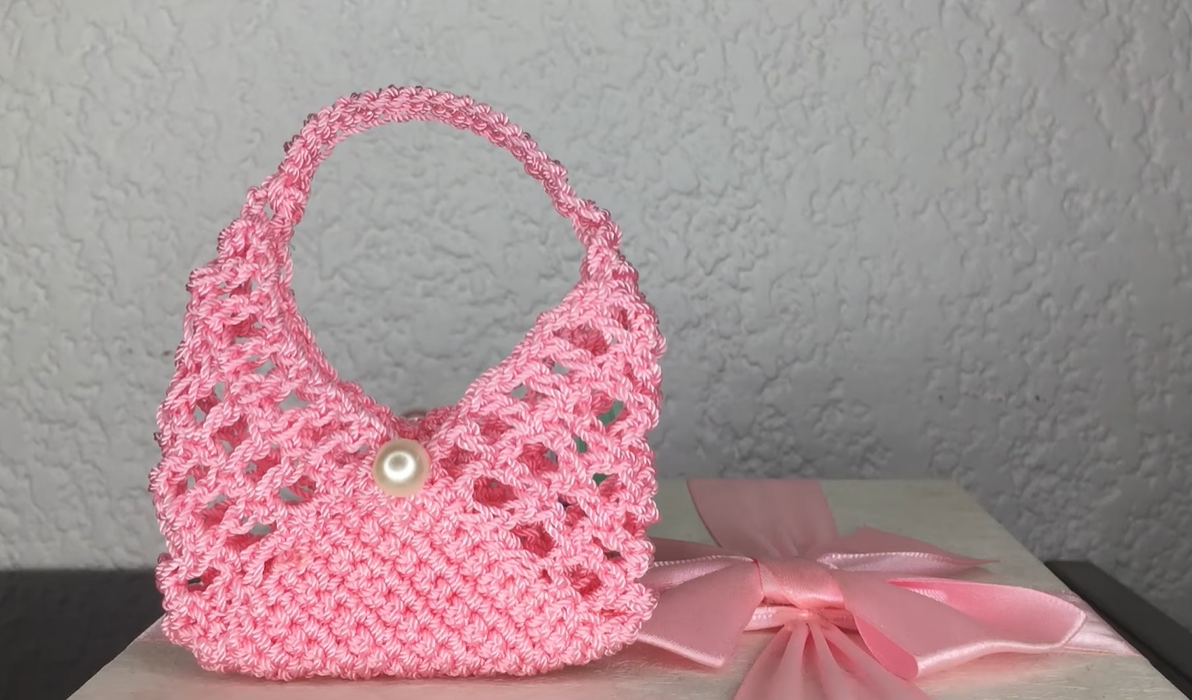
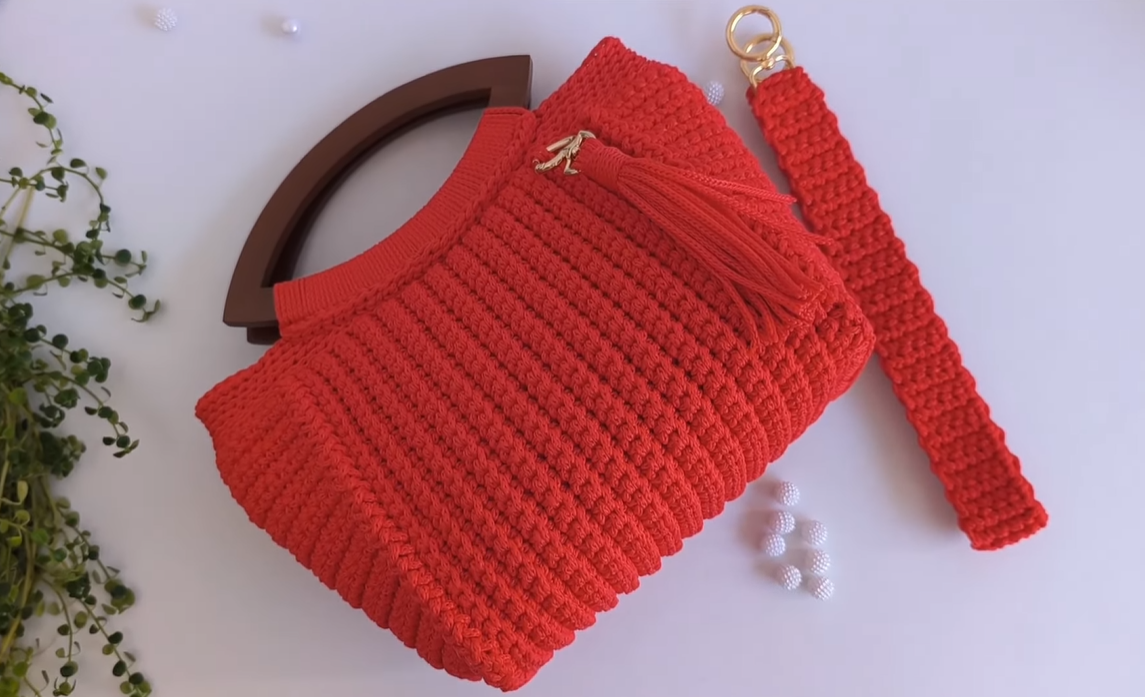
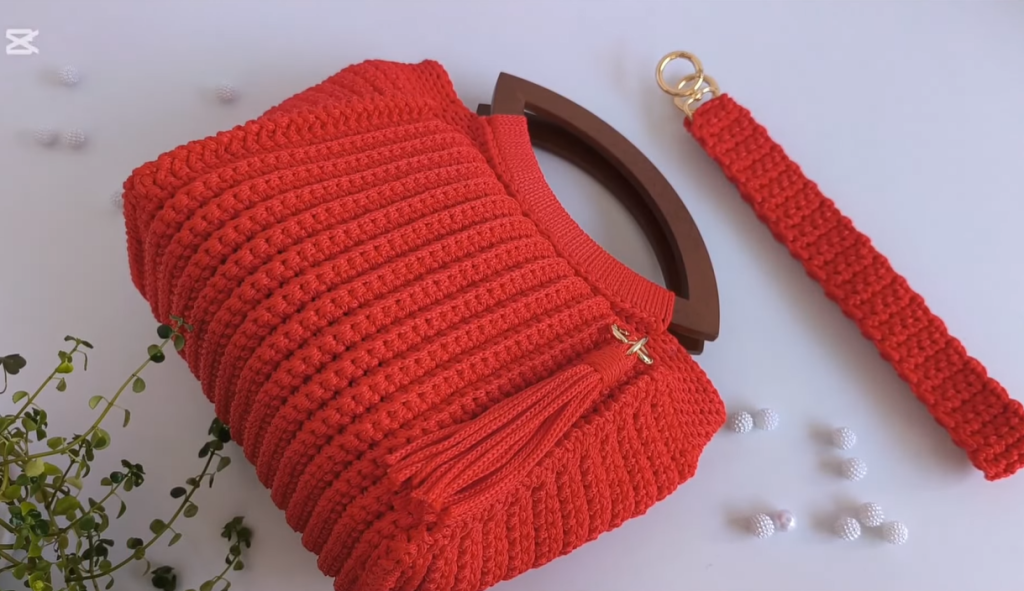
Craft your own stylish and practical bag with this elegant crochet pattern, perfect for everyday use! Inspired by a comprehensive tutorial, this design utilizes lightweight polypropylene (PP) cord to create a spacious and trendy accessory that’s surprisingly easy to make. You’ll love its sleek look and how comfortable it is to carry, either by hand or with the optional detachable shoulder strap.
Skill Level: Intermediate (familiarity with working with cord/stiff yarn recommended)
Finished Size (Approximate):
- Front/Back Panels: Approximately 18 inches (46 cm) long x 7.7 inches (19.5 cm) wide
- Side Panels: Approximately 7 inches (18 cm) long x 4.7 inches (12 cm) wide
- Shoulder Strap: Approximately 20.5 inches (52 cm) long
- Size can vary based on yarn/cord, hook, and tension.
Materials You’ll Need:
- Yarn/Cord: Approximately 620 grams (one full roll) of 3mm polypropylene (PP) cord in your chosen color.
- PP cord is lightweight and holds its shape well, making it ideal for bags. If you cannot find PP cord, you may experiment with a very stiff, bulky/super bulky weight yarn or multiple strands of a sturdy cotton yarn, but the final weight and drape will differ.
- Crochet Hook: A hook size appropriate for 3mm PP cord.
- The video doesn’t specify the hook size, but for 3mm PP cord, typically a 4.0 mm (G) to 6.0 mm (J) hook is used. Choose one that creates a very firm, dense fabric with no gaps.
- Tapestry Needle: For seaming and weaving in ends. (A sturdy metal needle may be needed for PP cord).
- Scissors
- Stitch Marker (Optional): To mark the beginning/end of rows or specific stitches.
- Magnetic Clasps: One set of magnetic snap closures for the bag opening.
- Bag Handles (Pre-made): Two pre-made bag handles (e.g., plastic, bamboo, or metal rings) that you will cover with crochet.
- D-Rings/Carabiner Clips (Optional): Two for attaching the shoulder strap.
- Decorative Tassel (Borla) Materials (Optional): Extra cord/yarn for a tassel.
Gauge (Crucial for Bag Structure!):
Achieving a very firm, dense fabric is crucial for this bag to hold its elegant shape. Work a swatch to ensure your stitches are tight with no visible gaps. If your fabric is too loose, go down a hook size.
Abbreviations (US Crochet Terms):
- ch: chain
- sl st: slip stitch
- sc: single crochet
- st(s): stitch(es)
- FO: Fasten off
Let’s Crochet Your Elegant & Spacious Bag!
This bag is constructed in several parts: the front/back panels, two side panels, the handles, and an optional shoulder strap.
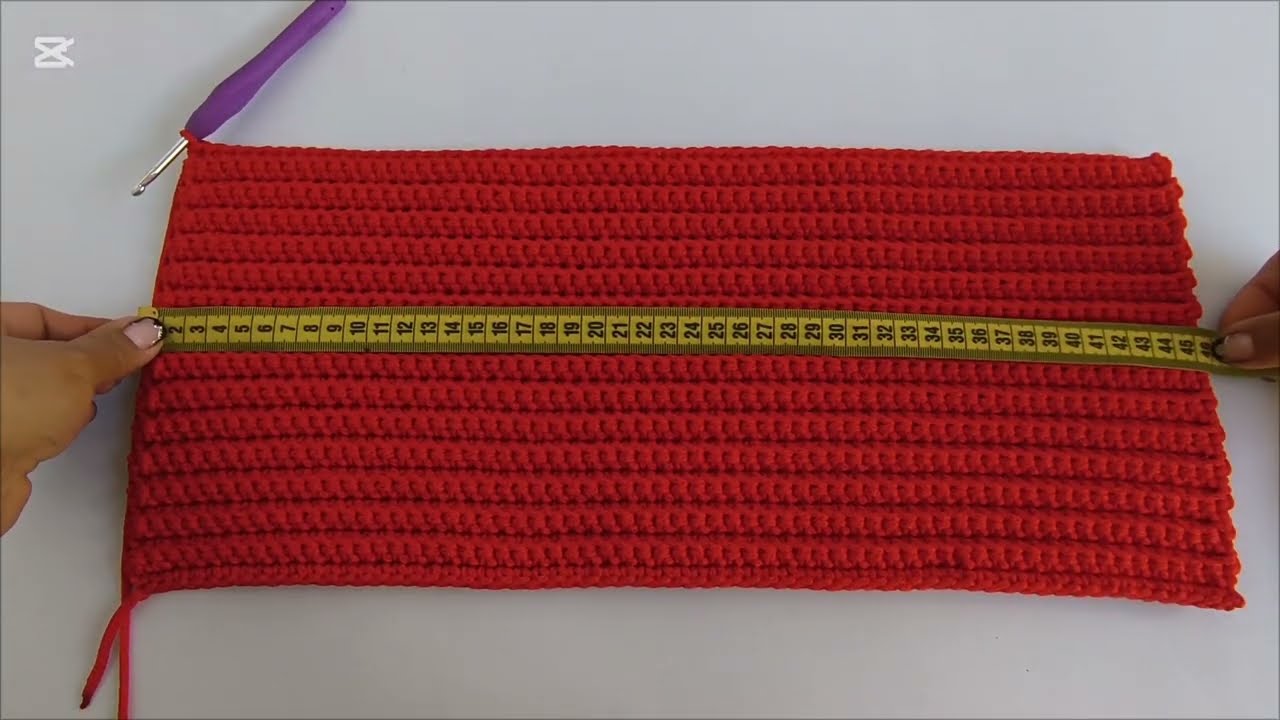
Part 1: Front and Back Panels (Make 2 – Main Cord Color)
These are identical flat rectangles worked in rows.
- Ch 64.
- Row 1: Sc in 2nd ch from hook and in each ch across. Ch 1, turn. (63 sc)
- Row 2 – 28: Sc in each sc across. Ch 1, turn. (63 sc)
- The video states the final dimensions are 46 cm long and 19.5 cm wide. Adjust the number of rows to achieve a width of approximately 19.5 cm (7.7 inches).
FO, leaving a very long tail (approx. 40-50 inches / 100-125 cm) on one of the panels for seaming. Weave in the starting tail on both panels.
Part 2: Side Panels (Make 2 – Main Cord Color)
These panels will give your bag its depth.
- Ch 16.
- Row 1: Sc in 2nd ch from hook and in each ch across. Ch 1, turn. (15 sc)
- Row 2 – 24: Sc in each sc across. Ch 1, turn. (15 sc)
- The video states each side panel measures 18 cm long and 12 cm wide. Adjust the number of rows to achieve a length of approximately 18 cm (7 inches).
FO, leaving a very long tail (approx. 40-50 inches / 100-125 cm) on one of the panels for seaming.
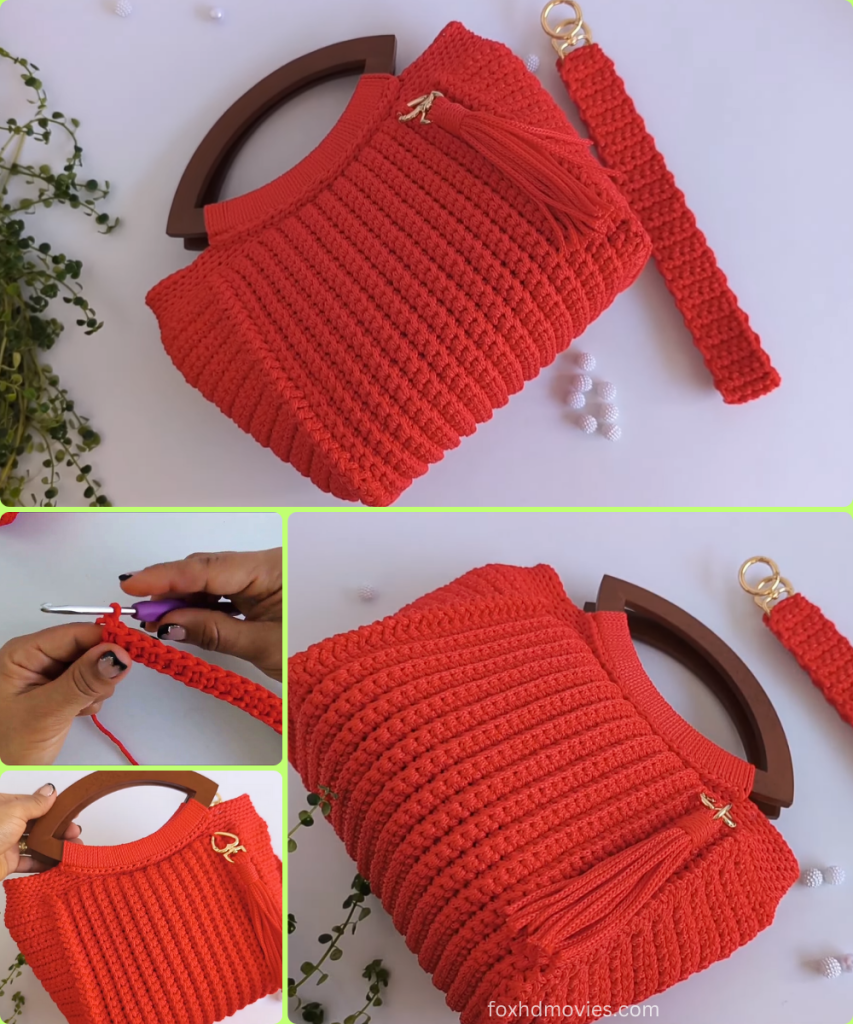
Part 3: Covering the Handles (Main Cord Color)
This technique involves crocheting directly around your pre-made bag handles.
- Take one pre-made bag handle.
- Attach your cord to one end of the handle with a sl st.
- Round 1: Work sc stitches around the handle, completely encasing it in crochet. Continue working sc stitches around the handle until it is fully covered and you reach your starting point. Sl st to join.
- The number of sc stitches will depend on the thickness of your handle. Keep them tight and even.
- Round 2 – X: Continue working rounds of sc stitches around the covered handle until it is as thick and sturdy as desired. Sl st to join each round.
- The video shows a method where the cord is wrapped and then slip stitches are worked over it. You can adapt this by working tight sc stitches around the handle’s core.
FO, leaving a long tail for attaching to the bag. Repeat for the second handle.
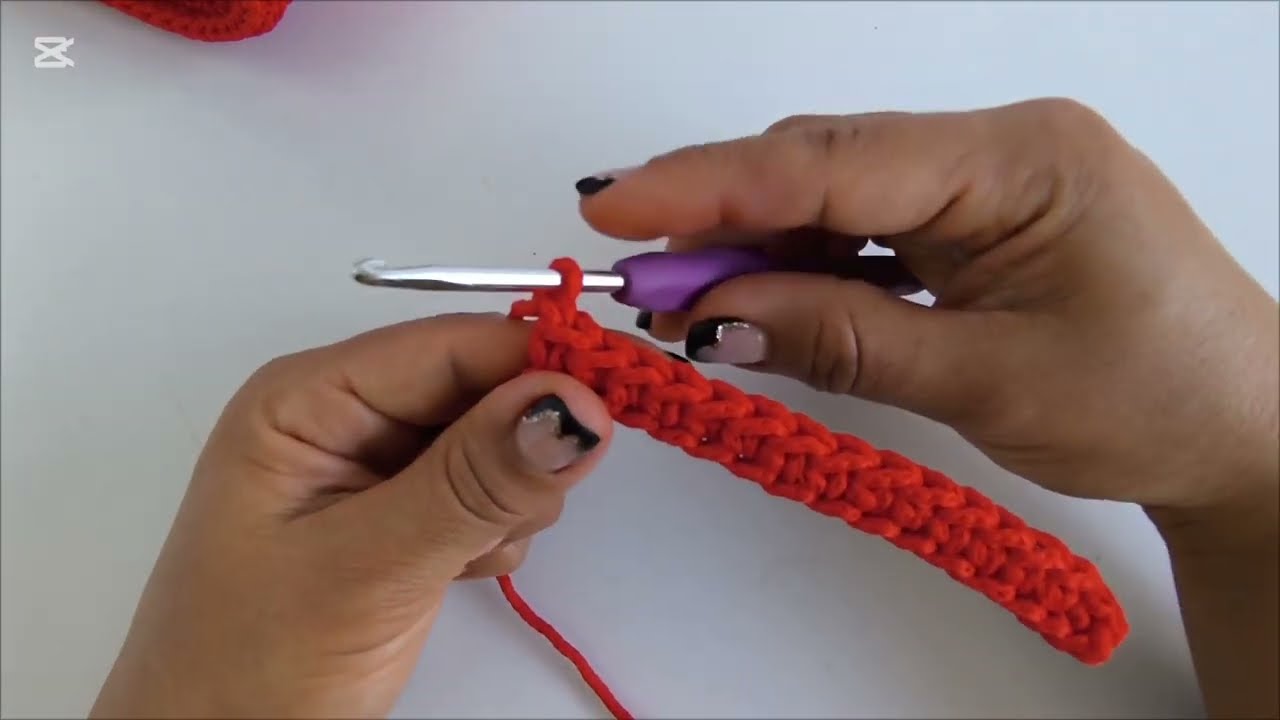
Part 4: Adjustable Shoulder Strap (Optional – Main Cord Color)
This strap is worked in rows.
- Ch 10. (Adjust for desired strap width).
- Row 1: Sc in 2nd ch from hook and in each ch across. Ch 1, turn. (9 sc)
- Row 2 – 100 (or until desired length): Sc in each sc across. Ch 1, turn. (9 sc)
- The video states the strap is 52 cm (20.5 inches) long. Adjust the number of rows to achieve this length.

FO, leaving a long tail at each end for attaching D-rings/carabiner clips.
Part 5: Assembly
- Attach Side Panels to Main Body:
- Take one front/back panel and one side panel. Align one long edge of the side panel with one of the long edges of the front/back panel.
- Using your tapestry needle and the long tail from the side panel (or a new piece of cord), begin seaming the side panel to the main body. The video uses slip stitches for seaming, which creates a very neat, flat join. You can also use a whip stitch or mattress stitch.
- Continue seaming along the bottom and up the other long side of the main panel, following the contours.
- Repeat for the second side panel and the second front/back panel. This will form the main body of your bag.
- Top Edge Finishing (Continuous Slip Stitches):
- Once the bag body is assembled, attach your cord to any stitch along the top edge of the bag.
- Work 6 continuous rounds of sl st around the entire top opening of the bag. This creates a very neat, reinforced, and polished edge.
- Ensure your slip stitches are consistent and not too tight, as this can make the opening stiff.
- Attach Handles:
- Position your covered handles evenly on the top front and back of the bag.
- Using the long tails from the handles and your tapestry needle, securely sew the handles to the bag using strong slip stitches or whip stitches. Ensure they are firmly attached to withstand weight.
- Attach Magnetic Clasps:
- Determine the center of the bag opening, inside the bag.
- Following the instructions for your magnetic clasp, sew one half to the inside top edge of the front of the bag and the other half to the inside top edge of the back of the bag. Ensure they align perfectly when the bag is closed.
- Attach Shoulder Strap (Optional):
- If you made the shoulder strap, attach a D-ring or carabiner clip to each end of the strap using the long tails.
- Attach these D-rings/clips to the top corners of your bag, or to small loops you can crochet onto the bag’s side seams.
Part 6: Finishing Touches & Embellishments (Optional)
- Weave in all ends: Use your tapestry needle to neatly weave in any remaining loose cord ends. For PP cord, you might carefully melt the very tip of the cord with a lighter (briefly!) to prevent fraying and then press it flat to secure, but do this with extreme caution and in a well-ventilated area.
- Decorative Tassel (Borla):
- Cut several strands of cord (e.g., 10-15 strands, 8-10 inches long).
- Fold them in half and loop them through a small bell cap or a small loop you crochet.
- Tie a knot around the top to secure.
- Trim the ends evenly.
- Attach this tassel to the handle or side of the bag for extra flair.
Video tutorial
Versatile Uses for Your Elegant Bag:
- Everyday Carryall: Spacious enough for your essentials, a small book, or a tablet.
- Work Bag: A stylish option for light work items.
- Shopping Bag: Lightweight and durable for quick trips.
- Gift: A truly impressive and unique handmade gift.
Customization & Tips:
- Cord/Yarn Choice: Experiment with different colors of PP cord. If using yarn, ensure it’s very sturdy.
- Size Adjustment:
- Larger Bag: Increase the initial chain count and number of rows for all panels.
- Smaller Bag: Decrease the initial chain count and number of rows for all panels.
- Handle Style: If you prefer, you can crochet a simple flat strap instead of covering pre-made handles.
- Lining (Optional): For extra durability and to prevent small items from slipping through stitches, you can sew a fabric lining inside the bag.
Enjoy crocheting your own elegant, spacious, and lightweight bag! It’s a fantastic way to create a unique and functional accessory that’s sure to turn heads.