 by
by 
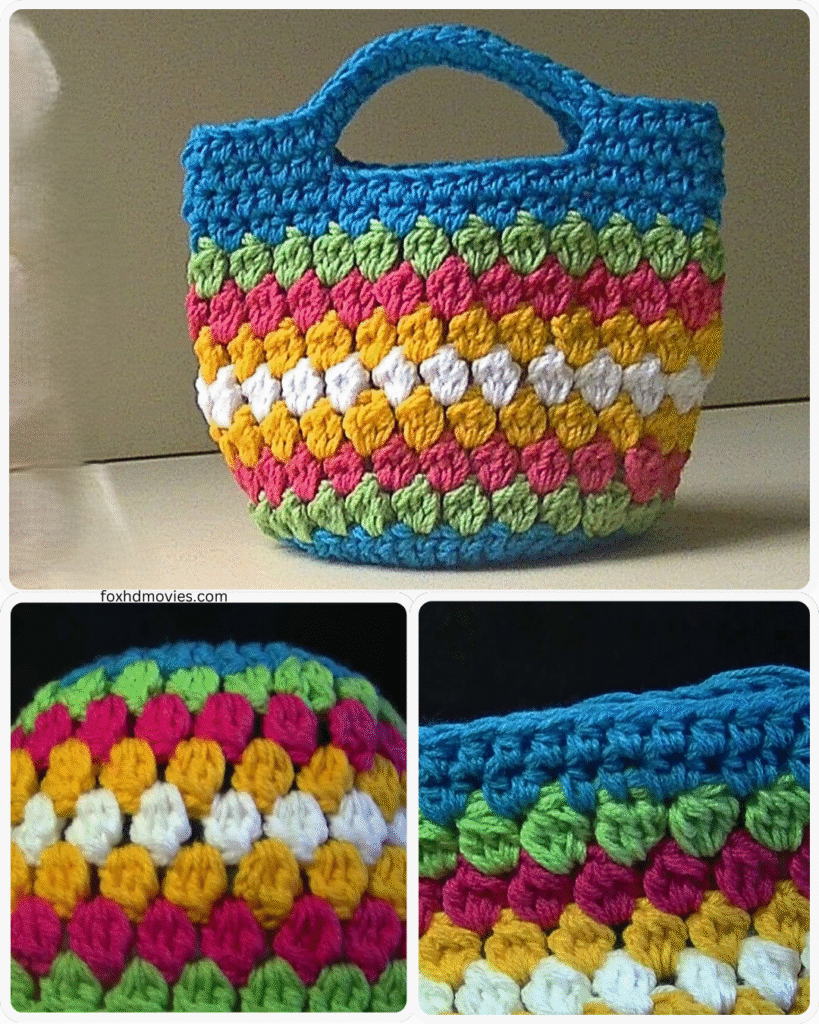
Hey there, crafty friends! Are you itching to create something practical and stylish with your own two hands? Look no further! Today, we’re diving into a super accessible crochet project: a simple yet chic bag that absolutely anyone, even total beginners, can make.
This pattern focuses on basic stitches and a straightforward construction, making it the perfect introduction to bag making. Imagine strolling around with a unique, handmade bag crafted with love by you. Let’s grab our hooks and yarn and bring this vision to life!
What You’ll Need:
- Medium-Weight Yarn (Worsted or Aran): Choose a yarn you love! Cotton, acrylic, or a blend will work. Consider the durability and washability of the yarn if you plan to use the bag frequently. Approximately 300-400 yards should be sufficient for a decent-sized bag.
- Crochet Hook Size H/8 (5.0 mm): This is a good starting point for medium-weight yarn. Check your yarn label for the recommended hook size.
- Scissors: For snipping your yarn.
- Yarn Needle: For weaving in those pesky ends.
- Stitch Markers (optional but helpful): To mark the beginning of rounds or specific stitches.
Understanding the Basics: Our Go-To Stitches
This easy bag pattern relies on just a few fundamental crochet stitches:
- Chain (ch): The foundation of our project.
- Single Crochet (sc): Creates a dense and sturdy fabric for the body of the bag.
- Slip Stitch (sl st): Used for joining rounds.
That’s it! If you know these basic stitches, you’re already halfway there.
Video tutorial
The Pattern: Building Your Beautiful Bag
We’ll be working in continuous rounds for the main body of the bag, creating a seamless and sturdy structure.
Part 1: The Base of the Bag
- Magic Ring (or Chain 2, then 6 sc in the second ch from hook):
- Magic Ring Method: Make a magic ring. Chain 1 (does not count as a stitch). Work 6 single crochet (sc) stitches into the magic ring. Pull the tail of the magic ring tight to close the center.
- Chain 2 Method: Chain 2. Work 6 single crochet (sc) stitches into the second chain from the hook.
- Round 1: 2 single crochet (sc) in each stitch around. (12 sc)
- Round 2: *Single crochet (sc) in the next stitch, 2 single crochet (sc) in the following stitch.* Repeat from * to * around. (18 sc)
- Round 3: *Single crochet (sc) in the next 2 stitches, 2 single crochet (sc) in the following stitch.* Repeat from * to * around. (24 sc)
- Round 4: *Single crochet (sc) in the next 3 stitches, 2 single crochet (sc) in the following stitch.* Repeat from * to * around. (30 sc)
- Continue Increasing: Keep increasing in this manner, adding one more single crochet stitch before each increase in each round. For example:
- Round 5: *sc 4, 2 sc* around (36 sc)
- Round 6: *sc 5, 2 sc* around (42 sc)
- …and so on.

Part 2: The Body of the Bag
Once your base is the desired size, we’ll start working straight to build the height of the bag.
- Round 1 (Transition Round): Single crochet (sc) in each stitch around. Do not increase. (The number of stitches will be the final number of stitches from your last increase round). Place a stitch marker at the beginning of this round.
- Round 2 onwards: Single crochet (sc) in each stitch around. Move your stitch marker up at the beginning of each new round. Continue working single crochet rounds until your bag reaches your desired height. A height of 10-12 inches is a common size, but feel free to adjust this to your preference.

Part 3: Creating the Handles
Now, let’s add some handles so you can actually carry your beautiful creation!
- Marking Handle Placement: On your last round of the bag body, fold the bag in half and then in half again to find four equidistant points. Place stitch markers at two opposite points where you want your handles to be attached. The distance between these markers will determine the length of your handle opening. A space of about 4-5 inches (approximately 8-10 stitches, depending on your gauge) is a good starting point.
- First Handle:
- Continue your single crochet round until you reach the first stitch marker.
- Chain 30 (or your desired handle length).
- Skip the stitches between the first and second stitch markers.
- Single crochet (sc) in the stitch marked by the second stitch marker.
- Remove the stitch markers.
- Second Handle:
- Continue single crocheting around the bag until you reach the point opposite your first handle opening.
- Chain 30 (or the same number of chains as your first handle).
- Skip the corresponding number of stitches on the other side.
- Single crochet (sc) in the next stitch.
- Continue Round: Continue single crocheting around to the beginning of the round. Slip stitch (sl st) to the first single crochet to join.
- Strengthening the Handles (Optional but Recommended): Work one more round of single crochet around the top edge of the bag, including the chain handles. When you reach a chain handle, work single crochet stitches into each chain space to reinforce it. Slip stitch to join.

Finishing Touches:
- Fasten Off: Cut your yarn, leaving a tail of about 6 inches. Pull the tail through the last loop and tighten the knot.
- Weave in Ends: Use your yarn needle to weave in all loose ends securely into the fabric of the bag.
Congratulations! You’ve Made Your Very Own Crochet Bag!
See? That wasn’t so hard, was it? You now have a stylish and practical bag that you can be proud to say you made yourself.
Ideas to Customize Your Bag:
- Stripes: Change colors every few rounds for a fun striped effect.
- Texture: Experiment with different basic stitches like half double crochet (hdc) or double crochet (dc) for a different fabric texture. Just be mindful of the gauge and adjust your starting rounds if needed.
- Embellishments: Add buttons, appliques, tassels, or even a simple crocheted flower to personalize your bag.
- Lining: For added durability and structure, you can sew in a fabric lining.
- Different Handle Styles: Get creative with your handles! You could make shorter handles for a tote style, or a longer strap for a shoulder bag.