by
by 
This pattern is for an adult women’s size US 7-8 (EU 38-39). Instructions for adjusting size are included at the end.
Skill Level: Intermediate (requires knowledge of basic stitches, working in rounds, and front/back post stitches)

Materials:
- Yarn:
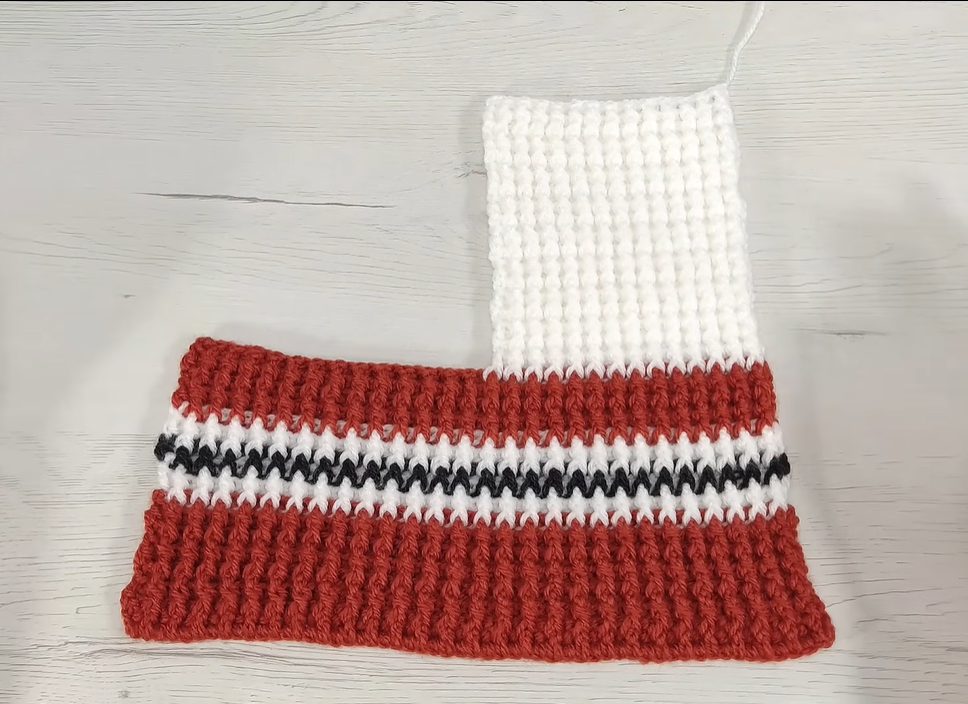
- Worsted weight yarn in Color A (Burnt Orange/Terracotta in image) – approximately 100-120 yards
- Worsted weight yarn in Color B (White in image) – approximately 80-100 yards
- Worsted weight yarn in Color C (Black in image) – approximately 10-15 yards
- Suggestion: Use a durable yarn like acrylic or a blend that will withstand wear.
- Crochet Hook: H/8 (5.0 mm) or size needed to obtain gauge
- Tapestry Needle: For weaving in ends and seaming
- Scissors
- Stitch Markers (optional but recommended)
Gauge (Important!): 14 single crochet stitches and 16 rows = 4 inches (10 cm) Always check your gauge! Adjust your hook size if necessary to ensure your slipper turns out the correct size.
Abbreviations (US Terms):
- ch: chain
- sl st: slip stitch
- sc: single crochet
- hdc: half double crochet
- dc: double crochet
- fpdc: front post double crochet
- bpdc: back post double crochet
- sc2tog: single crochet 2 stitches together (decrease)
- st(s): stitch(es)
- rnd: round
- FO: fasten off
Pattern Notes:
- The slipper is worked in three main sections: the sole/lower body, the upper foot, and then seamed.
- The sole/lower body is worked in continuous rounds to create the base and then transitions into rows for the side walls.
- The textured look on the bottom part of the slipper is created using front post and back post double crochet stitches.
- Ch 1 at the beginning of a row/round does not count as a stitch unless otherwise specified.
- Ch 2 at the beginning of a round counts as a hdc.
- Ch 3 at the beginning of a round counts as a dc.
- Color changes are made on the last yarn over of the previous stitch before changing to the new color.
Part 1: Slipper Base & Lower Body (Worked flat, then joined)
Start with Color A
Sole:
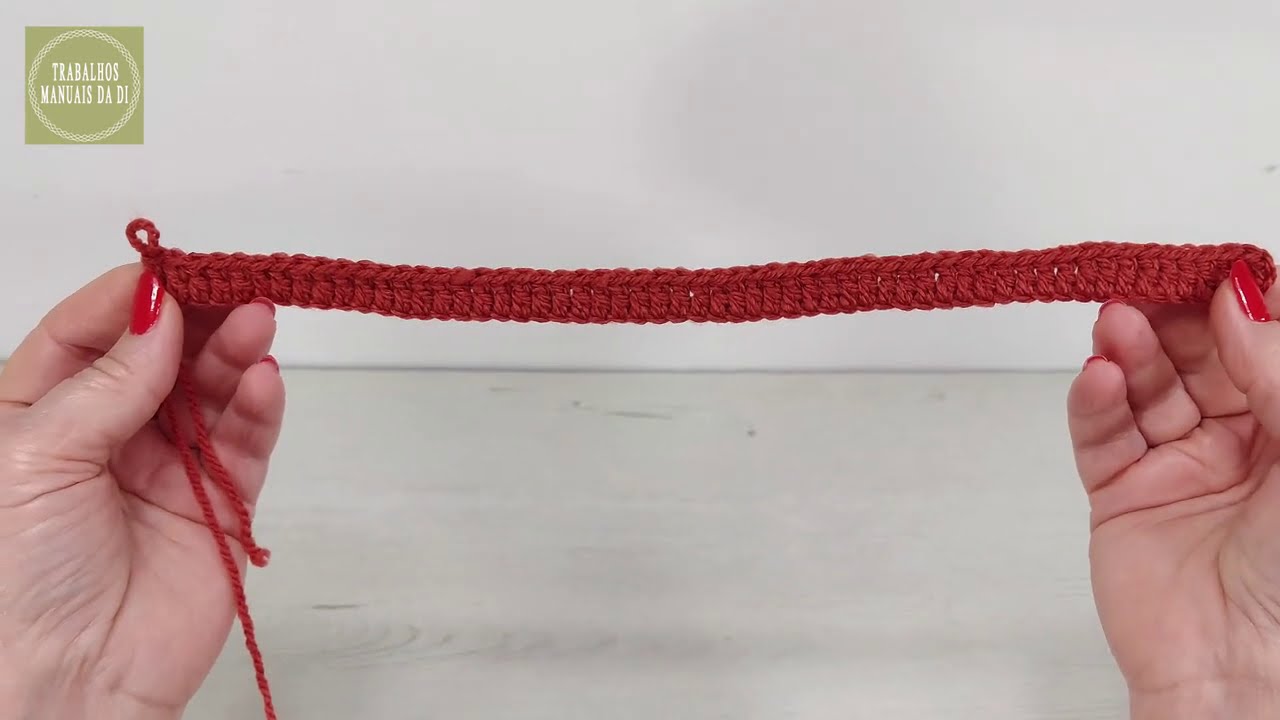
R1: Ch 28. Sc in 2nd ch from hook and in each ch across. (27 sc) R2: Ch 1, turn. Sc in each sc across. (27 sc) R3-R20 (or until piece measures approx. 8.5 inches / 21.5 cm): Repeat R2. This creates a flat rectangle that will be the sole of your slipper.
Shaping the Heel:
Now, we will start working around the perimeter to create the side walls of the slipper.
R21 (Working around the perimeter): Ch 1, do NOT turn. Sc in first st (corner). Sc evenly down the side of the rectangle (approx. 20 sc, one for each row end). 3 sc in the corner st. Sc across the other end of the starting chain (27 sc). 3 sc in the next corner st. Sc evenly up the other side of the rectangle (approx. 20 sc). 2 sc in the last corner st (same st as first sc of the round). Join with sl st to first sc. (Approx. 73 sc total – your count might vary slightly depending on how many sc you made along the sides. Adjust to make it an even number for the post stitches if possible, or adjust in the next round)
Side Walls (Textured Ribbing):
The goal here is to get an even number of stitches if your R21 ended odd. Adjust by adding one sc in a discreet spot if needed.

R22 (Color A): Ch 3 (counts as dc). Fpdc around next st, bpdc around next st. Repeat from * to * around. Join with sl st to top of beginning ch 3. (This creates a ribbed effect.)
R23 (Color A): Ch 3 (counts as dc). Bpdc around next fpdc, fpdc around next bpdc. Repeat from * to * around. Join with sl st to top of beginning ch 3. This continues the ribbing, aligning the post stitches.
R24 (Color B): Change to Color B. Ch 3 (counts as dc). Repeat R23. Join with sl st to top of beginning ch 3.
R25 (Color C): Change to Color C. Ch 3 (counts as dc). Repeat R23. Join with sl st to top of beginning ch 3.
R26 (Color B): Change to Color B. Ch 3 (counts as dc). Repeat R23. Join with sl st to top of beginning ch 3.
R27 (Color A): Change to Color A. Ch 3 (counts as dc). Repeat R23. Join with sl st to top of beginning ch 3.
R28 (Color A): Ch 1, sc in each st around. Join with sl st to first sc. FO Color A. (This completes the lower body with the stripes.)
Part 2: Slipper Upper (Worked in rows)
Start with Color B
Lay your slipper base flat with the heel seam (or where you joined rounds) at the back. Locate the front center where the toe would be. Count 10 stitches to the left and 10 stitches to the right from the center front stitch. These 21 stitches will be your working stitches for the upper. (Adjust this count based on your total stitches if needed, aiming for about 1/3 of the total stitches for the top).
R1: Attach Color B with a sl st to the 1st of your marked 21 stitches. Ch 1, sc in same st and in next 20 sts. (21 sc) R2: Ch 1, turn. Sc2tog, sc in next 17 sts, sc2tog. (19 sc) R3: Ch 1, turn. Sc2tog, sc in next 15 sts, sc2tog. (17 sc) R4: Ch 1, turn. Sc2tog, sc in next 13 sts, sc2tog. (15 sc) R5: Ch 1, turn. Sc2tog, sc in next 11 sts, sc2tog. (13 sc) R6: Ch 1, turn. Sc2tog, sc in next 9 sts, sc2tog. (11 sc) R7: Ch 1, turn. Sc2tog, sc in next 7 sts, sc2tog. (9 sc) R8: Ch 1, turn. Sc2tog, sc in next 5 sts, sc2tog. (7 sc) R9: Ch 1, turn. Sc2tog, sc in next 3 sts, sc2tog. (5 sc) R10: Ch 1, turn. Sc2tog, sc in next st, sc2tog. (3 sc) R11: Ch 1, turn. Sc3tog (single crochet 3 stitches together). (1 sc) FO. This creates the pointed toe for the top of the slipper.
Part 3: Assembly & Finishing
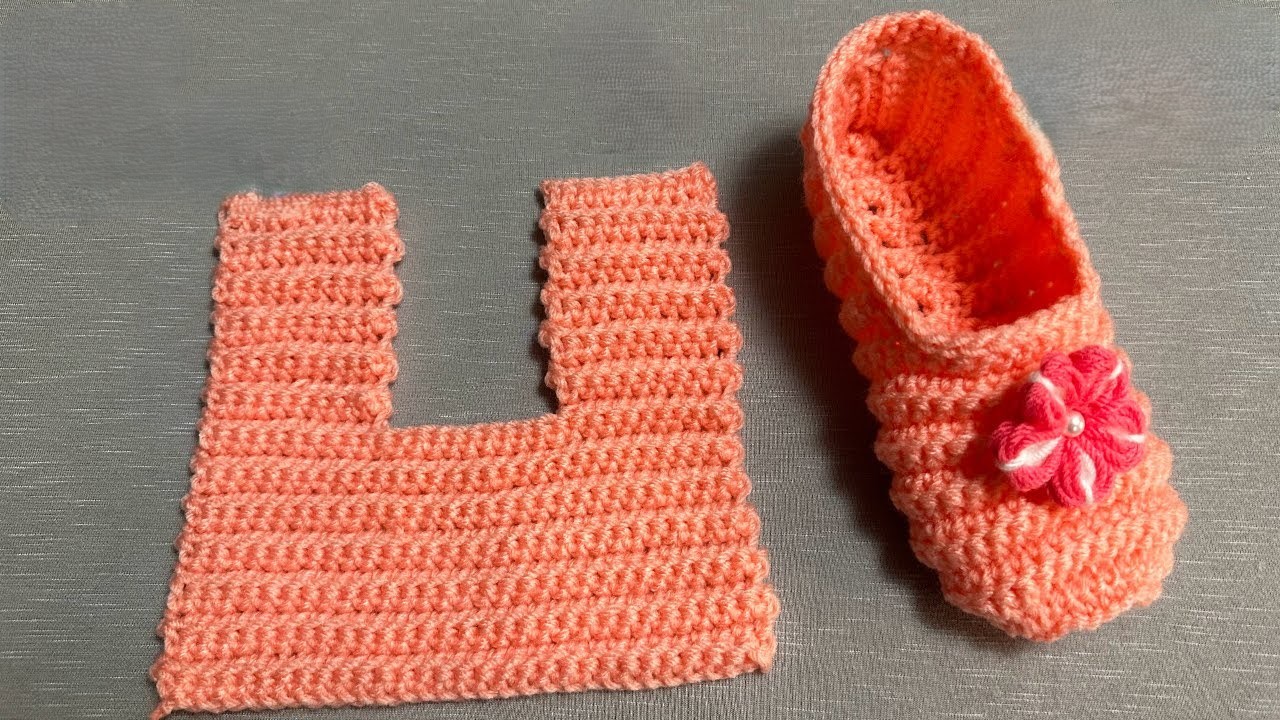
- Seaming the Upper:
- Fold the slipper flat. The lower body (Part 1) should resemble a “U” shape, and the upper (Part 2) is a triangle.
- Align the sides of the upper (Part 2) with the top edges of the lower body (Part 1).
- Using Color B and your tapestry needle, whip stitch or mattress stitch the sides of the upper to the lower body, starting from the toe point and working down towards the opening.
- Repeat for the other side.
- Make sure the seam is neat and secure.
- Weave in all ends: Use your tapestry needle to neatly weave in any loose yarn tails.
- Make a second slipper: Repeat all steps to create a matching slipper for the other foot!
Video tutorial
Sizing Adjustments:
- For a smaller size:
- Decrease the starting chain for the sole (e.g., Ch 25 for a US 5-6).
- Reduce the number of rows for the sole (e.g., R1-R18).
- Adjust the initial stitch count for the upper part (e.g., start with 17-19 sc).
- For a larger size:
- Increase the starting chain for the sole (e.g., Ch 31 for a US 9-10).
- Increase the number of rows for the sole (e.g., R1-R22).
- Adjust the initial stitch count for the upper part (e.g., start with 23-25 sc).
- Always check by periodically trying the slipper on (if possible) as you go, especially after the sole and lower body are complete. The stitch count for R21 will be the circumference of your foot where the slipper starts.
Enjoy your new, cozy, handmade slippers!