 by
by 
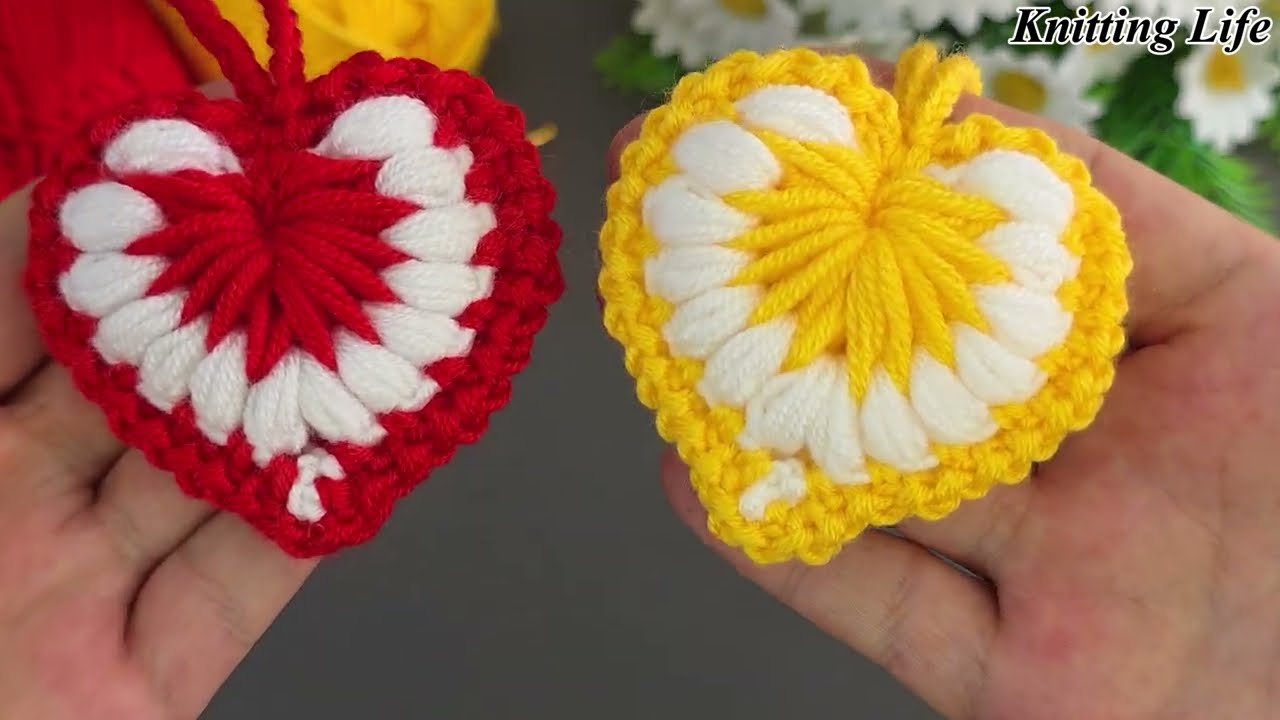
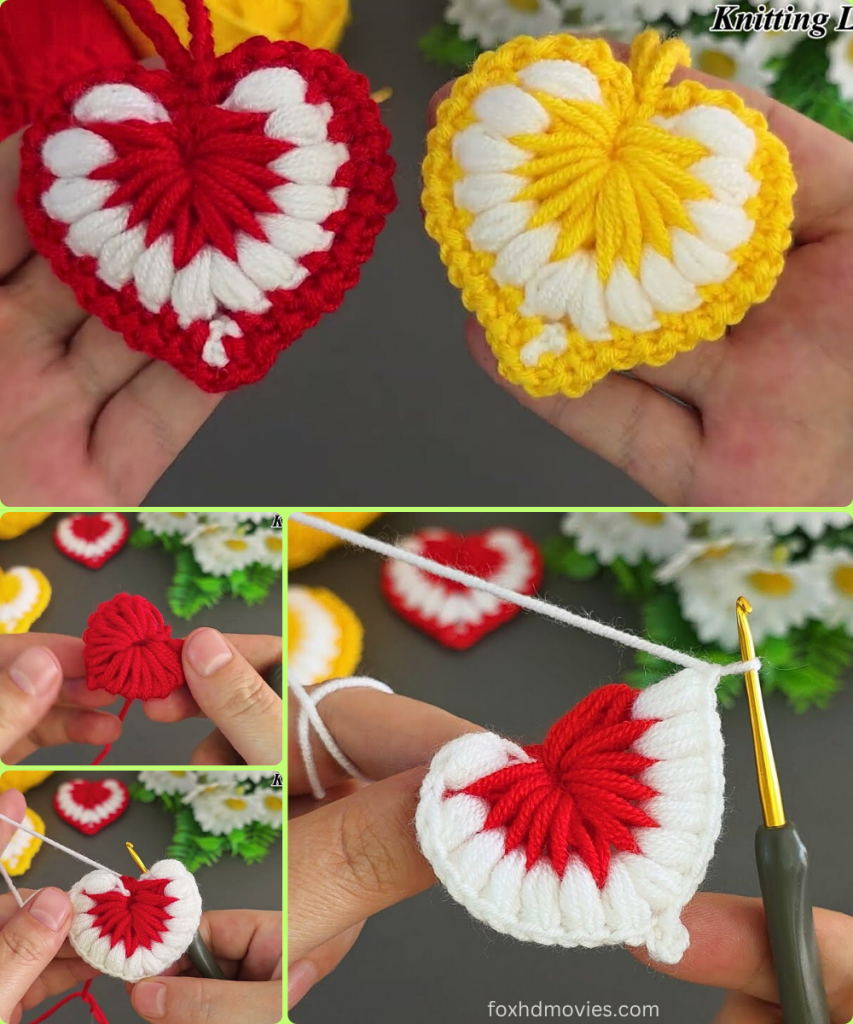
Create your own adorable and heartfelt keychain with this charming crochet pattern! Inspired by a detailed tutorial from “Knitting Life,” this design guides you through making a cute, two-toned heart, perfect for adding a touch of love to your keys, bag, or as a thoughtful handmade gift.
Skill Level: Easy
Finished Size (Approximate):
- Approximately 2 inches (5 cm) wide x 1.75 inches (4.5 cm) tall
- Size can vary based on yarn, hook, and tension.
Materials You’ll Need:
- Yarn: Small amounts of DK weight (Light Worsted / 8 ply) yarn in two colors:
- Color A (Inner Heart): Red (or your preferred main heart color)
- Color B (Border): White (or your preferred border color)
- Any smooth acrylic or cotton yarn will work beautifully. Cotton is great for stitch definition.
- Crochet Hook: 2.2 mm crochet hook.
- A smaller hook than recommended for your yarn weight will help the heart hold its shape, especially for a keychain.
- Tapestry Needle: For weaving in ends.
- Scissors
- Keychain Ring/Clasp: One standard keychain ring or lobster clasp.
Gauge (Not Critical, but Aim for Consistency!):
Since this is a small decorative item, exact gauge isn’t crucial. However, consistency in your stitches and overall tension will ensure your heart looks neat and holds its shape.
Abbreviations (US Crochet Terms):
- ch: chain
- sl st: slip stitch
- sc: single crochet
- hdc: half double crochet
- dc: double crochet
- tr: treble crochet (or triple crochet)
- st(s): stitch(es)
- MR: Magic Ring
- FO: Fasten off
Let’s Crochet Your Sweet Heart Keychain!
This heart is worked in two main parts: the inner heart (Color A) and the outer border (Color B).
Part 1: The Inner Heart (Color A – Red)
We will start with the top lobes of the heart and then connect them to form the point.
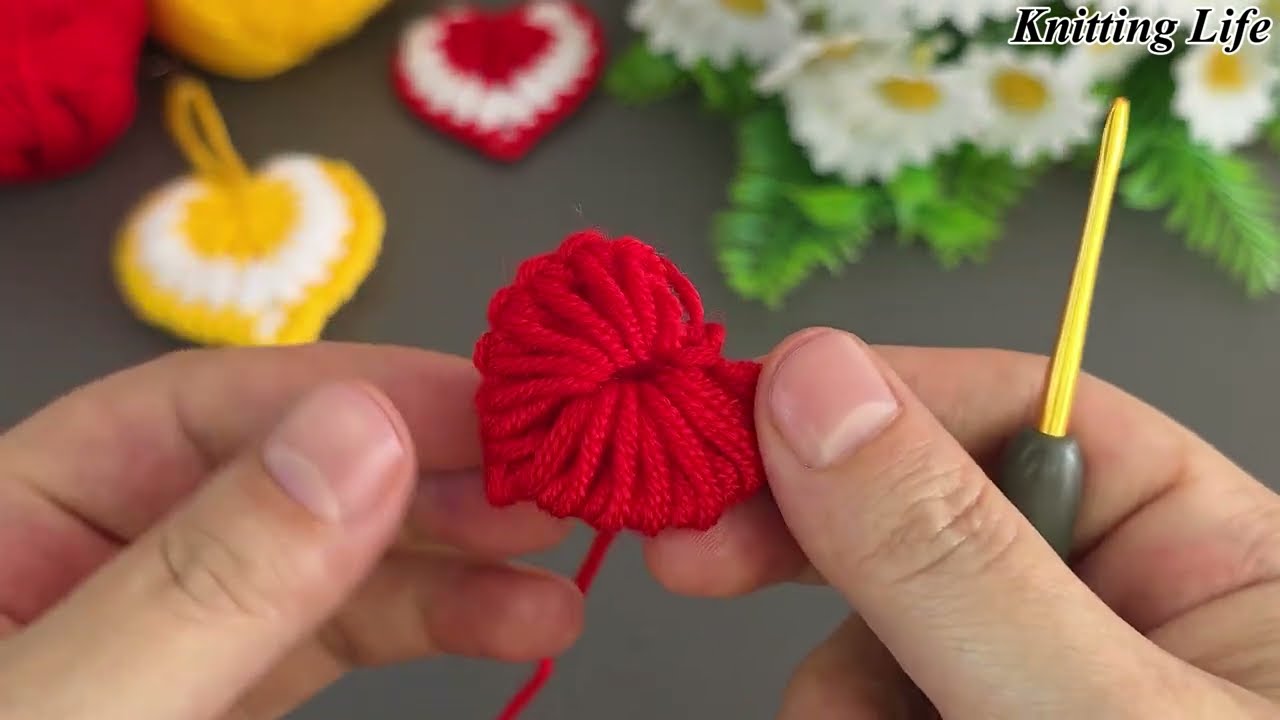
- First Lobe:
- Create a Magic Ring (MR).
- Ch 2 (does not count as a stitch). Work 10 dc into the MR. Pull MR tight to close.
- Join with a sl st to the top of the first dc. (10 dc)
- FO Color A, leaving a short tail.
- Second Lobe:
- Repeat the instructions for the First Lobe.
- Do NOT FO after the second lobe. You will continue from here.
Part 2: Connecting the Lobes & Forming the Point (Color A – Red, continued)
Now we will join the two lobes and work down to create the heart’s point.
- From where you finished the second lobe, ch 1.
- Sc into the first dc of the first lobe. Sc in next 9 dc around the first lobe. (10 sc)
- Sc into the first dc of the second lobe. Sc in next 9 dc around the second lobe. (10 sc)
- You should now have 20 sc stitches in total, connecting the two lobes.
- Round 1 (Shaping): Sc in first sc. Dec over next 2 sc. Repeat from * to * 9 times. Sc in last sc. (11 sc)
- This round begins to bring the sides of the heart in.
- Round 2: Sc in first sc. Dec over next 2 sc. Repeat from * to * 5 times. (6 sc)
- This further shapes the point.
- Round 3: Dec over next 2 sc. Dec over next 2 sc. Sc in last 2 sc. (4 sc)
- This creates a sharper point.
- Round 4: Dec over next 2 sc. Dec over next 2 sc. (2 sc)
- Almost closed!
FO Color A, leaving a short tail. Weave in all Color A tails.
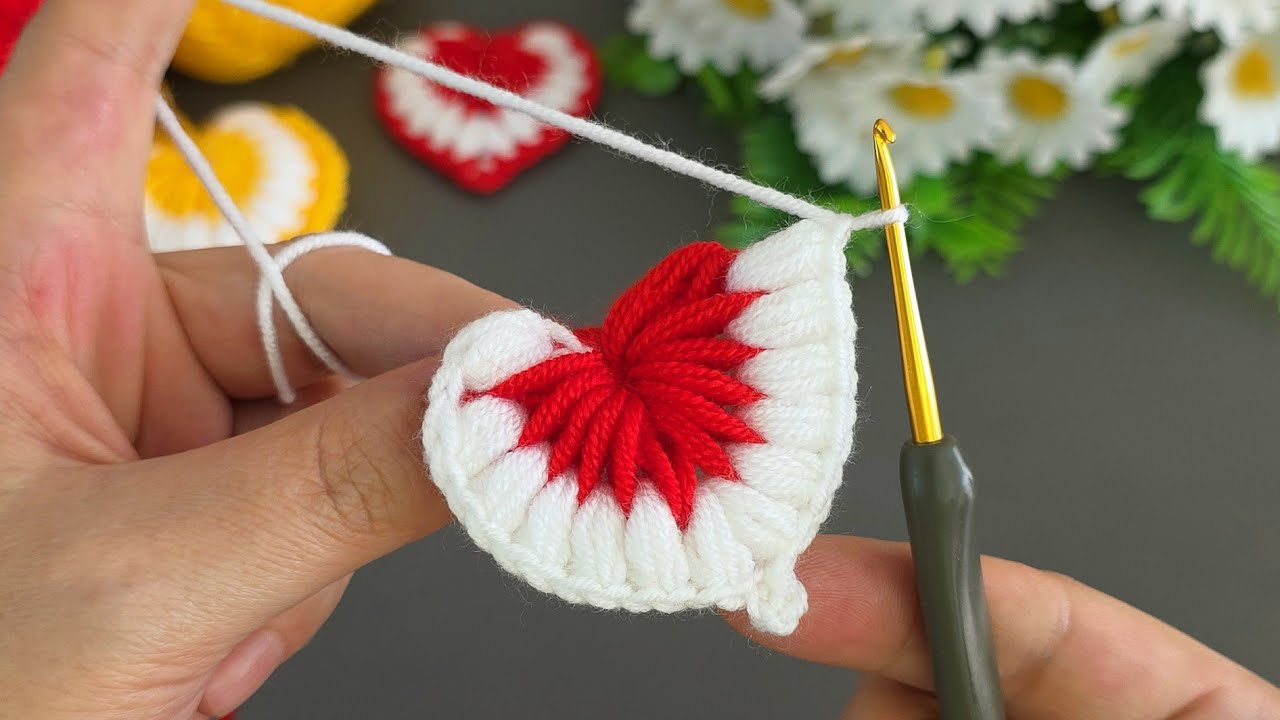
Part 3: The Outer Border (Color B – White)
- Attach Color B (White) with a sl st to any stitch on the outer edge of the heart, preferably near the top center of one lobe.
- Border Round: Ch 1. Work sc stitches evenly around the entire outer edge of the heart.
- The video shows a very neat border. Work 1 sc into each sc/dc stitch, and 1-2 sc into the side of stitches where needed to create a smooth edge around the curves of the lobes and down to the point.
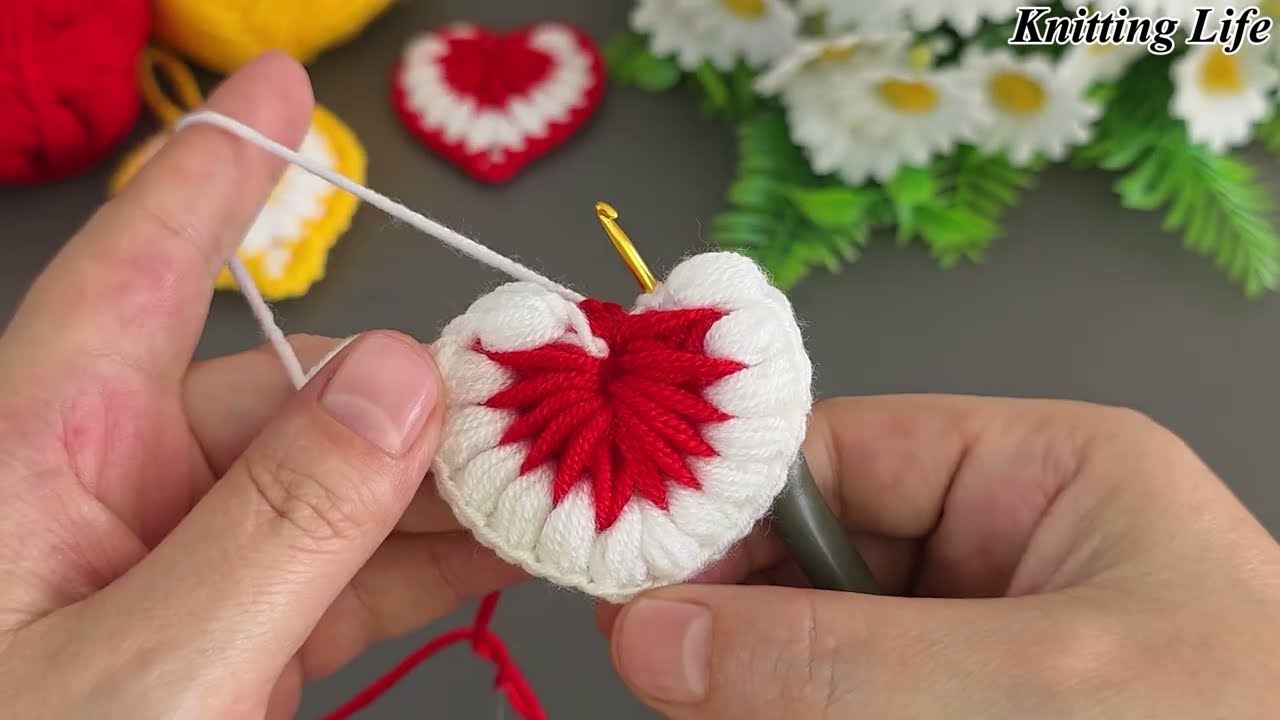
- When you reach the dip between the two lobes, work a sl st to pull them together neatly.
- When you reach the point of the heart, work 3 sc into the very tip stitch to make a sharp corner.
- Join with a sl st to the first sc of the border.
FO Color B, leaving a short tail.
Part 4: Keychain Loop & Finishing Touches
- Keychain Loop:
- Attach Color B (or Color A if you prefer) to the very top center of the heart (between the two lobes) with a sl st.
- Ch 15 (or desired length for your keychain loop).
- Sl st back into the same stitch where you attached the yarn to form the loop.
- Secure well with a knot.
- Weave in all ends: Use your tapestry needle to neatly weave in any remaining loose yarn tails.
- Attach Keychain Ring: Thread your keychain ring or lobster clasp onto the crocheted loop.
- Shape: Gently shape your heart to ensure it has a nice, even form.
Video tutorial
Versatile Uses for Your Crocheted Heart Keychain:
- Keychains: A sweet and unique addition to your keys.
- Bag Charms: Clip onto backpacks, purses, or tote bags.
- Zipper Pulls: Add a cute touch to jackets or pouches.
- Small Gifts: Perfect for Valentine’s Day, anniversaries, or just because!
- Embellishment: Sew onto cards, blankets, or other craft projects.
Customization & Tips:
- Color Combinations: Experiment with different color combinations for the inner heart and border (e.g., pink and red, blue and yellow, rainbow!).
- Size Adjustment:
- Larger Heart: Use a thicker yarn (e.g., worsted weight) and a larger hook. You may need to add more dc stitches in the initial lobes and adjust the decrease rounds accordingly.
- Smaller Heart: Use a finer yarn (e.g., lace weight) and a smaller hook. Reduce the number of dc stitches in the initial lobes.
- Stuffing (Optional): For a slightly puffier heart, you can lightly stuff it with a tiny amount of fiberfill before closing the point completely.
- Embellishment: Add a small embroidered initial or a tiny bead to the center of the heart.
Enjoy creating these lovely and heartfelt crochet keychains! They’re a fantastic way to spread a little love and add a personal touch to your accessories.