by
by Hello, basket enthusiasts and tidy-uppers!
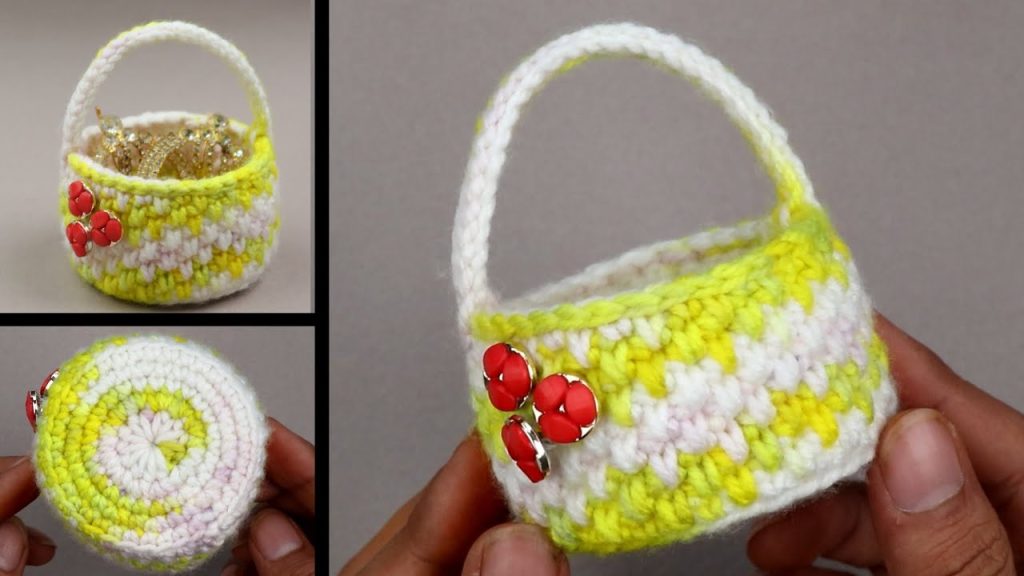
Are you looking for a sweet, quick project that’s as practical as it is pretty? Today, we’re going to create the delightful “Sunshine Trinket” Mini Basket! This charming little basket, as seen in the image, is perfect for holding tiny treasures, jewelry, hair ties, or even as a cute accent piece on a desk or dresser.
What makes this basket so appealing is its cheerful variegated yarn, which creates its own lovely color shifts, and the simple, sturdy construction. The little handle makes it easy to move, and the vibrant red embellishments add a pop of fun!
Ready to stitch up some sunshine for your space? Let’s gather our yarn and hooks!
What you’ll need:
- Yarn: A Worsted weight (Aran/10-ply) variegated yarn in a sunny mix of yellow and white (or colors of your choice). You’ll need about 25-35 yards.
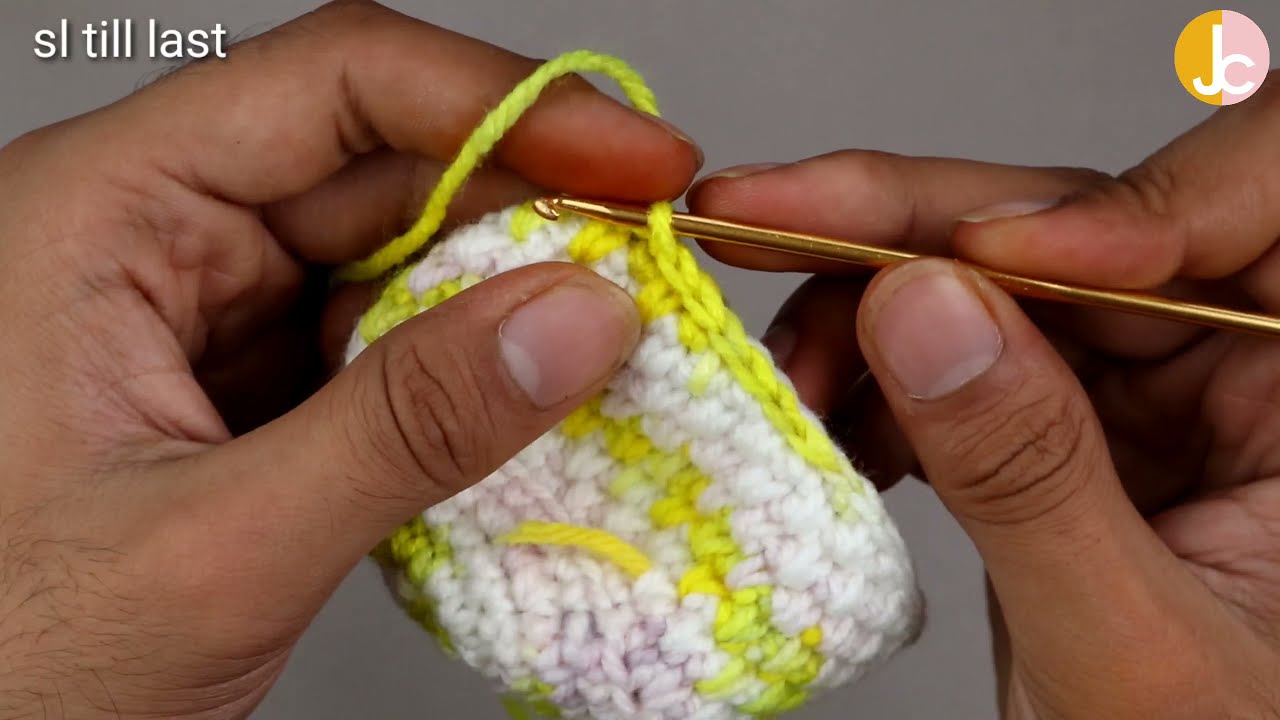
- Crochet Hook: A hook size appropriate for your chosen yarn. For worsted weight yarn, a 4.5mm (7) or 5.0mm (H/8) hook would work well to create a sturdy fabric. (The hook used in the image appears to be around a 4.5mm).
- Scissors
- Tapestry Needle (for weaving in ends)
- Decorative Embellishments: (e.g., 3 small red buttons or beads, approximately 8-10mm in size) for the front of the basket.
- Sewing Needle and Thread: Matching thread for attaching embellishments.
Abbreviations (US Terms):
- ch: chain
- st(s): stitch(es)
- sl st: slip stitch
- sc: single crochet
- inc: increase (work 2 sts in the same st)
- BLO: Back Loop Only
- rep: repeat
The “Sunshine Trinket” Mini Basket Pattern (Make 1)
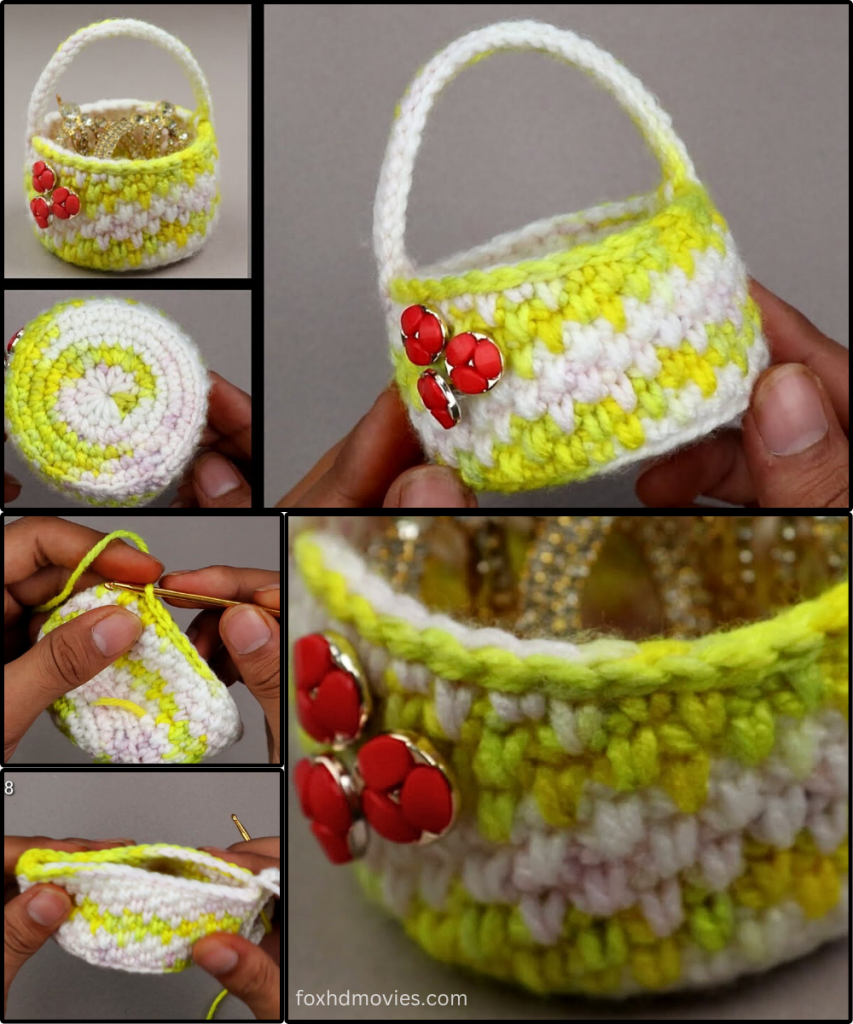
We’ll start by creating a flat circular base, then work up the sides, and finally add the handle and embellishments. This pattern is worked in joined rounds.
Part 1: The Base (Start with your variegated yarn)
Work tightly to create a sturdy base.
- Start with MR: Make a Magic Ring.
- Alternatively, ch 4 and sl st into the first ch to form a ring.
- Round 1: Ch 1 (does not count as a st). Work 8 sc into the MR. Sl st to the first sc to join. (8 sc)
- Gently pull the tail of your MR tight to close the center hole.
- Round 2: Ch 1. Inc in each st around. Sl st to join. (16 sc)
- Round 3: Ch 1. *Sc in first st, Inc in next st*. Rep from * to * around. Sl st to join. (24 sc)
- Round 4: Ch 1. *Sc in next 2 sts, Inc in next st*. Rep from * to * around. Sl st to join. (32 sc)
- Round 5: Ch 1. *Sc in next 3 sts, Inc in next st*. Rep from * to * around. Sl st to join. (40 sc)
- Your base should now be a sturdy circle, approximately 3 inches (7.5 cm) in diameter.
Part 2: The Basket Sides
We’ll now work up the sides to create the basket shape.
- Round 6 (Creating the Side Wall): Ch 1 (does not count as a st). Sc in the BLO (back loop only) of each sc around. Sl st to join. (40 sc)
- Working in the back loop creates a defined ridge, marking the bottom edge of your basket.
- Rounds 7-10: Ch 1. Sc in each sc around. Sl st to join. (40 sc)
- Continue working rounds of single crochet until your basket reaches the desired height. The image shows about 4 rounds of straight single crochet for the body.

Part 3: The Handle
We’ll now create the simple integrated handle.
- Round 11 (Handle Foundation): Ch 1 (does not count as st). Sc in the next 10 sts.
- Ch 14 (this creates the length of your handle). Sk the next 10 sts (these skipped stitches will form the handle opening).
- Sc in the remaining 20 sts. Sl st to the first sc to join. (30 sc, 1 ch-14 space).
- Ensure the handle chain is centered over one side of the basket.
- Round 12 (Handle Construction): Ch 1 (does not count as st). Sc in the next 10 sc.
- Work 15 sc around the ch-14 space (working directly into the chain stitches).
- Sc in the remaining 20 sc. Sl st to the first sc to join. (45 sc).
- This covers the chain and creates a firm handle loop. Adjust the number of sc stitches over the chain if needed to cover it fully and neatly.
- Round 13 (Handle Firming/Final Edge): Ch 1. Sc in each sc around. Sl st to the first sc to join. (45 sc).
- This final round creates a neat and sturdy top edge for the basket and handle.

Finishing:
- Fasten off, leaving a tail of about 6 inches.
- Weave in all loose yarn ends securely using your tapestry needle.
Part 4: Embellishment (Optional, but adds charm!)
The red embellishments are a wonderful touch.
- Placement: Decide where you want your embellishments on the front of the basket. The image shows them clustered together.
- Attach: Using your sewing needle and matching thread, securely sew the red buttons or beads onto the side of the basket. You can arrange them in a small flower shape or simply cluster them for a pop of color. Pass the thread through the fabric multiple times and knot securely on the inside.
Video tutorial
Tips for Your “Sunshine Trinket” Mini Basket:
- Tension is Key: Consistent and relatively tight tension will help your basket stand up straight and hold its shape.
- Yarn Choice: While variegated yarn is used in the example, a solid color would also look beautiful! You could also use two contrasting solid colors and alternate rows for stripes.
- Handle Strength: For an even sturdier handle, you could insert a pipe cleaner or a piece of plastic canvas cut to shape inside the crocheted handle before working the final sc rounds.
- Customization:
- Size: To make a larger basket, add more increase rounds to the base. Add more straight sc rounds to the body for a taller basket.
- Handle Style: Instead of one handle, you could make two smaller handles on opposite sides.
- Lining: For very tiny items, you could sew a fabric lining for the inside of the basket.
- Embellishments: Get creative with other embellishments! Small crocheted flowers, embroidered initials, or different shaped buttons would all look lovely.
This “Sunshine Trinket” Mini Basket is a delightful project that creates a charming and useful little holder for all your tiny treasures. Enjoy making your own!
Happy Crocheting!