by
by 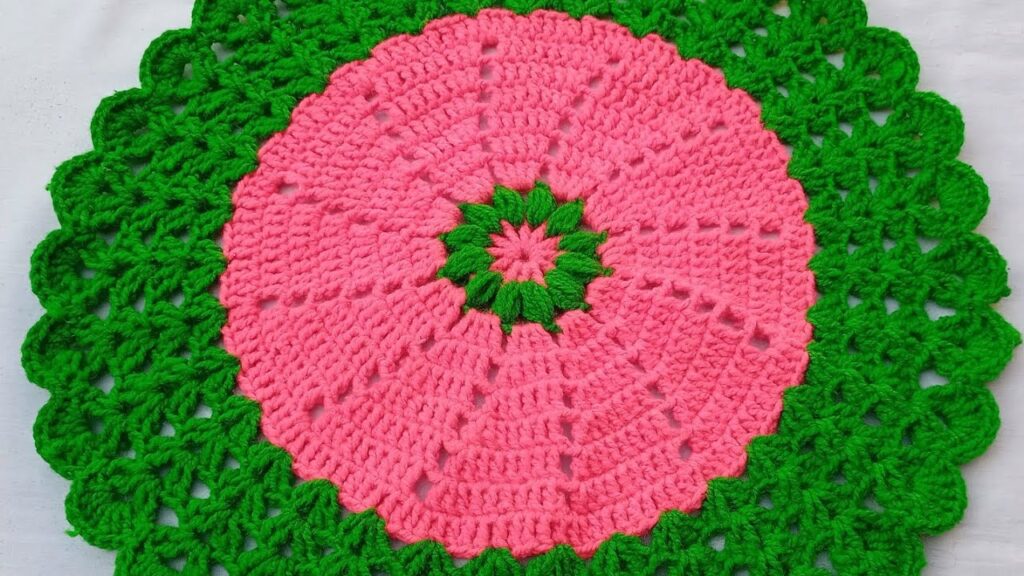
Looking for a quick and satisfying crochet project that adds a cheerful splash of color to your home? This round placemat (or doily, depending on your yarn choice!) with its contrasting border is just the ticket! It’s a fantastic way to practice basic stitches and color changes, resulting in a beautiful and functional piece.
The vibrant pink and green combination in your photo is so inviting, and the textured border adds lovely detail to a classic round shape. This pattern is versatile enough for beginners looking to level up their skills or experienced crocheters wanting a relaxing project.
What You’ll Need:
- Yarn:
- Worsted weight (Category 4) or DK weight (Category 3) yarn is perfect for a placemat or doily. Cotton or acrylic blends work well.
- Choose two contrasting colors (e.g., Pink for the center, Green for the border).
- Yardage: Approximately 100-200 yards for the main color, 50-100 yards for the border color, depending on desired size.
- Crochet Hook:
- Appropriate size for your yarn (e.g., 4.0mm (G) or 5.0mm (H) for worsted weight). Check your yarn label for recommendations.
- Scissors
- Yarn Needle (for weaving in ends)
Abbreviations (US Terms):
- ch: chain
- sl st: slip stitch
- sc: single crochet
- hdc: half double crochet
- dc: double crochet
- tr: treble crochet (yarn over 2 times) – used for the border in this pattern
- st(s): stitch(es)
- sp: space
- yo: yarn over
- MR: magic ring (or magic circle)
- FO: fasten off
Let’s Get Started!
Difficulty: Easy
Notes:
- The beginning chains usually do NOT count as a stitch unless specified.
- Join each round with a slip stitch to the first stitch of the round (not the starting chain) unless directed otherwise.
- Maintain consistent tension to ensure your piece lies flat. If it starts to ruffle, you may be increasing too much; if it starts to cup, you may need more increases or a larger hook. This pattern uses a standard increase rate for a flat circle.
- Color Change Tip: When changing colors, work the final yarn over of the slip stitch join with the new color to create a seamless transition.

Pattern for a Two-Tone Round Placemat/Doily:
(Start with your main color, e.g., Pink)
Round 1: (Center Ring)
- Start with a Magic Ring (MR).
- Ch 2 (does not count as st). Work 12 dc into the MR.
- Pull MR tight to close. Sl st to the top of the first dc to join. (12 dc)
Round 2:
- Ch 2. Work 2 dc in each st around.
- Sl st to the top of the first dc to join. (24 dc)
Round 3:
- Ch 2. (1 dc in next st, 2 dc in next st) Repeat from * to * around.
- Sl st to the top of the first dc to join. (36 dc)

Round 4:
- Ch 2. (1 dc in next 2 sts, 2 dc in next st) Repeat from * to * around.
- Sl st to the top of the first dc to join. (48 dc)
Round 5:
- Ch 2. (1 dc in next 3 sts, 2 dc in next st) Repeat from * to * around.
- Sl st to the top of the first dc to join. (60 dc)
Round 6:
- Ch 2. (1 dc in next 4 sts, 2 dc in next st) Repeat from * to * around.
- Sl st to the top of the first dc to join. (72 dc)
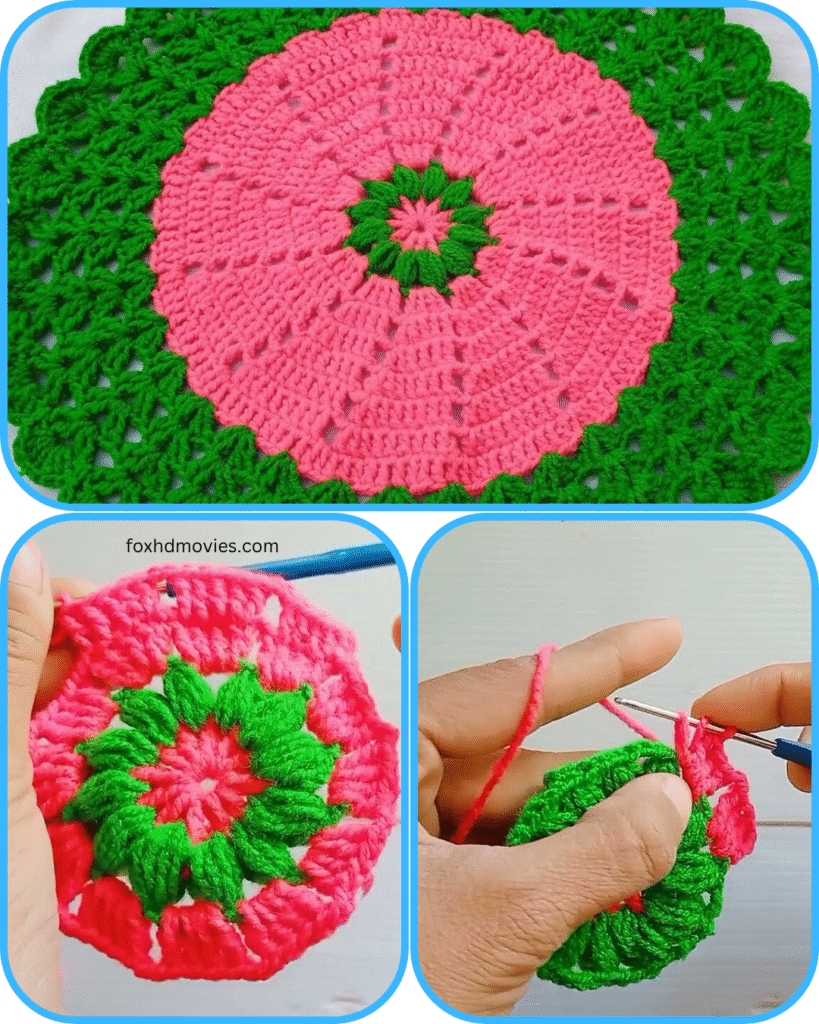
(Continue in this manner, increasing by 12 dc each round, adding one more single dc between the increases each time, until your main color section is the desired size. The image shows about 7-8 rounds of the main color before the color change).
Round [X – your final main color round]:
- Ch 2. (1 dc in next [X-2] sts, 2 dc in next st) Repeat from * to * around.
- Sl st to the top of the first dc to join.
- FO main color, leaving a short tail to weave in.

(Now, attach your border color, e.g., Green)
Border Round 1: (Foundation for scallop/petal)
- Attach border color with a sl st to any dc from the previous round.
- Ch 1 (does not count as st). Sc in the same st.
- Sc in each st around.
- Sl st to the first sc to join.
Border Round 2: (Creating the textured scallop/petal effect)
- Ch 1 (does not count as st). Sc in the same st.
- Sk 2 sts. In the next st, work (3 tr, ch 2, 3 tr). This creates a fan/petal shape.
- Sk 2 sts. Sc in the next st.
- Repeat from * to * around. Adjust skips if necessary to end evenly. You want the sc stitches to land approximately where the previous round’s skips were, ensuring your scallops are evenly spaced.
- Sl st to the first sc to join.
- FO, leaving a short tail.
Video tutorial
Finishing Up!
- Weave in all ends: Use your yarn needle to neatly weave in all starting and ending tails. This is especially important for multi-color projects for a clean look.
- Blocking (Recommended): Lay your finished piece flat. Gently stretch and shape it into a perfect circle, making sure your scallops are well-defined. You can mist it lightly with water (for cotton) or use a steam iron (hovering, not touching the yarn directly for acrylics) and let it dry completely in shape. Blocking makes a huge difference in how your finished piece looks and lays!
And there you have it! A beautiful, vibrant round placemat or doily, perfect for adding a handmade touch to your kitchen, dining room, or living space. Enjoy your colorful creation!