by
by 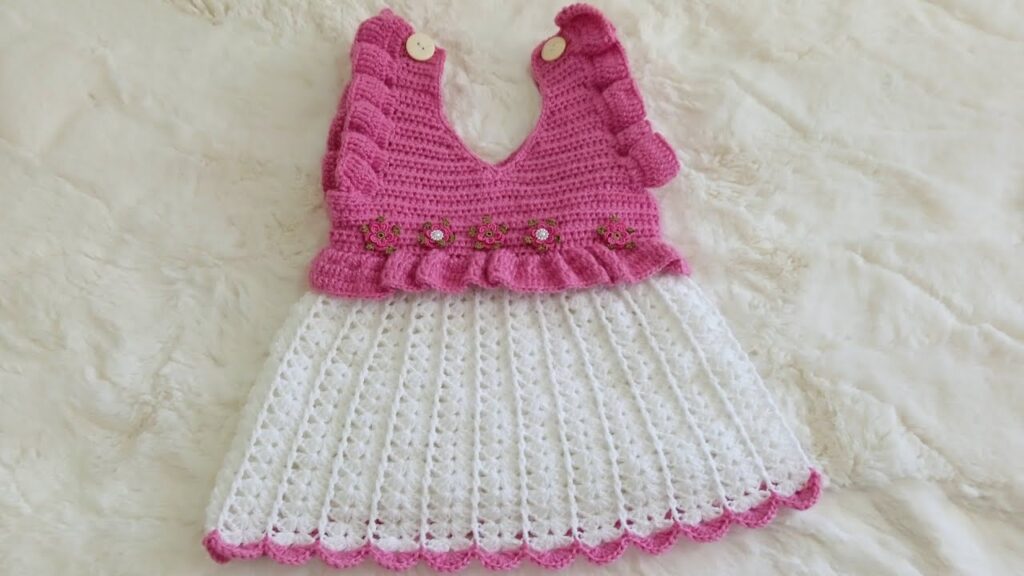
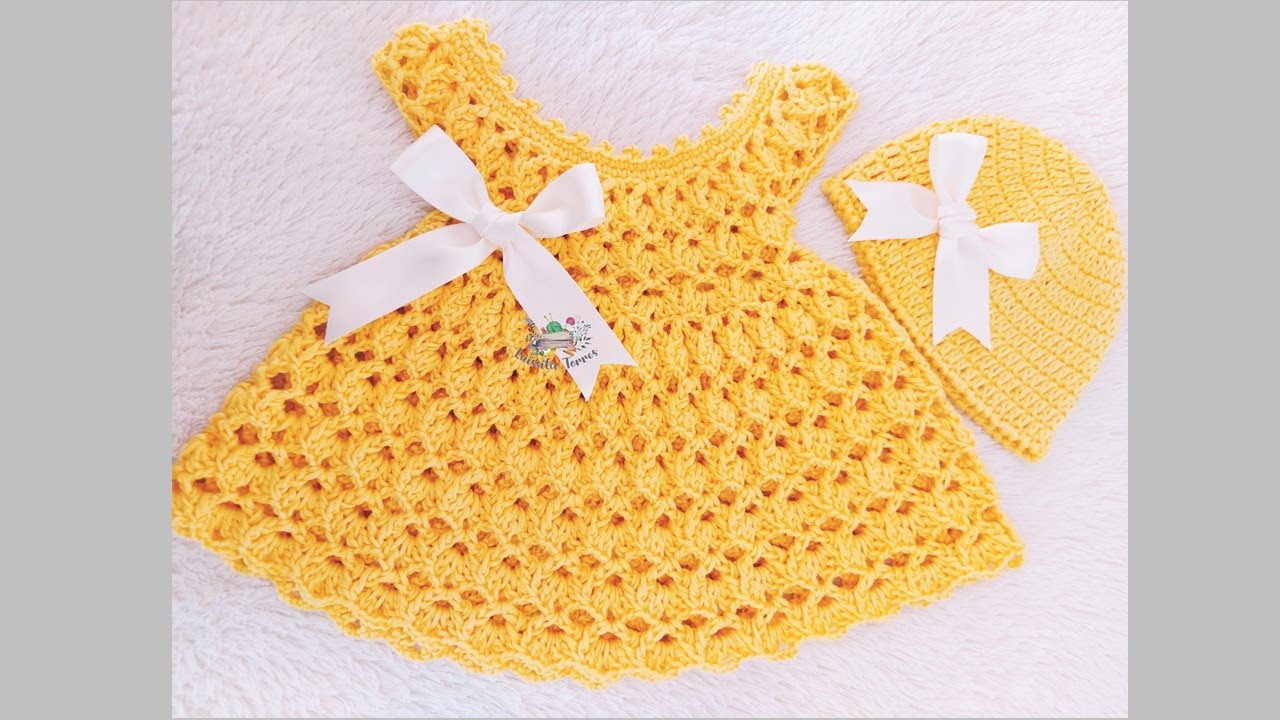
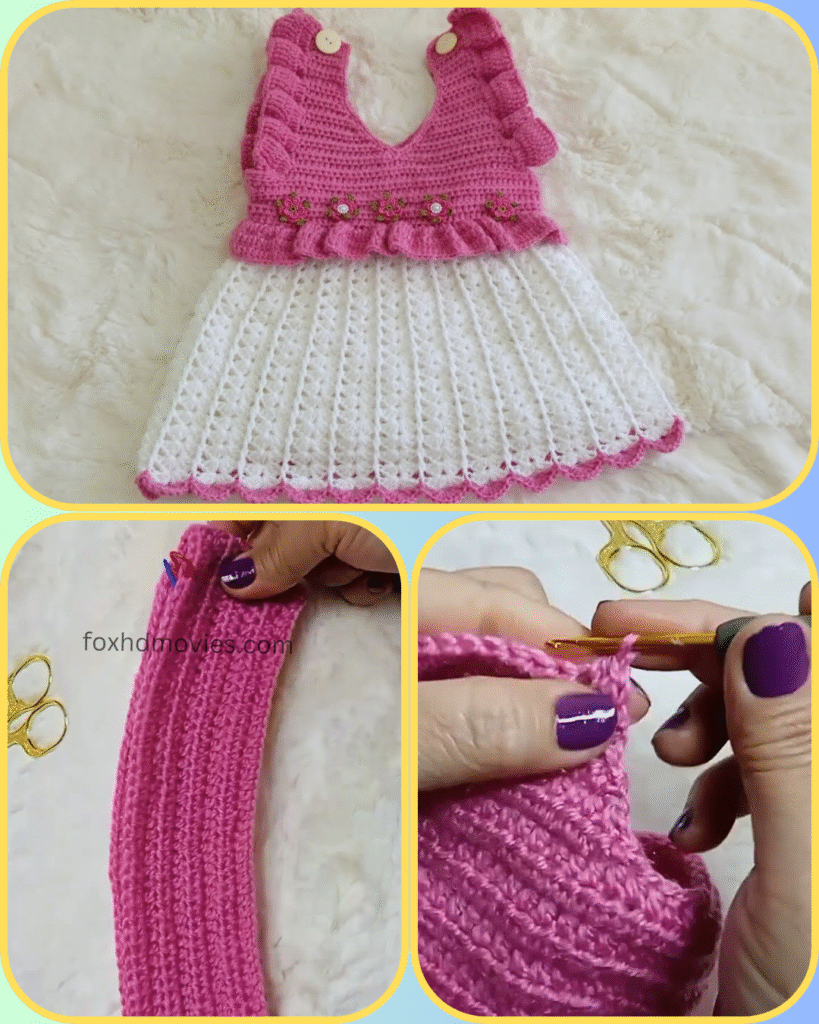
Is there anything sweeter than a handmade gift for a little one? This adorable crochet baby dress, with its vibrant pink top, delicate ruffles, and a crisp white skirt, is sure to be a cherished item. It’s perfect for special occasions, photo shoots, or just everyday cuteness!
This pattern is written for a baby size (approximately 3-6 months), but I’ll include notes on how to adjust the size for a larger fit.
Difficulty Level: Intermediate (familiarity with basic crochet stitches and construction)
Materials You’ll Need:
- Yarn:
- DK weight (Category 3) yarn in Pink (approx. 100-120 yards)
- DK weight (Category 3) yarn in White (approx. 150-200 yards)
- Suggestions: Cotton blends for breathability, or soft acrylic for easy care.
- Crochet Hook: 3.5mm (E/4) or size needed to obtain gauge
- Buttons: 2 small buttons (approx. 0.5 inch / 1.25 cm diameter)
- Embellishments: Small floral appliques or beads (optional, for the waistline)
- Tapestry Needle: For weaving in ends
- Scissors
- Stitch Markers (optional, but helpful!)
Gauge (worked in DC): 5 DC and 3 rows = 1 inch (2.5 cm) Always check your gauge! Adjust hook size if necessary.
Abbreviations (US Crochet Terms):
- ch: chain
- sl st: slip stitch
- sc: single crochet
- hdc: half double crochet
- dc: double crochet
- inc: increase (2 stitches in the same stitch)
- fpdc: front post double crochet
- bpdc: back post double crochet
- sk: skip
- sp: space
- st(s): stitch(es)
- rep: repeat
- RS: right side
- WS: wrong side
Pattern Instructions
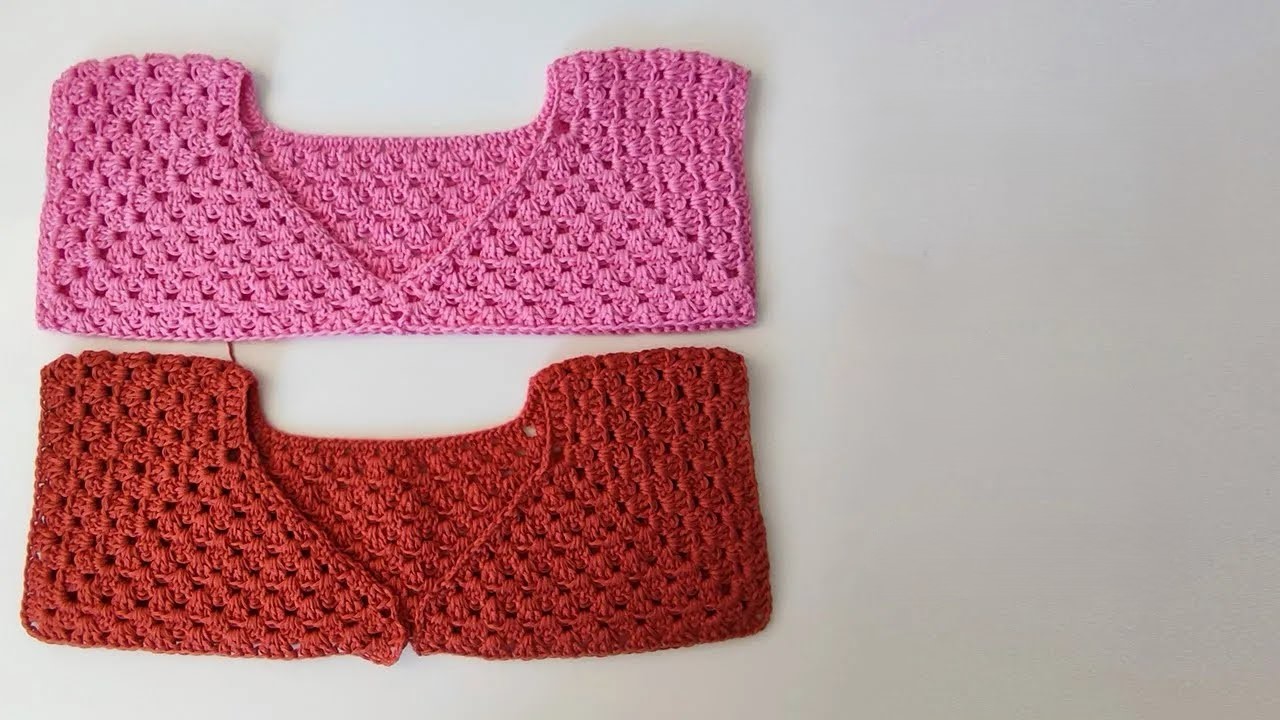
Part 1: The Bodice (Pink Yarn)
The bodice is worked from the top down, starting with the back panels, then joining to form the front.
Back Panels (Make 2):
- Ch 19.
- Row 1 (RS): Sc in 2nd ch from hook and in each ch across. (18 sc) Turn.
- Row 2: Ch 1, sc in each st across. Turn.
- Row 3: Ch 1, sc in first st, (ch 1, sk 1, sc in next) rep until 2 sts remain, ch 1, sk 1, sc in last st. (This creates buttonholes on one panel, or a decorative edge on the other. Be mindful of which panel will have the buttonholes based on how you want to attach them). Turn.
- Rows 4-10 (or until desired length for the back opening): Ch 1, sc in each st and ch-1 sp across. Turn. (18 sc)

- For the buttonhole panel: In Row 3, you’ll create the buttonholes. If you prefer to make them on a later row or differently, adjust accordingly.
- For the other panel: You can work Row 3 as just “Ch 1, sc in each st across” if you don’t want the decorative ch-1 spaces on this edge.
- Shoulder Shaping (for both panels):
- Next Row: Ch 1, sc in first 10 sts. Turn. (10 sc)
- Next Row: Ch 1, sc in each st across. Turn. (10 sc)
- Rep the last row until shoulder strap measures approximately 3-4 inches (or desired length).
- Fasten off.
Front Panel:
Now we’ll join the shoulder straps and work the front.
- Attach pink yarn to the end of one shoulder strap.
- Row 1 (RS): Ch 1, sc across the top of the shoulder strap (10 sc). Ch 18 (for the front neckline width). Sc across the top of the second shoulder strap (10 sc). (38 sc, including the ch sts) Turn.
- Row 2: Ch 1, sc in each st across. Turn. (38 sc)
- Row 3 (V-Neck Shaping): Ch 1, sc in first 18 sts, sk next 2 sts (center of V), sc in last 18 sts. (36 sc) Turn.
- Row 4: Ch 1, sc in each st across. Turn. (36 sc)
- Rows 5-8: Rep Row 3 and Row 4 twice more, or until desired V-neck depth is achieved. You’ll be decreasing 2 stitches every other row at the V-neck.
- Continue working straight in sc for a few more rows (approx. 2-3 rows) until the front bodice reaches the desired length before the ruffle. Make sure it aligns with the back panels when brought together.
Joining and Working in the Round:
- With RS facing, join the back panels to the front panel using sl sts or scs along the side seams.
- Round 1 (Bodice bottom): Ch 2 (counts as hdc), hdc evenly around the bottom edge of the entire bodice. Sl st to join to top of ch 2.
- Round 2: Ch 2, hdc in each st around. Sl st to join.
Ruffles (Pink Yarn):
- Row 1 (RS): Working into the front loops only of the last hdc row, ch 1, 3 sc in each st around. Sl st to join to first sc.
- Row 2: Ch 1, sc in each st around. Sl st to join.
- Row 3: Ch 2 (counts as hdc), 2 hdc in each st around. Sl st to join.
- Fasten off pink yarn.
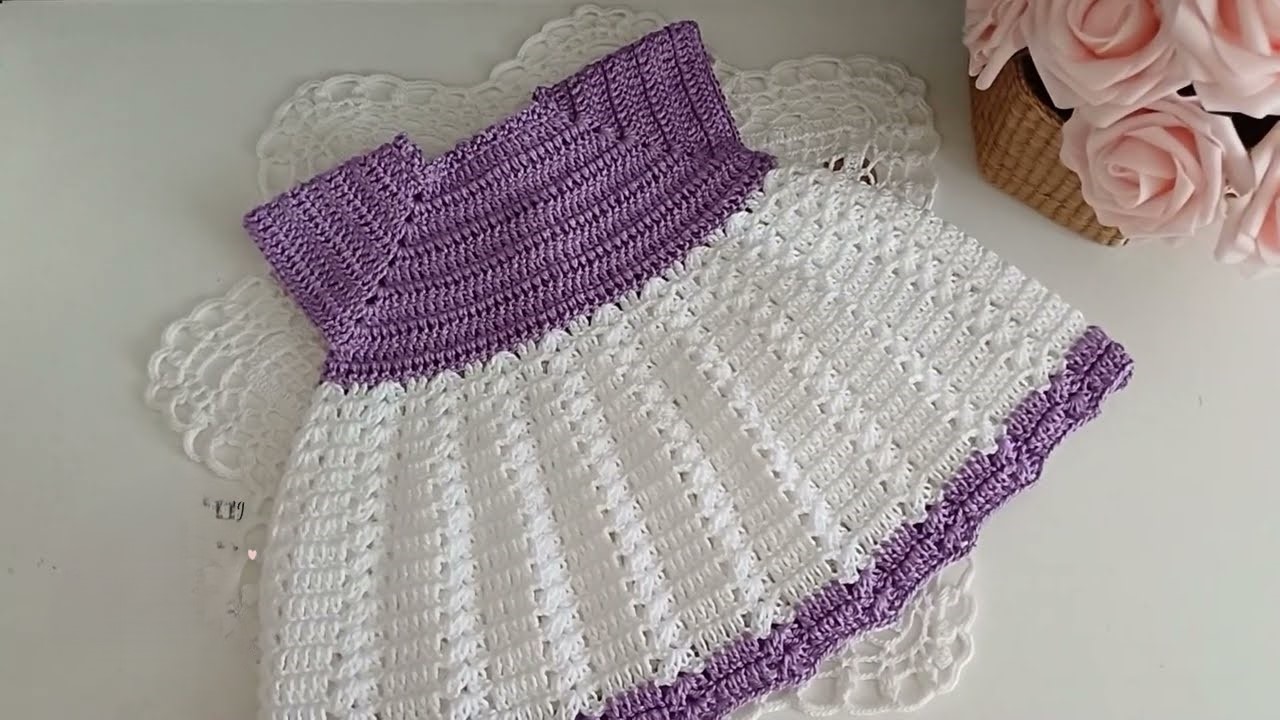
Part 2: The Skirt (White Yarn)
Attach white yarn to the back loop of the last hdc row of the bodice (where the ruffle was worked in the front loop).

Skirt Stitch Pattern (Worked in rounds):
This skirt uses a simple “V-stitch” pattern.
- Round 1: Ch 3 (counts as dc), dc in next st, ch 1, sk 1, dc in next 2 sts. Repeat from * around. Sl st to join to top of ch 3.
- Round 2: Ch 3 (counts as dc), dc in next dc, ch 1, sk 1 ch-sp, dc in next 2 dc. Repeat from * around. Sl st to join to top of ch 3.
- Continue repeating Round 2 until the skirt reaches the desired length. For the sample image, it looks quite long, so plan for approximately 25-30 rounds, or until the dress measures about 15-18 inches from shoulder to hem.
Skirt Bottom Border (Pink Yarn):
Attach pink yarn to the bottom edge of the skirt.
- Round 1: Ch 1, sc evenly around the bottom edge of the skirt. Sl st to join.
- Round 2 (Scallop Edge): Ch 1, (sc in next st, skip 1 st, 5 dc in next st, skip 1 st). Repeat from * around, adjusting the last repeat if necessary to meet the beginning of the round smoothly. Sl st to join.
- Fasten off.
Finishing Touches:
- Weave in all loose ends with your tapestry needle.
- Sew buttons onto one of the back panels, aligning with the buttonholes on the other panel.
- Optional: Sew on small floral appliques or beads along the pink ruffle at the waistline for extra embellishment, as seen in the inspiration photo.
- Block your dress gently to shape and set the stitches.
Video tutorial
Sizing Adjustments:
- For a larger size:
- Bodice: Add more chains to your initial back panel chain (in multiples of 2 for symmetry) and adjust the length of the back panels and front panel accordingly. The V-neck shaping might need fewer decrease rows or more stitches before the decrease.
- Skirt: The skirt is easily adjustable by simply continuing to work more rounds until you reach the desired length. You can also increase the initial stitch count in the skirt foundation if you want a wider flare.
- Gauge: If you’re using a thicker yarn, you’ll need to adjust your hook size to maintain a nice drape and fit.
I hope you enjoy making this sweet little dress! It’s a truly rewarding project. Don’t forget to share your finished creations with me – I’d love to see them! Happy crocheting!