by
by 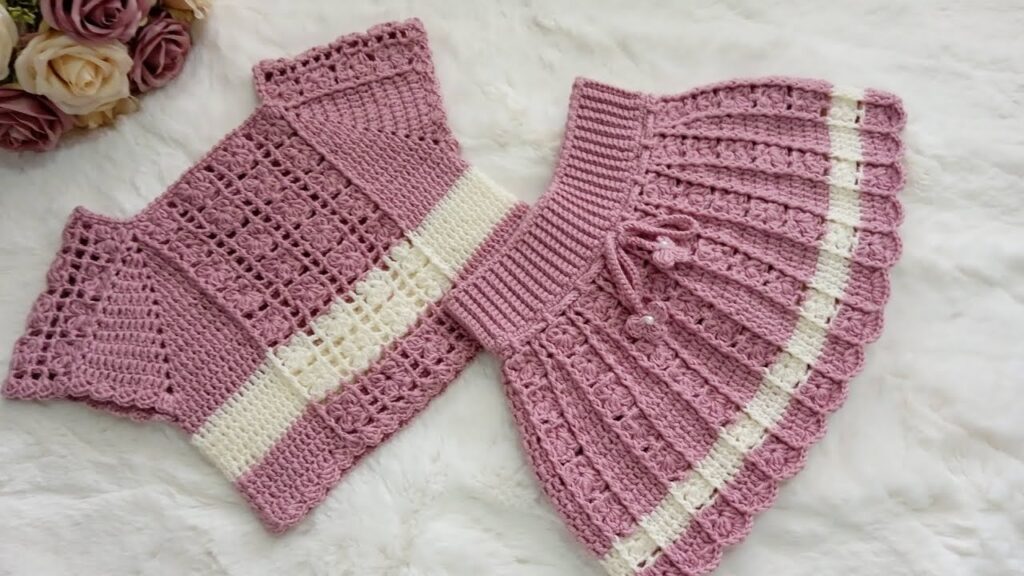
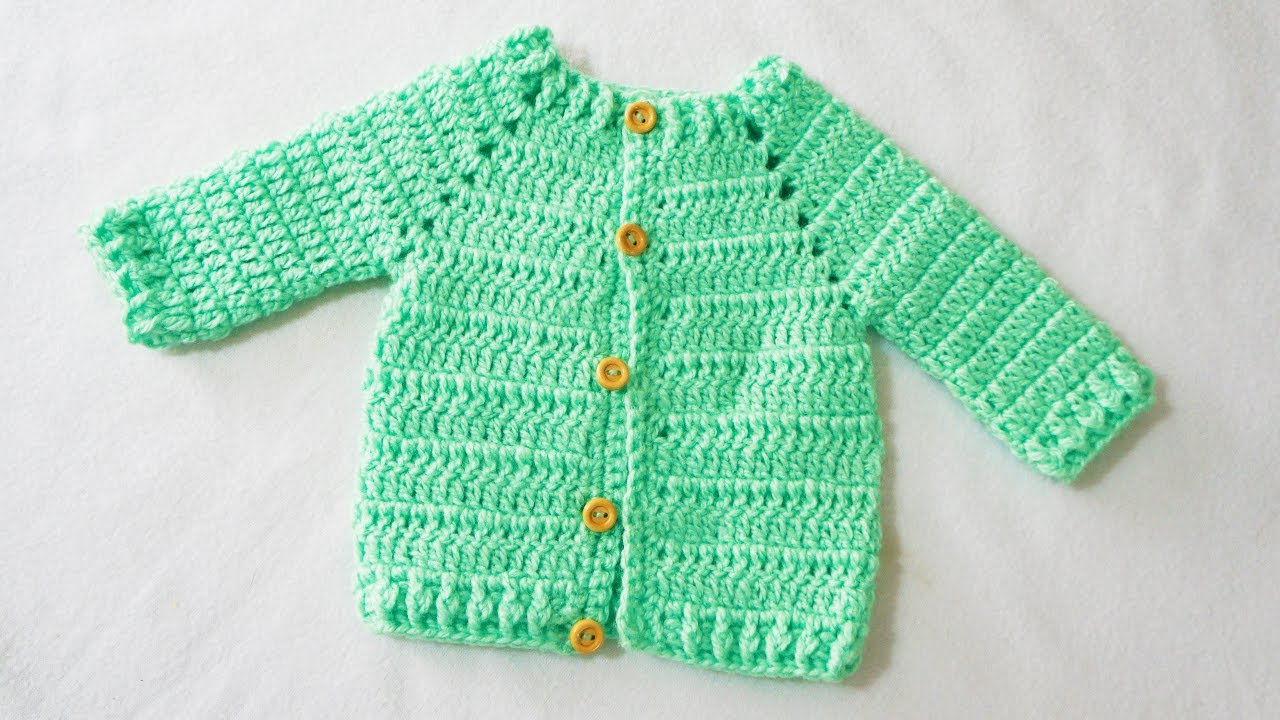
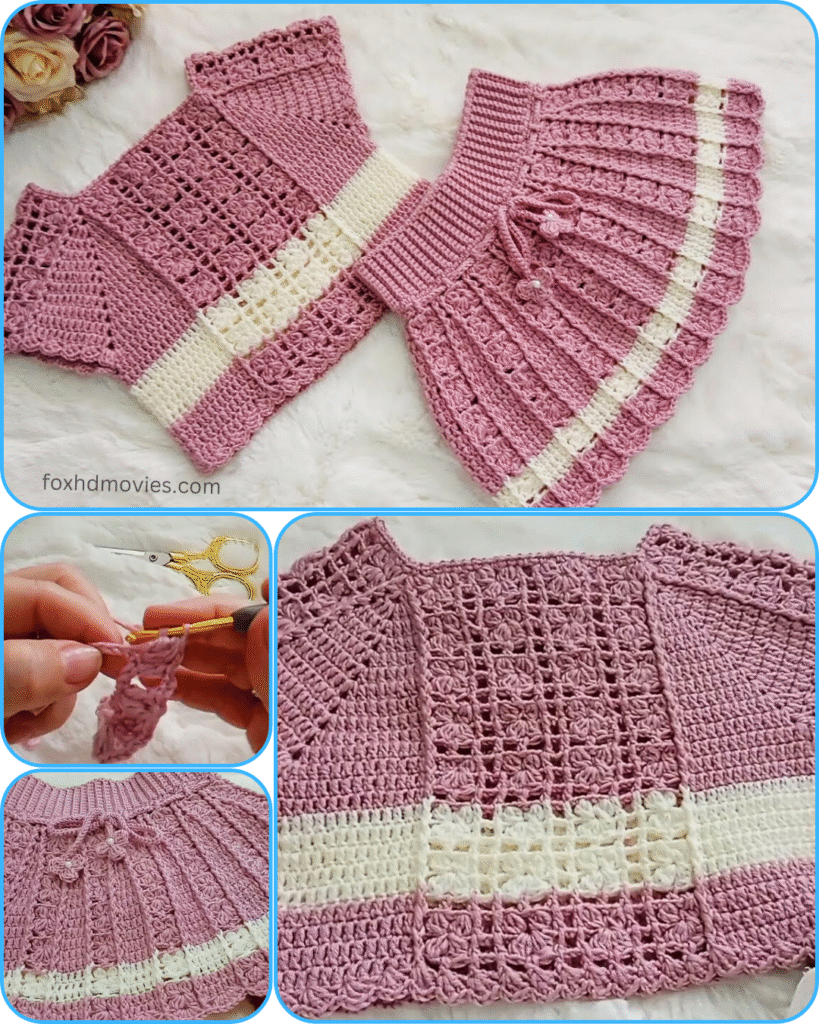
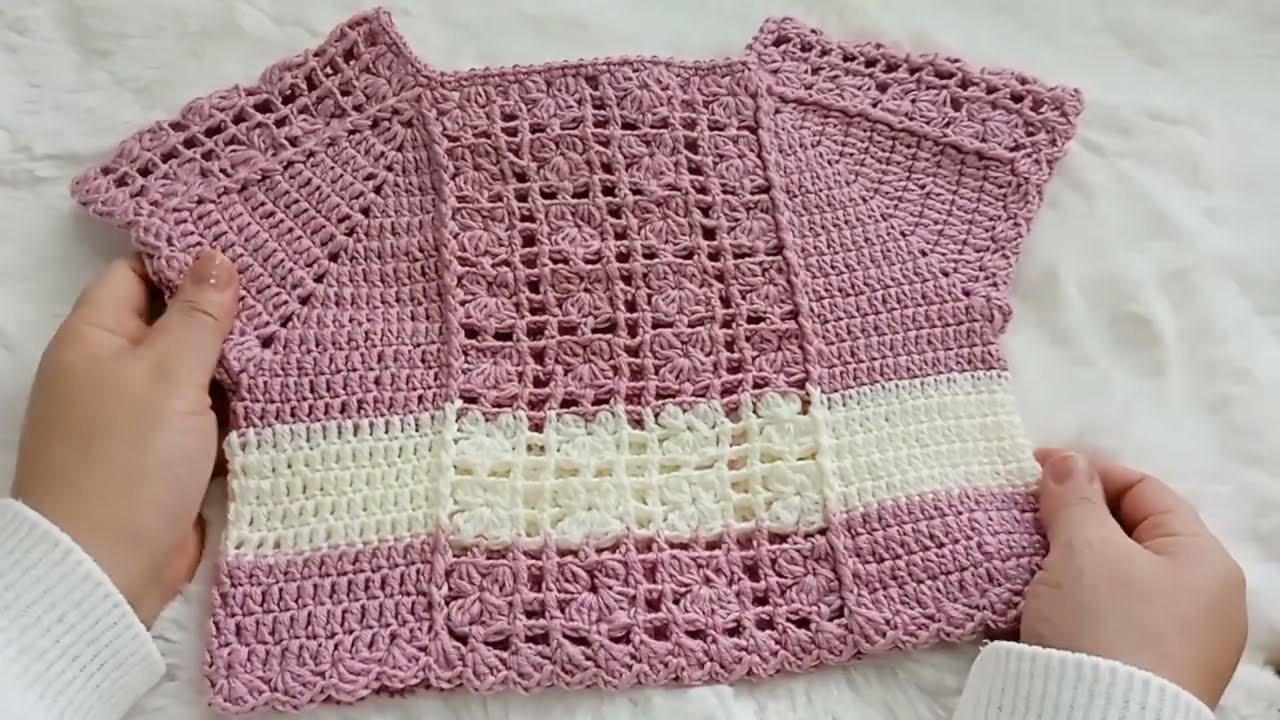
Imagine wrapping your little one in this adorable handmade crochet top! Featuring a delightful mix of textures – a delicate lace panel and a cozy ribbed section with a contrasting stripe – this design is both stylish and comfortable. It’s perfect for layering over a onesie or a simple dress, adding a touch of handmade charm to any outfit.
This pattern is written for a baby size (approximately 6-12 months), but I’ll include notes on how to adjust the size for a larger fit.
Difficulty Level: Intermediate (familiarity with basic crochet stitches, post stitches, and working a simple lace pattern)
Materials You’ll Need:
- Yarn:
- DK weight (Category 3) yarn in Main Color (MC – Pink/Mauve in the example) – approx. 200-250 yards
- DK weight (Category 3) yarn in Contrasting Color (CC – Cream/White in the example) – approx. 50-70 yards
- Suggestions: A soft, baby-friendly acrylic or a cotton blend for breathability.
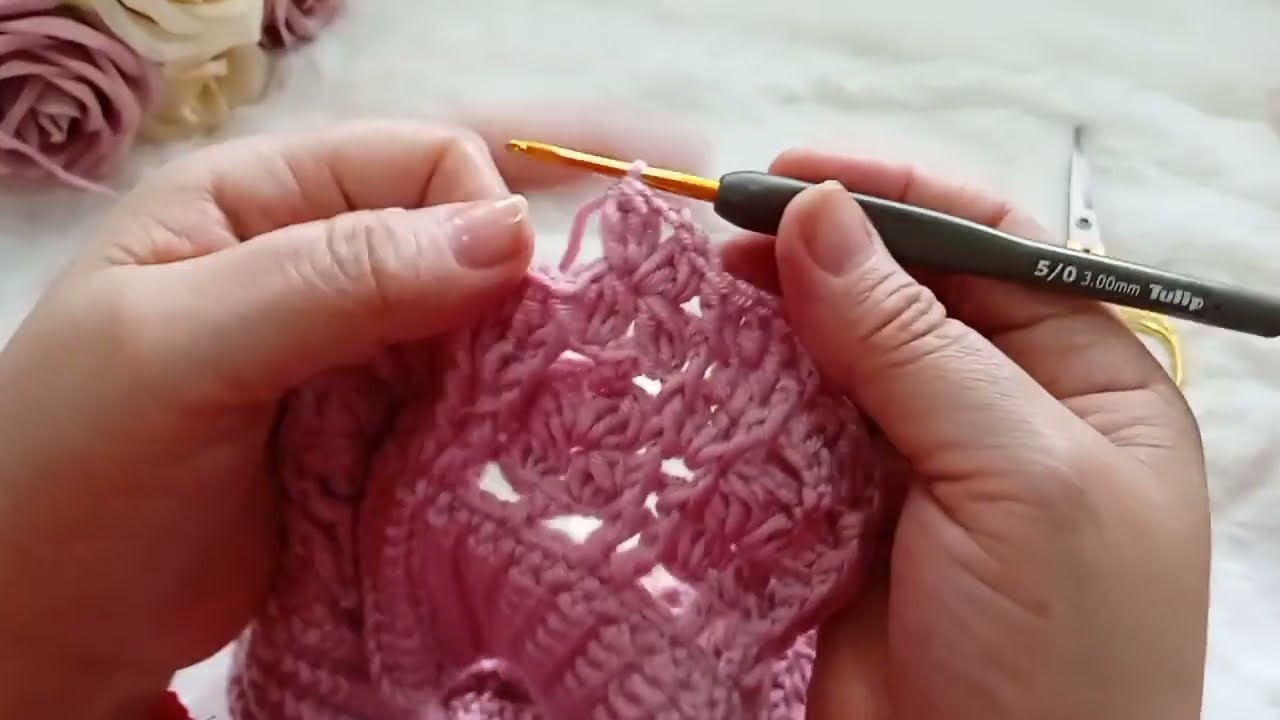
- Crochet Hook: 3.5mm (E/4) or size needed to obtain gauge
- Tapestry Needle: For weaving in ends and seaming
- Scissors
- Stitch Markers (optional, but helpful for marking repeats)
- Small buttons or ties (optional, if making a cardigan)
Gauge (worked in DC): 5 DC and 3 rows = 1 inch (2.5 cm) Always check your gauge! Adjust hook size if necessary.
Abbreviations (US Crochet Terms):
- ch: chain
- sl st: slip stitch
- sc: single crochet
- hdc: half double crochet
- dc: double crochet
- tr: treble crochet (yarn over twice)
- inc: increase (2 stitches in the same stitch)
- sk: skip
- sp: space
- st(s): stitch(es)
- rep: repeat
- RS: right side
- WS: wrong side
- MC: Main Color
- CC: Contrasting Color
- fpdc: front post double crochet
- bpdc: back post double crochet
Special Stitches:
- Lace Pattern (V-Stitch with Chain Space): (Dc, ch 1, dc) in same stitch/space.
- Ribbing (Post Stitches): Alternating FPDC and BPDC.
Pattern Instructions
This top is worked in two main panels that are then joined. The image suggests one wider, more textured panel (likely the back) and a narrower, potentially ribbed panel (could be front sections of a cardigan, or a decorative side panel for a top). I will write this as a back panel and two front panels, creating a swing cardigan or a front-opening top.

Part 1: Back Panel (MC & CC)
This panel features a beautiful lace pattern.
- With MC, Ch 52. (Adjust for width. This will be the bottom width of the back panel).
- Row 1 (RS): Dc in 4th ch from hook (counts as first dc + ch 1) and in next ch, ch 1, sk 1 ch, dc in next 2 ch. Repeat from * across. (You should have a pattern of 2dc, ch1, sk1). Turn.
- Row 2 (WS): Ch 3 (counts as dc), dc in next dc, ch 1, dc in next ch-1 sp, ch 1, dc in next 2 dc. Repeat from * across. Turn. (This is establishing your V-stitch pattern).
- Row 3 (Lace Pattern – RS): Ch 3 (counts as dc), dc in first dc, sk next dc, (dc, ch 1, dc) in next ch-1 sp, sk next dc, dc in next dc. Repeat from * across, ending with dc in last 2 sts. Turn. (The goal is to create the diamond-like lace pattern).
- Self-correction: The image shows a very specific lace. It looks like it could be (DC, CH1, DC) in a stitch, then SC in the next stitch to secure the V, then another (DC, CH1, DC) in a stitch. Let’s try that for the lace.
Revised Lace Pattern (Closer to image):
- With MC, Ch a multiple of 4 + 2 for the foundation chain. (e.g., Ch 54 for a generous width).
- Row 1 (RS): Sc in 2nd ch from hook and in each ch across. (53 sc) Turn.
- Row 2: Ch 3 (counts as dc), sk 1 sc, (dc, ch 1, dc) in next sc, sk 1 sc. Repeat from * across, ending with dc in last sc. Turn.
- Row 3: Ch 1, sc in first dc, sc in ch-1 sp, sc in next 2 dc. Repeat from * across, ending with sc in top of turning ch-3. Turn.
- Row 4: Ch 3, sk first sc, (dc, ch 1, dc) in next sc (this should be the center sc of the previous 3-sc block), sk 1 sc. Repeat from * across, ending with dc in last sc. Turn.
- Repeat Rows 3 and 4 for the lace pattern.
Back Panel Construction (MC):
- Ch a multiple of 4 + 2 (e.g., 54 ch).
- Row 1 (RS): Sc in 2nd ch from hook and in each ch across. (53 sc) Turn.
- Row 2 (Lace Setup): Ch 3 (counts as dc), sk 1 sc, (dc, ch 1, dc) in next sc, sk 1 sc. Repeat from * across, ending with dc in last sc. Turn.
- Row 3: Ch 1, sc in first dc, sc in ch-1 sp, sc in next 2 dc. Repeat from * across, ending with sc in top of turning ch-3. Turn.
- Row 4: Ch 3, sk first sc, (dc, ch 1, dc) in next sc (this should be the center sc of the previous 3-sc block), sk 1 sc. Repeat from * across, ending with dc in last sc. Turn.
- Repeat Rows 3 and 4 until the panel measures approximately 8-10 inches from the beginning, or desired length for the body before armholes. End on a Row 4 repeat.
Change to CC:
- Next Row (CC): Ch 1, sc in each st and ch-1 sp across. (Approximately 53 sc, adjust count). Turn.
- Next Row: Ch 1, sc in each st across. Turn.
- Fasten off CC.

Change back to MC:
- Next Row (MC): Ch 1, sc in each st across. Turn.
- Next Rows (Armhole Shaping and Top):
- Decrease 2 sts at the beginning and end of the next 2 rows (sc2tog at start/end) for armhole shaping.
- Continue working straight in sc for 4-6 more rows for the upper back/shoulder section.
- Fasten off.
Part 2: Front Panels (Make 2 – MC & CC)
These panels feature ribbed texture and a stripe.
Start with MC.
- Ch 22. (Adjust for width. This will be the bottom width of each front panel).
- Row 1 (RS): Hdc in 2nd ch from hook and in each ch across. (21 hdc) Turn.
- Row 2 (Ribbing): Ch 2 (counts as hdc), fpdc around next st, bpdc around next st. Repeat from * across, ending with hdc in last st. Turn.
- Repeat Row 2 until the panel measures approximately 4-5 inches from the beginning.
Change to CC:
- Row (CC): Ch 2, hdc in each st across. Turn.
- Row (CC): Ch 2, fpdc around next st, bpdc around next st. Repeat from * across, ending with hdc in last st. Turn.
- Fasten off CC.
Change back to MC:
- Row (MC): Ch 2, hdc in each st across. Turn.
- Row (MC – Ribbing): Ch 2, fpdc around next st, bpdc around next st. Repeat from * across, ending with hdc in last st. Turn.
- Continue repeating this Ribbing Row until the panel measures the same length as the back panel before the armhole shaping.
Armhole Shaping and Neck Shaping:
- Next Row (Armhole Decrease): Ch 2, hdc in next st, hdc2tog, work ribbing pattern across until 3 sts remain, hdc2tog, hdc in last st. Turn.
- Next Row: Work ribbing pattern straight.
- Repeat these 2 rows once more.
- Next Row (Neck Decrease): Work ribbing pattern across until 3 sts remain, hdc2tog, hdc in last st. Turn.
- Next Row: Work ribbing pattern straight.
- Continue working neck decreases on the inner edge (every other row or every 3rd row) and straight for the outer edge (armhole side) until the shoulder strap reaches the desired width (e.g., 5-7 sts) and length to match the back panel shoulder.
- Fasten off. Make 2 Front Panels.

Assembly:
- Seam the shoulder seams: Align the top edges of the front panels with the back panel and seam them using a tapestry needle and whip stitch or mattress stitch.
- Seam the side seams: Align the side edges of the front and back panels from the armpit down to the bottom hem and seam.
- Edging (Optional but recommended):
- Around the armholes: Attach MC yarn, Ch 1, sc evenly around the armhole opening. Sl st to join. Fasten off.
- Around the front opening and neckline: Attach MC yarn, Ch 1, sc evenly along one front edge, around the neckline, and down the other front edge. Work 1-2 more rows of sc for a neat finish. In one of these rows, if desired, create buttonholes on one side (ch 1, sk 1 st) at regular intervals for button placement.
- Weave in all loose ends.
- Optional: Sew on small buttons along the front opening or create simple crochet ties from a chain stitch to thread through the top of the front panels, as suggested by the image.
- Block your finished top gently to shape and set the stitches.
Video tutorial
Sizing Adjustments:
- For a larger size:
- Initial Chains: Increase the starting chains for all panels. Ensure the Back Panel remains a multiple of 4 + 2 for the lace pattern.
- Length: Work more rows for the body sections of all panels before armhole and neck shaping.
- Armholes/Neck: Work fewer decrease rows for wider armholes/neck openings, or increase stitches as needed.
- Gauge: If you’re using a thicker yarn, adjust your hook size accordingly.
This unique top or cardigan will be a cherished addition to any baby’s wardrobe. Enjoy the process of creating this lovely handmade piece! Don’t forget to share your finished projects – I love seeing your beautiful work! Happy crocheting!