 by
by 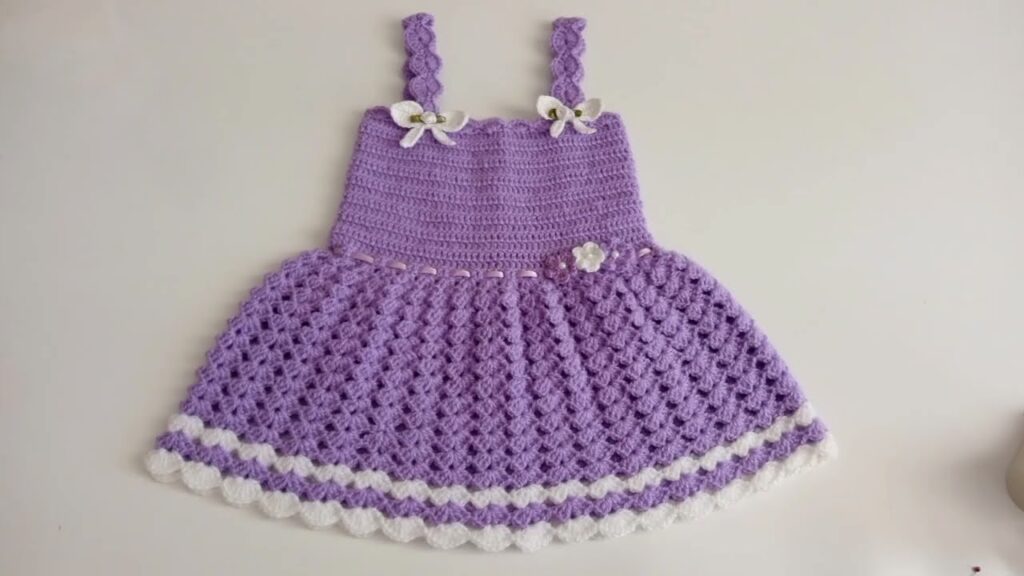
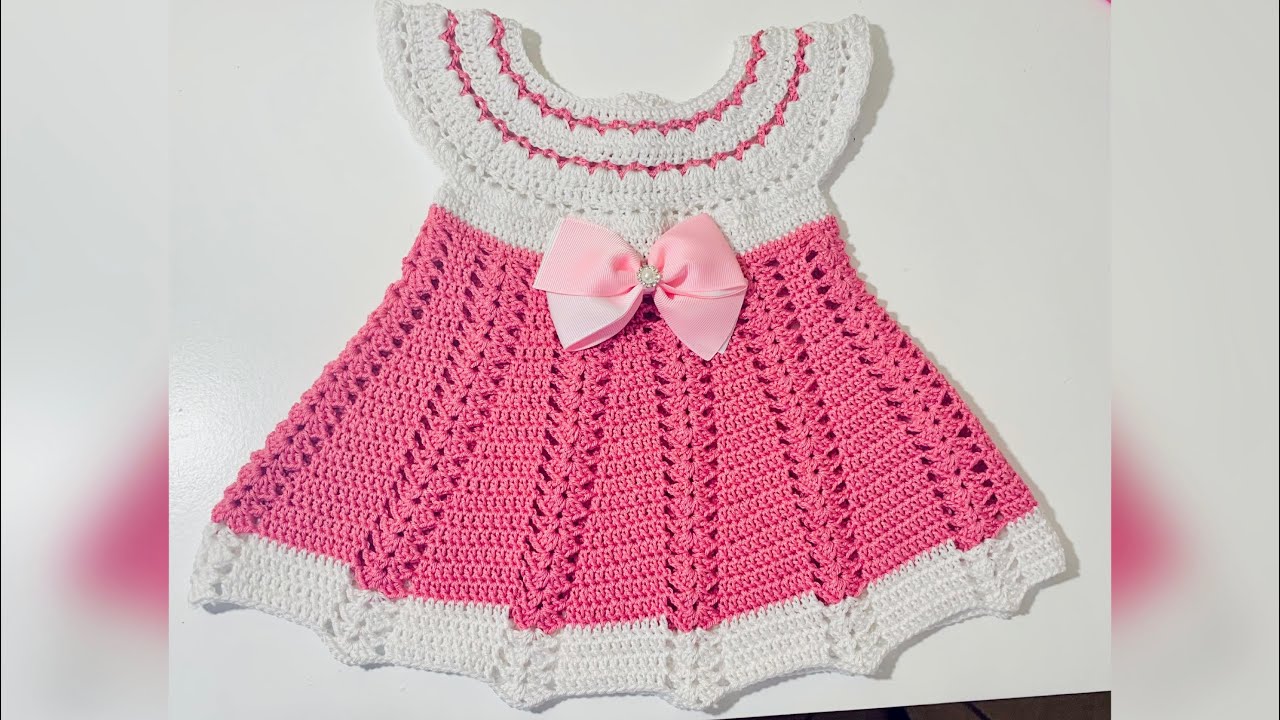
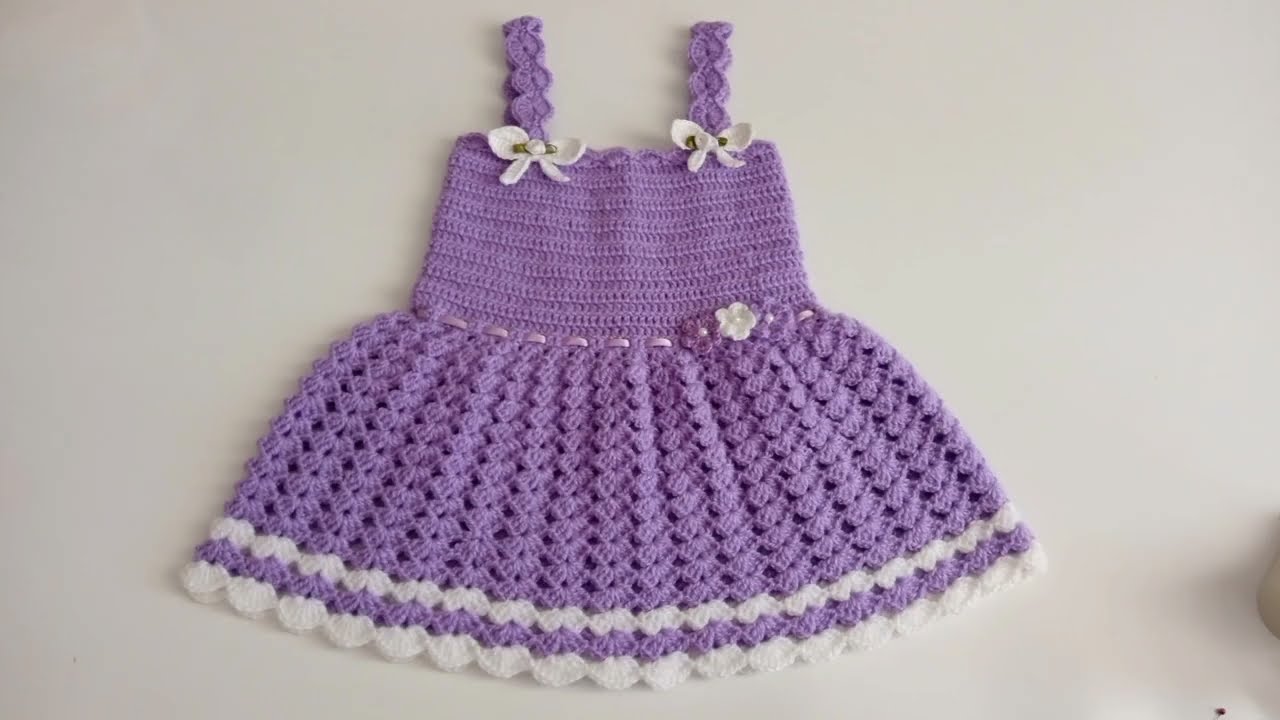
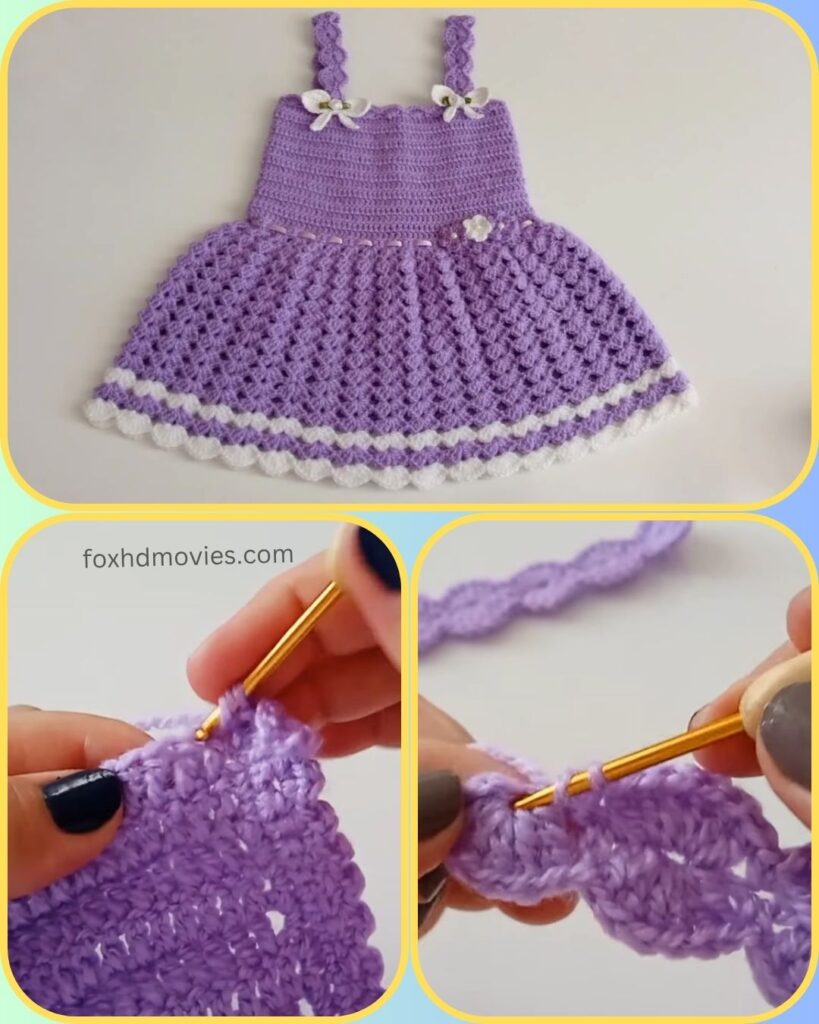
How sweet is this little purple dress with its delicate shell stitch skirt and charming floral details? Perfect for a baby girl, this dress is ideal for special occasions, photoshoots, or just everyday cuteness!
This pattern is designed to be suitable for confident beginners or intermediate crocheters. If you’re comfortable with basic stitches and working in the round, you’ll love creating this piece!
Let’s get started on crocheting this lovely little dream dress!
Skill Level: Easy-Intermediate Yarn Weight: DK (light worsted) yarn in main color (Lavender/Purple) and a small amount of contrasting color (White). Hook Size: 4.0mm (G/6) crochet hook (or size needed to obtain gauge) Other Materials:
- Yarn needle for weaving in ends
- Small amount of white yarn for the flower embellishments
- Small amount of satin ribbon (approx. 1/4 inch wide, matching or contrasting color)
- Stitch markers (helpful for working in the round)
Gauge: 5 sc and 5 rows = 1 inch (2.5 cm) in single crochet (for the bodice). It’s important to check your gauge to ensure the dress will be the correct size. Adjust your hook size if necessary.
Finished Size (approximate): 0-3 months (with notes for adjustments) For larger sizes, you’ll need to adjust your starting chain for the bodice and the number of rows/rounds for both bodice and skirt.
Stitches Used:
- ch: chain
- sl st: slip stitch
- sc: single crochet
- dc: double crochet
- Shell Stitch (Shell): (2 dc, ch 1, 2 dc) in the same stitch or space
Pattern Notes:
- The dress is worked in two main sections: the Bodice and the Skirt. The straps are added last.
- Ch 1 at the beginning of a sc row/round does NOT count as a stitch unless specified.
- Ch 2 at the beginning of a dc round counts as a dc.
- Always join rounds with a sl st to the first stitch of the round.
- For the skirt, you will be working the Shell stitch into the ch-1 space of the Shell from the previous round.
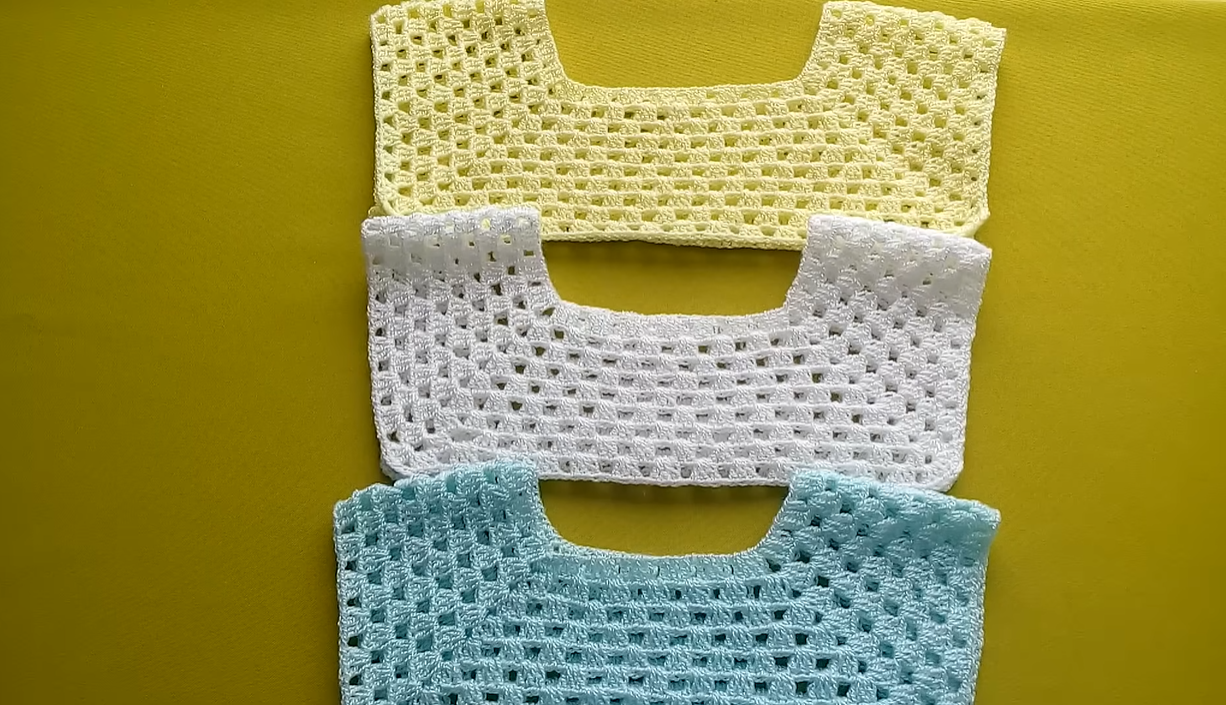
Let’s Begin! The Bodice
We’ll start by crocheting the bodice in rows, which will then be seamed.
Starting Chain: Ch 46 (Adjust as needed for desired chest circumference. This will be the top edge of the bodice).

Row 1: Sc in the 2nd ch from hook and in each ch across. Turn. (45 sc)
Row 2: Ch 1, sc in each sc across. Turn.
Repeat Row 2 until the bodice measures approximately 3-3.5 inches in height (or desired bodice height for your size). You should have a rectangular piece.
Seaming the Bodice: Fold the bodice piece in half, bringing the first and last rows together. Sl st or sc along the seam to join, forming a tube.
The Skirt
Now we’ll attach the yarn to the bottom edge of the bodice and work the skirt in the round.
Round 1: Join main color yarn to the bottom edge of the bodice. Ch 2 (counts as dc). Make 1 dc in the same stitch/space. Skip 1 stitch/space, Shell Stitch (2 dc, ch 1, 2 dc) in the next stitch/space. Repeat from * to * around. In the very last space/stitch, work 2 dc. Join with a sl st to the top of the beginning ch-2. You might need to adjust your spacing slightly on this first round to ensure an even number of shell repeats around the entire circumference. Aim to have the same number of shells as the number of initial chain stitches divided by 4.
Round 2: Ch 2, dc in the same stitch where you joined. Shell Stitch (2 dc, ch 1, 2 dc) in the ch-1 space of the next Shell from the previous round. Repeat from * to * around. Work 2 dc into the last Shell’s ch-1 space. Join with a sl st to the top of the beginning ch-2.
Repeat Round 2 until the skirt reaches your desired length, before adding the white stripes. For a 0-3 month size, this might be around 5-6 inches from the start of the skirt.
Adding White Stripes:
- Next Round (White): Change to white yarn. Ch 2, dc in the same stitch where you joined. Shell Stitch (2 dc, ch 1, 2 dc) in the ch-1 space of the next Shell from the previous round. Repeat from * to * around. Work 2 dc into the last Shell’s ch-1 space. Join with a sl st to the top of the beginning ch-2.
- Repeat this white round for one more round.
- Next Round (Main Color): Change back to main color yarn. Repeat the shell stitch round.
- Next Round (White): Change to white yarn. Repeat the shell stitch round.
- Next Round (White): Repeat the white shell stitch round.
Last Round (Edging – White): With white yarn, Ch 1, sc in each dc and into each ch-1 space around. Join with a sl st. Fasten off.

The Straps (Make 2)
Strap 1:
- Join main color yarn to the top corner of the bodice (either front or back, it doesn’t matter yet which is which).
- Ch 1, sc in the first stitch.
- Row 1: Ch 1, sc in the next 3-4 stitches (adjust width as desired). Turn.
- Row 2: Ch 1, sc in each sc across. Turn.
- Repeat Row 2 until the strap is your desired length (approx. 6-7 inches for 0-3 months, or measure on the baby). Ensure it’s long enough to go over the shoulder and attach to the back.
- Fasten off, leaving a long tail for sewing.

Repeat for Strap 2 on the other side of the bodice.
Finishing and Embellishments
- Attach Straps: Position the straps evenly on the back of the bodice and sew them securely in place using your yarn needle.
- Ribbon Detail: Thread your satin ribbon through one of the shell rows where the skirt meets the bodice. This adds a lovely decorative touch. Tie a small bow at the front.
- Optional Flower Embellishments:
- Make 3 small flowers (2 for the straps, 1 for the ribbon at the waist).
- Flower Pattern:
- With white yarn and a smaller hook (e.g., 3.0mm):
- Ch 2. 5 sc in the 2nd ch from hook. Join with a sl st to first sc.
- (Ch 2, 2 dc in same st, ch 2, sl st in same st) Repeat 5 times around the circle, working into each sc. You’ll form 5 small petals.
- Fasten off, leaving a tail for sewing.
- Sew two flowers onto the front base of the straps. Sew one onto the ribbon where it’s tied or at the center front.
- With white yarn and a smaller hook (e.g., 3.0mm):
- Weave in all ends: Use your yarn needle to neatly weave in all loose ends.
Video tutorial
And there you have it – a beautiful and charming Little Lavender Dream Dress, ready for your precious little one! Don’t forget to share your finished dresses with me on social media – I love to see your beautiful creations!
Happy crocheting!