 by
by 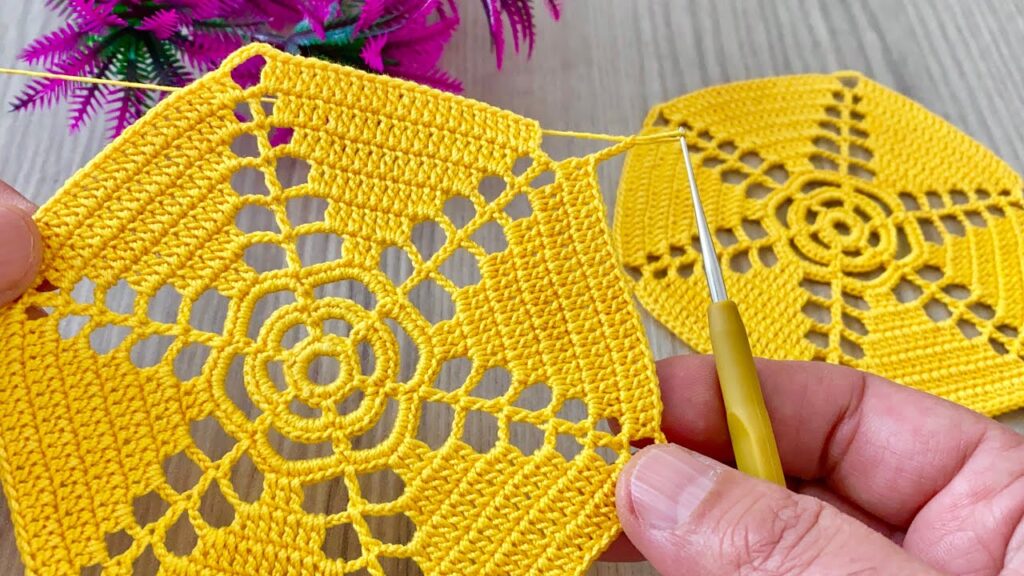
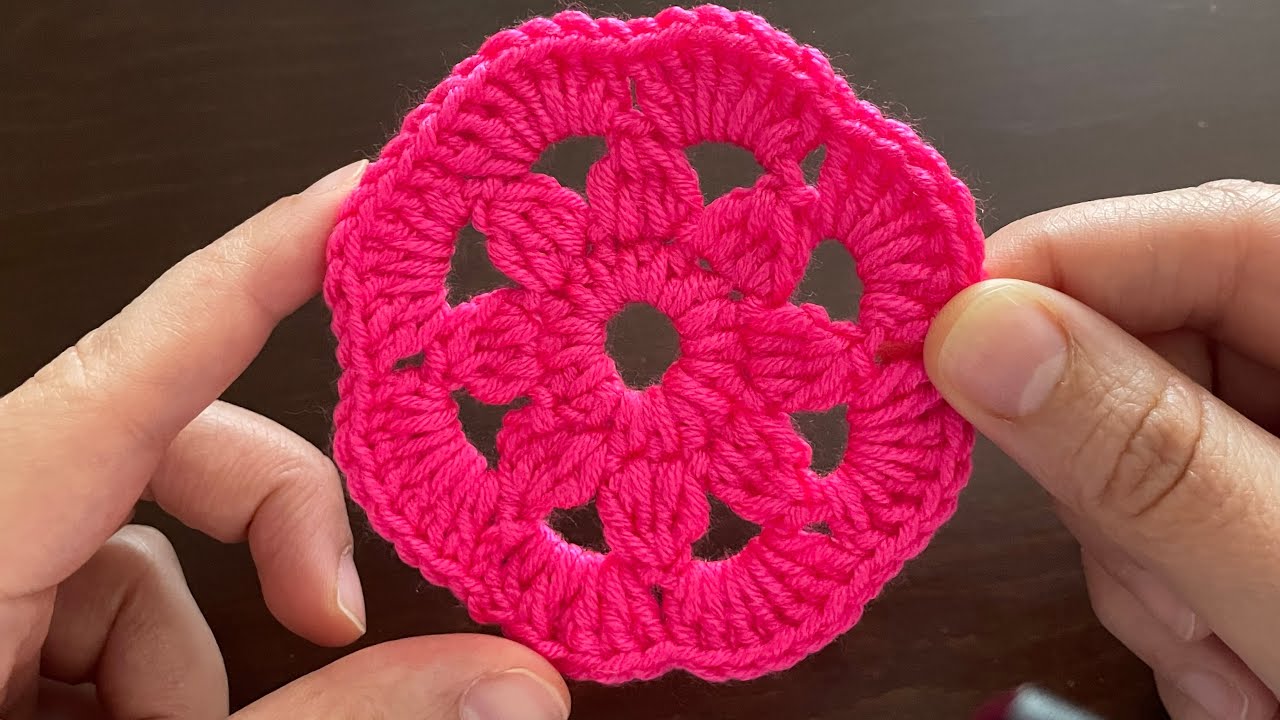
Are you looking for a crochet square that stands out from the crowd? This “Radiant Ridge Square” offers a fresh take on the classic motif, combining a captivating textured center with a clean, expanding square shape. It’s designed to be engaging to crochet and visually appealing, perfect for blankets, bags, cushion covers, or anything that needs a touch of modern charm.
Skill Level: Intermediate Beginner / Advanced Beginner (familiarity with basic stitches and working in the round is helpful)
Materials:
- Worsted weight yarn in 2-3 colors (e.g., Color A for the center, Color B for the ridge/petals, Color C for the square). Small amounts are perfect!
- Crochet hook size H/8 (5.0 mm) or size needed to obtain gauge
- Yarn needle for weaving in ends
- Scissors
- Stitch markers (optional, but helpful for corners)
Gauge:
After Round 5 (the first full square round), your motif should measure approximately 4.5 inches. Adjust your hook size if needed. Consistent gauge is important if you plan to join multiple squares.
Abbreviations (US Crochet Terms):
- ch: chain
- sl st: slip stitch
- sc: single crochet
- hdc: half double crochet
- dc: double crochet
- tr: treble crochet (or triple crochet)
- FPdc: Front Post Double Crochet (YO, insert hook from front to back around the post of the specified st, YO, pull up a loop, [YO, pull through 2 loops] twice)
- BPdc: Back Post Double Crochet (YO, insert hook from back to front around the post of the specified st, YO, pull up a loop, [YO, pull through 2 loops] twice)
- sp: space
- st(s): stitch(es)
- beg: beginning
- rep: repeat
- YO: yarn over
Let’s Create the Radiant Ridge Square!
Part 1: The Textured Core (Color A)
This section creates a small, dense, and slightly raised center.
Round 1: With Color A, create a magic ring (or ch 4, sl st to join into a ring). Ch 2 (does NOT count as a stitch). Work 12 hdc into the ring. Sl st to the first hdc to join. (12 hdc) Pull magic ring tight if used.
Round 2: Ch 2 (does NOT count as a stitch). Work 2 hdc in each st around. Sl st to the first hdc to join. (24 hdc) Fasten off Color A and weave in ends.
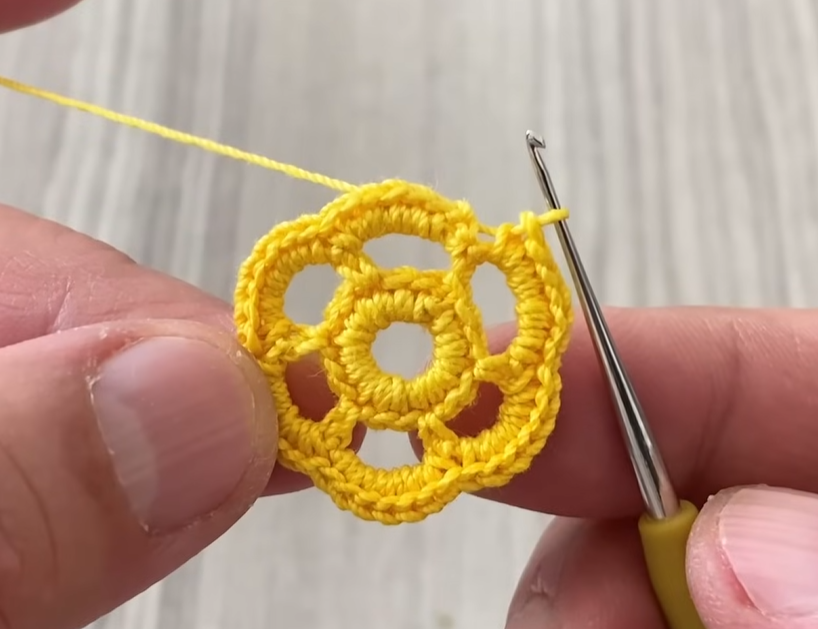
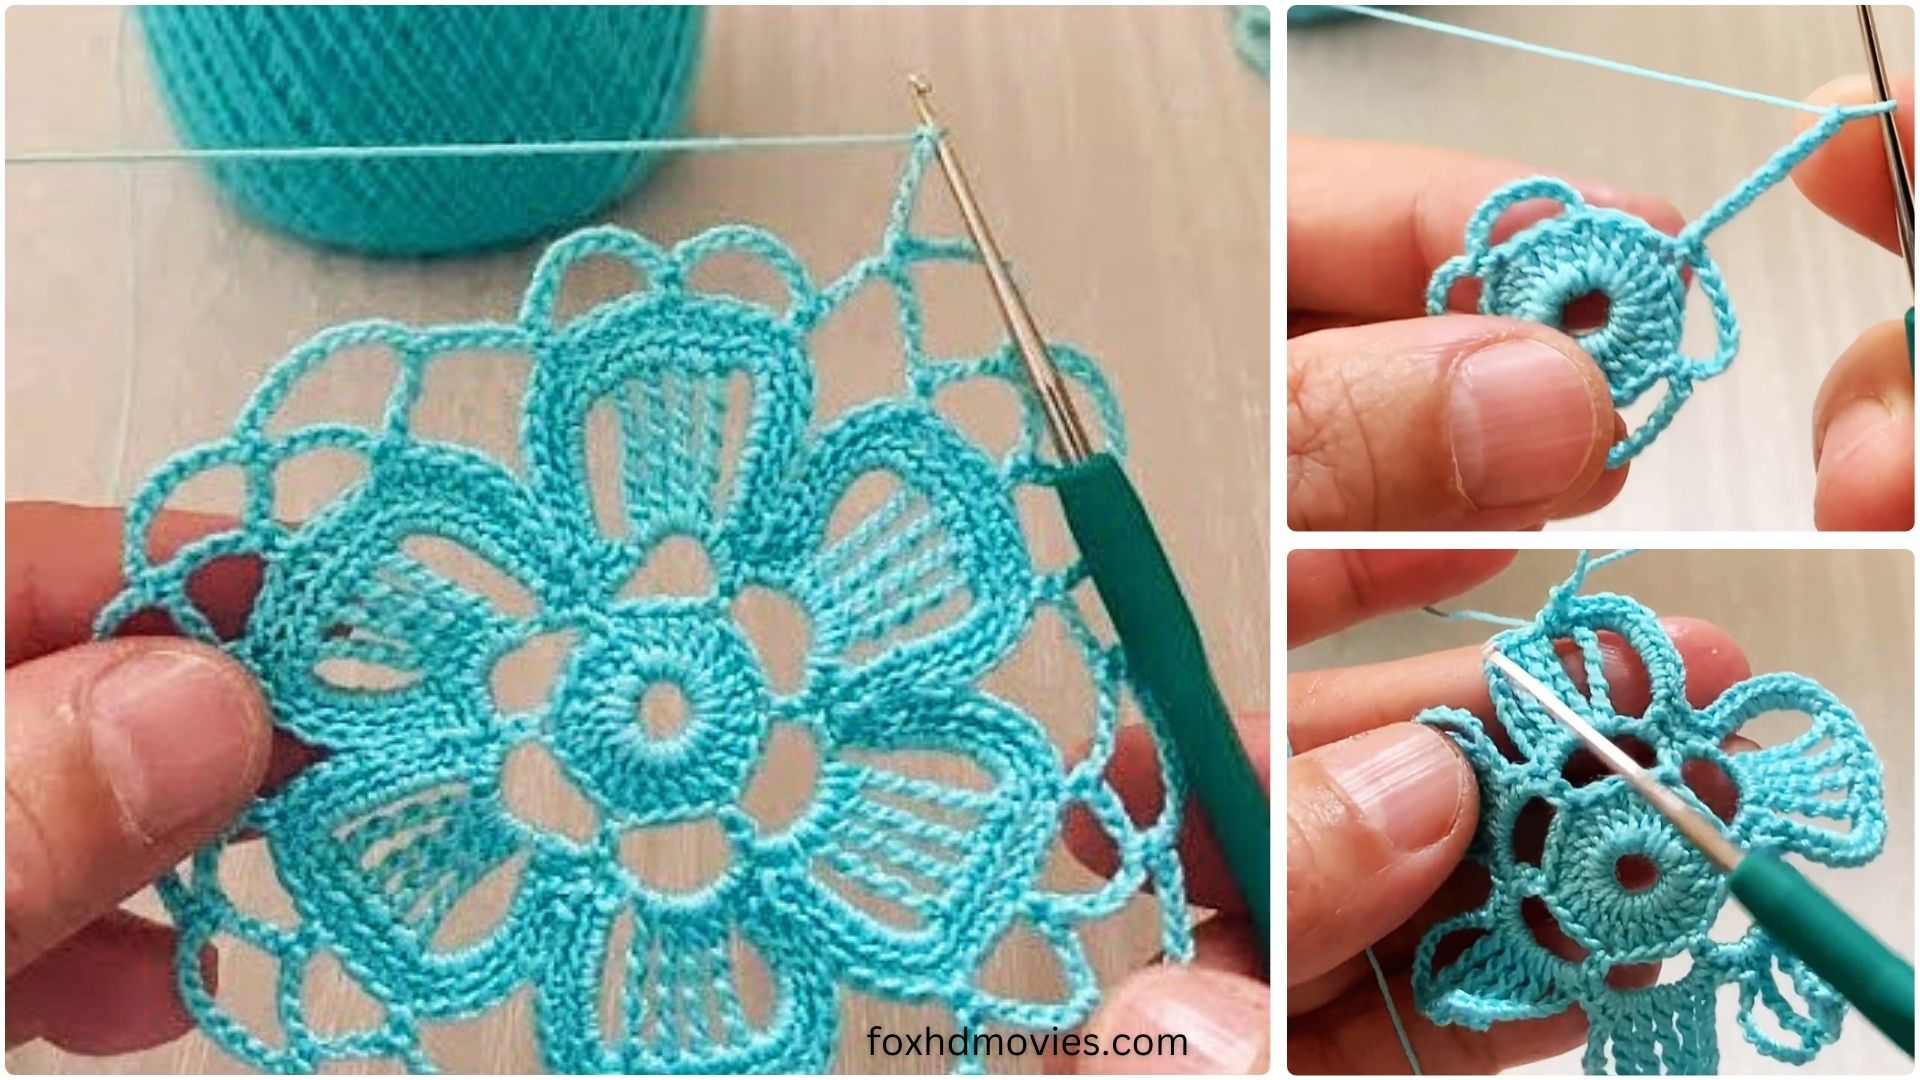
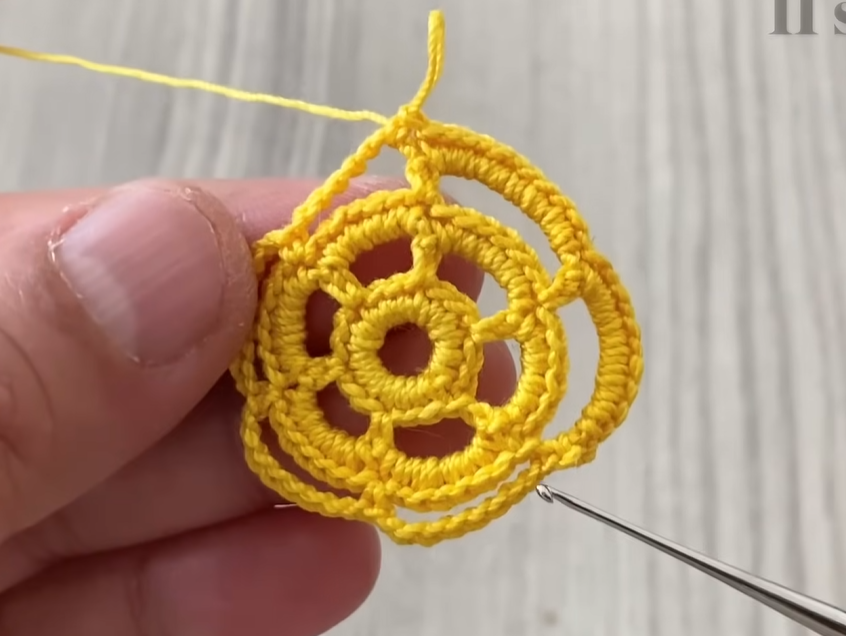
Part 2: The Ridge & Transition (Color B)
This is where the unique texture begins to form, creating a subtle ridge.
Round 3: Join Color B with a sl st into any hdc from Round 2. Ch 3 (counts as first dc). Work 1 FPdc around the post of the same hdc you joined into. *Dc in the next hdc, FPdc around the post of the next hdc.* Repeat from * to * 10 more times. Dc in the last hdc. Sl st to the top of the beg ch-3 to join. (12 dc, 12 FPdc = 24 sts total)
Round 4: Ch 1 (does NOT count as a stitch). Sc in the same st. *Sc in the next st. (Sc, ch 1, sc) in the next st (this will become a corner).* Repeat from * to * 7 more times. You will have 8 (sc, ch 1, sc) sections evenly spaced. This creates 8 mini-corners around the circle. Sl st to the first sc to join. (32 sc, 8 ch-1 sps) This round flattens the circle slightly and sets up for the square. Fasten off Color B and weave in ends.
Part 3: Squaring Up (Color C)
Now we transform our eight-sided shape into a perfect square, adding depth and structure.
Round 5: Join Color C with a sl st into any ch-1 sp (a mini-corner from Round 4). Ch 3 (counts as first dc). In the same ch-1 sp, work (2 dc, ch 2, 3 dc). This is your first main corner! *Sk next 2 sc, 3 dc in the next ch-1 sp. Sk next 2 sc, 3 hdc in the next ch-1 sp. Sk next 2 sc, 3 dc in the next ch-1 sp. Sk next 2 sc, (3 dc, ch 2, 3 dc) in the next ch-1 sp (this is your next main corner).* Repeat from * to * 2 more times. Sl st to the top of the beg ch-3 to join. You should have 4 main corners, and along each side, 3dc, 3hdc, 3dc groups.


Round 6: Defining the Square
This final round expands the square and defines its edges.
Round 6: Sl st into the next 2 dc and into the first ch-2 sp (main corner). Ch 3 (counts as first dc). In the same ch-2 sp, work (2 dc, ch 2, 3 dc). This is your new corner! *Ch 1. Work 3 dc in the space between the last 3dc group and the next (3dc) group. Ch 1. Work 3 dc in the space between the 3dc group and the (3hdc) group. Ch 1. Work 3 dc in the space between the (3hdc) group and the next (3dc) group. Ch 1. Work 3 dc in the space between the 3dc group and the next (3dc, ch 2, 3dc) corner. Ch 1. In the next ch-2 sp (corner), work (3 dc, ch 2, 3 dc). This is your next main corner!* Repeat from * to * 2 more times. Ch 1. Work 3 dc in the space between the last 3dc group and the next (3dc) group. Ch 1. Work 3 dc in the space between the 3dc group and the (3hdc) group. Ch 1. Work 3 dc in the space between the (3hdc) group and the next (3dc) group. Ch 1. Work 3 dc in the space between the 3dc group and the beg corner. Ch 1. Sl st to the top of the beg ch-3 to join. Fasten off Color C and weave in all remaining ends securely.
Video Tutorial
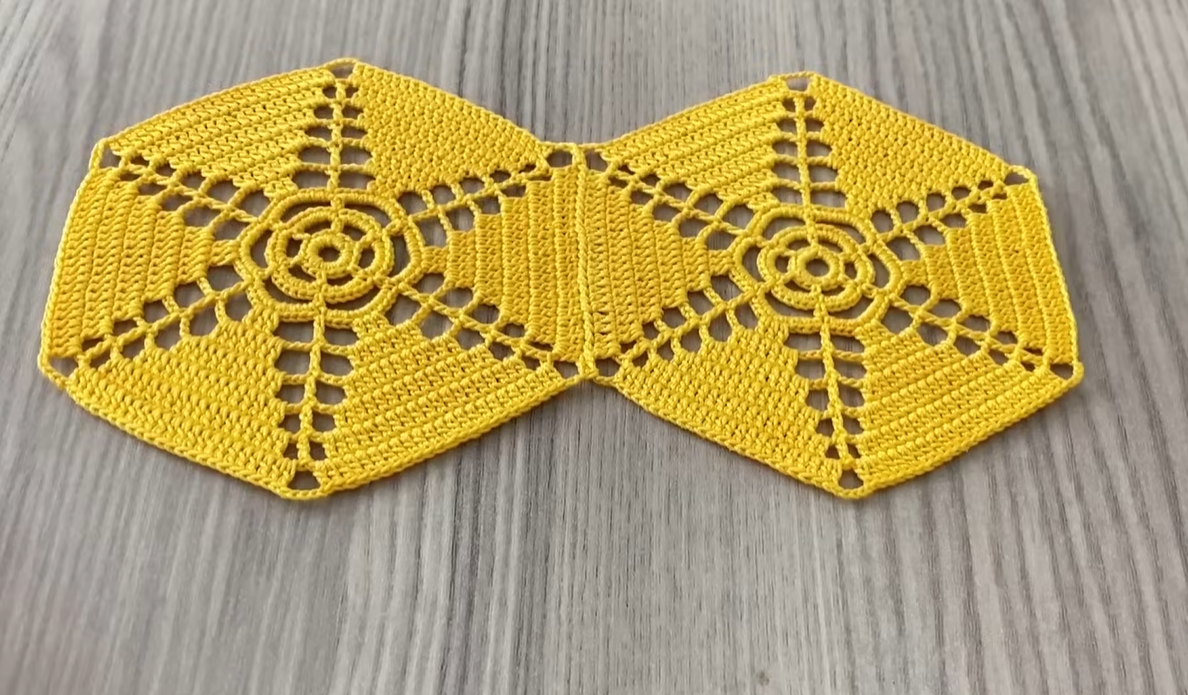
Congratulations! Your Radiant Ridge Square is Complete!
You now have a beautiful, unique square motif with a lovely textured center and crisp edges.
Tips for Success & Variations:
- Color Play:
- Using three distinct colors as outlined (A, B, C) will really make the “ridge” stand out.
- Try two colors: A for the center, and B for the rest of the square.
- A single solid color will highlight the textured FPdc in Round 3.
- Yarn Weight: This pattern works best with worsted or DK weight yarn to show off the texture. Adjust your hook size accordingly for other weights.
- Blocking: For a truly “perfect” square, especially if you plan to join multiple motifs, wet or steam block your finished squares. This will help them lie flat and achieve their intended dimensions.
- Joining Squares:
- Flat Slip Stitch Join: Creates a nearly invisible seam.
- Single Crochet Join: Creates a subtle raised ridge between squares.
- Join-as-you-go (JAYG): A fantastic method for larger projects that avoids a lot of seaming at the end. You essentially crochet the last round of a new square and join it to already completed squares as you go, replacing corner chains with sl sts to the adjacent square’s corners, and side chains with sl sts to the previous square’s chain spaces.
- Project Ideas:
- Afghans/Throws: Join many squares for a cozy blanket.
- Cushion Covers: Make two squares and join them around a cushion form.
- Bags/Totes: Combine squares for the body of a unique bag.
- Placemats or Coasters: A single square or a few joined can make lovely home decor items.
- Garments: Use them as eye-catching patches or create entire sweater panels.
Enjoy crocheting your Radiant Ridge Squares! I can’t wait to see what beautiful projects you create with this unique design. Happy Hooking!