 by
by Hello crochet enthusiasts!
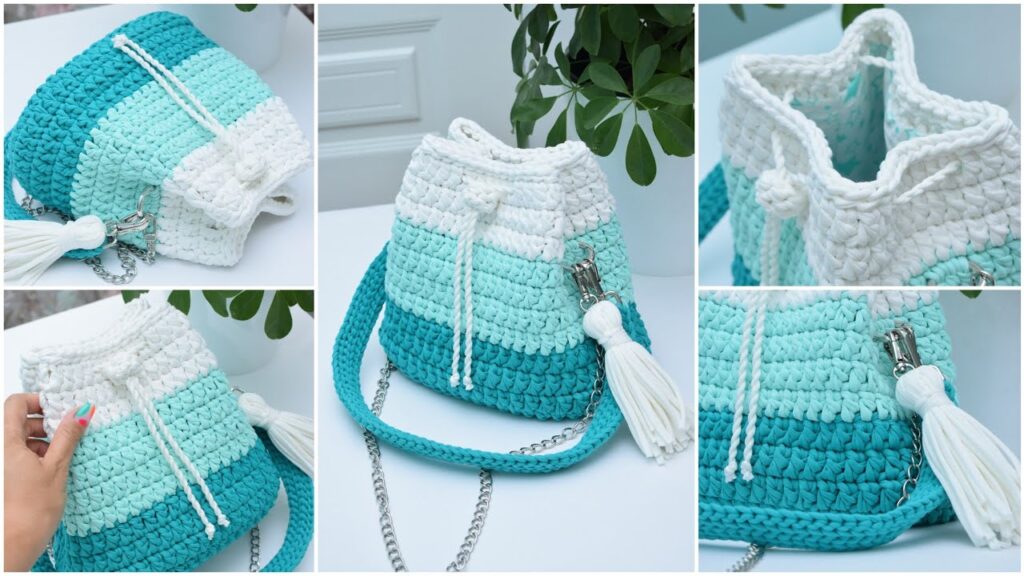
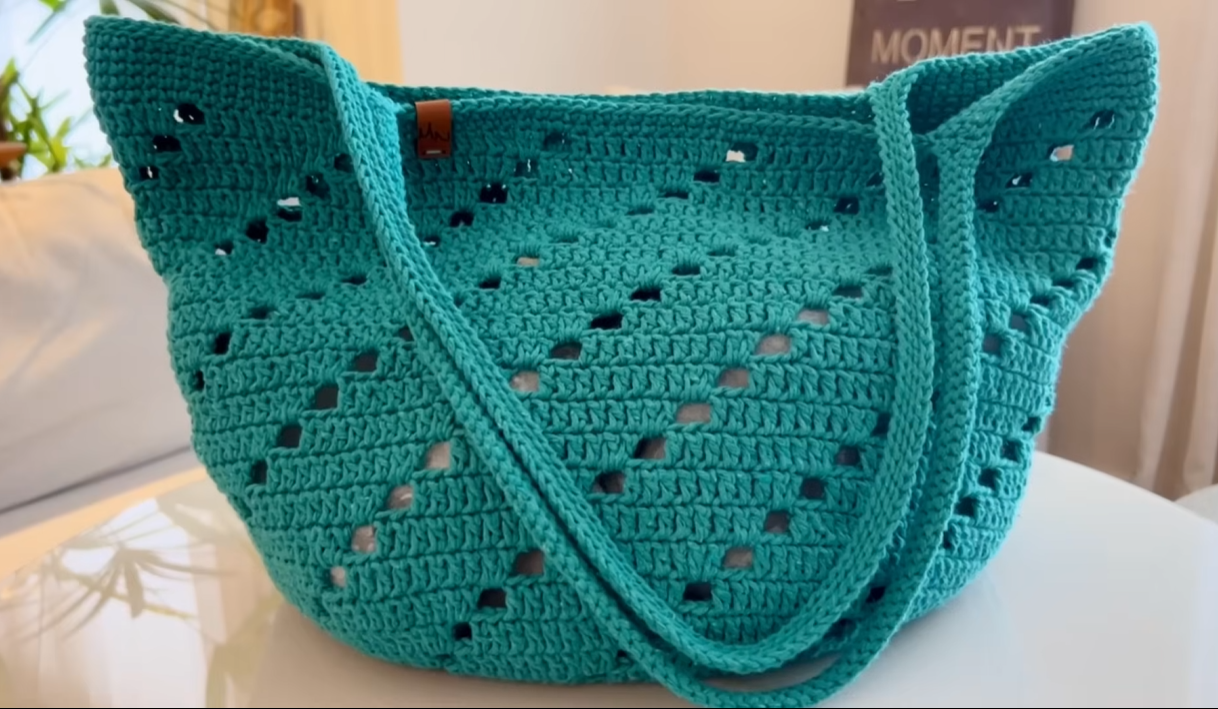
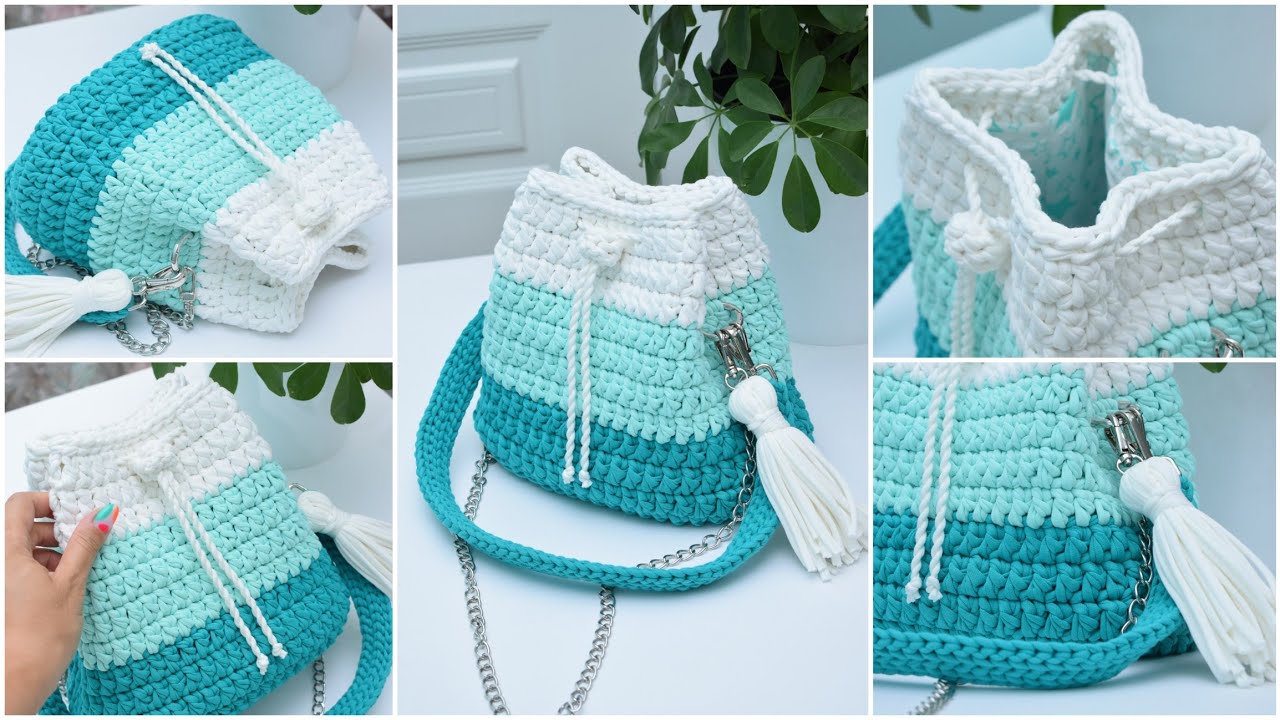
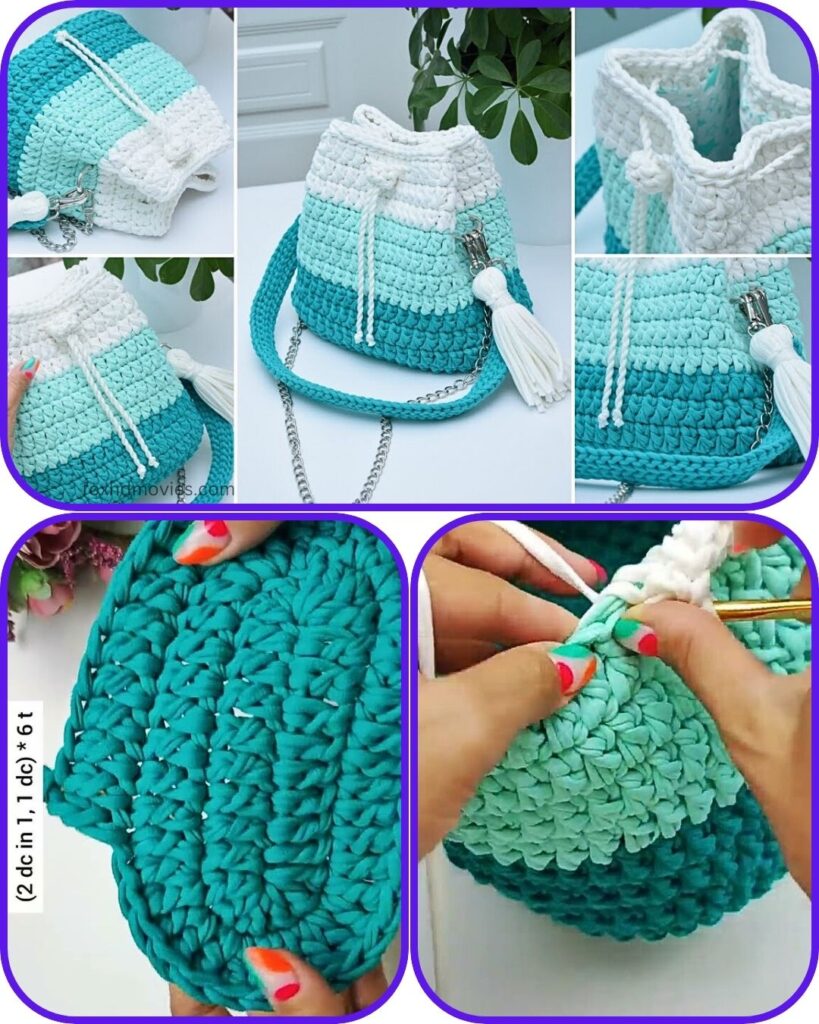
Get ready to make a splash with your next project! I’m so excited to share the pattern for this vibrant “Ocean Breeze” bucket bag. With its refreshing stripes and practical drawstring closure, it’s perfect for a day out, a beach trip, or just adding a pop of color to your everyday look. The sturdy construction and comfortable strap make it a truly functional and fashionable accessory.
Difficulty Level: Easy/Intermediate (Adjust this based on the actual complexity)
Materials You’ll Need:
- Yarn:
- Approx. [Yarn Quantity – e.g., 250g] of [Yarn Type, e.g., T-shirt Yarn] in Color A (e.g., Deep Teal)
- Approx. [Yarn Quantity – e.g., 200g] of [Yarn Type, e.g., T-shirt Yarn] in Color B (e.g., Light Aqua)
- Approx. [Yarn Quantity – e.g., 150g] of [Yarn Type, e.g., T-shirt Yarn] in Color C (e.g., White)
- (Note: Adjust yarn quantities based on your desired size and yarn weight. It’s always good to have a bit extra!)
- Crochet Hook: [Hook Size, e.g., 8.0mm (L)]
- Stitch Marker
- Yarn Needle
- Scissors
- 2 Lobster Clasps (for strap and tassel, if using)
- Optional: Metal chain for strap, fabric lining, D-rings.
Finished Dimensions (Approximate):
- Height: [e.g., 9 inches / 23 cm]
- Base Diameter: [e.g., 7 inches / 18 cm]
Gauge:
[e.g., 3 single crochets and 3 rows = 2 inches (5 cm) using an 8.0mm hook, worked in the round.] (Checking your gauge is key to ensuring your bag turns out the correct size!)
Abbreviations (US Terms):
- ch – chain
- st(s) – stitch(es)
- sl st – slip stitch
- sc – single crochet
- inc – increase (2 sc in the same stitch)
- sk – skip
- FO – fasten off
- rep – repeat
- BLO – back loop only
- FLO – front loop only

Let’s Get Crocheting!
Notes:
- This bag is worked [e.g., in continuous rounds, from the bottom up]. Do not join rounds unless otherwise specified. Use a stitch marker to keep track of your first stitch.
- The color changes are worked on the last pull-through of the previous stitch.
- [Add any other important notes about tension, specific stitches, etc.]
Pattern:
Base of the Bag (Start with Color A)
- Magic Ring (or Ch 2, 8 sc in 2nd ch from hook): 8 sc into magic ring. (8 sts)
- Round 1: Inc in each st around. (16 sts)
- Round 2: (Sc in next st, inc in next st) rep 8 times. (24 sts)
- Round 3: (Sc in next 2 sts, inc in next st) rep 8 times. (32 sts)
- Continue increasing in this manner (sc in X sts, inc in next st) until your base reaches the desired diameter. The image shows a very flat, wide base.
- Self-correction: Ensure the number of stitches is a multiple for the body if necessary.
- Last Base Round: [Provide specific instructions for the final round of the base, e.g., sc in FLO for a defined edge, or simply sc around.]

Body of the Bag (Alternating Colors)
- Round [e.g., 10]: Switch to Color A. Sc in each st around. (Total stitches: [Number of stitches from last base round])
- Round [e.g., 11-15]: Rep Round [e.g., 10]. (Work approx. [e.g., 5] rounds in Color A).
- Round [e.g., 16]: Switch to Color B. Sc in each st around.
- Round [e.g., 17-21]: Rep Round [e.g., 16]. (Work approx. [e.g., 5] rounds in Color B).
- Round [e.g., 22]: Switch to Color C. Sc in each st around.
- Round [e.g., 23-27]: Rep Round [e.g., 22]. (Work approx. [e.g., 5] rounds in Color C).
- Continue with Color C until the bag reaches the desired height before the drawstring channel.
Drawstring Channel (Work in Color C)
- Round [e.g., 30]: Ch 1, turn, sc in BLO around. (This creates a ridge for the channel.)
- Round [e.g., 31]: Ch 1, turn, (sc in next 2 sts, ch 2, sk 2 sts) repeat around. Join with sl st to first sc.
- Self-correction: The channel might be simpler, just working a few rows of sc and then weaving a cord through the top row, or it could involve actual chain spaces. The image suggests evenly spaced holes for the drawstring.
- Round [e.g., 32]: Ch 1, turn, sc in each sc and 2 sc in each ch-2 space around. Join with sl st to first sc.
- Round [e.g., 33]: Ch 1, turn, sc in each st around. Join with sl st. FO.
Strap:
- Option A: Crocheted Strap (as appears in image)
- Using Color A, ch [e.g., 8] (or desired width).
- Row 1: Sc in 2nd ch from hook, sc in each ch across. (7 sts)
- Row 2: Ch 1, turn, sc in each st across. (7 sts)
- Repeat Row 2 until the strap reaches your desired length [e.g., 45-50 inches / 115-125 cm].
- Sl st the ends of the strap securely to the inside top edges of the bag, making sure it’s centered and even, or attach with lobster clasps to D-rings sewn into the bag’s top edges.
- Option B: Combined Crocheted & Chain Strap
- [Instructions for making the crocheted portion and attaching a metal chain.]

Drawstring:
- Using Color C (or matching the strap), ch [e.g., 100-120] or desired length for the drawstring. Create a slip knot at each end.
- Weave the chain through the holes created in the drawstring channel, starting from the front center and weaving in and out all the way around.
- Pull the ends even and tie a knot, or add beads/toggles to the ends.
Tassel:
- Using Color C, cut several strands of yarn approximately [e.g., 12 inches / 30 cm] long.
- Gather the strands together and fold them in half.
- Tie a separate piece of yarn tightly around the folded loop, about [e.g., 0.75 inch / 2 cm] from the top.
- Wrap another piece of yarn tightly around the top section of the tassel to form the “head.”
- Trim the bottom loops to create an even fringe.
- Attach the tassel to one of the lobster clasps (if using) and then to the bag or drawstring.
Finishing Touches:
- Weave in all remaining loose ends securely.
- Give your bag a gentle block if needed to help it hold its shape.
- Consider adding a fabric lining for extra durability and to prevent items from slipping through stitches.