 by
by 
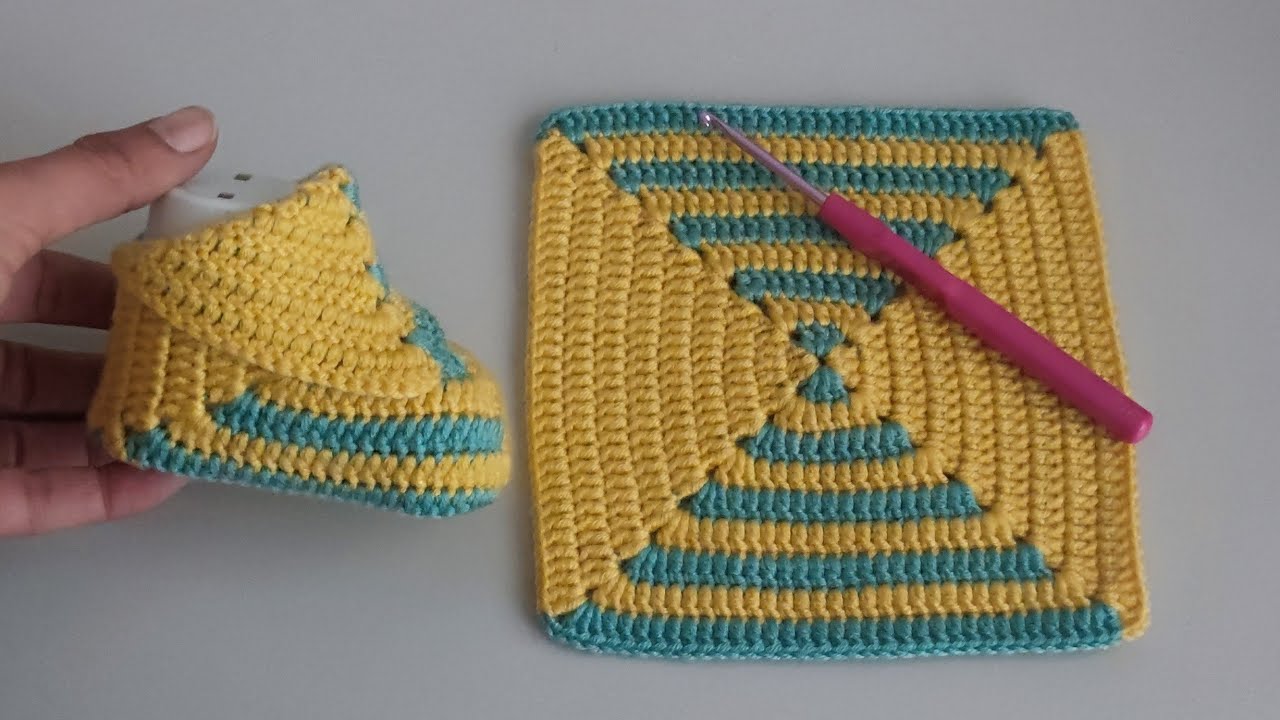
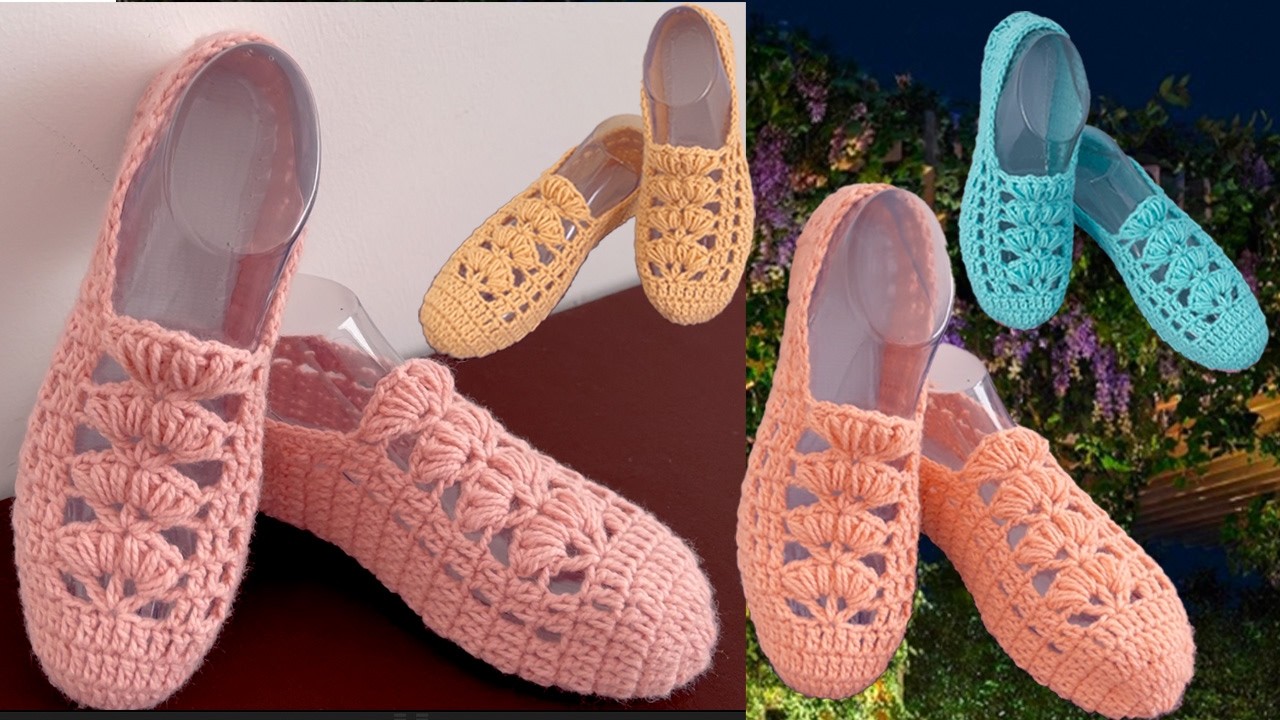
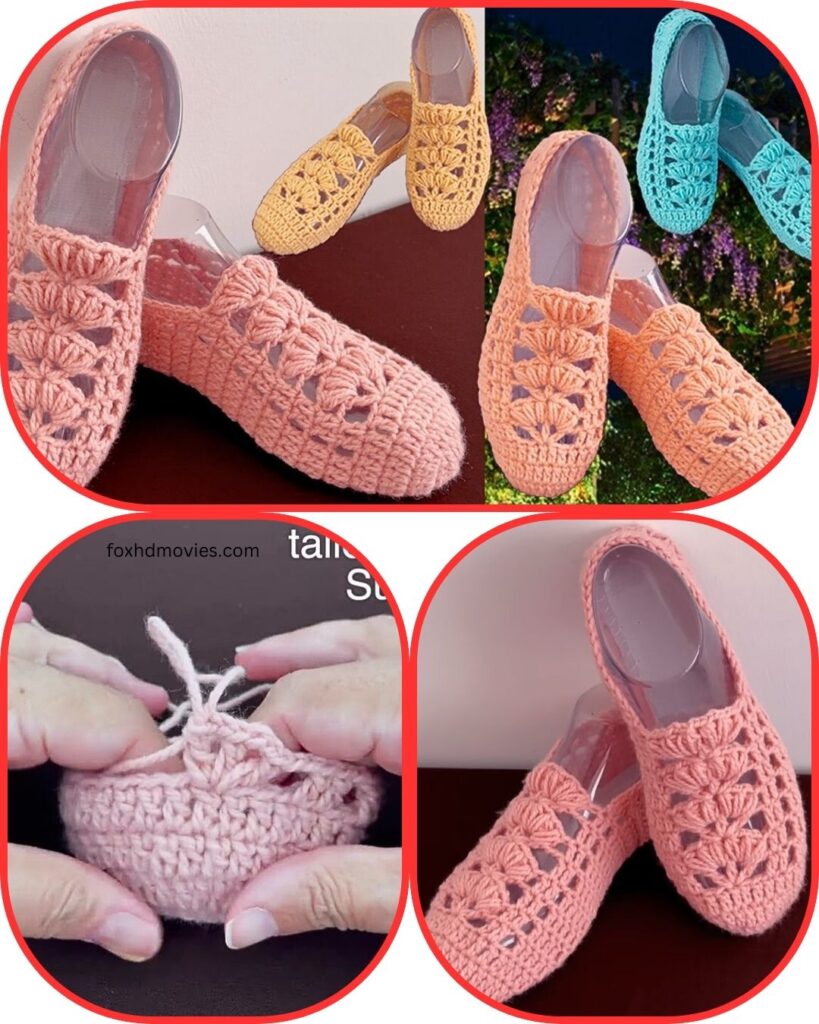
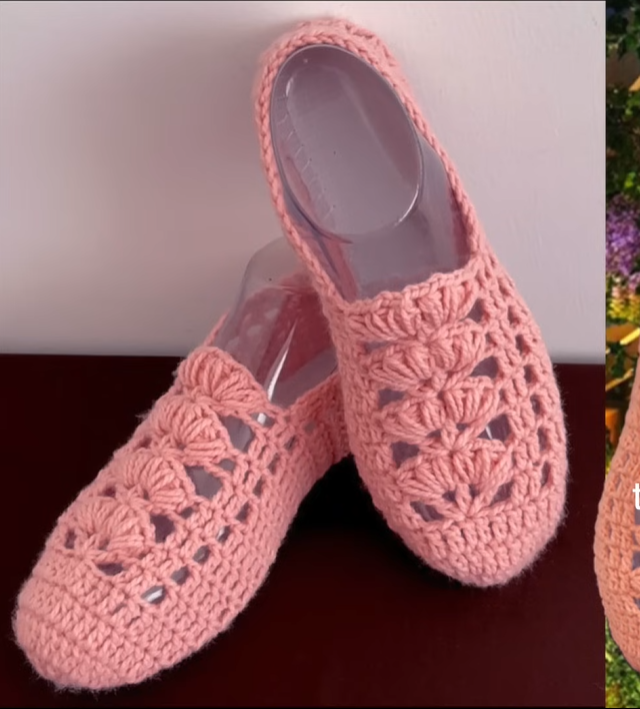
Step out in handmade style with these gorgeous crochet slipper shoes! Inspired by the elegant, openwork design often seen in summer espadrilles, these slippers are surprisingly easy to make and can be adapted for any foot size – from tiny tots to adults. Get ready to create your new favorite house shoes or a thoughtful, personalized gift!
Skill Level: Intermediate Beginner / Easy
Materials:
- Yarn: DK (Light Worsted) or Worsted Weight yarn.
- For the openwork design like the picture, cotton or a cotton blend is highly recommended for structure and breathability.
- Amount: Approximately 150-300 yards per pair, depending on size.
- Crochet Hook: Size G/6 (4.0 mm) or H/8 (5.0 mm), or size needed to obtain gauge. (The larger hook will create a looser, lacier fabric, and the smaller hook a denser one.)
- Yarn Needle: For weaving in ends and seaming.
- Scissors
- Stitch Markers: Very helpful for marking rounds and increases on the sole.
- Optional: Non-slip sole pads or “puffy paint” for grip on the bottom.
Gauge (Crucial for Sizing!):
It is very important to achieve the correct sole length for your desired size. The stitch gauge for the upper isn’t as critical as the sole.
- For the sole: After completing the sole section, measure its length. Adjust your hook size or add/remove initial chain stitches/rounds to reach the desired length from the sizing chart below.
- Example: For a Women’s Small (approx. 9 inches), your finished sole should measure around 9 inches.
Sizing Chart (Approximate Foot Lengths):
| Size | Approximate Foot Length (inches) | Approximate Foot Length (cm) |
|---|---|---|
| Baby (0-6 mo) | 3.5 – 4 | 9 – 10 |
| Toddler (6-12 mo) | 4.5 – 5 | 11.5 – 12.5 |
| Child (2-4 yrs) | 5.5 – 6 | 14 – 15 |
| Child (5-7 yrs) | 6.5 – 7 | 16.5 – 17.5 |
| Youth (8-12 yrs) | 7.5 – 8 | 19 – 20.5 |
| Women’s Small | 8.5 – 9 | 21.5 – 23 |
| Women’s Medium | 9.5 – 10 | 24 – 25.5 |
| Women’s Large | 10.5 – 11 | 26.5 – 28 |
| Men’s Small | 9.5 – 10 | 24 – 25.5 |
| Men’s Medium | 10.5 – 11 | 26.5 – 28 |
| Men’s Large | 11.5 – 12 | 29 – 30.5 |
Export to Sheets
- Tip: When choosing an initial chain length, a good rule of thumb is to chain approximately half the length of your desired foot size. Then, the increases in the sole rounds will build out the rest of the length and width.
Abbreviations (US Crochet Terms):
- ch: chain
- sl st: slip stitch
- sc: single crochet
- hdc: half double crochet
- dc: double crochet
- tr: treble crochet (used for the “shell” pattern)
- BLO: back loop only
- FLO: front loop only
- st(s): stitch(es)
- sp: space
- inc: increase (work 2 sts in the same st)
- dec: decrease (work 2 sts together)
- ( ): repeat instructions in parentheses a specified number of times
- [ ]: total stitches in a round
Pattern for Crochet Slipper Shoes (Make 2)
Part 1: The Sole (Foundation for All Sizes)
This oval sole creates the base of your slipper. Work in continuous rounds, using a stitch marker to mark the beginning of each round.
Determine your starting chain:
- For Baby/Toddler/Child sizes, start with Ch 8-12.
- For Youth/Women’s/Men’s sizes, start with Ch 15-25.
- General Rule: Chain approximately half the desired sole length.
Round 1: Ch (your determined starting chain length). Hdc in 2nd ch from hook. Hdc in each ch across until you reach the last ch. In the last ch, work 3 hdc (this turns the corner). Now working down the other side of the chain, hdc in each ch across. In the very last ch (where you worked your first hdc), work 2 hdc. [Total sts will vary based on initial chain]. Place stitch marker in the first hdc of the next round.
Round 2 (Increases for Oval Shape): 2 hdc in the first st (inc). Hdc in each st along the side of the sole. (2 hdc in next st) 3 times (inc for the toe end). Hdc in each st along the other side. (2 hdc in next st) 2 times (inc for the heel end). Move stitch marker to the first st of the current round.

Round 3 (More Increases if needed):
- For smaller sizes (Baby-Child): You might only need 2-3 rounds of increases.
- For larger sizes (Youth-Adult): You’ll need more rounds to build out the sole’s width. (2 hdc in next st) 2 times (inc). Hdc in each st along the side. (2 hdc in next st) 5 times (inc for the toe end). Hdc in each st along the other side. (2 hdc in next st) 3 times (inc for the heel end). Move stitch marker to the first st of the current round.
Continue adding increase rounds if needed until your sole measures the desired length and width (refer to the sizing chart). Each increase round generally adds more stitches to the curves of the toe and heel. Always place increases at the sharpest curves to maintain an oval shape. When you’re satisfied with the sole size, sl st to the first hdc of your last round.
Part 2: Building the Sides (Sole Up)
Now we’ll turn the sole upwards to form the base of the slipper.
Round 1 (Creating the “Wall”): Ch 1. Sc in the BLO of each st around. Sl st to the first sc to join. This round creates a defined edge that makes the slipper stand up.
Round 2 (First Solid Row of Upper): Ch 1. Sc in each st around. Sl st to the first sc to join. For a slightly more snug fit, you can make this round hdc or dc.

Part 3: The Lacy Toe Design
This is where the magic happens! We’ll create the beautiful openwork shell pattern on the front of the slipper. You’ll need to mark the center front of your slipper.
Finding the Center Front: Fold your sole in half lengthwise. Place a stitch marker at the center stitch on the toe end. Count approximately 8-10 stitches to the left and 8-10 stitches to the right of this center marker. This will define the section where you’ll work the lacy pattern. (Adjust this number based on your slipper size and preference for how wide the openwork should be).
Round 3 (First Lace Row): Ch 1. Sc in each st until you reach the first marker defining the start of your lace section. Now, work the shell pattern across the marked front section: *Sk 2 sts, (2 tr, ch 1, 2 tr) in the next st (this forms a small shell).* Repeat from * to * across the marked section until you reach the second marker. Sc in each remaining st around the back and sides of the slipper until you reach the beginning of the round. Sl st to the first sc to join.
Round 4 (Second Lace Row): Ch 1. Sc in each sc until you reach the lace section. For each shell: *Sc in the space before the first tr of the shell, (2 tr, ch 1, 2 tr) in the ch-1 sp of the shell.* Repeat from * to * across all shells. Sc in each remaining sc around the back and sides of the slipper. Sl st to the first sc to join.
Continue repeating Round 4 until the lacy section reaches your desired height on the top of your foot. Typically, 3-5 rows of shells are sufficient, depending on your foot and the slipper size.
Part 4: Finishing the Ankle/Top Edging
Once your lace section is complete, we’ll finish the opening with a few rounds of simple stitches to give it a neat, comfortable edge.
Round 1 (Closing the gap): Ch 1. Sc in each sc around the back and sides. When you reach the lace section, sc in each tr stitch and in each ch-1 space across the top of the foot. Continue sc in each remaining sc around the back. Sl st to the first sc to join. This round essentially brings the entire opening back to single crochet stitches.
Round 2 (Neatening the edge): Ch 1. Sc in each st around. Sl st to the first sc to join.
Round 3 (Optional – for a slightly higher cuff): Ch 1. Sc in each st around. Sl st to the first sc to join. You can also do a round of sl st for a very neat, non-stretching edge.
Fasten off and weave in all remaining ends securely. Repeat all steps for the second slipper!
Video tutorial
Tips for a Perfect Fit & Finish:
- Try it on! If you’re making these for yourself, try the slipper on after completing the sole, and again after a few rows of the upper. This allows you to make adjustments before it’s too late.
- Yarn Choice: Cotton yarn, as used in the inspiration picture, will give these slippers good structure and breathability, making them less “stretchy” than acrylic.
- Non-Slip Soles: For safety, especially on hard floors, consider adding non-slip grips. You can purchase ready-made pads to sew on, or use a liquid latex/puffy paint designed for fabric. Apply dots or lines to the sole and let dry completely.
- Color Play: Follow the inspiration picture and use a single color for an elegant look, or experiment with contrasting colors for the sole, solid side rows, and the lacy upper for a fun, personalized touch!
- Cleaning: Always refer to your yarn’s care label. Cotton is usually machine washable on a gentle cycle, but air drying (reshaping as it dries) is best to maintain shape.
Enjoy your beautiful, handmade slipper shoes! They’re perfect for lounging or a thoughtful gift that’s sure to impress.