by
by 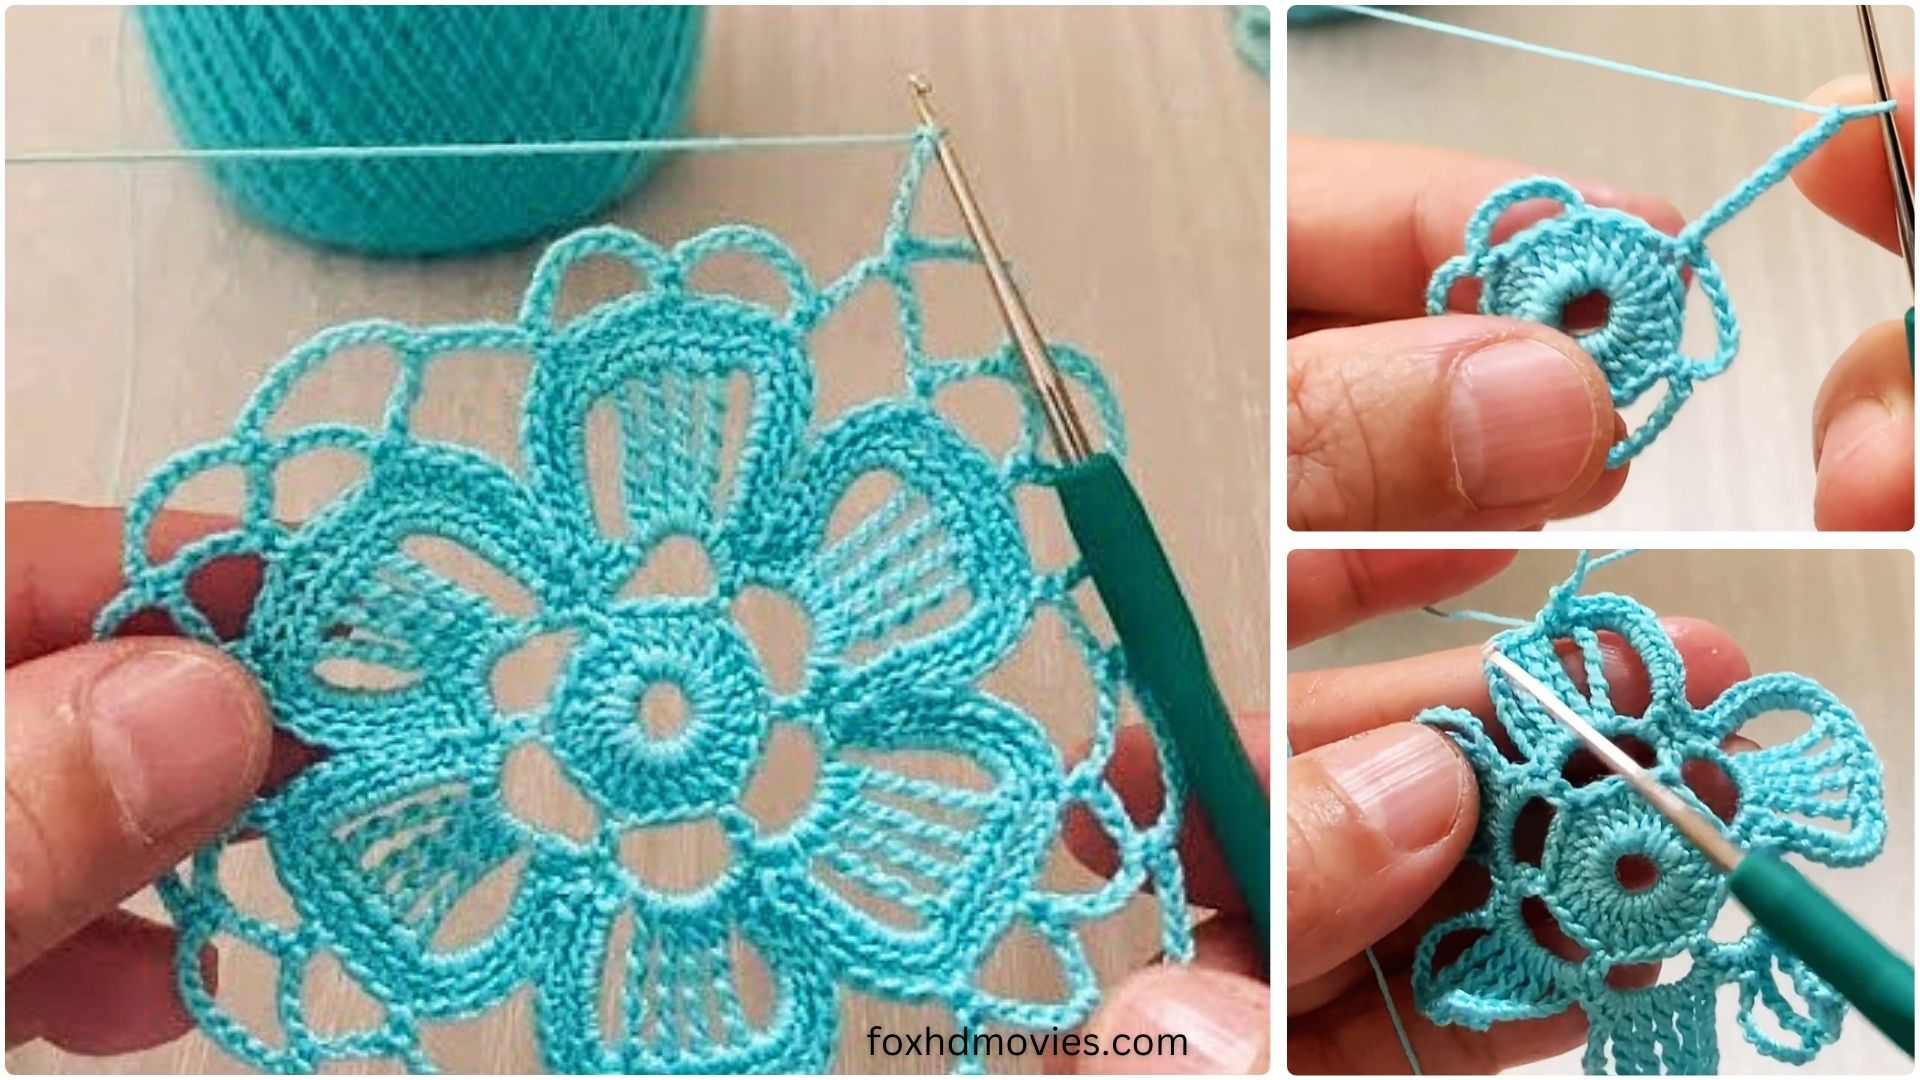
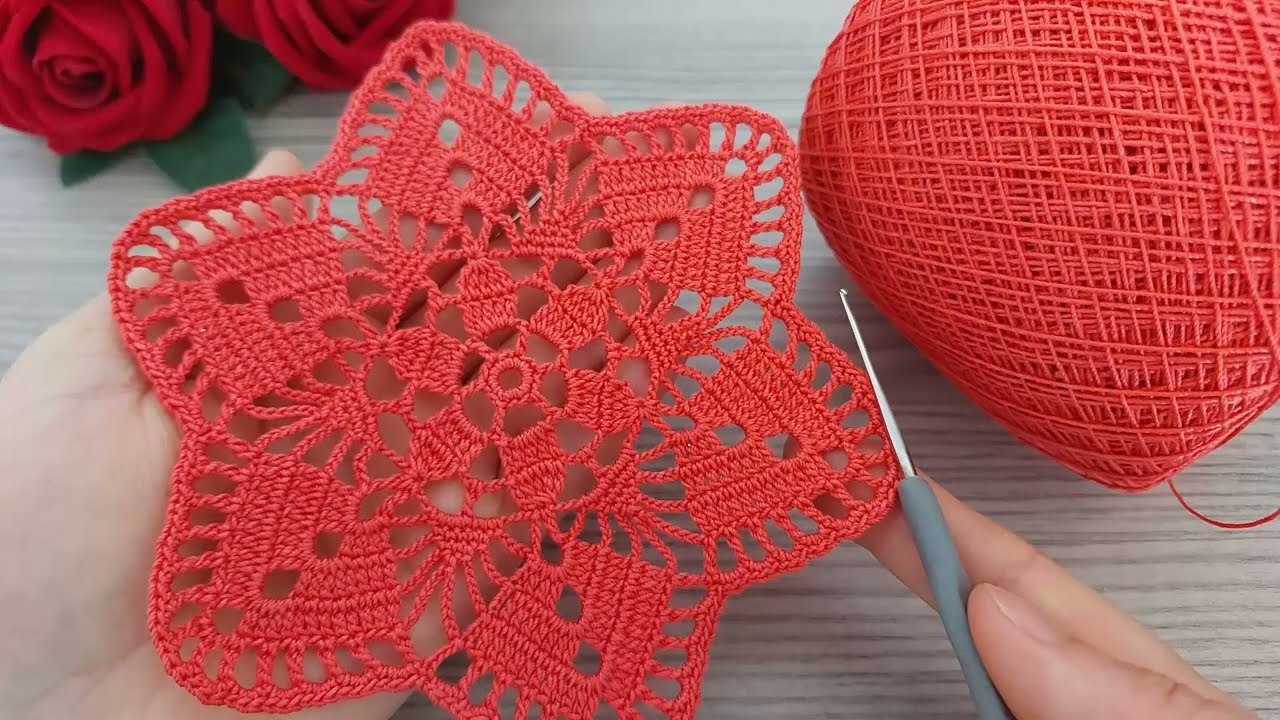
Looking for that perfect little crochet project that’s both satisfying and endlessly versatile? Look no further! This “Radiant Sunburst” motif is designed to be fantastic for beginners, yet yields a stunning result that looks much more complex than it is. It’s quick to whip up, uses basic stitches, and is ideal for blankets, garments, bags, or any project needing a pop of handmade charm.
Let’s dive into making this little ray of sunshine!
Skill Level: Easy (Great for adventurous beginners!)
Materials You’ll Need:
- Yarn: DK or worsted weight yarn in at least two contrasting colors. You can use three or four colors for a more vibrant sunburst effect (e.g., a center color, a petal color, and two background colors). This is a fantastic stash-buster!
- Crochet Hook: Size G/6 (4.0 mm) or H/8 (5.0 mm), or the size recommended for your chosen yarn to achieve a nice drape.
- Yarn Needle: For weaving in those pesky ends.
- Scissors: Of course!
Gauge:
While not critical for a single motif, if you plan to join multiple squares, aiming for consistency is key. With worsted weight yarn and an H/8 hook, your finished motif after all rounds should measure approximately 4.5-5 inches. Adjust your hook size if your motif is significantly smaller or larger.
Abbreviations (US Crochet Terms):
- ch: chain
- sl st: slip stitch
- sc: single crochet
- hdc: half double crochet
- dc: double crochet
- tr: treble crochet (sometimes called triple crochet)
- st(s): stitch(es)
- sp: space
- YO: yarn over
- beg: beginning
- rep: repeat
Let’s Begin: Crocheting Your Radiant Sunburst!
This motif is worked in the round, building out from a central point.
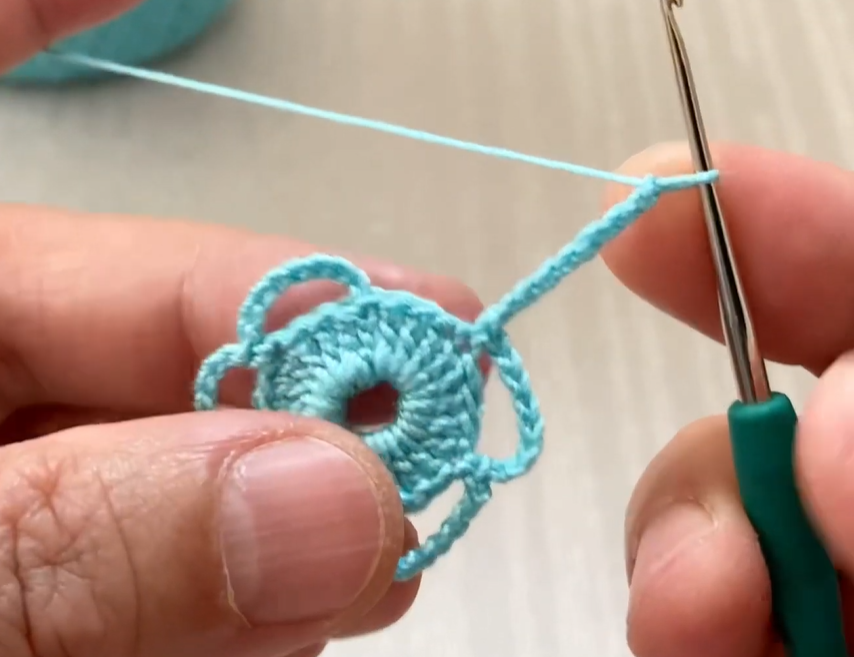
Part 1: The Sunny Center (Color A)
This forms the core “button” of your sunburst.
Round 1: With Color A, create a magic ring (or ch 4 and sl st to join into a ring). Ch 2 (does NOT count as a stitch here or throughout the pattern). Work 12 hdc into the ring. Sl st to the top of the first hdc to join. (12 hdc) Fasten off Color A. Weave in the starting tail to close the magic ring tightly if used, and the ending tail.
Part 2: The First Burst of Rays (Color B)
Now we’ll add the first layer of “rays” or petals.
Round 2: Join Color B with a sl st into any hdc from Round 1. Ch 2 (does NOT count as a stitch). Work 2 dc in the same stitch. *Skip the next hdc, 3 dc in the next hdc.* Repeat from * to * 4 more times. Skip the last hdc. Sl st to the top of the first dc to join. (18 dc, forming 6 groups of 3 dc) Fasten off Color B. Weave in ends.
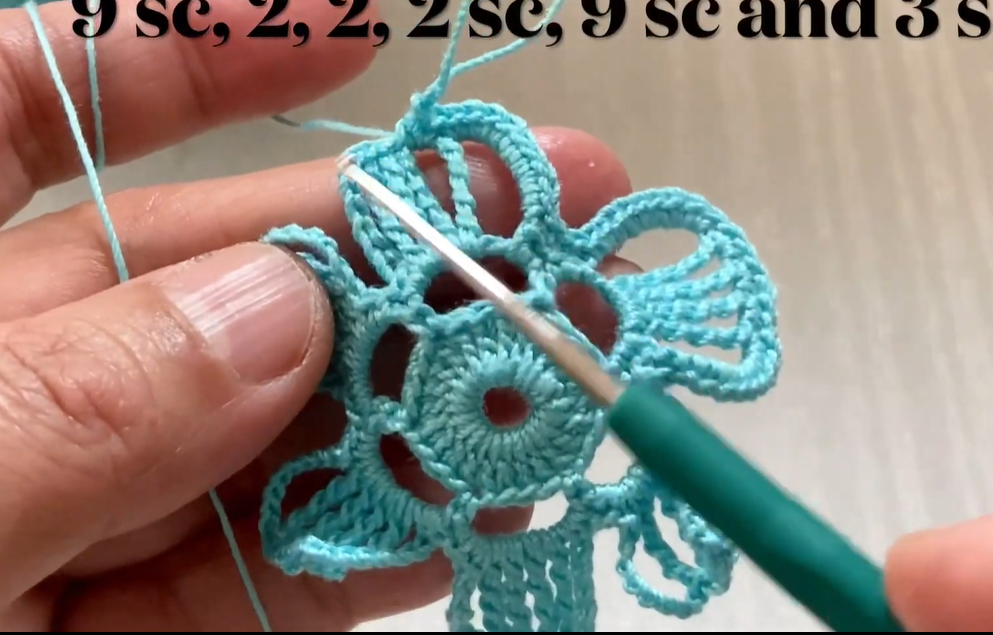
Part 3: The Expanding Sunshine (Color C)
This round creates the distinctive “puff” or “shell” look that defines the sunburst.
Round 3: Join Color C with a sl st into the space between any two 3-dc groups from Round 2. Ch 3 (counts as first dc). In the same space, work 4 dc (this creates a 5-dc shell). *Sl st into the next space between 3-dc groups. Ch 3. In the same space, work 4 dc.* Repeat from * to * 4 more times. Sl st into the starting space to complete the round. (6 shells, each with 5 dc) Fasten off Color C. Weave in ends.
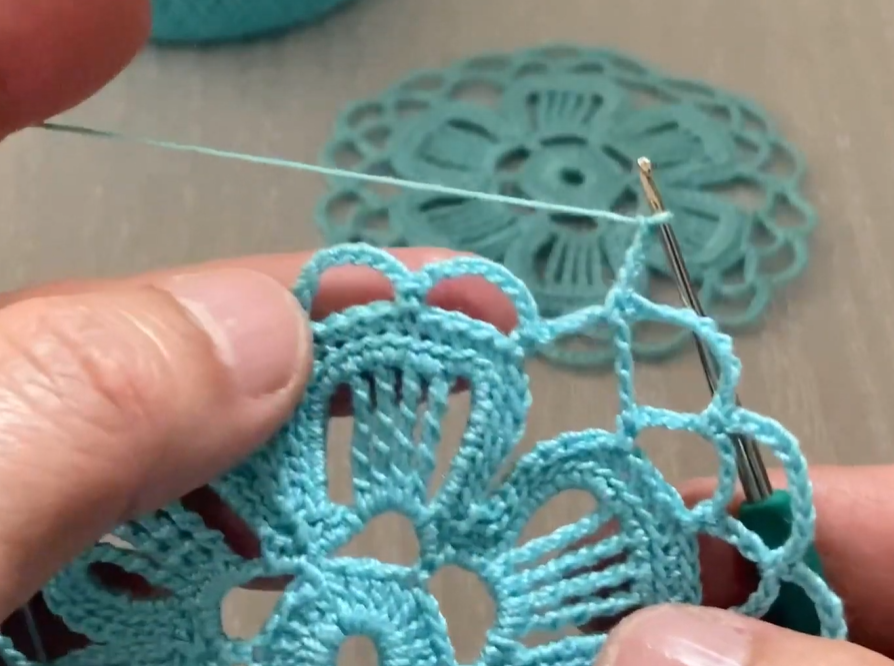
Part 4: Squaring Up the Circle (Color D – or continue with Color C)
Now we’ll transform our beautiful circle into a square, making it easy to join to other motifs!
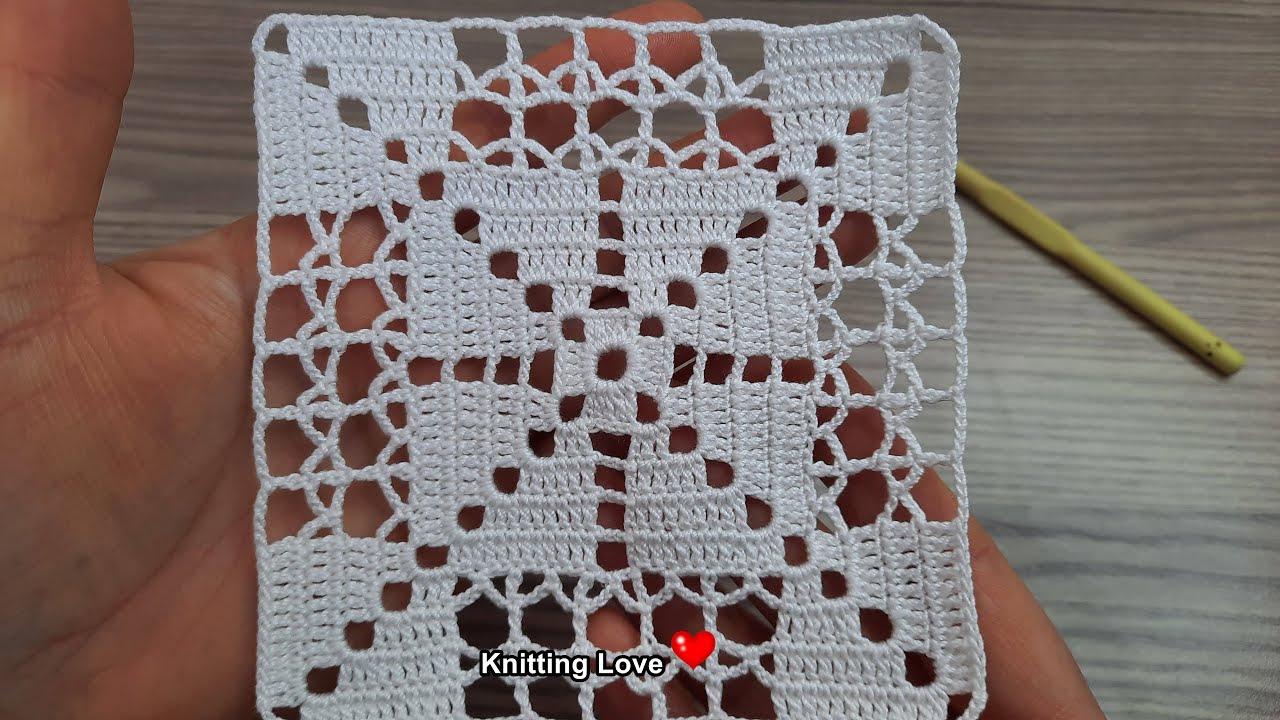
Round 4: Join Color D (or your chosen color) with a sl st into the top of the middle dc of any 5-dc shell from Round 3. Ch 3 (counts as first dc). Work (2 dc, ch 2, 3 dc) in the same stitch. This creates your first corner! *Work 3 hdc in the top of the next 5-dc shell (the middle dc of the shell). Work 3 sc in the top of the next 5-dc shell (the middle dc of the shell). Work 3 hdc in the top of the next 5-dc shell (the middle dc of the shell). In the top of the next 5-dc shell (the middle dc of the shell), work (3 dc, ch 2, 3 dc). This is your next corner!* Repeat from * to * two more times. Sl st to the top of the beginning ch-3 to join. (4 corners, 4 sides of 3 hdc, 3 sc, 3 hdc) Fasten off and weave in all remaining ends securely.
Video Tutorial
Ta-Da! Your Fantastic & Easy Sunburst Motif is Complete!
Look at that beautiful texture and radiating design!
Tips for Making Your Motif FANTASTIC:
- Color Play: This is where the magic happens!
- High Contrast: Use bold, contrasting colors for each round (e.g., bright yellow center, orange petals, dark blue outline, then a cream square).
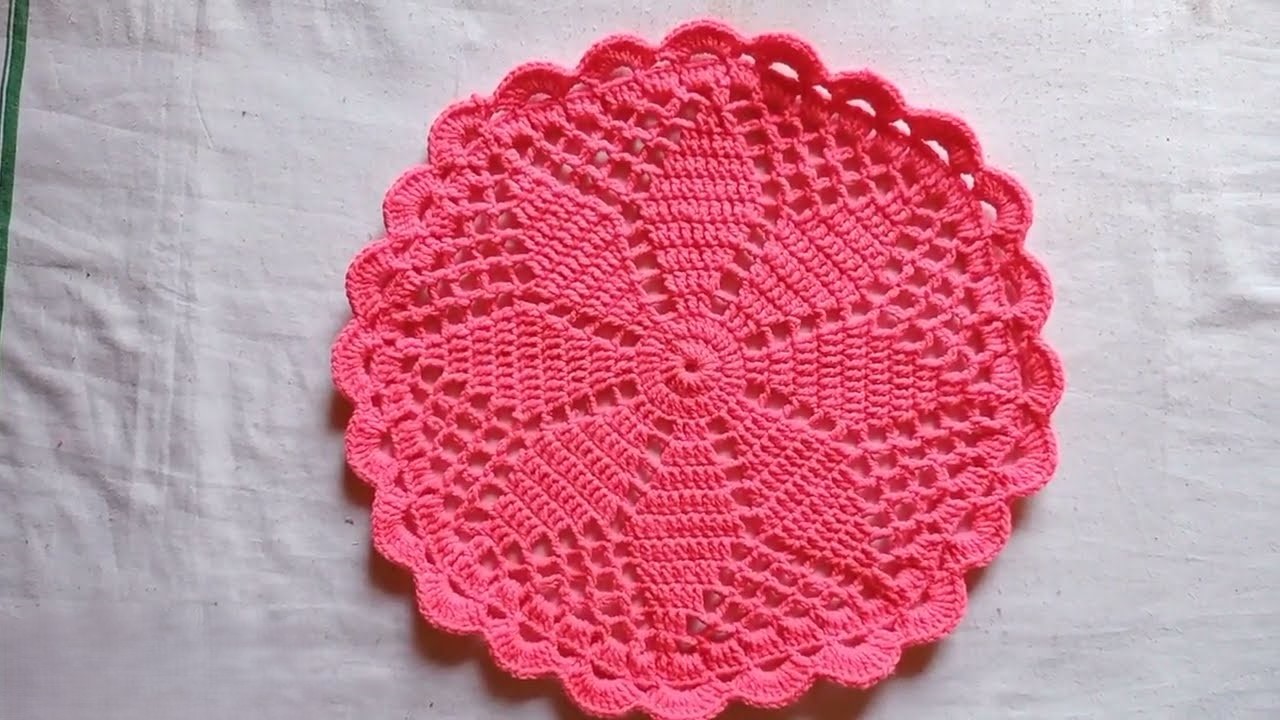
- Ombre Effect: Use shades of the same color, going from light to dark, or vice versa.
- Stash Buster: Mix and match all your leftover yarn scraps for a truly unique and colorful project!
- Blocking: For a perfectly flat square, especially if you’re joining multiple motifs, gently block your finished squares. Pin them out to shape, spritz with water, and let them dry completely.
- Joining Methods:
- Whip Stitch: A simple and secure way to invisibly join squares from the back.
- Slip Stitch Join: Creates a flat, neat seam on the front.
- Single Crochet Join: Creates a slightly raised, decorative ridge between squares.
- Join-As-You-Go (JAYG): An advanced technique where you join squares on their final round, saving you hours of seaming!
- Versatility: These motifs are amazing for:
- Blankets/Throws: The classic use! Mix and match colors for a mosaic effect.
- Pillows/Cushions: Make two and stitch them together.
- Bags/Purses: Create panels for a unique accessory.
- Coasters: Perfect as individual decorative pieces.
- Garment Accents: Sew onto a denim jacket, bag, or even a plain t-shirt for a personalized touch.
Enjoy making your radiant sunbursts! Once you make one, you won’t want to stop. Happy crocheting!