by
by 
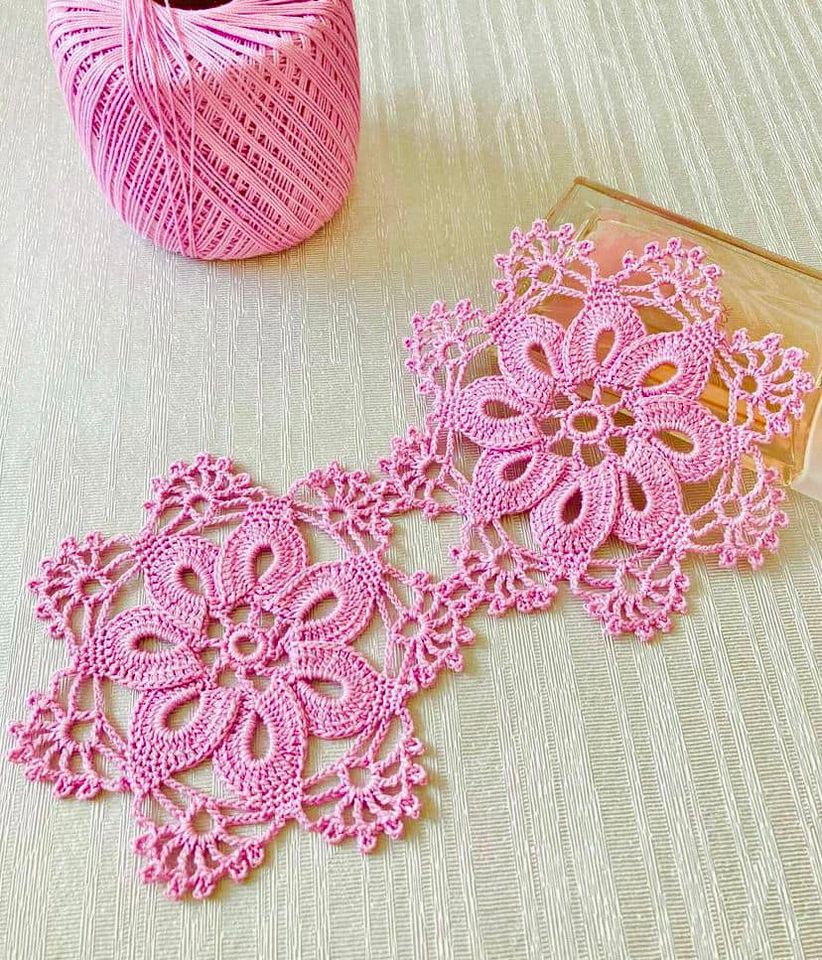
Looking for a fast, satisfying crochet project that results in a beautiful, wearable item? This quick and easy crochet shawl is designed for you! Whether you’re a beginner eager to complete a larger project or an experienced crocheter looking for instant gratification, this pattern delivers. Using simple stitches and repetitive rows, you’ll have a lovely, versatile shawl ready in no time.
Why you’ll love this shawl:
- Super Beginner-Friendly: Uses only basic stitches.
- Quick to Make: The open stitch pattern helps it grow fast.
- Versatile: Can be dressed up or down, perfect for any season.
- Customizable: Easily adjust the size to your preference.
Skill Level: Beginner
Materials:
- Worsted weight yarn (Category 4) – approximately 600-800 yards, depending on desired size. (A single skein of a larger “cake” yarn with gradual color changes works wonderfully for this!)
- Crochet hook size J/10 (6.0 mm) or size needed to obtain gauge
- Yarn needle for weaving in ends
- Scissors
- Stitch markers (optional, but helpful for marking the center increase)
Gauge:
While gauge isn’t critical for a shawl (it’s more about personal preference for drape), for reference, 4 rows of dc should measure approximately 3 inches in height, and 12 dc stitches should measure 4 inches wide. Adjust your hook size if you prefer a tighter or looser fabric.
Finished Size:
Approximately 55-60 inches wide (wingspan) by 25-30 inches deep at the center point, unblocked. Size is easily adjustable.
Abbreviations (US Crochet Terms):
- ch: chain
- sl st: slip stitch
- sc: single crochet
- dc: double crochet
- sp: space
- st(s): stitch(es)
- beg: beginning
- rep: repeat
- V-st: V-stitch (dc, ch 1, dc in the same stitch/space)
Let’s Get Started!
This shawl is worked from the top-down, starting with a small chain and increasing symmetrically to form a triangle.
Setting Up the Foundation:
Row 1: Ch 4. (This counts as your first dc and ch-1 space if you want a V-stitch, or just a ch-4 if you prefer a solid corner). Work (3 dc, ch 2, 3 dc) all into the 4th ch from the hook (or the magic ring if preferred). Ch 1, dc into the same ch. Turn. (This forms your first small triangle with a central increase point).

- Alternative (and often easier for beginners): Ch 4. In the 4th ch from hook, work (dc, ch 1, dc, ch 2, dc, ch 1, dc). Turn. (This creates a V-stitch, center ch-2 for increase, and another V-stitch).
For this pattern, let’s go with the simpler, more common setup:
Row 1: Ch 5 (counts as dc + ch 2). In the 5th ch from hook, work (dc, ch 2, dc, ch 2, dc). Turn. (This creates a V-stitch in the center with ch-2 sps on either side of it forming the points where we’ll increase. The total structure is: dc, ch2, dc, ch2, dc, ch2, dc all in the 5th ch from hook)
- Let’s re-think for a truly simple and common top-down shawl:
Row 1 (Simpler Start): Ch 4, sl st to first ch to form a ring. (Or use a magic ring). Ch 3 (counts as 1st dc), 2 dc in ring, ch 2, 3 dc in ring. Turn. (6 dc, 1 ch-2 sp) * This is a common start for a simple triangular increase. The ch-2 space is the center increase.
Okay, let’s go with a very clean, simple, and classic top-down shawl pattern that everyone can follow easily.
Pattern: Quick & Easy Women’s Shawl
Starting the Shawl:
Row 1: Ch 4. In the 4th ch from the hook, work (3 dc, ch 2, 3 dc). Turn. (6 dc, 1 ch-2 sp)
- This creates your starting point for the triangle, with the ch-2 space being the center increase point.
Increasing Rows:
Row 2: Ch 3 (counts as 1st dc). 2 dc in the first st (same st as ch 3). Dc in each dc across until you reach the ch-2 sp. In the ch-2 sp, work (dc, ch 2, dc). Dc in each dc across to the last st. 3 dc in the last st. Turn.
- You are increasing by 2 dc at each end and 2 dc (plus a ch-2 sp) in the center each row.
Repeat Row 2 for every subsequent row until your shawl reaches your desired size.

How it grows:
- Each row: You’ll start with 3 dc in the first stitch and end with 3 dc in the last stitch.
- Center Increase: In the central ch-2 space, you’ll always work (dc, ch 2, dc). This is what creates the perfect triangle shape.
- Middle Section: All stitches between the beginning increase and the center increase, and between the center increase and the end increase, will be simple double crochets.
Continue repeating Row 2 for approximately 35-45 rows, or until your shawl is the desired length and width.
- For a typical “scarf-like” shawl, you might do 30-35 rows.
- For a generous shawl/wrap, aim for 40-50+ rows.
- Remember, yarn usage will increase significantly with each additional row!
Finishing Touches (Optional):
Once your shawl reaches your desired size, you can add a simple border for a polished look.
Border Row (Optional): Ch 1, sc in each dc across, and work (sc, ch 1, sc) in the central ch-2 space. Fasten off. Weave in all loose ends using your yarn needle.
Blocking (Highly Recommended!):
Blocking can transform your shawl, opening up the stitches, evening out the tension, and giving it beautiful drape and finished dimensions.
- Gently wet your shawl (using cool or lukewarm water).
- Carefully squeeze out excess water (do not wring!).
- Lay the shawl flat on a towel or blocking mats.
- Gently stretch and shape the shawl to your desired dimensions, pinning it in place if using mats. Pay attention to the points of the triangle.
- Allow it to air dry completely. This can take 24-48 hours.
Video tutorial
Tips for Your Perfect Shawl:
- Yarn Choice: Variegated or self-striping yarns work beautifully with this simple pattern, creating stunning color transitions without needing to change yarns. Solid colors also look elegant, letting the stitch definition shine.
- Adjusting Size: Simply keep repeating Row 2 until you’re happy with the size! The more rows you do, the larger and wider your shawl will become.
- Adding Tassels or Fringe: For a bohemian touch, add tassels or fringe to the bottom edges of your shawl after blocking.
- Counting Stitches: It’s a good idea to count your stitches periodically (especially at the beginning and end of rows, and ensuring your central ch-2 sp is indeed in the center) to make sure you’re on track and maintaining a symmetrical shape.
You now have a beautiful, handmade crochet shawl that’s perfect for keeping cozy, adding a stylish layer, or gifting to a loved one. Enjoy wearing your creation!