 by
by 
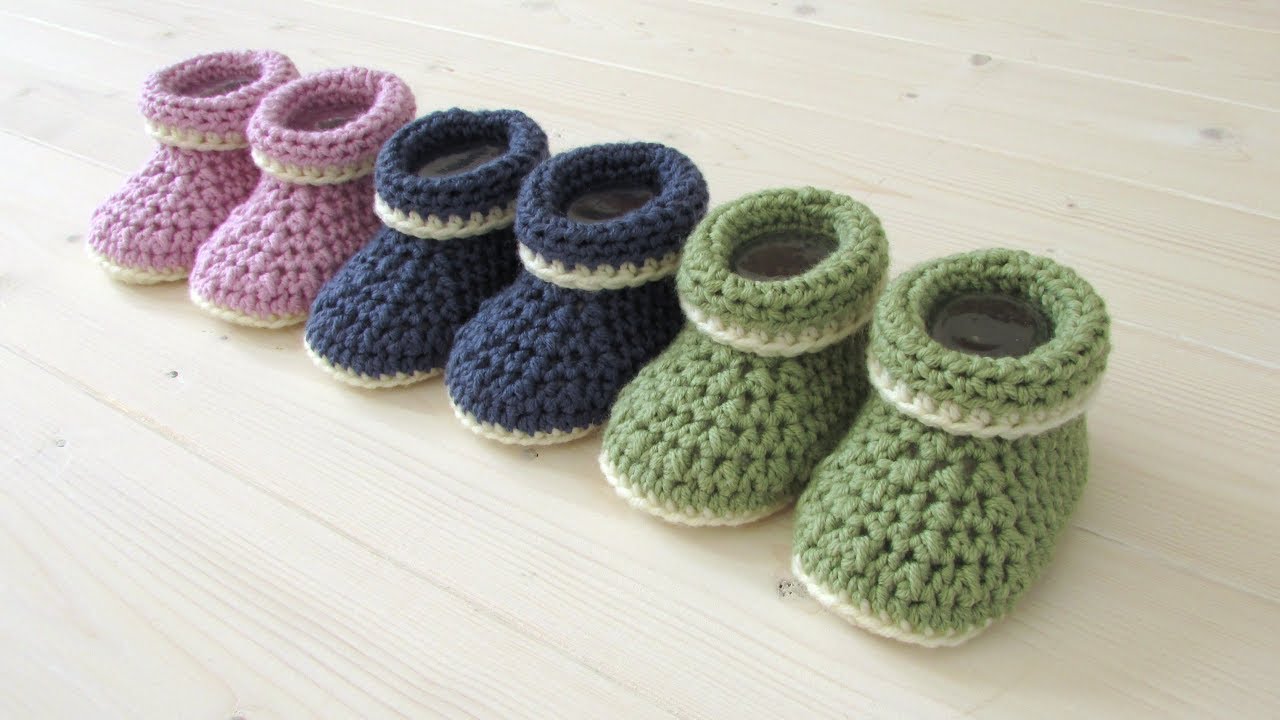
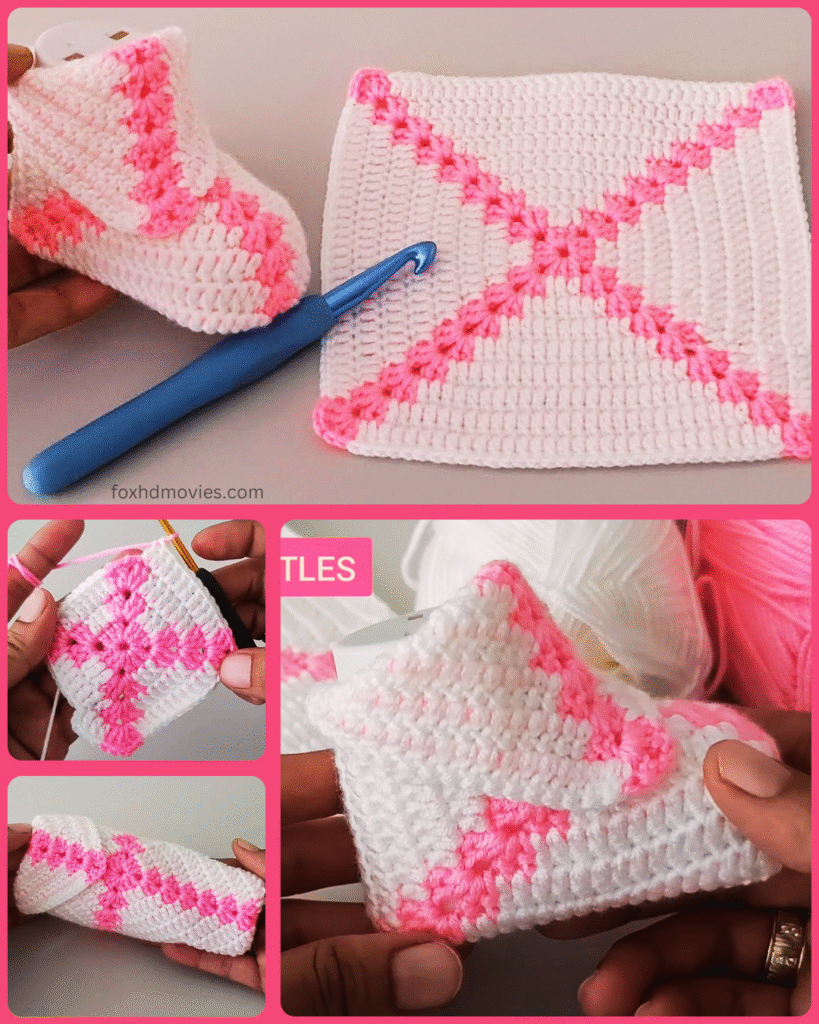
Granny squares are a timeless crochet motif, and with a few clever folds and stitches, they can be transformed into the most precious little baby booties. This pattern offers a unique and fun way to use your granny square skills to create a cozy and stylish footwear for tiny toes.
Skill Level: Intermediate Beginner (basic granny square knowledge required)
Materials:
- DK weight yarn in your desired colors (you’ll need small amounts of at least two colors for the granny squares and possibly a third for joining/edging)
- Crochet hook size G/6 (4.0 mm) or size needed to obtain gauge
- Yarn needle for weaving in ends
- Scissors
- Stitch markers (optional, but helpful for placement)
- Optional: Small buttons or decorative embellishments for straps
Gauge:
Aim for your finished 4-round granny square to measure approximately 3.5 – 4 inches square. Adjust your hook size if needed to achieve this.
Finished Size:
This pattern is designed to fit approximately 0-6 months (sole length around 3.5 inches), depending on your yarn weight and gauge. Adjustments for slightly larger sizes will be noted.
Abbreviations (US Crochet Terms):
- ch: chain
- sl st: slip stitch
- sc: single crochet
- hdc: half double crochet
- dc: double crochet
- tr: treble crochet (optional, for a slightly taller first round)
- sp: space
- st(s): stitch(es)
- beg: beginning
- rep: repeat
- inc: increase (work 2 stitches in the same stitch)
Video tutorial
Let’s Get Started!
Part 1: Crocheting the Granny Squares (Make 2)
We’ll create two simple granny squares that will form the main body of each bootie. Feel free to get creative with your color combinations!
Round 1: With your first color, ch 4, sl st to join into a ring. (Alternatively, you can use a magic ring). Ch 3 (counts as first dc), 2 dc in the ring, ch 2, *3 dc in the ring, ch 2; rep from * twice more. Sl st to the top of the beg ch-3. (4 clusters of 3 dc, 4 ch-2 spaces)
Round 2: Sl st into the next dc and into the first ch-2 sp. Ch 3 (counts as first dc), 2 dc in the same ch-2 sp, ch 2, 3 dc in the same ch-2 sp (corner made). *Ch 1, (3 dc, ch 2, 3 dc) in the next ch-2 sp (corner made); rep from * twice more, ch 1. Sl st to the top of the beg ch-3.
Round 3: Sl st into the next 2 dc and into the first ch-2 sp. Ch 3 (counts as first dc), 2 dc in the same ch-2 sp, ch 2, 3 dc in the same ch-2 sp (corner made). *Ch 1, 3 dc in the next ch-1 sp, ch 1, (3 dc, ch 2, 3 dc) in the next ch-2 sp (corner made); rep from * twice more, ch 1, 3 dc in the last ch-1 sp, ch 1. Sl st to the top of the beg ch-3.

Round 4: Sl st into the next 2 dc and into the first ch-2 sp. Change to your second color (optional). Ch 3 (counts as first dc), 2 dc in the same ch-2 sp, ch 2, 3 dc in the same ch-2 sp (corner made). *Ch 1, 3 dc in each ch-1 sp across to the next corner, ch 1, (3 dc, ch 2, 3 dc) in the next ch-2 sp (corner made); rep from * twice more, ch 1, 3 dc in each ch-1 sp across to the last corner, ch 1. Sl st to the top of the beg ch-3. Fasten off and weave in ends.
Repeat this process to make a total of 2 granny squares.
Part 2: Shaping the Bootie – Creating the Toe and Upper
Now comes the magic of folding and shaping our granny squares into booties!
- Lay one granny square flat with the right side facing up.
- Fold the square in half diagonally, bringing two opposite corners together. You’ll have a triangle.
- Orient the triangle so the folded edge is at the top (the hypotenuse) and the two unfolded edges form the base.
- Creating the Toe: Locate the midpoint of the folded edge (the top point of the triangle). Count approximately 2-2.5 inches down from this point along both folded edges. Place stitch markers here. These markers indicate where our toe shaping will begin.
- Attaching Yarn for Toe: Attach your yarn (you can use the same color as the last round or a new color) to one of the stitch markers.
- Round 1 (Toe): Ch 1, sc evenly along the edge between the two stitch markers (this will form the rounded toe). You might need to work around the double crochet clusters and chain spaces. Aim for a smooth curve. Fasten off.
- Creating the Heel and Ankle Opening: Now, with the wrong side of the folded triangle facing you, attach your yarn to one of the bottom corners (where the original square’s corners were).
- Round 1 (Heel): Ch 1, sc evenly across the bottom unfolded edge of the triangle. When you reach the other bottom corner, ch a desired number of stitches for the ankle opening. For a 0-6 month size, around 8-10 chains might work. Attach this chain to the opposite bottom corner with a sl st.
- Round 2 (Heel/Ankle): Ch 1, sc in each sc across and in each ch of the ankle opening. Sl st to the first sc.
- Round 3 and onwards (Heel/Ankle): Continue working rounds of single crochet around the heel and ankle opening until you reach your desired height for the bootie’s back. This will form the “balaclava” style back. You can adjust the number of rounds based on your preference. Fasten off and weave in ends.

Repeat all of Part 2 with the second granny square to create the second bootie.
Part 3: Creating the Sole (Optional, but Recommended for Durability)
While the folded granny square provides a basic sole, adding a separate crocheted sole will make the booties more durable and comfortable.
- Using your chosen yarn, create an oval shape that matches the size of the bottom opening of your shaped granny square bootie. You can adapt a basic oval sole pattern for this. A simple method: Ch 9, sc in the 2nd ch from hook, sc in the next 6 ch, 3 sc in the last ch. Working on the other side of the chain, sc in the next 6 ch, 2 sc in the last ch. Sl st to the first sc. Continue increasing in the rounds to create the desired oval size. (Refer to a basic baby bootie sole pattern if needed).
- Once you have two soles, carefully align them with the bottom openings of your shaped granny square booties.
- Using your yarn and yarn needle or crochet hook, sew or single crochet the sole to the bottom edge of the bootie. Ensure a secure attachment.
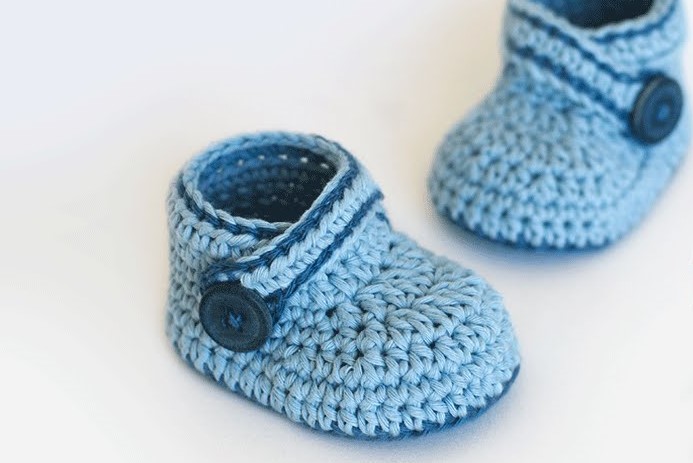
Part 4: Adding Straps (Optional)
For added security, you can create small straps to help keep the booties on.
- With your chosen yarn, ch a desired length for the strap (around 15-20 chains for a small baby).
- Starting in the 2nd ch from the hook, sc in each ch across. Fasten off.
- Sew one end of the strap to the side of the bootie.
- On the opposite side, you can either sew a small button for the strap to loop around or create a small loop with chain stitches at the end of the strap to fasten onto a button.
- Repeat for the second bootie.
Part 5: Finishing Touches
- Weave in all remaining yarn ends securely.
- Add any decorative embellishments you like, such as small crocheted flowers, bows, or appliques. Ensure they are securely attached.

Tips and Variations:
- Color Play: Experiment with different color combinations for your granny squares and the joining/edging.
- Square Size: You can adjust the size of your initial granny squares (by adding or subtracting rounds) to slightly alter the overall size of the bootie. Remember to adjust the sole size accordingly.
- Stitch Variations: Feel free to use different stitches for the rounds of your granny squares if you prefer a different texture.
- Edging: Add a decorative edge around the ankle opening using a contrasting color or a special stitch like picot or reverse single crochet.
Congratulations! You’ve successfully transformed simple granny squares into adorable and unique baby booties. These handmade treasures are sure to be cherished and will keep those little feet cozy and cute. Happy crocheting!