 by
by 
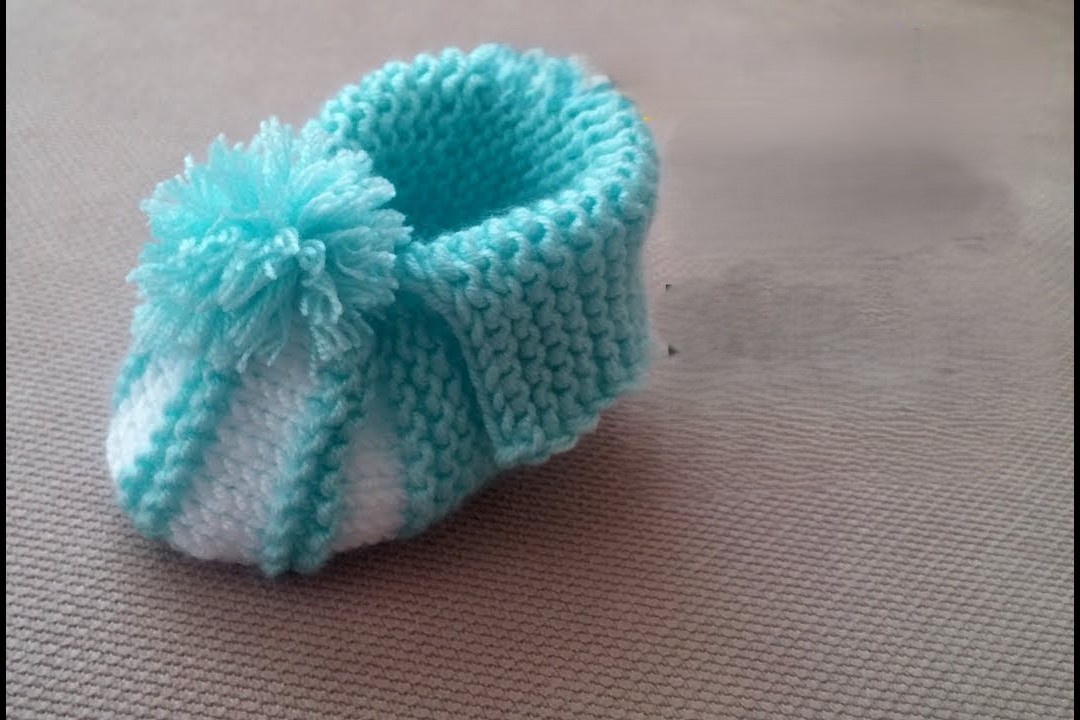
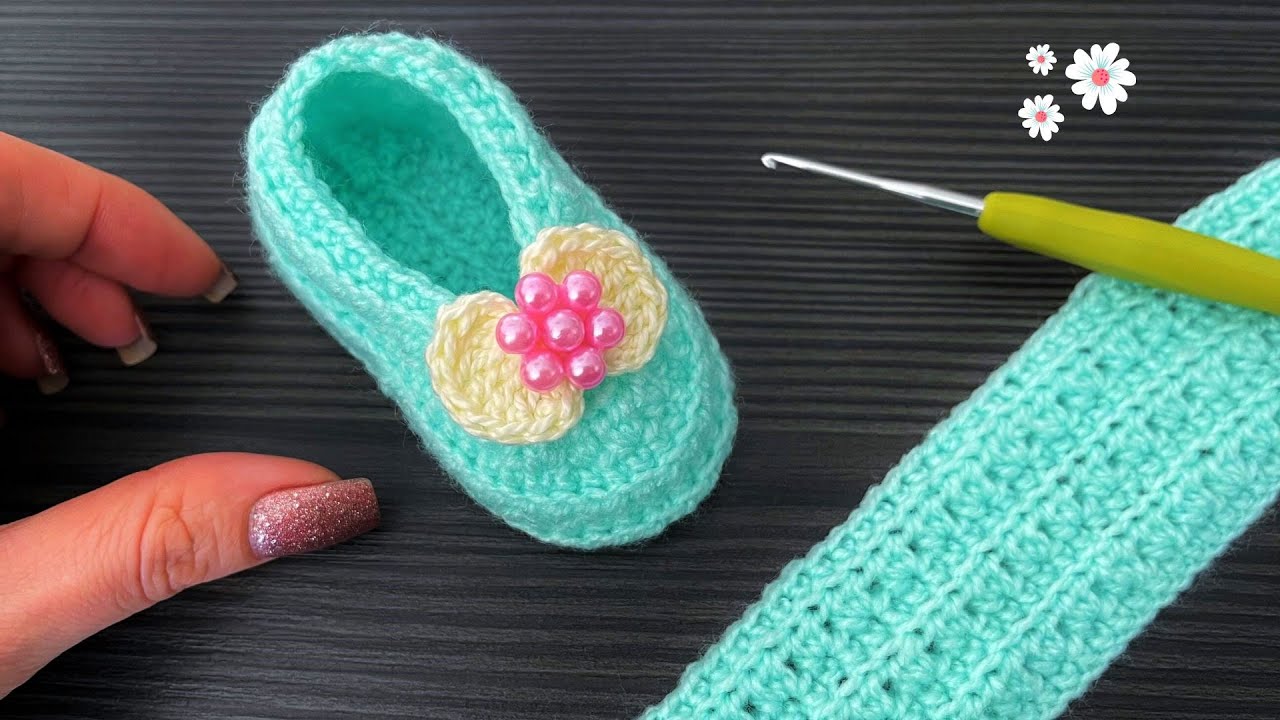
These charming crochet baby shoes are designed to be both easy to make and beautifully finished. Using basic crochet stitches and simple shaping, you’ll create a cozy and secure fit for little feet. They make a thoughtful handmade gift or a sweet addition to your baby’s essentials.
Skill Level: Beginner-Friendly
Materials:
- DK weight yarn in your desired colors (you’ll need small amounts of at least two colors for the example shown, or one solid color)
- Crochet hook size G/6 (4.0 mm) or size needed to obtain gauge
- Yarn needle for weaving in ends
- Scissors
- Stitch markers (optional, but helpful)
Gauge:
While gauge isn’t critical for baby shoes, aim for approximately 4 rows of half double crochet (hdc) to measure about 1 inch in height. Adjust your hook size if needed.
Finished Size:
This pattern is written for approximately 0-3 months (sole length around 3 inches). Instructions for slight adjustments will be included.
Abbreviations (US Crochet Terms):
- ch: chain
- sl st: slip stitch
- sc: single crochet
- hdc: half double crochet
- dc: double crochet (used for shaping the toe)
- st(s): stitch(es)
- beg: beginning
- rep: repeat
- inc: increase (work 2 stitches in the same stitch)
- dec: decrease (work 2 stitches together)
- BLO: back loop only
- FLO: front loop only
Video tutorial
Let’s Get Started!
Part 1: Crocheting the Sole (Make 2)
We’ll start by creating the oval-shaped sole of the shoe.
Round 1: Ch 9. In the 2nd ch from the hook, sc 1. Sc in the next 6 ch. In the last ch, work 3 sc. Now working on the other side of the chain, sc in the next 6 ch. Sc in the last ch (where you started the first sc). Sl st to the first sc. (18 sts)
Round 2: Ch 1, sc in the same st. Sc in the next 7 sts. Inc in the next 3 sts. Sc in the next 7 sts. Inc in the last 2 sts. Sl st to the first sc. (23 sts)
Round 3: Ch 1, sc in the same st. Sc in the next 8 sts. (Sc 1, inc) repeat 3 times. Sc in the next 8 sts. (Inc, sc 1) repeat 2 times. Sl st to the first sc. (28 sts)
Round 4: Ch 1, sc in the same st. Sc in the next 9 sts. (Sc 2, inc) repeat 3 times. Sc in the next 9 sts. (Inc, sc 2) repeat 2 times. Sl st to the first sc. (33 sts)
For a slightly larger sole (approx. 3-6 months, 3.5 inches): Add one more round, following the same increasing pattern: Ch 1, sc in the same st. Sc in the next 10 sts. (Sc 3, inc) repeat 3 times. Sc in the next 10 sts. (Inc, sc 3) repeat 2 times. Sl st to the first sc. (38 sts)
Fasten off the first sole and weave in the end. Make a second sole, but do not fasten off after the last round.
Part 2: Creating the Sides of the Shoe
Now we’ll work in the back loops only to create the upward curve of the shoe sides.
Round 1: Ch 1, sc in the BLO of each st around. Sl st to the first sc. (33 or 38 sts)
Round 2: Ch 1, sc in each st around. Sl st to the first sc. (33 or 38 sts)
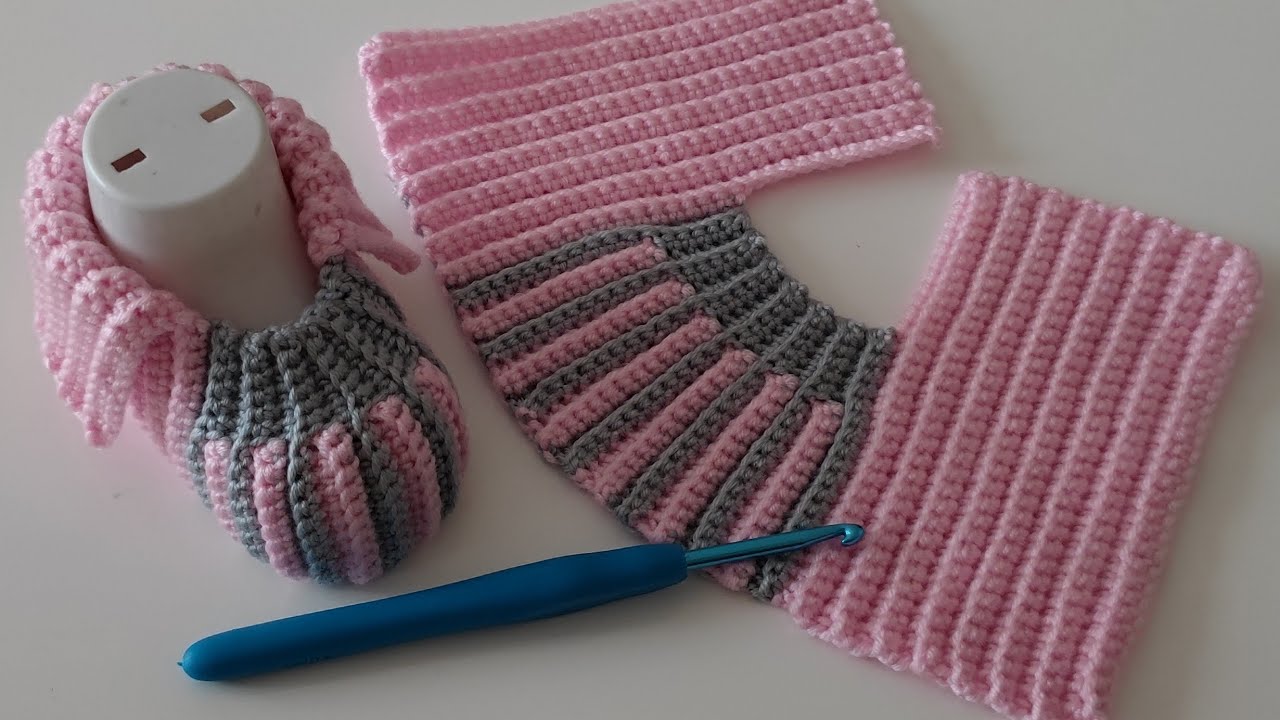
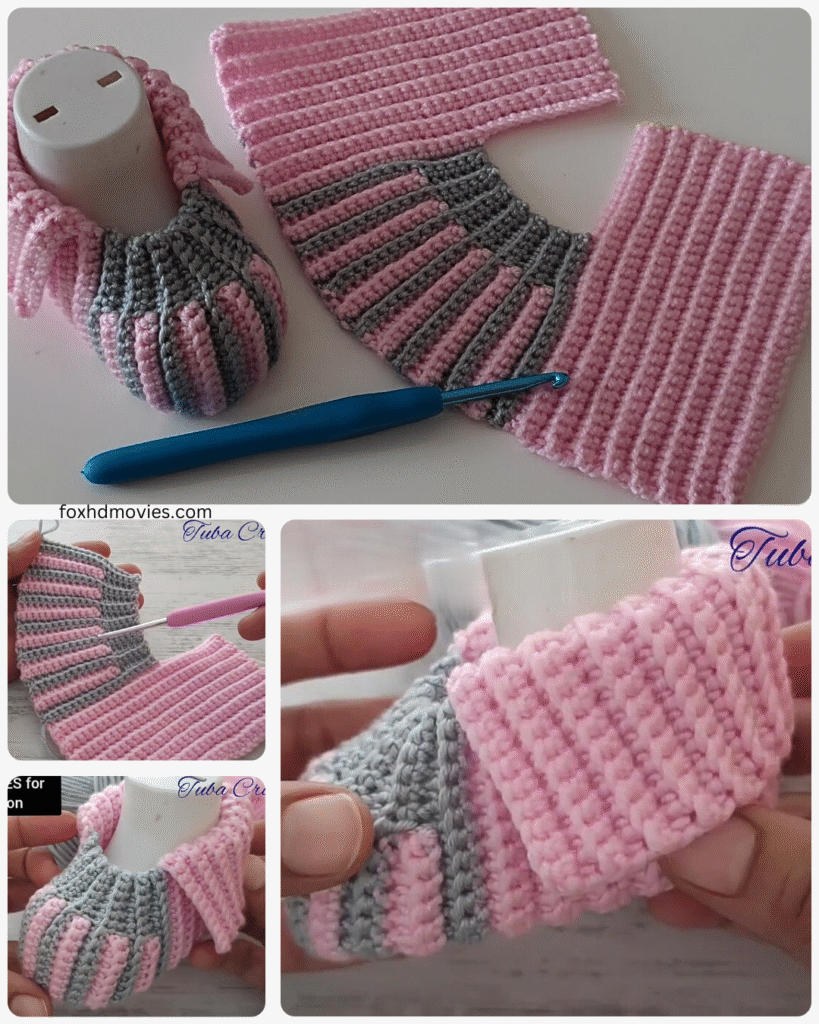
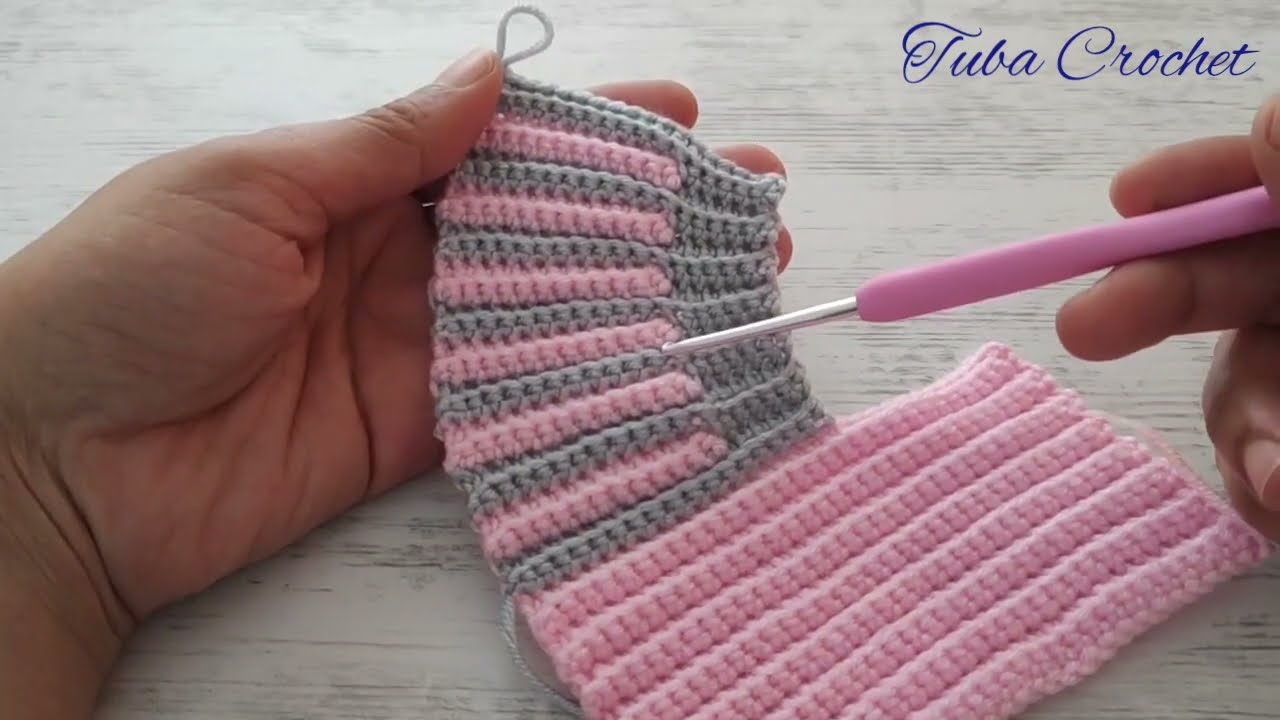
Rounds 3-6 (or until desired height): Repeat Round 2. You can adjust the number of rounds here to make the shoe taller or shorter. If you’re changing colors as shown in the image, do so at the beginning of a new round after the slip stitch.
Part 3: Shaping the Toe
We’ll now shape the front of the shoe to create a rounded toe.
Round 7: Ch 1, sc in the next 10 (or 12 for larger size) sts. Now we’ll work decreases to shape the toe. (Sc 1, dec 1) repeat 4 times. Sc in the remaining 11 (or 13 for larger size) sts. Sl st to the first sc. (29 or 34 sts)
Round 8: Ch 1, sc in the next 9 (or 11 for larger size) sts. (Dec 1) repeat 4 times. Sc in the remaining 10 (or 12 for larger size) sts. Sl st to the first sc. (25 or 30 sts)
Round 9: Ch 1, sc in the next 8 (or 10 for larger size) sts. (Dec 1) repeat 3 times. Sc in the remaining 8 (or 10 for larger size) sts. Sl st to the first sc. (22 or 27 sts)
Fasten off and weave in the end of the second shoe.
Part 4: Creating the Ankle Strap (Make 2)
We’ll now create the straps that will fasten around the baby’s ankle.
- With your chosen color, ch 20 (adjust the length as needed).
- Starting in the 2nd ch from the hook, sc in each ch across. (19 sc)
- Fasten off and weave in the ends.
- Repeat to make a second strap.
Part 5: Attaching the Straps
- Position the strap on the side of the shoe, towards the back. You’ll want it to comfortably wrap around the ankle.
- Using your yarn needle and yarn, securely sew one end of the strap to the side of the shoe.
- Repeat on the other side of the same shoe.
- Do the same for the second shoe.

Part 6: Adding Fasteners (Optional)
You have a few options for fastening the straps:
- Buttons: Sew a small button to the opposite side of where you attached the strap. The button should be positioned so the strap can loop around it securely.
- Velcro: Sew small pieces of hook and loop fastener to the ends of the straps and the corresponding spots on the shoe.
- Ties: Instead of a solid strap, you can create two sets of chains on each side that can be tied together.

Finishing Touches:
- Weave in all remaining yarn ends neatly.
- You can add decorative elements like small crocheted flowers, bows, or appliques to personalize your baby shoes.
Tips for Perfect Baby Shoes:
- Tension: Maintain consistent tension throughout your work for a neat and even finish.
- Seams: When changing colors or joining pieces, try to make your seams as invisible as possible.
- Symmetry: Pay attention to making both shoes as identical as possible.
- Safety: Ensure any embellishments are securely attached and pose no choking hazard.
- Customization: Feel free to experiment with different colors, stitch patterns for the sides (like the ribbed effect shown in the image using alternating front and back loop single crochet or half double crochet), and embellishments to create unique shoes.