 by
by 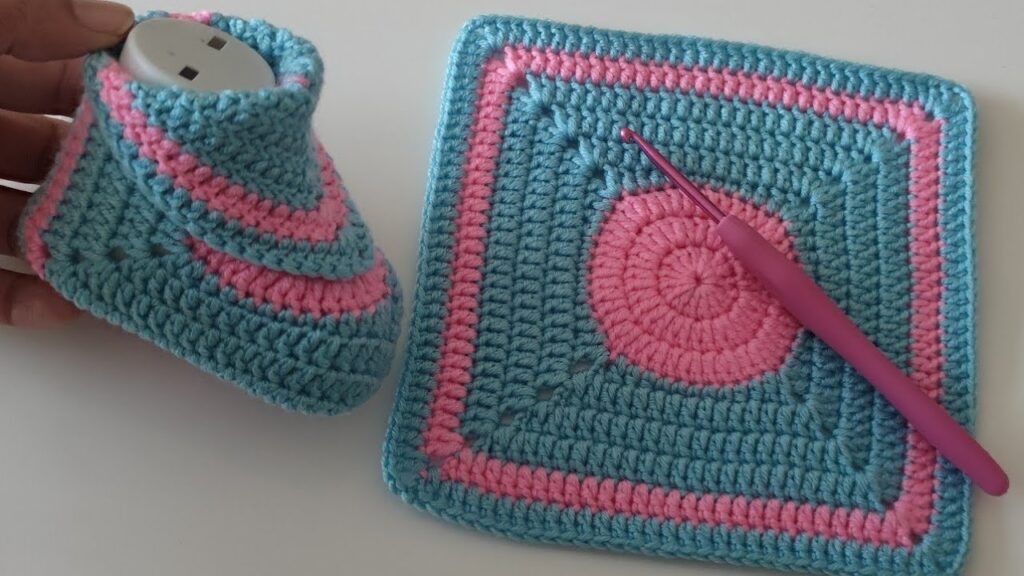
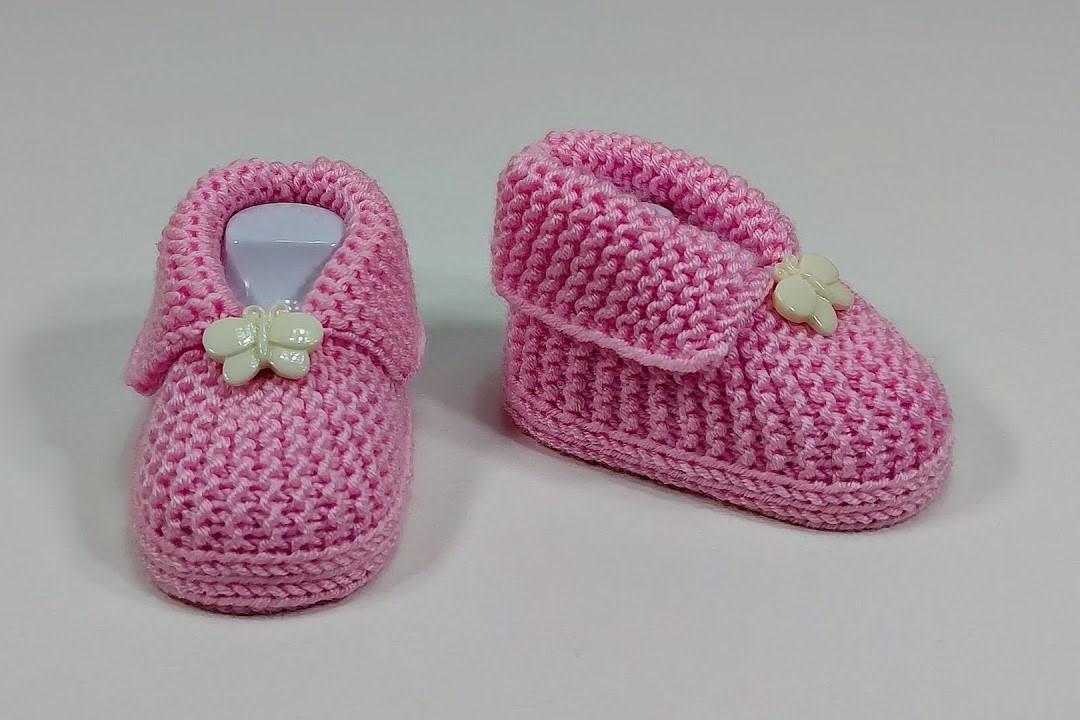
Forget traditional booties! These geometric square baby shoes offer a modern and minimalist aesthetic while remaining incredibly easy to crochet. By creating simple squares and strategically folding them, you’ll craft a unique and snug fit for little ones. This pattern is perfect for beginners looking for a slightly different and eye-catching design.
Skill Level: Beginner
Materials:
- Worsted weight yarn in your desired colors (you’ll need small amounts of at least two colors for visual interest, or one solid color)
- Crochet hook size H/8 (5.0 mm) or size needed to obtain gauge
- Yarn needle for weaving in ends
- Scissors
- Optional: Small buttons or snaps for fastening

Gauge:
While gauge isn’t critical for baby shoes, aim for approximately 4 rows of single crochet (sc) to measure about 1 inch in height. Adjust your hook size if needed.
Finished Size:
This pattern is written for approximately 0-6 months (sole length around 3.5 inches). Instructions for slight adjustments will be included.
Abbreviations (US Crochet Terms):
- ch: chain
- sl st: slip stitch
- sc: single crochet
- hdc: half double crochet (used for a softer edge)
- st(s): stitch(es)
- beg: beginning
- rep: repeat
Video tutorial
Let’s Get Started!
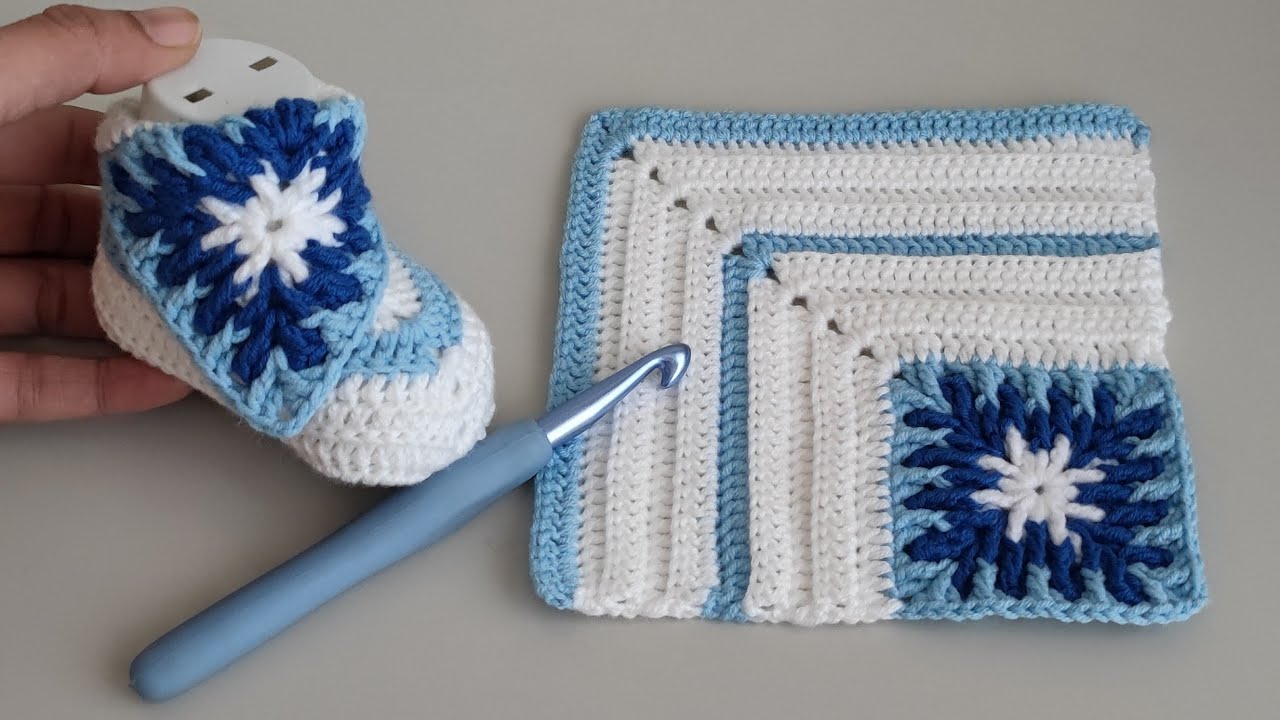
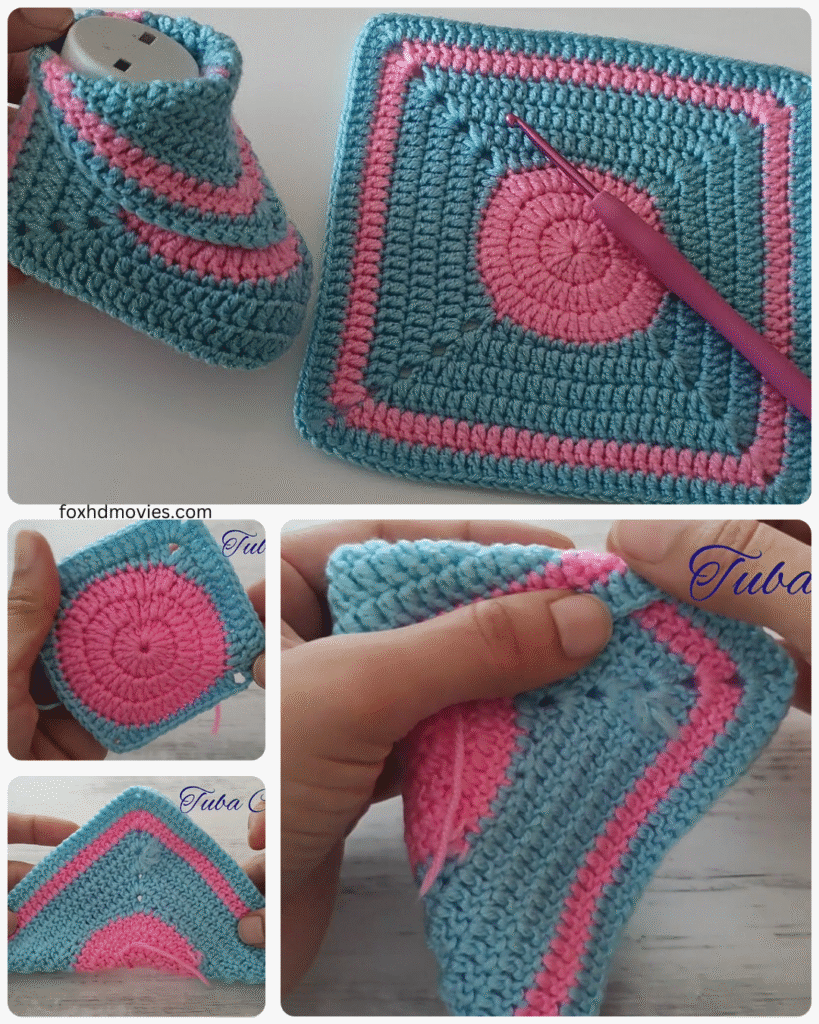
Part 1: Crocheting the Squares (Make 4)
We’ll create four identical squares that will be folded and joined to form the shoes.
Round 1: With your first color, ch 4, sl st to join into a ring. (Alternatively, you can use a magic ring). Ch 1 (does not count as a stitch), work 8 sc in the ring. Sl st to the first sc. (8 sts)
Round 2: Ch 1, 2 sc in each st around. Sl st to the first sc. (16 sts)
Round 3: Change to your second color (optional). Ch 1, *sc in the next st, 2 sc in the next st; rep from * around. Sl st to the first sc. (24 sts)
Round 4: Ch 1, *sc in the next 2 sts, 2 sc in the next st; rep from * around. Sl st to the first sc. (32 sts)
For a slightly larger square (for approx. 6-12 months, aim for a finished square of about 4 inches): Add one more round: Ch 1, *sc in the next 3 sts, 2 sc in the next st; rep from * around. Sl st to the first sc. (40 sts)

Fasten off and weave in the ends for all four squares.
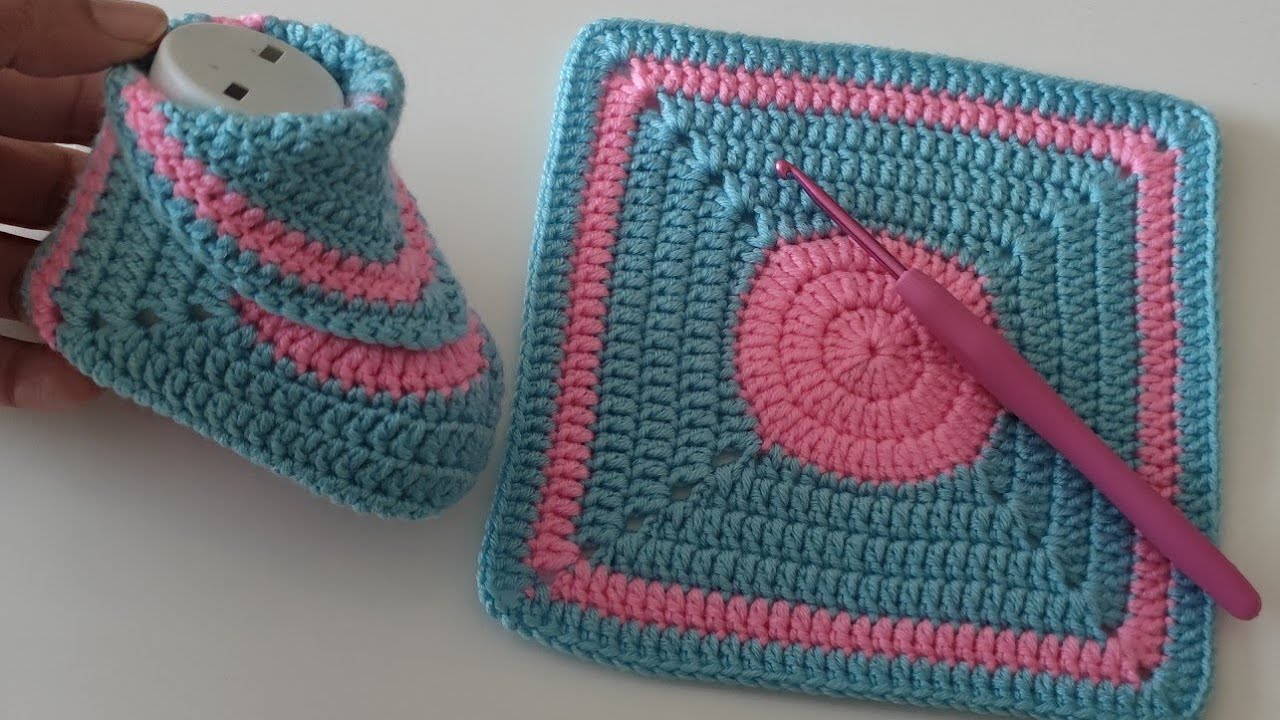
Part 2: Assembling the Shoe – The First Shoe
Now we’ll strategically fold and join two of the squares to create the first shoe.
- Lay one square flat with the right side facing up.
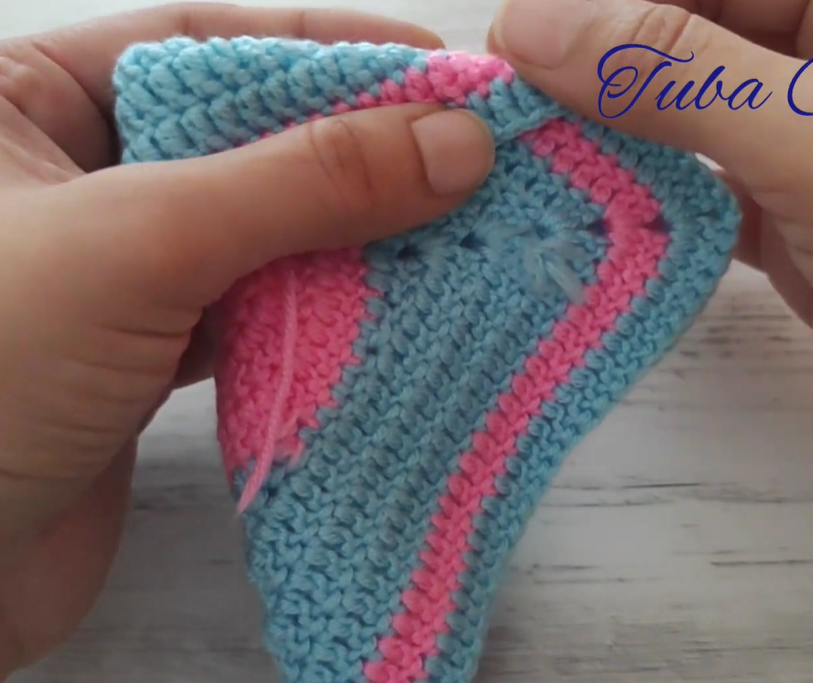
- Fold the square in half diagonally, bringing one corner to the opposite corner. You’ll have a triangle.
- Now, take the two shorter sides of the triangle and bring them towards each other, overlapping slightly at the center. This will start to form the shape of the shoe. Experiment with the overlap to see what looks best for the size you’re aiming for. The overlapped section will become the top of the foot.
- Using your yarn needle and yarn (the same color you’ll use for joining), whip stitch or single crochet along the overlapped edges to secure them. Leave an opening at the front for the baby’s foot.
- Take a second square and repeat steps 2 and 3, ensuring the overlap is similar to the first piece.
- Now, align the bottom edges of the two folded pieces (the long, unfolded edges of the triangles). Whip stitch or single crochet these edges together to form the sole of the shoe. Leave the back open for now.
Part 3: Shaping the Heel and Adding a Cuff
- With the right side facing out, attach your yarn to one of the back corners of the joined sole.
- Work single crochet evenly around the back opening of the shoe to create a small heel cup. Work a few rows (2-3 rows) to achieve the desired height.
- Creating a Cuff (Optional): After the heel cup, you can continue working in rounds of single crochet (or half double crochet for a softer edge) around the top opening of the shoe to create a cuff. You can make this cuff as wide as you like. If you’re using two colors, you can alternate rows for a nice visual effect.

Part 4: Adding a Fastening (Optional)
To help keep the shoes securely on, you can add a simple fastening:
- Simple Strap: Crochet a small strap (chain a desired length, then work back in sc or hdc). Attach one end to the side of the shoe and the other end can either have a loop to go over a button or be secured with a small snap.
- Ties: Attach two short lengths of chain or crocheted cord to the sides of the opening that can be tied together.
Part 5: Making the Second Shoe
Repeat Parts 2, 3, and 4 to create the second shoe. Ensure that your folds and joins are mirrored to create a matching pair.
Finishing Touches:
- Weave in all remaining yarn ends securely.
- Add any optional embellishments like small crocheted shapes or buttons (ensure they are securely attached).
Adjusting the Size:
- Smaller Size: Use a smaller hook and/or thinner yarn. You can also stop at Round 3 of the squares.
- Larger Size: Use a larger hook and/or thicker yarn. You can also add the extra round to the squares as mentioned earlier. Adjust the length of the heel cuff and any straps accordingly.
Tips for Super Easy Geometric Square Baby Shoes:
- Color Blocking: Use contrasting colors for each square or for different rounds within the squares to enhance the geometric look.
- Neat Joins: Take your time when joining the squares to create a clean and seamless finish.
- Symmetry: Pay close attention when folding and joining the second shoe to ensure it mirrors the first one.
- Experiment with Folding: You can slightly adjust the way you overlap the triangle edges to alter the shape and fit of the shoe.
These super easy geometric square baby shoes offer a fun and modern take on traditional baby footwear. They’re quick to make and the unique folded design is sure to impress! Happy crocheting!