by
by 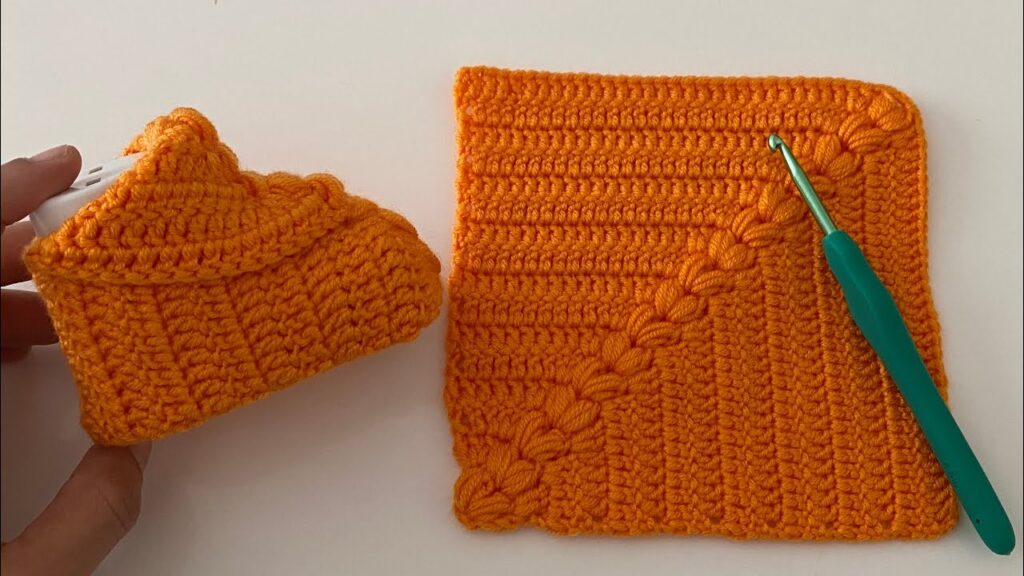
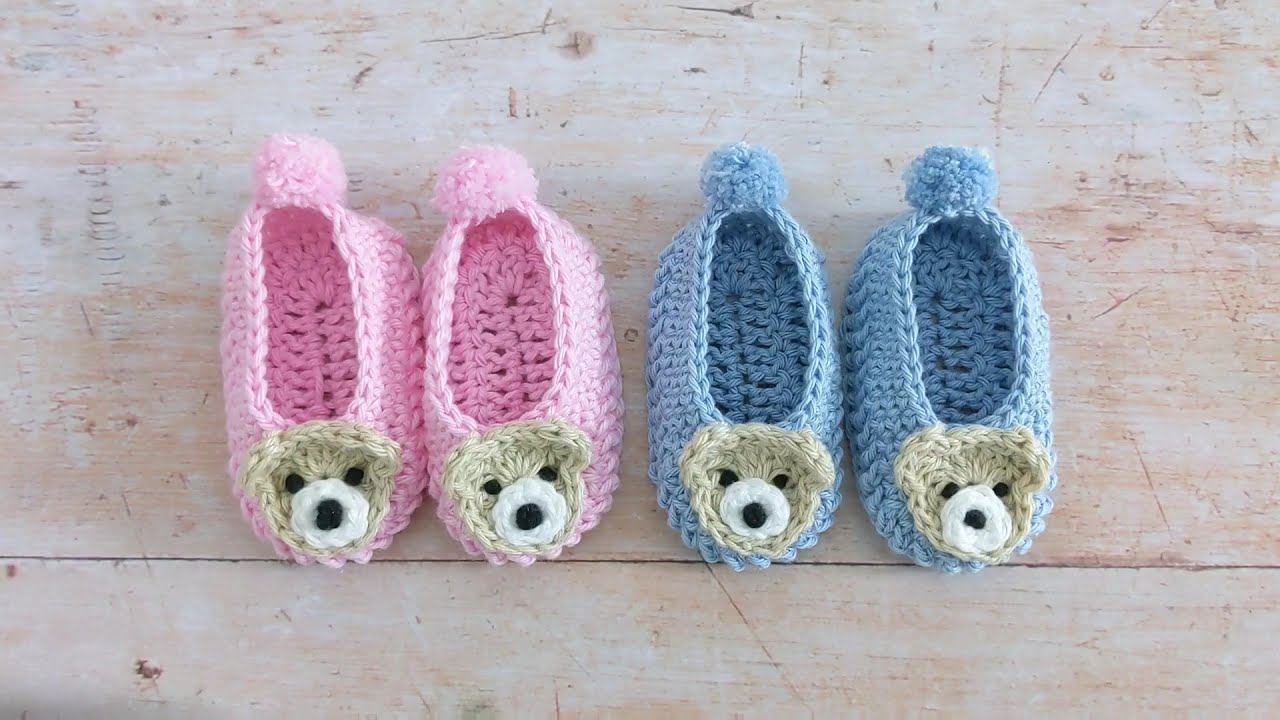
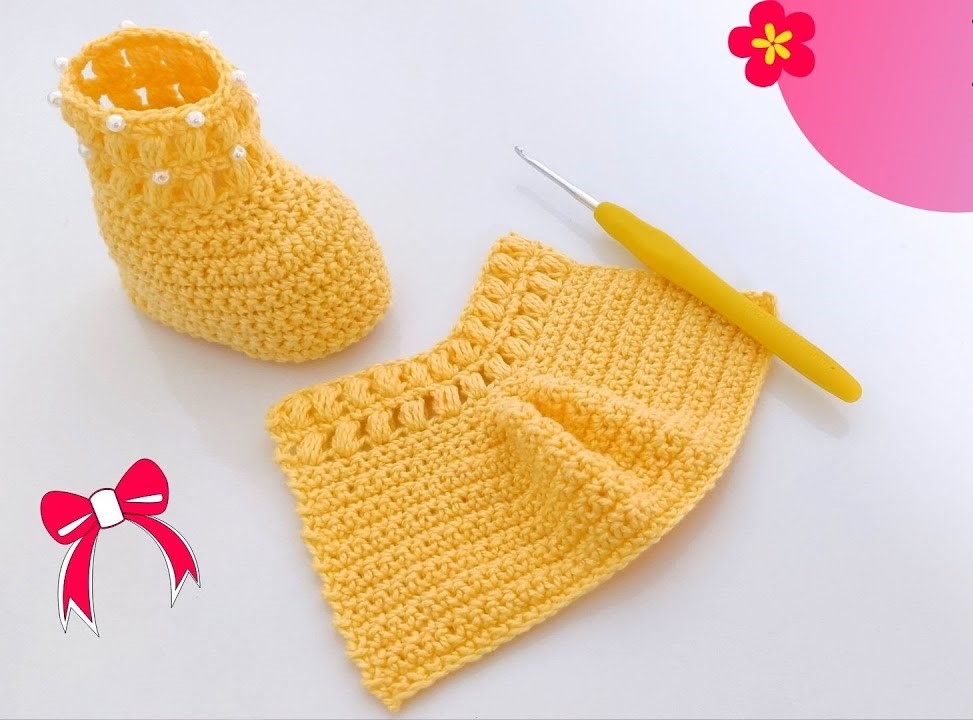
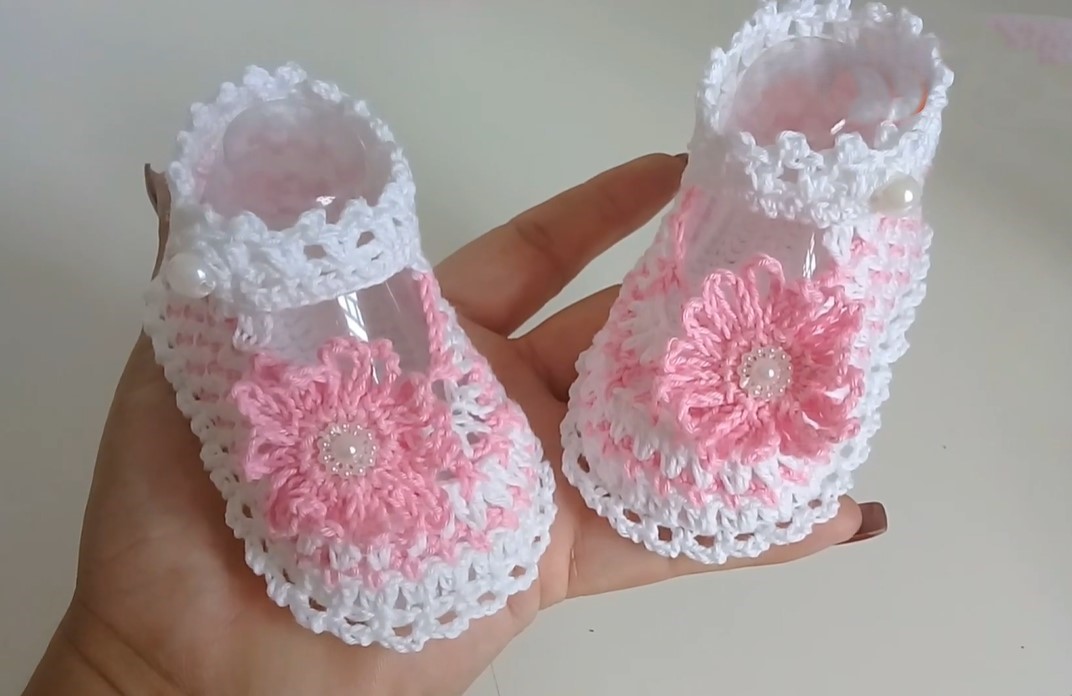
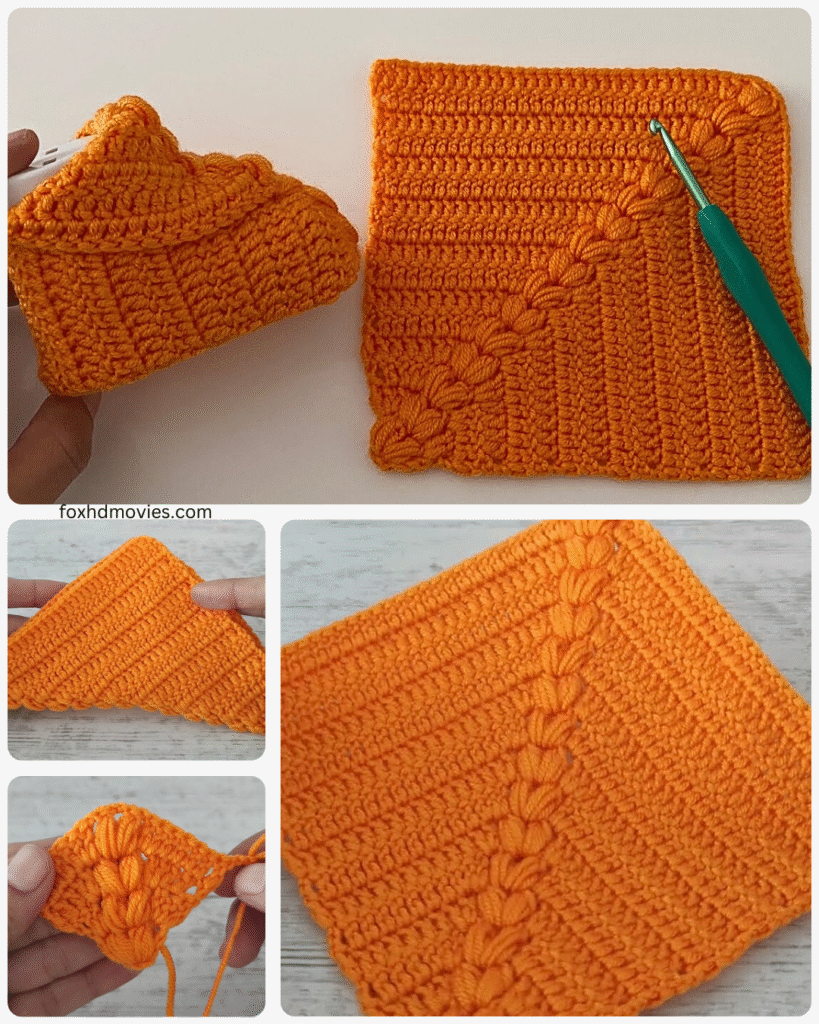
the sweet charm of tiny toes! Let’s crochet some adorable granny square baby shoes, shall we? This pattern creates a classic and cozy design, perfect for little ones. Get your softest yarn ready, and let’s begin!
Materials You’ll Need:
- Worsted weight yarn in your desired colors (you’ll need small amounts of at least two colors)
- Crochet hook size H/8 (5.0 mm) or the size recommended for your yarn
- Yarn needle for weaving in ends
- Scissors
- Stitch markers (optional but helpful)
- Small buttons or other embellishments (optional)
Abbreviations (US Crochet Terms):
- ch: chain
- sl st: slip stitch
- sc: single crochet
- hdc: half double crochet
- dc: double crochet
- tr: treble crochet
- st(s): stitch(es)
- sp: space
- beg: beginning
- rep: repeat
Gauge:
While gauge isn’t critical for baby shoes, aim for approximately 4 double crochet stitches per inch to ensure a reasonably sized shoe for a newborn to 3-month-old. Adjust your hook size if needed.
Finished Size: Approximately 3.5 inches long (sole). This can be adjusted slightly by using thicker or thinner yarn and a corresponding hook size.
Video tutorial
Pattern:
Part 1: Making the Granny Squares (Make 2)
We’ll create two small granny squares that will form the main part of the shoe.
Round 1 (Color A): Ch 4, sl st to join into a ring. Ch 3 (counts as first dc), 2 dc in the ring, ch 2, (3 dc in the ring, ch 2) three times. Sl st to the top of the beginning ch-3. (12 dc, 4 ch-2 spaces)
Round 2 (Color B): Sl st into the next 2 dc and into the first ch-2 sp. Ch 3 (counts as first dc), 2 dc in the same ch-2 sp, ch 1, (3 dc, ch 2, 3 dc) in the next ch-2 sp (corner made), ch 1, (3 dc in the next ch-2 sp, ch 1) twice, (3 dc, ch 2, 3 dc) in the last ch-2 sp (corner made), ch 1. Sl st to the top of the beginning ch-3. (24 dc, 4 ch-1 spaces, 2 ch-2 corner spaces)
Fasten off Color B and weave in ends.

Part 2: Joining the Granny Squares
Now we’ll join the two granny squares to form the upper part of the shoe.
- Place the two granny squares wrong sides together.
- With Color A (or a coordinating color), join the yarn with a sl st in any corner ch-2 space of one of the squares.
- Ch 1, sc in the same ch-2 space.
- Sc in each dc across to the next corner ch-2 space.
- In the corner ch-2 space, work (sc, ch 1, sc).
- Continue to sc in each dc across the side of the second square to the next corner ch-2 space.
- In the corner ch-2 space, work (sc, ch 1, sc).
- Sc in each dc across the remaining side of the first square to the next corner ch-2 space.
- In the corner ch-2 space, work (sc, ch 1, sc).
- Sc in each dc across the final side of the second square. Sl st to the first sc to join.

Fasten off and weave in ends. You now have the upper part of the shoe with an opening for the foot.
Part 3: Creating the Sole
We’ll work in rounds around the joined granny squares to create the sole.
- With Color A (or a coordinating color), join the yarn with a sl st in the center back of the joined squares (opposite the opening).
- Round 1: Ch 1, sc evenly around the entire edge of the joined squares. You’ll likely need to work more than one sc in the spaces between the dc clusters and in the ch-1 spaces to create a smooth edge. Aim for a relatively tight stitch count to form a sturdy sole. Sl st to the first sc to join.
- Round 2: Ch 1, sc in each sc around. Sl st to the first sc to join.
- Round 3: Ch 1, sc in the next 5 sts. Hdc in the next 5 sts. Dc in the next several sts (approximately half the remaining stitches), hdc in the next 5 sts, sc in the remaining sts. Sl st to the first sc to join. This shaping helps create the toe and heel curves.
- Round 4: Ch 1, sc in each st around. Sl st to the first sc to join.
- Round 5 (Optional for a thicker sole): Repeat Round 4.

Fasten off and weave in ends.
Part 4: Making the Ankle Strap (Make 2)
- With Color A (or a coordinating color), ch 15 (or your desired length for the strap).
- Sc in the second ch from the hook and in each ch across. (14 sc)
- Fasten off, leaving a long tail for sewing.
Part 5: Attaching the Ankle Strap and Embellishments
- Position the ankle strap on the side of the shoe opening, about halfway up from the sole.
- Using the long tail and your yarn needle, securely sew one end of the strap to the side of the shoe.
- Repeat for the other strap on the opposite side of the shoe.
- If desired, sew small buttons or other embellishments to the front of the shoe or the ankle straps for decoration and closure. You can also create a loop on the opposite strap to fasten around the button.
Finishing Touches:
- Weave in all remaining loose ends securely.
- Shape the little shoes gently with your hands.
Congratulations! You’ve crocheted a charming pair of granny square baby shoes. These make wonderful gifts and are a delightful project to create. Feel free to experiment with different color combinations to match any outfit. Happy crocheting!