 by
by 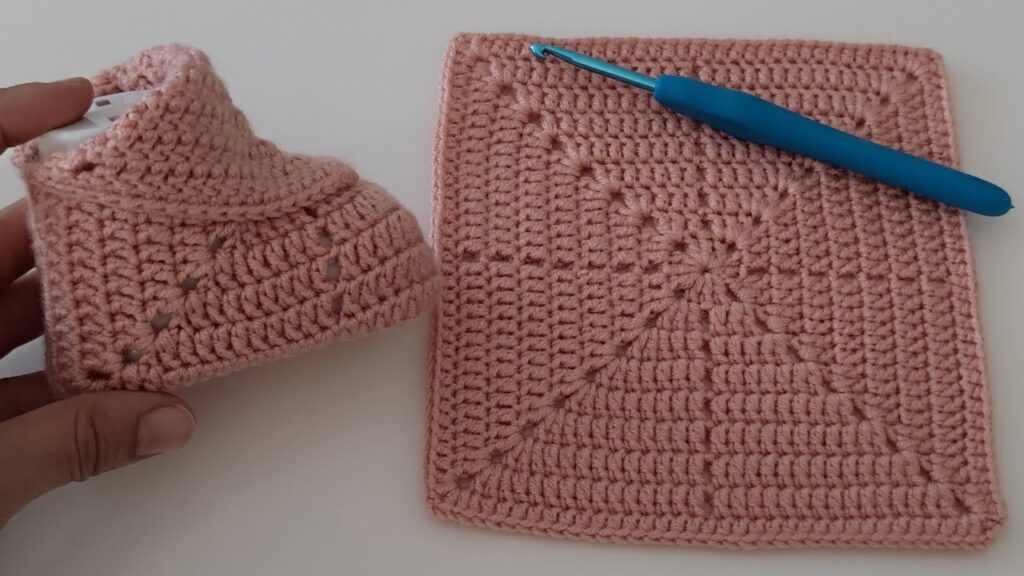
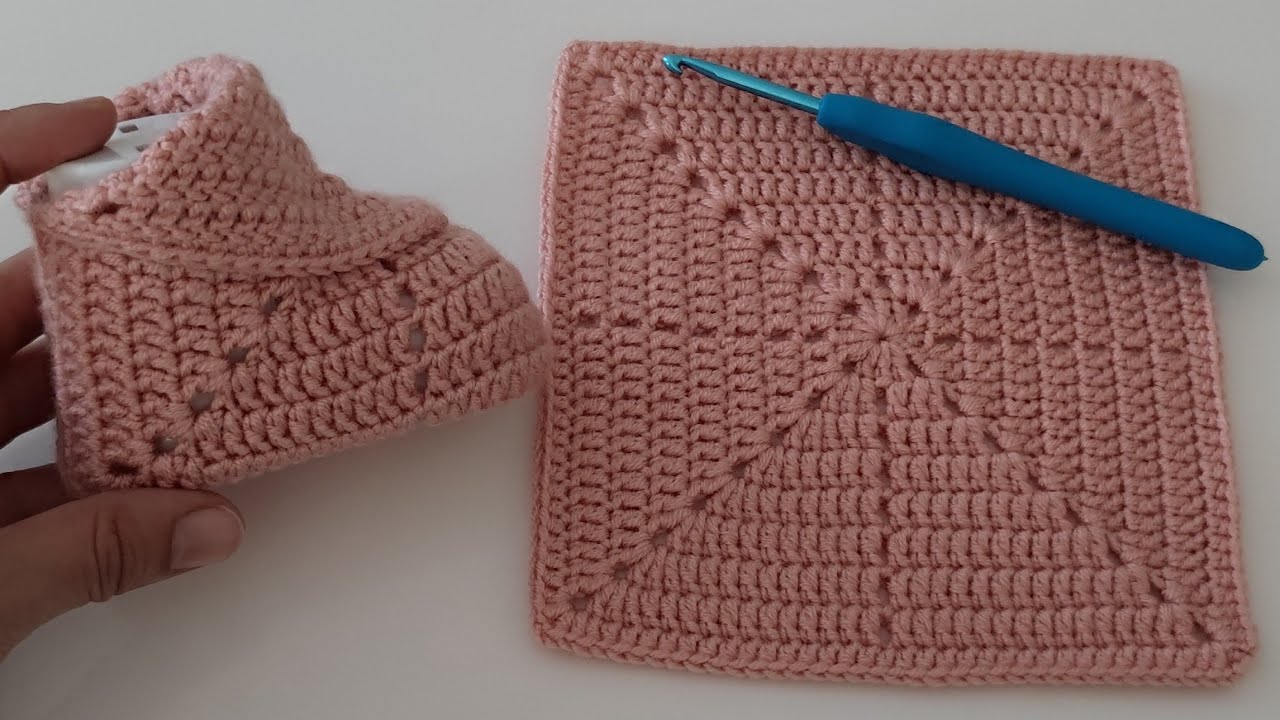
These charming baby shoes start with two simple granny squares and are then cleverly shaped to cradle those precious little feet. The openwork of the granny square makes them breathable and oh-so-cute!

What You’ll Need:
- Yarn: Worsted weight yarn in your favorite baby-friendly colors (you won’t need much!). I recommend soft acrylic or cotton blends.
- Crochet Hook: Size H/8 (5.0 mm) or the size recommended on your yarn label.
- Yarn Needle: For weaving in those ends neatly.
- Scissors: To snip your yarn.
- Optional: Small buttons or decorative embellishments.
Abbreviations (US Crochet Terms):
- ch: Chain
- sl st: Slip stitch
- dc: Double crochet
- sp: Space
- st(s): Stitch(es)
Gauge: While gauge isn’t critical for this small project, aim for approximately 4 double crochets per inch.
Video tutorial
Let’s Make Some Squares! (Make 2)
Each shoe starts with a classic granny square.
- Starting Chain: Ch 4, join with a sl st to form a ring.
- Round 1: Ch 3 (counts as your first dc), 2 dc in the ring, ch 2, *3 dc in the ring, ch 2*; repeat from * to * two more times. Join with a sl st to the top of the beginning ch-3. (You should have four clusters of 3 dc separated by ch-2 spaces).
- Round 2: Sl st into the next 2 dc and into the first ch-2 sp. Ch 3 (counts as first dc), 2 dc in the same sp, ch 2, 3 dc in the same sp (corner made). *Ch 1, (3 dc, ch 2, 3 dc) in the next ch-2 sp (corner made)*; repeat from * to * two more times. Ch 1, join with a sl st to the top of the beginning ch-3. (You should have four corner clusters and four ch-1 spaces along the sides).
- Round 3: Sl st into the next 2 dc and into the first ch-2 sp. Ch 3 (counts as first dc), 2 dc in the same sp, ch 2, 3 dc in the same sp (corner made). *Ch 1, 3 dc in the next ch-1 sp, ch 1, (3 dc, ch 2, 3 dc) in the next ch-2 sp (corner made)*; repeat from * to * two more times. Ch 1, 3 dc in the last ch-1 sp, ch 1, join with a sl st to the top of the beginning ch-3.

Congratulations! You’ve completed your first granny square. Make one more just like it.
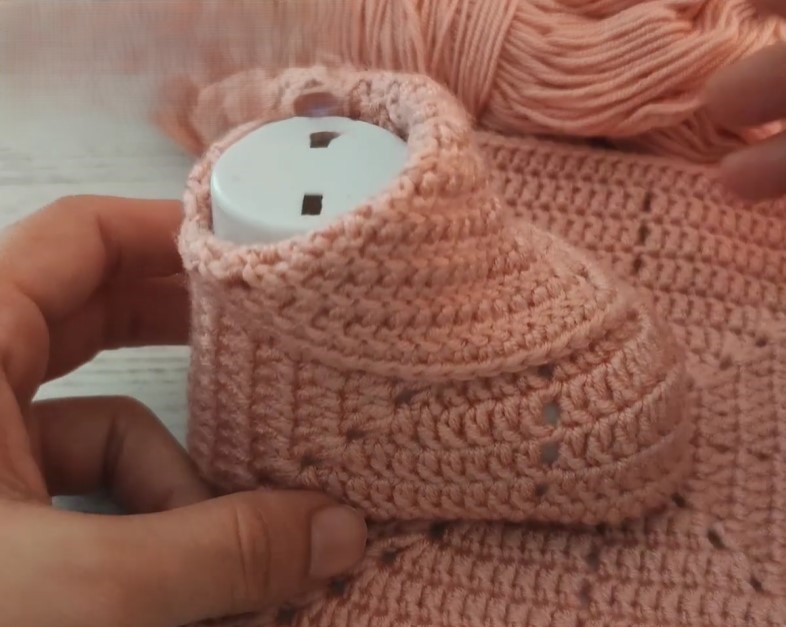
Shaping the Bootie:
Now comes the fun part – turning those squares into adorable shoes!
- Folding and Marking: Take one of your granny squares and lay it flat. Fold it in half diagonally, so two opposite corners meet. Open it up again. Now, identify the center two clusters of double crochets on one side of the square (the side that wasn’t the fold). Place stitch markers on the outer stitch of each of these two center clusters. These markers will indicate the toe area.
- Attaching the Squares: Hold your two granny squares together, wrong sides facing. Starting at one of the stitch markers on the first square, join your yarn with a sl st.
- Creating the Sole: Crochet along the edge of both squares together using single crochet (sc). Work along one side, around the corner, along the next side, and stop at the second stitch marker on the first square. You’ve now created the sole of the bootie. Fasten off and weave in the end.
- Forming the Heel: Now, with the right sides facing out and the sole you just created at the bottom, identify the remaining unworked edges of the two granny squares. Join your yarn with a sl st at one of the open corners.
- Crocheting the Heel: Crochet along the open edges of the two squares using single crochet (sc) to join them together. Work across the entire width until you reach the opposite open corner. Fasten off and weave in the end. You’ll now see the basic shape of a little bootie!

Creating the Ankle Cuff:
Let’s add a cozy cuff around the ankle.
- Attaching Yarn: With the right side facing out, join your yarn with a sl st to any stitch along the top opening of the bootie.
- Round 1: Ch 1 (doesn’t count as a stitch), sc in each stitch around the entire opening. Join with a sl st to the first sc.
- Round 2 (Optional): You can add another round of single crochet for a slightly taller cuff. Join with a sl st to the first sc.
- Optional Edging: For a decorative touch, you can add a round of crab stitch (reverse single crochet) or picots.
Adding a Strap (Optional):
A little strap can help keep the booties on wiggly feet!
- Attaching Yarn: On the side of the bootie, near the sole, attach your yarn with a sl st.
- Creating the Strap: Ch a length that will comfortably go across the top of the foot and attach to the other side (you can estimate or measure).
- Attaching the Strap: Sl st to the other side of the bootie, ensuring the strap isn’t too tight or too loose. Fasten off and weave in the ends.
- Adding a Fastener (Optional): You can sew on a small button to the side opposite the strap’s starting point and create a loop at the end of the strap (using chains and a sl st) to fasten it.
Finishing Touches:
- Weave in all your loose ends securely.
- Add any optional embellishments like small crocheted flowers, buttons, or little bows.
Repeat: Make a second bootie following the exact same steps.
Congratulations! You’ve now created a beautiful pair of handmade granny square baby shoes. These little booties make a thoughtful and adorable gift for a baby shower or a special little one in your life.
Tips for Success:
- Don’t be afraid to count your stitches, especially in the beginning.
- If you’re unsure about any step, there are many helpful video tutorials online that can visually guide you.
- Experiment with different colors and yarn textures to create unique pairs of booties.
- For different sizes, you can adjust the number of rounds in your granny squares. Just make sure both squares for a pair are the same size.