 by
by 
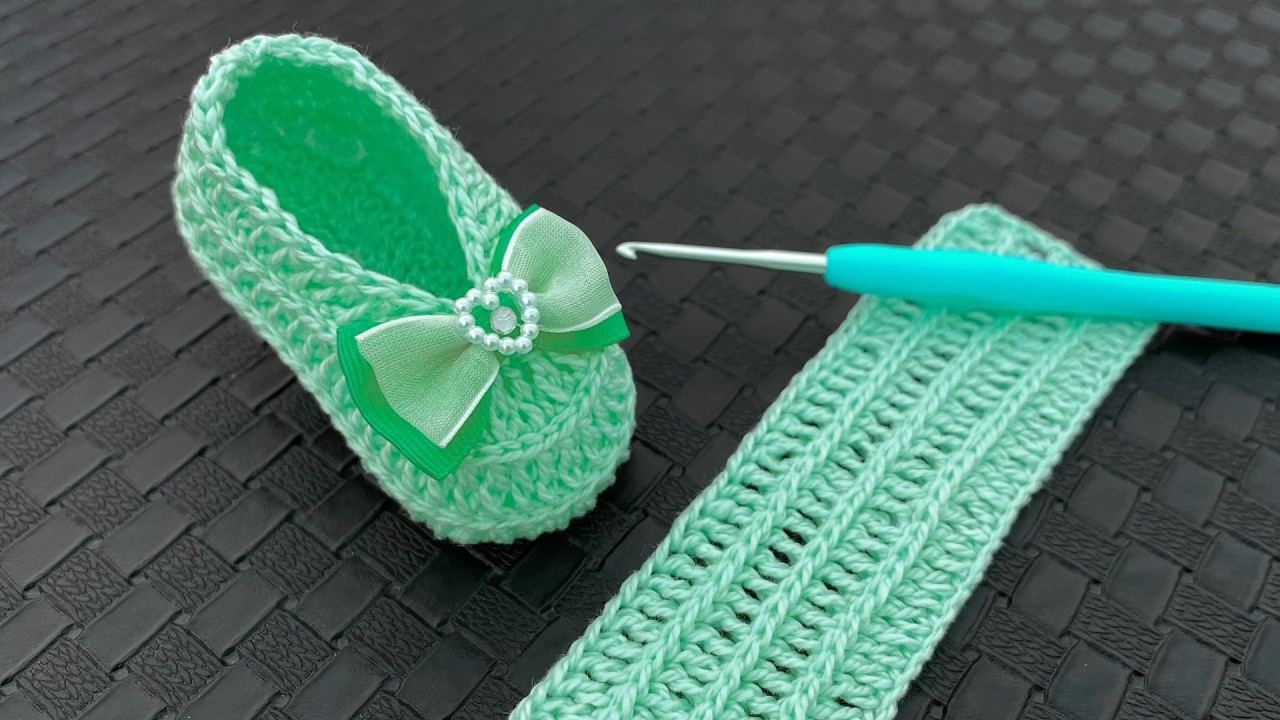
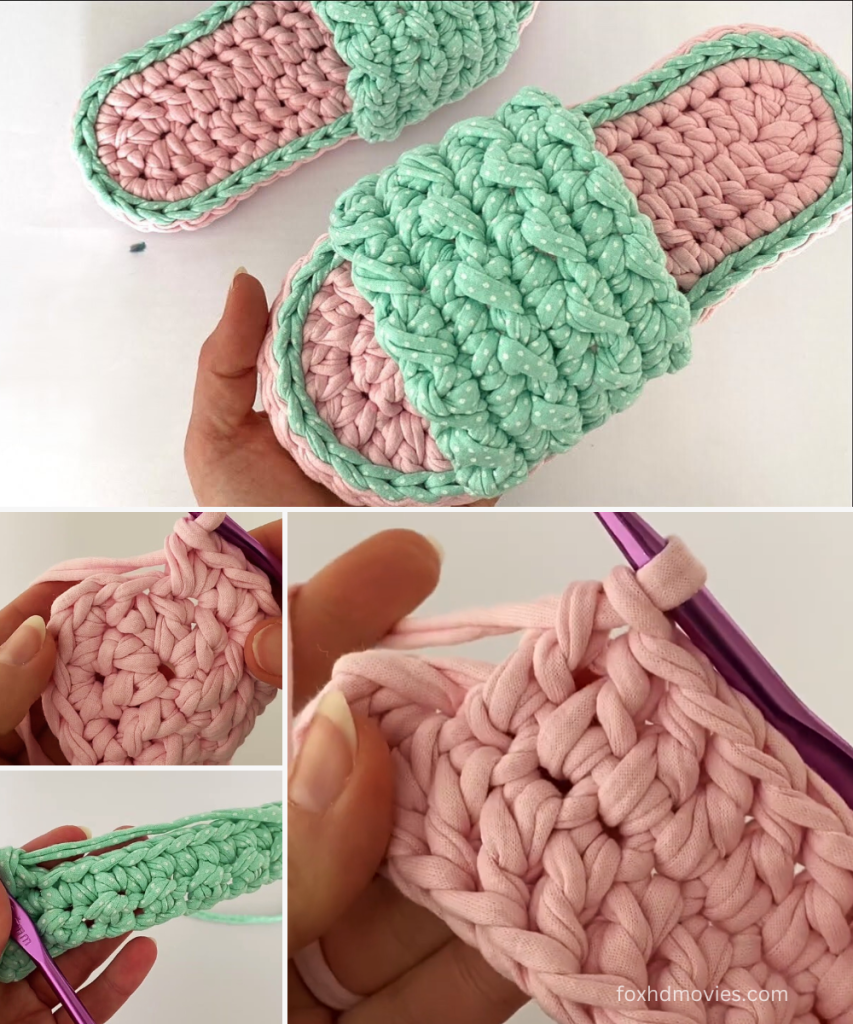
This pattern creates a textured, ribbed piece that can be used as a comfortable eye mask, a decorative panel for a larger project, or adapted for other uses. It’s designed to incorporate rings at each end.
Approximate Finished Size:
- Length (excluding rings): 6.5 – 7 inches (16.5 – 18 cm)
- Width (at widest point): 2.5 – 3 inches (6.5 – 7.5 cm)
Materials:
- Yarn: DK (Double Knitting) or Light Worsted Weight (Category 3 or 4) soft yarn in grey (or desired color).
- Approx. 20-30 yards (18-27 meters)
- Plastic/Metal Rings: Two (2) clear plastic or metal O-rings (approx. 1 inch / 2.5 cm diameter).
- Crochet Hook: 3.5mm (E/4) hook (or hook size to achieve a dense but flexible fabric).
- Yarn Needle: For weaving in ends.
- Scissors
- Stitch Markers (optional)
Gauge: Not critical for this project, but aim for a firm, even fabric.
Abbreviations (US Terms):
- ch: chain
- sl st: slip stitch
- sc: single crochet
- hdc: half double crochet
- hdc2tog: half double crochet 2 together (decrease)
- BLO: back loop only (working into the back loop of the stitch only)
- st(s): stitch(es)
- F.O.: Fasten Off
Pattern Instructions: The Panel
The panel is worked flat in rows. We’ll start by crocheting directly onto one ring, then build the body, and finally crochet onto the second ring.
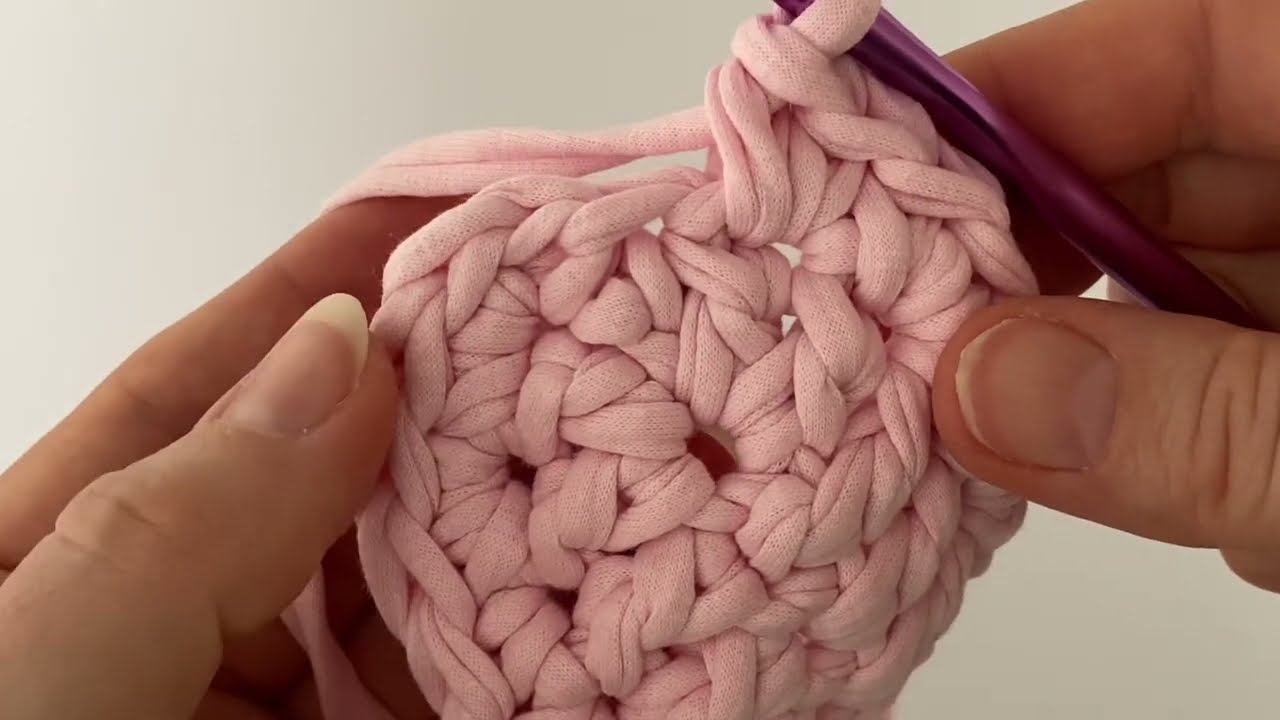
Part 1: Starting with the First Ring
- Take one plastic/metal ring.
- Attach your yarn to the ring with a
sl st. - Row 1 (Working onto ring):
Ch 1(does not count as a stitch). Work 20scstitches around the ring, pushing them together to cover the ring tightly.Ch 1(does not count as st). Turn.- Make sure your
scstitches are firm and cover the ring well.
Part 2: Crocheting the Body of the Panel
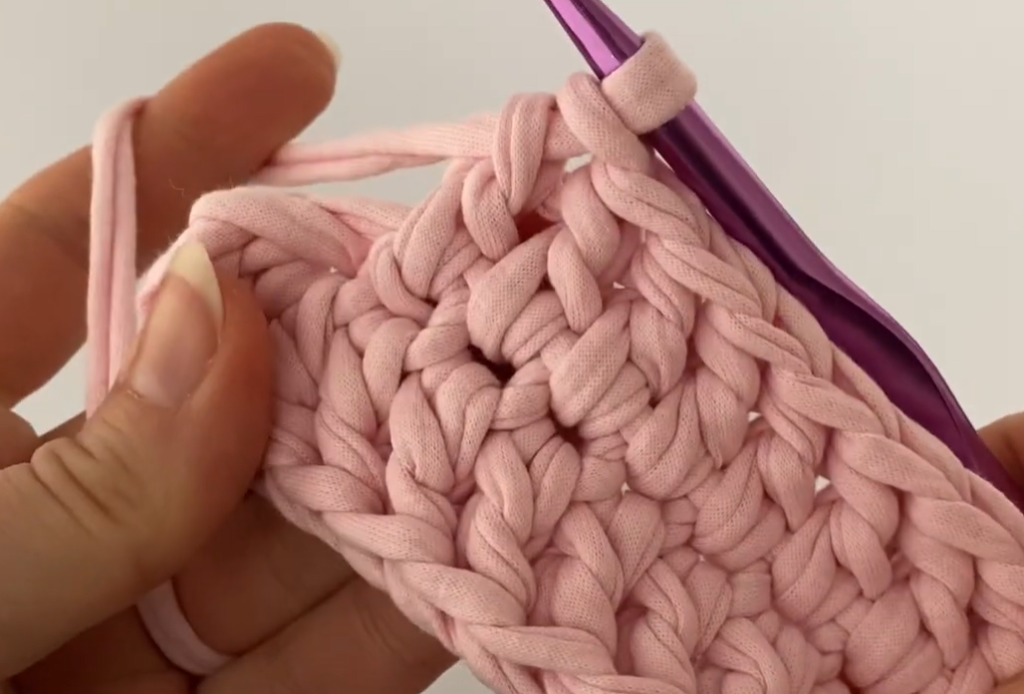
We will create the ribbed texture by working into the back loop only (BLO). The shaping will occur by decreasing at the beginning and end of certain rows.
Row 2: Sc in the BLO of each of the first 2 sc stitches (sc2tog if you want a sharper start to the curve, but sc will make a gentler slope as in the image). Hdc in the BLO of the next 16 sc stitches. Sc in the BLO of the last 2 sc stitches (sc2tog if desired). (20 stitches – if using sc2tog, 18 stitches). * Ch 2 (counts as first hdc). Turn. * Let’s proceed assuming no initial decreases in Row 2, maintaining 20 stitches, and shaping later for a broader center as pictured.
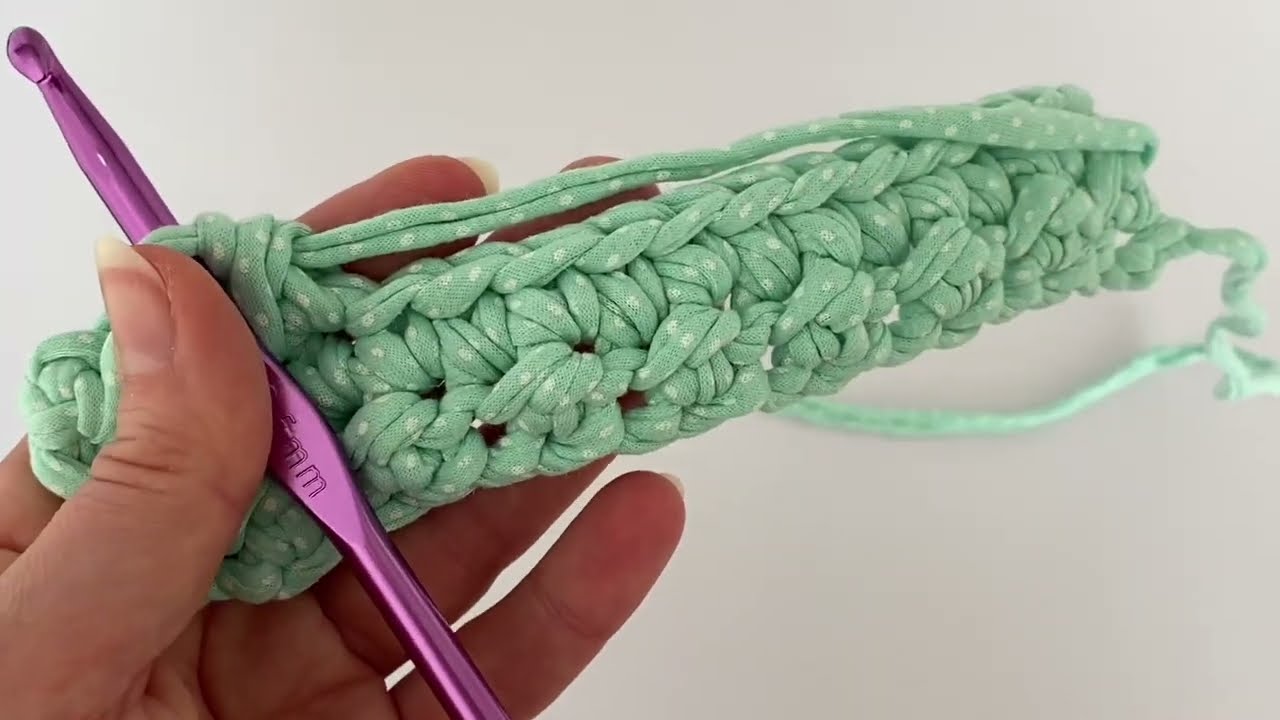
Row 3: Hdc in the BLO of each stitch across. (20 hdc). * Ch 2. Turn.
Row 4: Hdc in the BLO of each stitch across. (20 hdc). * Ch 2. Turn.
Row 5: Hdc in the BLO of each stitch across. (20 hdc). * Ch 2. Turn.
Row 6: Hdc in the BLO of each stitch across. (20 hdc). * Ch 2. Turn.
Row 7 (First Decrease Row – Shaping the sides): Hdc2tog in BLO over the first 2 stitches. Hdc in the BLO of the next 16 stitches. Hdc2tog in BLO over the last 2 stitches. (18 hdc). * Ch 2. Turn.
Row 8 (Second Decrease Row): Hdc2tog in BLO over the first 2 stitches. Hdc in the BLO of the next 14 stitches. Hdc2tog in BLO over the last 2 stitches. (16 hdc). * Ch 2. Turn.
Row 9 (Third Decrease Row): Hdc2tog in BLO over the first 2 stitches. Hdc in the BLO of the next 12 stitches. Hdc2tog in BLO over the last 2 stitches. (14 hdc). * Ch 2. Turn.
Row 10 (Fourth Decrease Row): Hdc2tog in BLO over the first 2 stitches. Hdc in the BLO of the next 10 stitches. Hdc2tog in BLO over the last 2 stitches. (12 hdc). * Ch 1 (does not count as st). Turn.
Part 3: Attaching the Second Ring
- Take the second plastic/metal ring.
- Row 11 (Working onto ring): Work 12
scstitches around the ring, working through theBLOof the last row of your crocheted panel and simultaneously around the ring to attach it. Ensure the stitches are even and cover the ring. Sl stto the firstscyou made on the ring to secure.- F.O. Weave in all loose ends securely.
Video tutorial
Your ribbed eye mask or decorative panel is now complete! You can attach elastic or ties to the rings if using it as an eye mask.