by
by 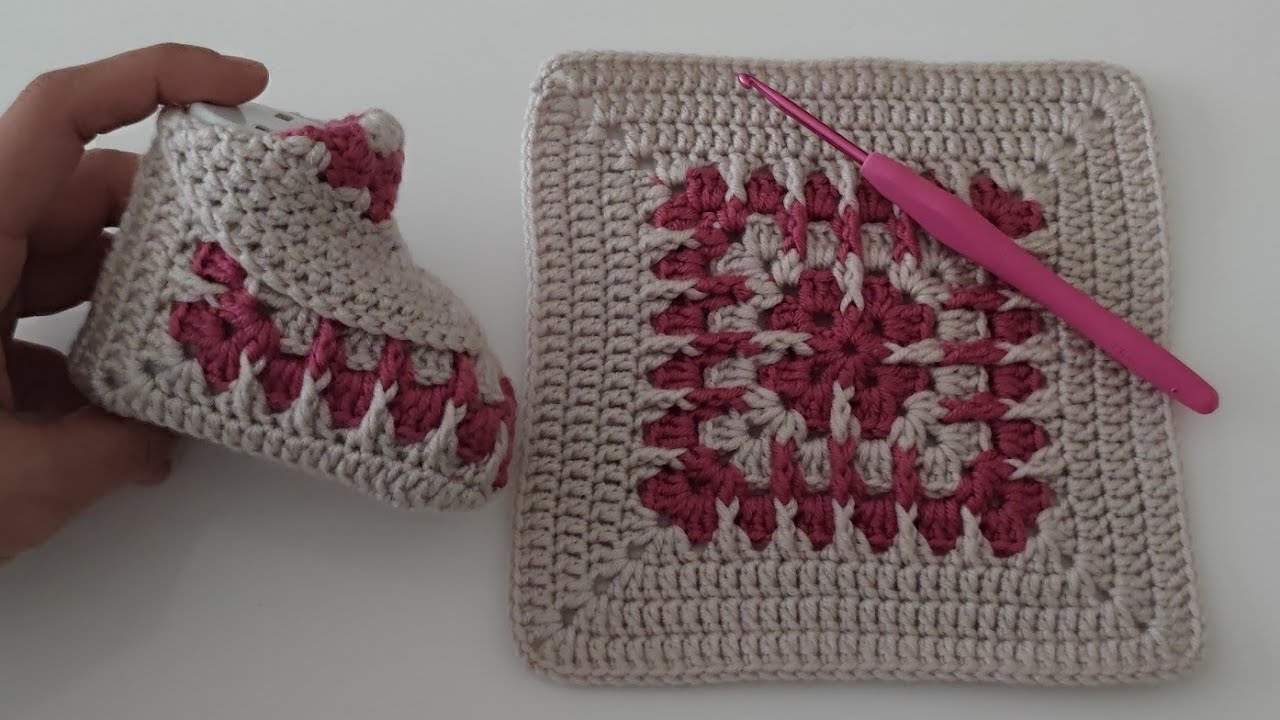
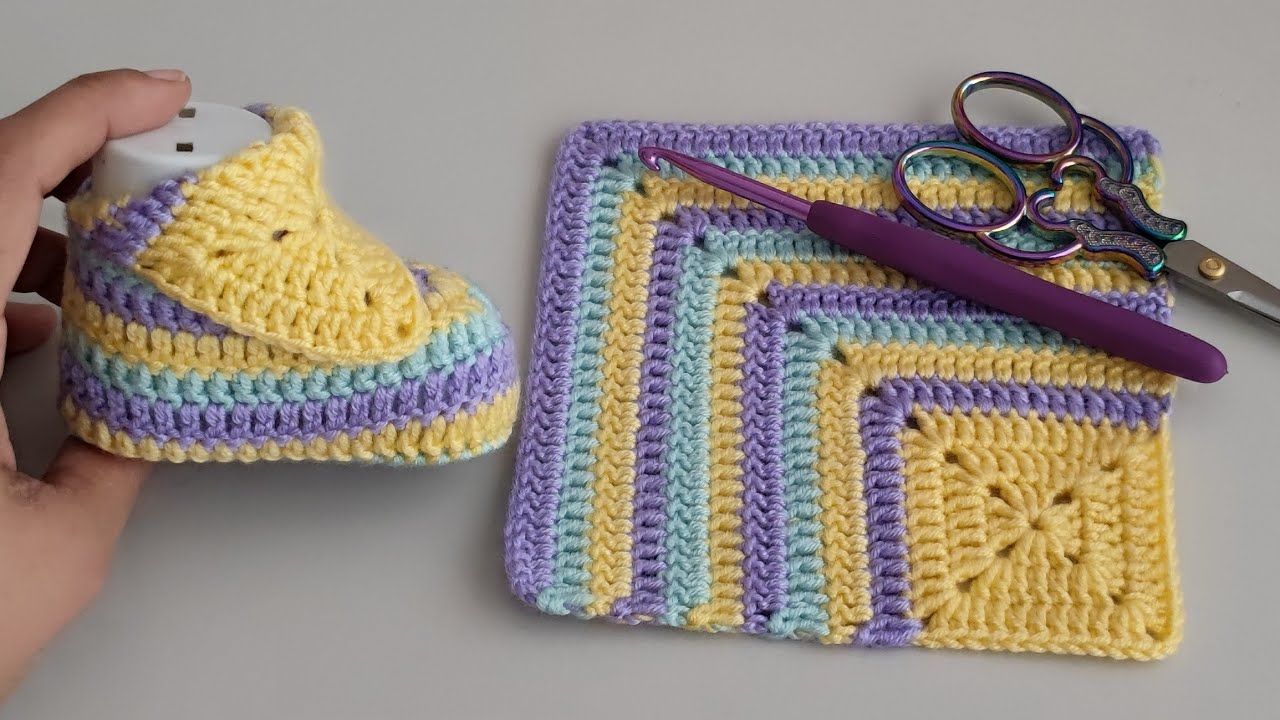
Hello fellow yarn enthusiasts! Are you on the lookout for a quick, adorable, and absolutely free crochet project? Look no further! Today, we’re diving into the wonderful world of 3D mesh baby shoes. These little booties are not only incredibly cute but also surprisingly simple to make, thanks to their clever construction. The open mesh design makes them breathable for tiny toes, perfect for warmer days or indoor wear.
Whether you’re a seasoned crocheter or just starting your yarn journey, this pattern is designed with ease in mind. Plus, who can resist a handmade gift for a precious little one? Let’s get started!

What Makes These Baby Shoes So Special?
- Super Easy: The basic stitches and straightforward shaping make this pattern accessible to crocheters of all skill levels.
- Free Pattern: That’s right! You can create these adorable shoes without spending a dime on the pattern itself.
- 3D Mesh Texture: The unique mesh design adds a lovely visual texture and promotes breathability.
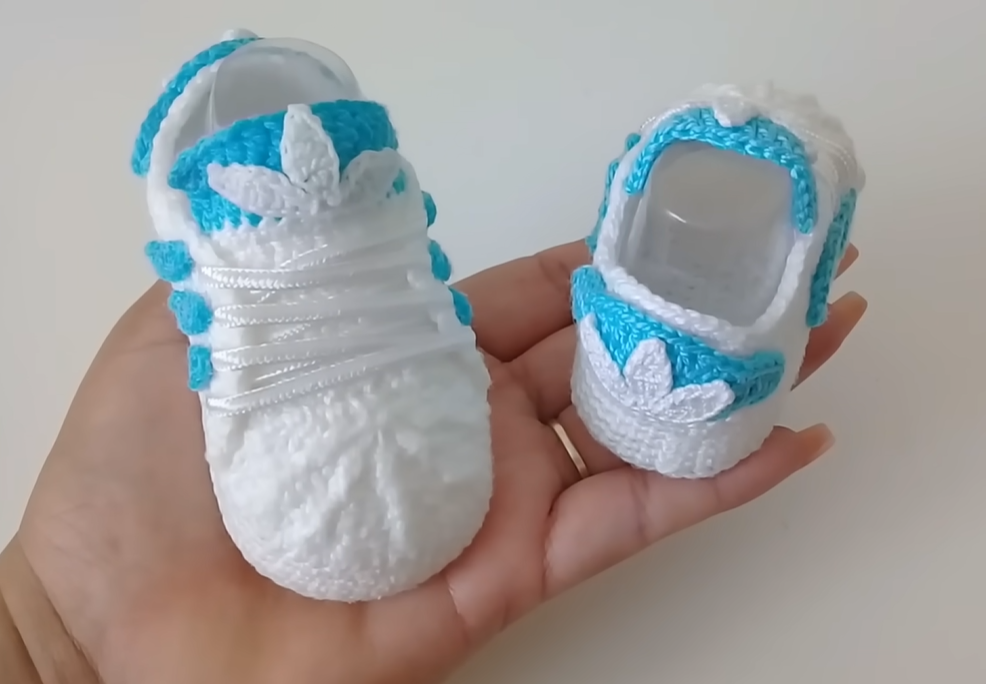
- Customizable: Play with different yarn colors to create a personalized touch for the little one in your life.
- Quick Project: You can whip up a pair of these booties in just a few hours – perfect for last-minute baby shower gifts!
Materials You’ll Need:
- Worsted weight yarn: Choose a soft and baby-friendly yarn. A small amount goes a long way!
- Crochet hook: The size will depend on your yarn weight, but a US size F/5 (3.75 mm) or G/6 (4 mm) is usually a good starting point. Check your yarn label for recommendations.
- Scissors: For snipping yarn ends.
- Tapestry needle: For weaving in those loose ends neatly.
- Stitch markers (optional but helpful): To mark the beginning of rounds or specific stitches.
Abbreviations (US Crochet Terms):
- ch: chain
- sl st: slip stitch
- sc: single crochet
- dc: double crochet
- sp(s): space(s)
- rep: repeat
Gauge:
While gauge isn’t critical for this small project, aim for approximately 4 single crochet stitches per inch to ensure a reasonably sized bootie for a newborn.
Video tutorial
Let’s Get Crocheting!
Sole (Make 2):
- Foundation Chain: Ch 11.
- Round 1: Sc in the second ch from the hook and in each ch across (10 sc). Ch 1, turn.
- Round 2: Sc in the first st, 2 sc in the next st, sc in the next 6 sts, 2 sc in the next st, sc in the last st (12 sc). Ch 1, turn.
- Round 3: Sc in the first 2 sts, 2 sc in the next st, sc in the next 6 sts, 2 sc in the next st, sc in the last 2 sts (14 sc). Ch 1, turn.
- Round 4: Sc in the first 3 sts, 2 sc in the next st, sc in the next 6 sts, 2 sc in the next st, sc in the last 3 sts (16 sc). Ch 1, turn.
- Round 5: Sc in the first 4 sts, 2 sc in the next st, sc in the next 6 sts, 2 sc in the next st, sc in the last 4 sts (18 sc). Ch 1, turn.
- Round 6: Sc in each st across (18 sc). Ch 1, turn.
- Round 7: Sc in each st across (18 sc). Do not fasten off the second sole.

Upper Part (Joining the Soles):
- With the right sides of both soles facing outwards, place them together.
- Working through both layers, sc around the entire edge of the soles. Place stitch markers at approximately the 4th and 14th stitches from the beginning of the round. These markers will help define the front of the shoe. You should have around 36 sc stitches in total.
- Sl st to the first sc to join the round. Do not turn.
Creating the Mesh:
- Round 1: Ch 3 (counts as a dc), skip the next st, dc in the next st, *ch 1, skip the next st, dc in the next st; rep from * around. Sl st to the top of the beginning ch-3 to join the round.
- Round 2: Sl st into the first ch-1 sp, ch 3 (counts as a dc), dc in the next ch-1 sp, *ch 1, dc in the next ch-1 sp; rep from * around. Sl st to the top of the beginning ch-3 to join the round.
- Rounds 3-6 (or desired height): Repeat Round 2.

Shaping the Front:
- Round 7: Sl st into the first ch-1 sp, ch 1, sc in the same sp, sc in the next dc, sc in the next ch-1 sp. Continue to sc across until you reach the first stitch marker. Sc in the marked st. Then, skip the stitches between the markers (approximately 10 sts) and sc in the stitch immediately after the second marker. Continue to sc in each dc and ch-1 sp until the end of the round. Sl st to the first sc to join. (You’ve now created the opening for the foot).
- Round 8: Ch 1, sc in each st around. Sl st to the first sc to join.
Ankle Strap (Make 2):
- Foundation Chain: Ch 15 (or desired length for the strap).
- Row 1: Sc in the second ch from the hook and in each ch across (14 sc). Fasten off.
Finishing:
- Using your tapestry needle, sew one end of each ankle strap to the side of the shoe opening, a few rounds down from the top edge. Make sure they are positioned symmetrically.
- Weave in all loose ends securely.

Tips and Variations:
- Color Play: Use two contrasting colors for a fun and vibrant look. You could make the sole and strap one color and the mesh another.
- Edging: Add a delicate picot or crab stitch edging around the top of the shoe and the straps for a more polished look.
- Embellishments: Consider adding small crocheted flowers, buttons (securely sewn!), or embroidered details for extra cuteness.
- Sizing: To adjust the size, you can increase or decrease the number of stitches in the initial chain and the subsequent rounds of the sole. You may also need to adjust the height of the upper part.
Congratulations! You’ve just created a beautiful and practical pair of 3D mesh baby shoes. These little booties make a thoughtful handmade gift and are sure to keep those tiny feet happy.
We’d love to see your creations! Share your finished baby shoes on social media using the hashtag #EasyMeshBabyShoes. Happy crocheting!