by
by 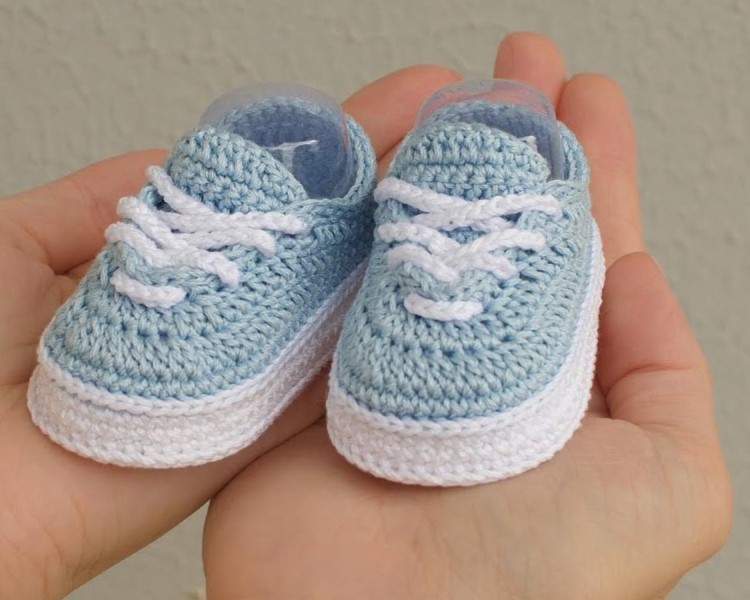
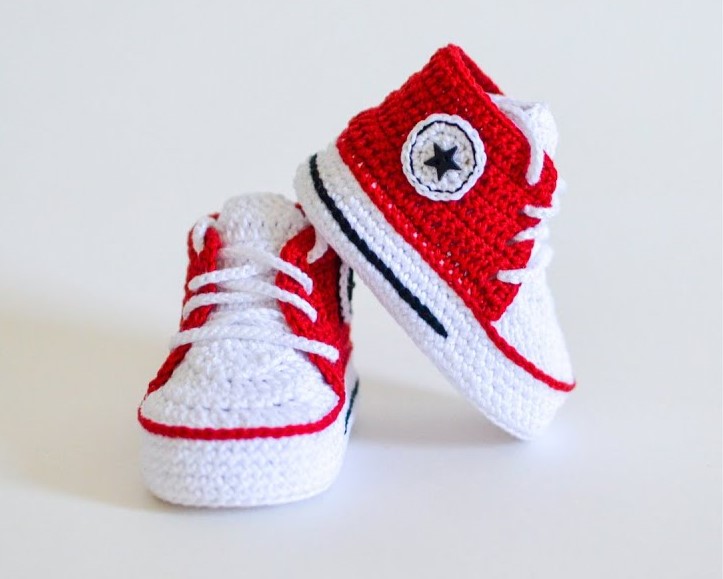
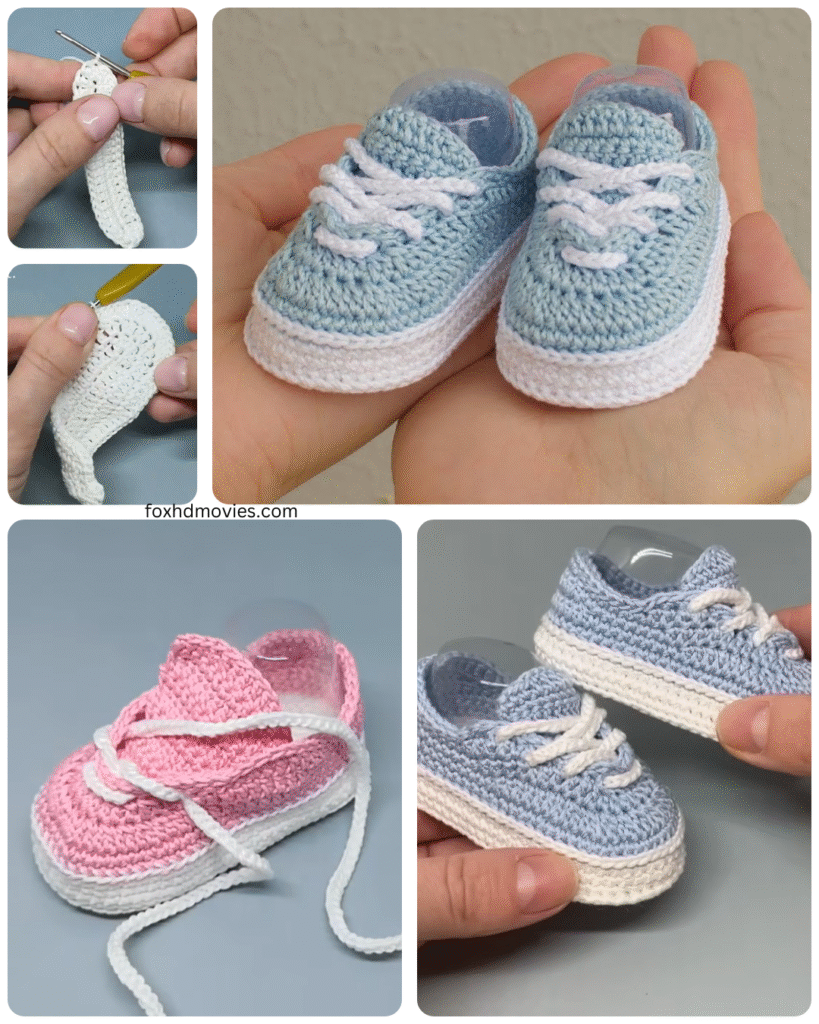
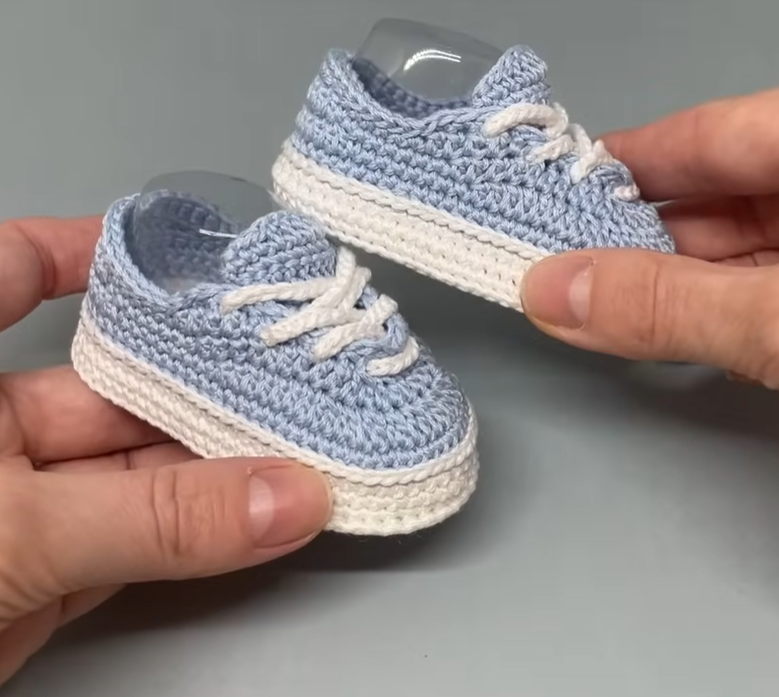
There’s something utterly magical about the arrival of a new baby. And what could be more delightful than dressing those tiny feet in handmade shoes filled with love? This detailed pattern will walk you through creating the most adorable newborn baby shoes – perfect for gifting or welcoming your own little one.
What You’ll Need:
- Soft Fabric: Felt, fleece, or lightweight cotton are excellent choices. You won’t need much – scraps often work perfectly!
- Contrasting Fabric (Optional): For embellishments like straps or soles.
- Thread: Matching your main fabric.
- Needle: Hand-sewing needle or a sewing machine.
- Scissors: Sharp fabric scissors.
- Pins: To hold pieces together.
- Paper or Cardstock: For creating the pattern.
- Pencil or Pen: To trace the pattern.
- Measuring Tape or Ruler.
- Optional Embellishments: Buttons, ribbons, small appliques.
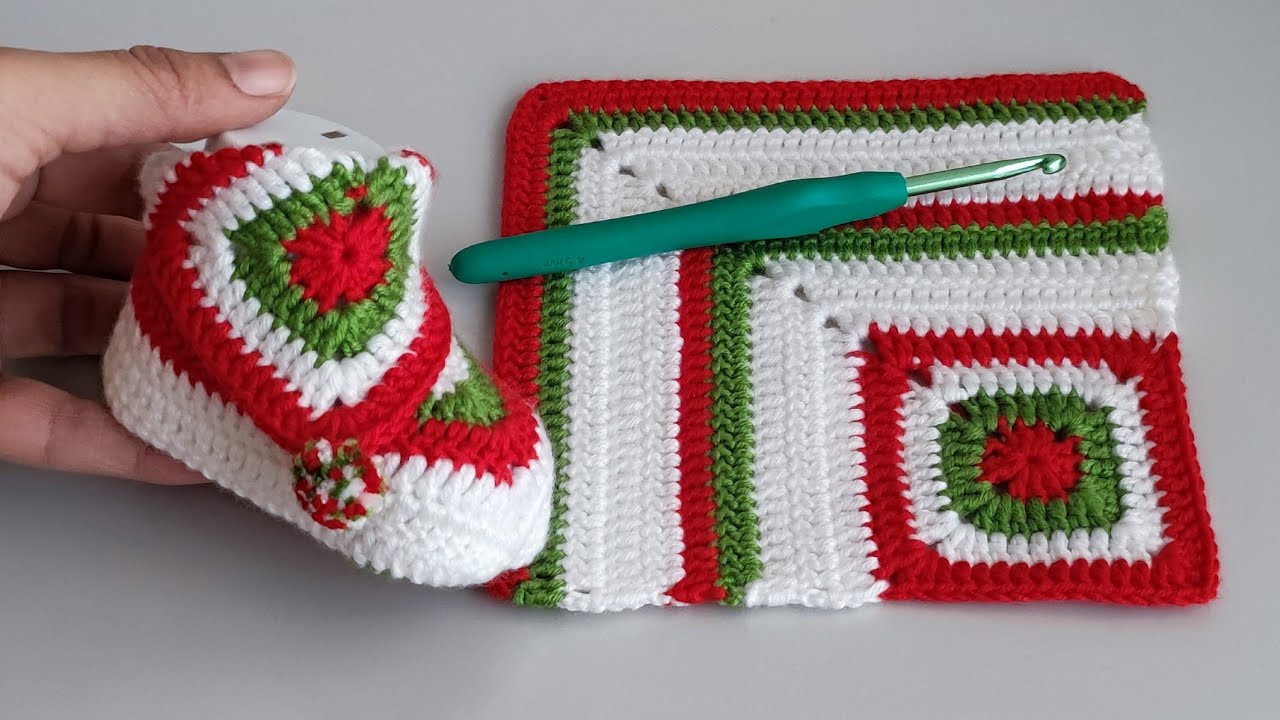
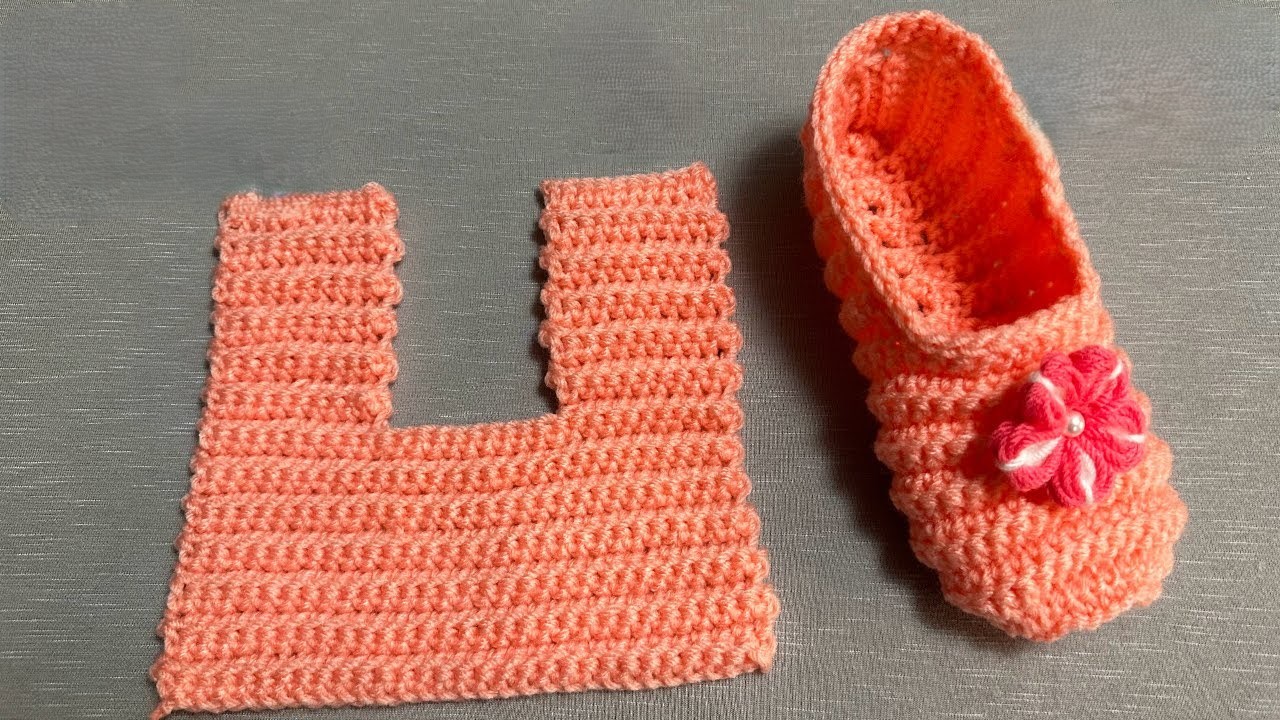
Video tutorial
The Pattern Pieces:
(Imagine a simple, clear diagram here. Since I can’t draw directly, I’ll describe the shapes and approximate sizes. You can easily sketch these on paper.)
- Sole: An oval shape, approximately 3.5 inches long and 2 inches wide. This will form the bottom of the shoe.
- Upper (Two Pieces): Two mirror-image pieces. Imagine a rounded “U” shape. The base of the “U” should be roughly the same width as the widest part of your sole (2 inches). The height of the “U” curve should be about 2 inches at its tallest point.
- Heel Piece: A rectangle approximately 2 inches wide and 1.5 inches tall.
- Strap (Optional): A rectangle approximately 4 inches long and 0.5 inches wide.
Let’s Get Sewing!

Step 1: Creating Your Pattern
- On your paper or cardstock, draw out each of the pattern pieces according to the measurements above. Remember to label each piece (Sole, Upper, Heel, Strap).
- Cut out your paper patterns carefully.
Step 2: Cutting the Fabric
- Pin your paper patterns onto your chosen fabric. For the “Upper” pieces, remember you’ll need two mirror images – so either fold your fabric in half before cutting or flip the pattern piece over for the second cut.
- Carefully cut out all your fabric pieces. You should have:
- 2 Sole pieces
- 2 Upper pieces (mirrored)
- 1 Heel piece
- 2 Strap pieces (if using)
Step 3: Assembling the Upper
- Take one of your “Upper” pieces. Align the curved edge with one of the long edges of your “Heel” piece.
- Pin these two pieces together, ensuring the right sides of the fabric are facing each other.
- Sew along the pinned edge using a small, secure stitch (either by hand or machine).
- Repeat this process with the other “Upper” piece and the remaining long edge of the “Heel” piece. You should now have a U-shaped upper part of the shoe.

Step 4: Attaching the Sole
- Take one of your “Sole” pieces.
- Carefully pin the edges of the assembled “Upper” to the edge of the “Sole” piece, right sides facing each other. Start by aligning the center of the “U” base with the center of one of the short ends of the oval sole.
- Work your way around, gently easing the fabric of the upper to fit the curve of the sole. Use plenty of pins to keep everything in place.
- Sew all the way around the sole using a small, secure stitch.
- Repeat this process with the remaining “Sole” piece and the other assembled “Upper” to create the second shoe.
Step 5: Adding the Strap (Optional)
- If you’re adding a strap, take your two strap pieces.
- Fold each strap piece in half lengthwise, right sides together, and sew along the long open edge.
- Turn the straps right side out. You can use a safety pin to help with this.
- Decide where you want to position the straps on the sides of the shoes. Pin one end of a strap to the outside of one side of a shoe. Sew it securely.
- On the opposite side of the shoe, sew a small piece of Velcro or a snap closure. Alternatively, you can sew a button on one side and create a small buttonhole on the other end of the strap.
- Repeat this for the second shoe.
Step 6: Finishing Touches
- Turn the little shoes right side out.
- Gently push out any seams for a neat finish.
- At this stage, you can add any extra embellishments you desire. Consider sewing on small buttons, ribbons, or felt appliques to make them even cuter!
Tips for Extra Cuteness:
- Play with Colors and Patterns: Don’t be afraid to mix and match fabrics for a unique look.
- Embroidery Details: Add tiny embroidered flowers, stars, or initials for a personal touch.
- Soft Soles: For extra comfort, consider adding a layer of soft fleece or batting inside the sole.
- Check the Fit: Remember these are for newborns, so they should be snug but not too tight. The given measurements are approximate and can be adjusted slightly.
A Labor of Love:
Creating these tiny baby shoes is more than just a sewing project; it’s a heartfelt gesture of love and care. Imagine the sweet little feet that will one day fill these adorable creations. Happy sewing!