by
by 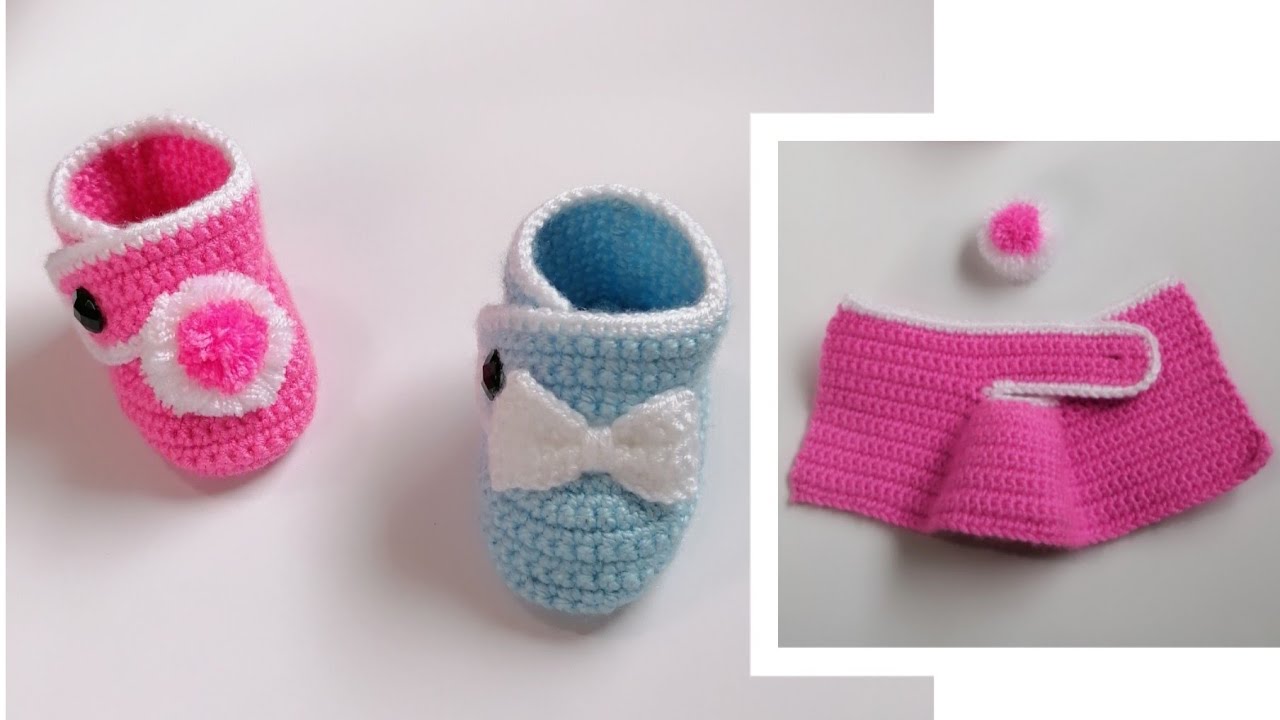
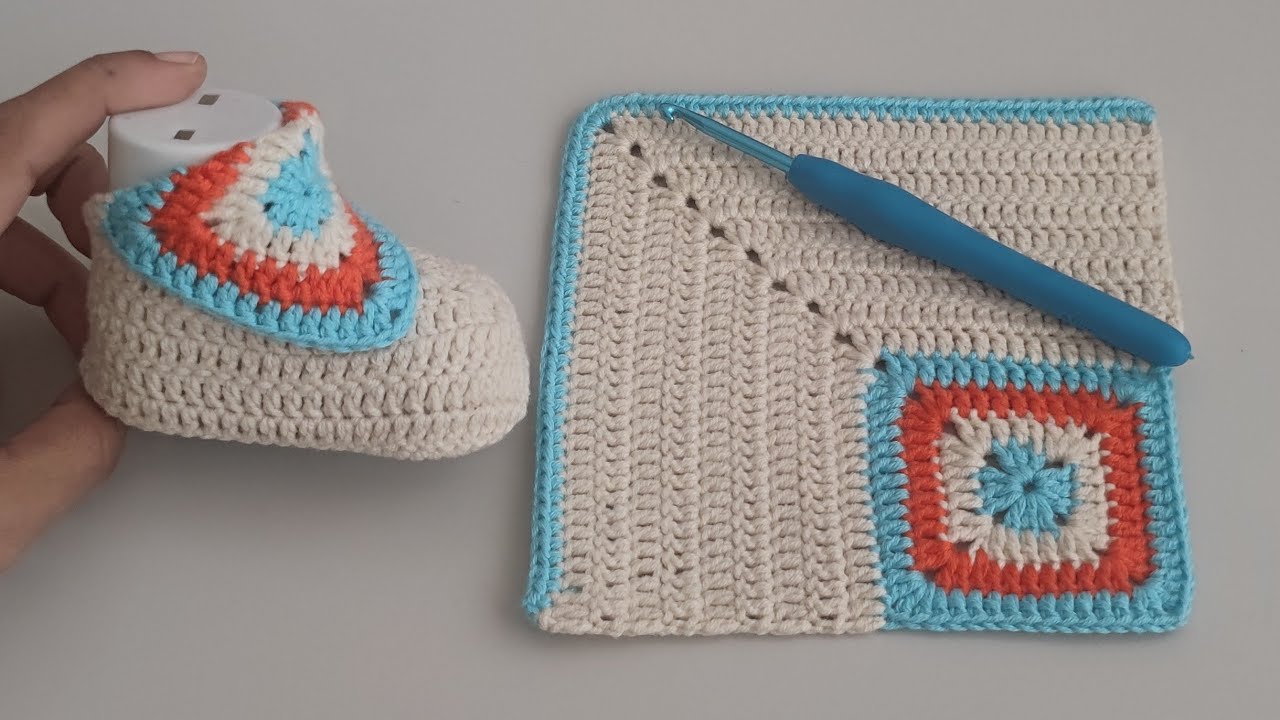
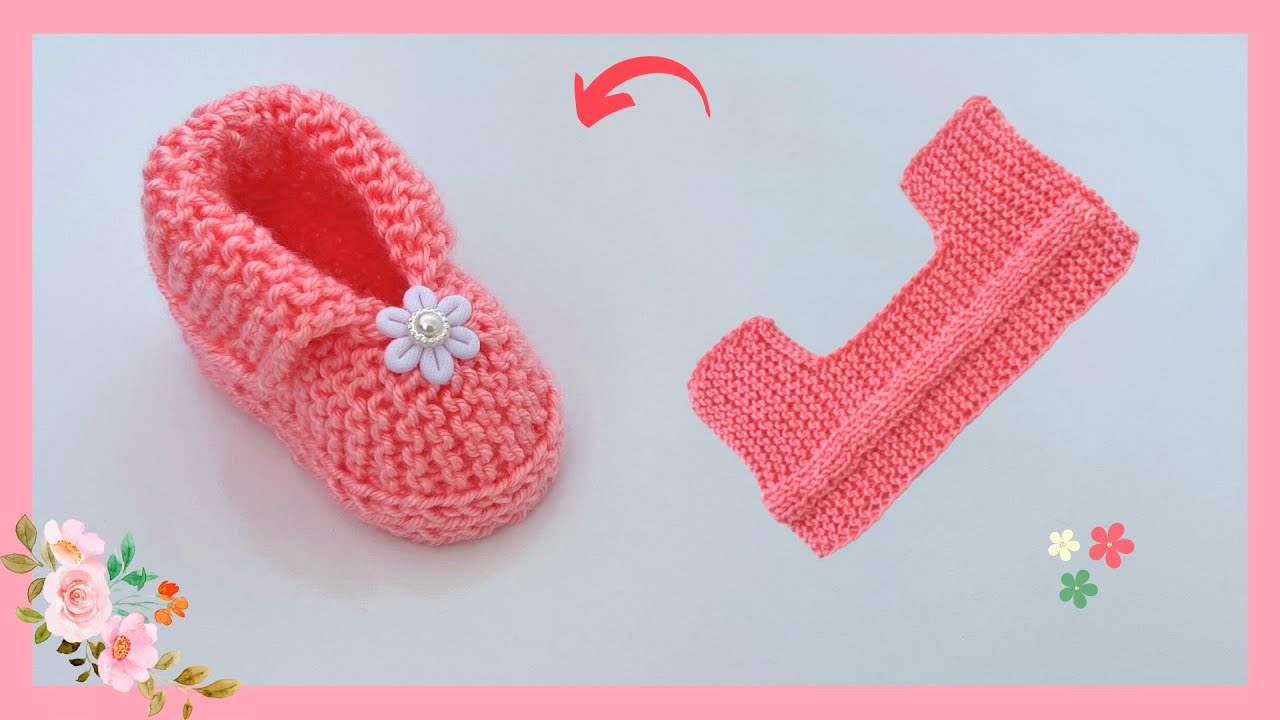
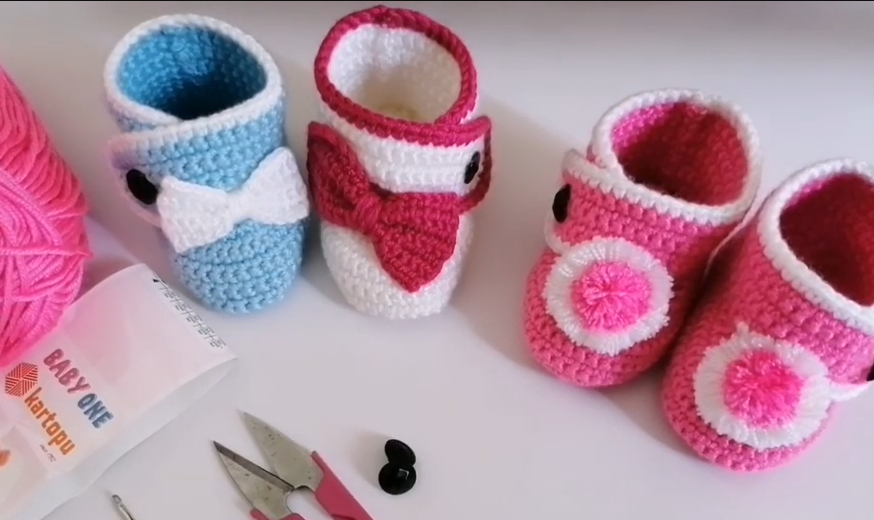
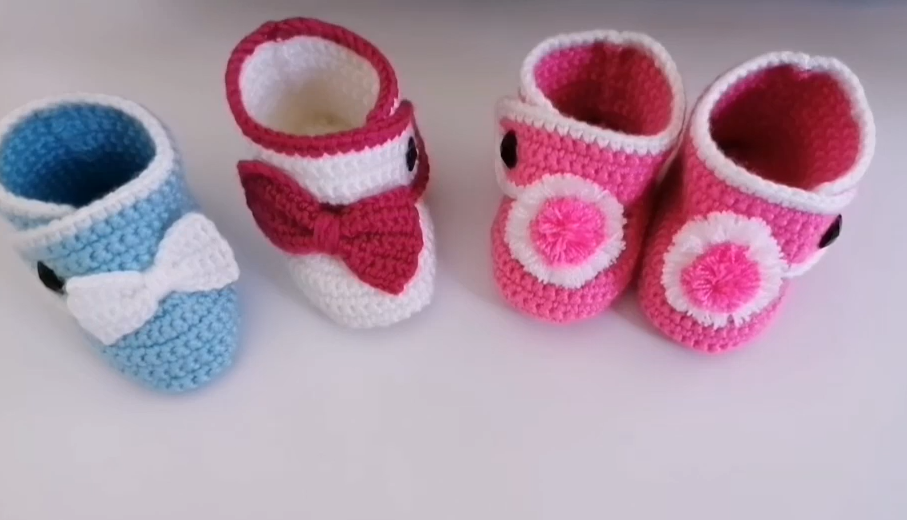
These slippers work up quickly and use basic crochet stitches, making them a perfect project for gifting or adding a handmade touch to your own baby’s wardrobe. The simple design allows for endless customization with colors and embellishments.

What You’ll Need:
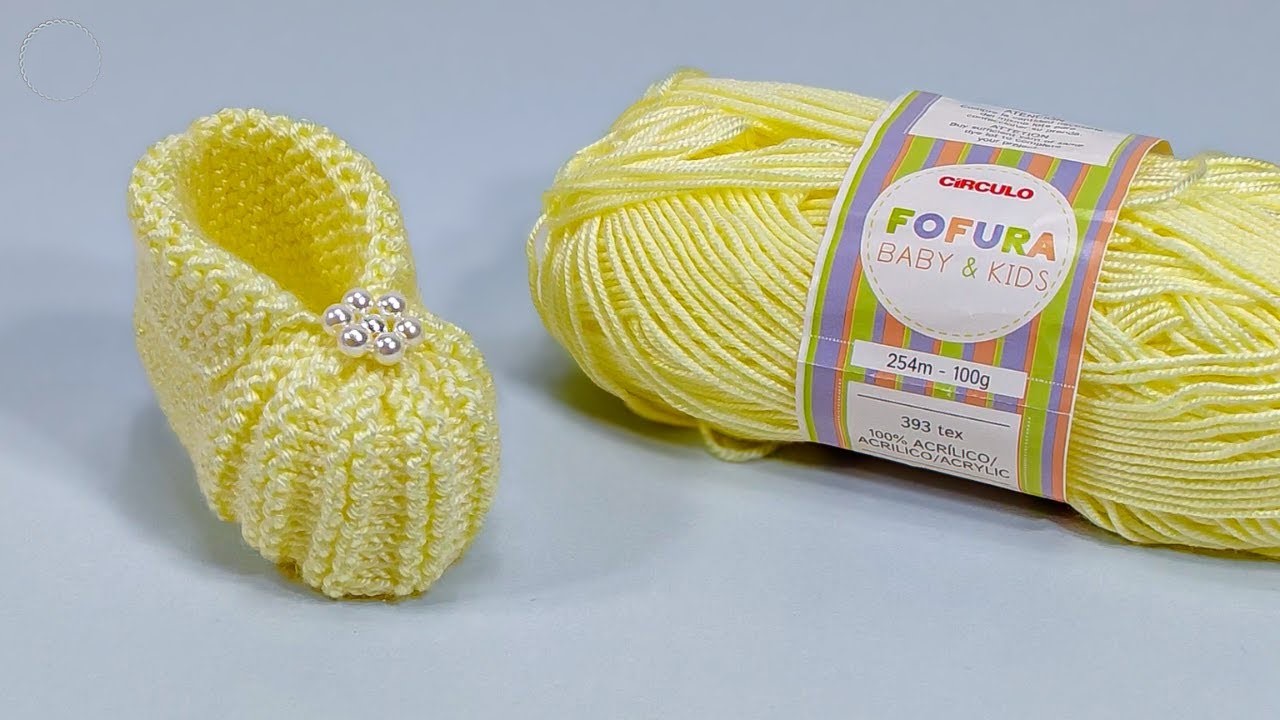
- Yarn: Worsted weight yarn in your desired color(s). A soft, baby-friendly yarn is always a good choice. You won’t need a lot – scraps often work perfectly!
- Crochet Hook: An H/8 (5.0 mm) crochet hook, or the size recommended for your yarn.
- Scissors: For snipping yarn ends.
- Yarn Needle: For weaving in ends.
- Optional Embellishments: Buttons, small appliques, ribbon, etc.
Abbreviations (US Crochet Terms):
- ch: chain
- sl st: slip stitch
- sc: single crochet
- hdc: half double crochet
- dc: double crochet
Gauge:
While gauge isn’t critical for this small project, aim for approximately 4 hdc stitches per inch. This will help ensure your slippers come out to a reasonable baby size.
Sizing:
This pattern is written for approximately a 0-3 month old baby (sole length around 3.5 inches). You can adjust the size by adding or subtracting chains in the initial chain and/or adding or subtracting rounds in the sole.
Video pattern
Let’s Get Started!
Part 1: The Sole
We’ll begin by creating the oval shape of the slipper sole.
- Chain: Chain 11.
- Round 1: In the second chain from the hook, sc. Sc in the next 8 chains. In the last chain, work 3 sc. Now, working on the other side of the initial chain, sc in the next 8 chains. Work 2 sc in the last chain (where you started the first sc of this round). Sl st to the first sc to join. (Total: 22 sc)
- Round 2: Ch 1 (does not count as a stitch). 2 sc in the first sc. Sc in the next 8 sc. 2 sc in each of the next 3 sc. Sc in the next 8 sc. 2 sc in each of the last 2 sc. Sl st to the first sc to join. (Total: 28 sc)
- Round 3: Ch 1. Sc in the first sc. 2 sc in the next sc. Sc in the next 9 sc. (Sc, 2 sc) twice in the next 2 sc. Sc in the next 9 sc. 2 sc in the next sc. Sc in the last sc. Sl st to the first sc to join. (Total: 32 sc)
- Note: For a slightly larger sole, you can add another round, increasing around the ends to maintain the oval shape.
Part 2: The Upper
Now we’ll start working on the upper part of the slipper.
- Round 4: Ch 1. Sc in each stitch around. Sl st to the first sc to join. (Total: 32 sc)
- Round 5: Ch 1. Sc in the back loop only of each stitch around. Sl st to the first sc to join. (Total: 32 sc)
- Working in the back loop only creates a nice ridge and helps to shape the slipper.
- Round 6: Ch 1. Sc in the next 10 stitches. Hdc in the next 12 stitches. Sc in the last 10 stitches. Sl st to the first sc to join. (Total: 32 stitches)
- This round starts to form the opening of the slipper.
- Round 7: Ch 1. Sc in the next 8 stitches. Hdc in the next 16 stitches. Sc in the last 8 stitches. Sl st to the first sc to join. (Total: 32 stitches)
- Round 8: Ch 1. Sc in the next 6 stitches. Hdc in the next 20 stitches. Sc in the last 6 stitches. Sl st to the first sc to join. (Total: 32 stitches)
Part 3: Shaping the Front
Now we’ll create the curved front of the slipper.
- Round 9: Ch 1. Sc in the next 6 stitches. Skip the next 8 stitches. Sc in the last 6 stitches. Sl st to the first sc to join. (Total: 12 sc)
- We’re leaving an opening for the top of the foot.
- Round 10: Ch 1. Sc in each stitch around. Sl st to the first sc to join. (Total: 12 sc)
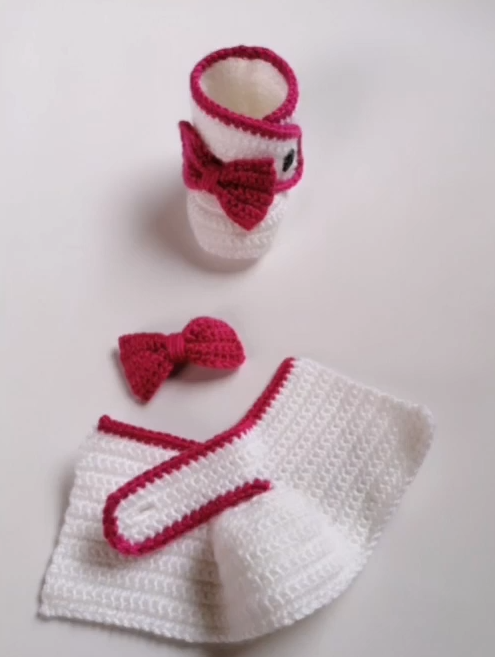
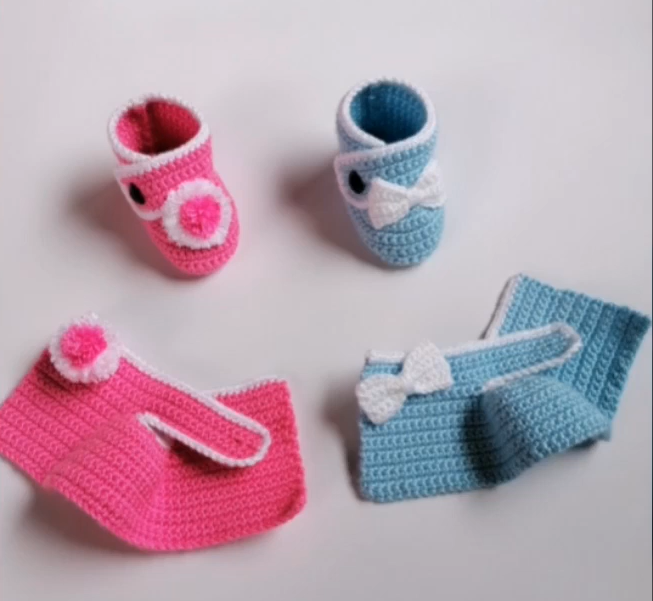
Part 4: Creating the Ankle Strap (Optional)
This adds a little extra security to keep the slipper on tiny feet.
- From the side of the opening: Attach your yarn with a sl st. Ch 15 (or desired length). Sl st to the other side of the opening.
- Round 2 (of strap): Ch 1. Sc in each chain across. Sl st to the starting sl st. Fasten off and weave in ends.
- You can adjust the length of the strap as needed. You can also add a button to one side and create a loop on the other for fastening.
Finishing Touches:
- Fasten off your yarn and weave in all loose ends securely using your yarn needle.
- Repeat all steps to make the second slipper.
- Add any desired embellishments, such as small crocheted flowers, buttons sewn onto the front, or a delicate ribbon tied around the ankle.
Congratulations! You’ve now created a beautiful and cozy pair of crochet baby slippers. Imagine those tiny toes snuggled inside your handmade creation!
Tips and Variations:
- Color Play: Experiment with different color combinations for a fun and unique look. Stripes are always adorable!
- Texture: Try using a textured yarn for added interest.
- Embellishments: Get creative with your embellishments! Small crocheted shapes, felt appliques, or even just a contrasting yarn trim can make your slippers extra special.
- Sizing Adjustments: To make the slippers larger or smaller, adjust the initial chain length and the number of rounds in the sole. You might also need to adjust the number of skipped stitches in the front opening.