 by
by 
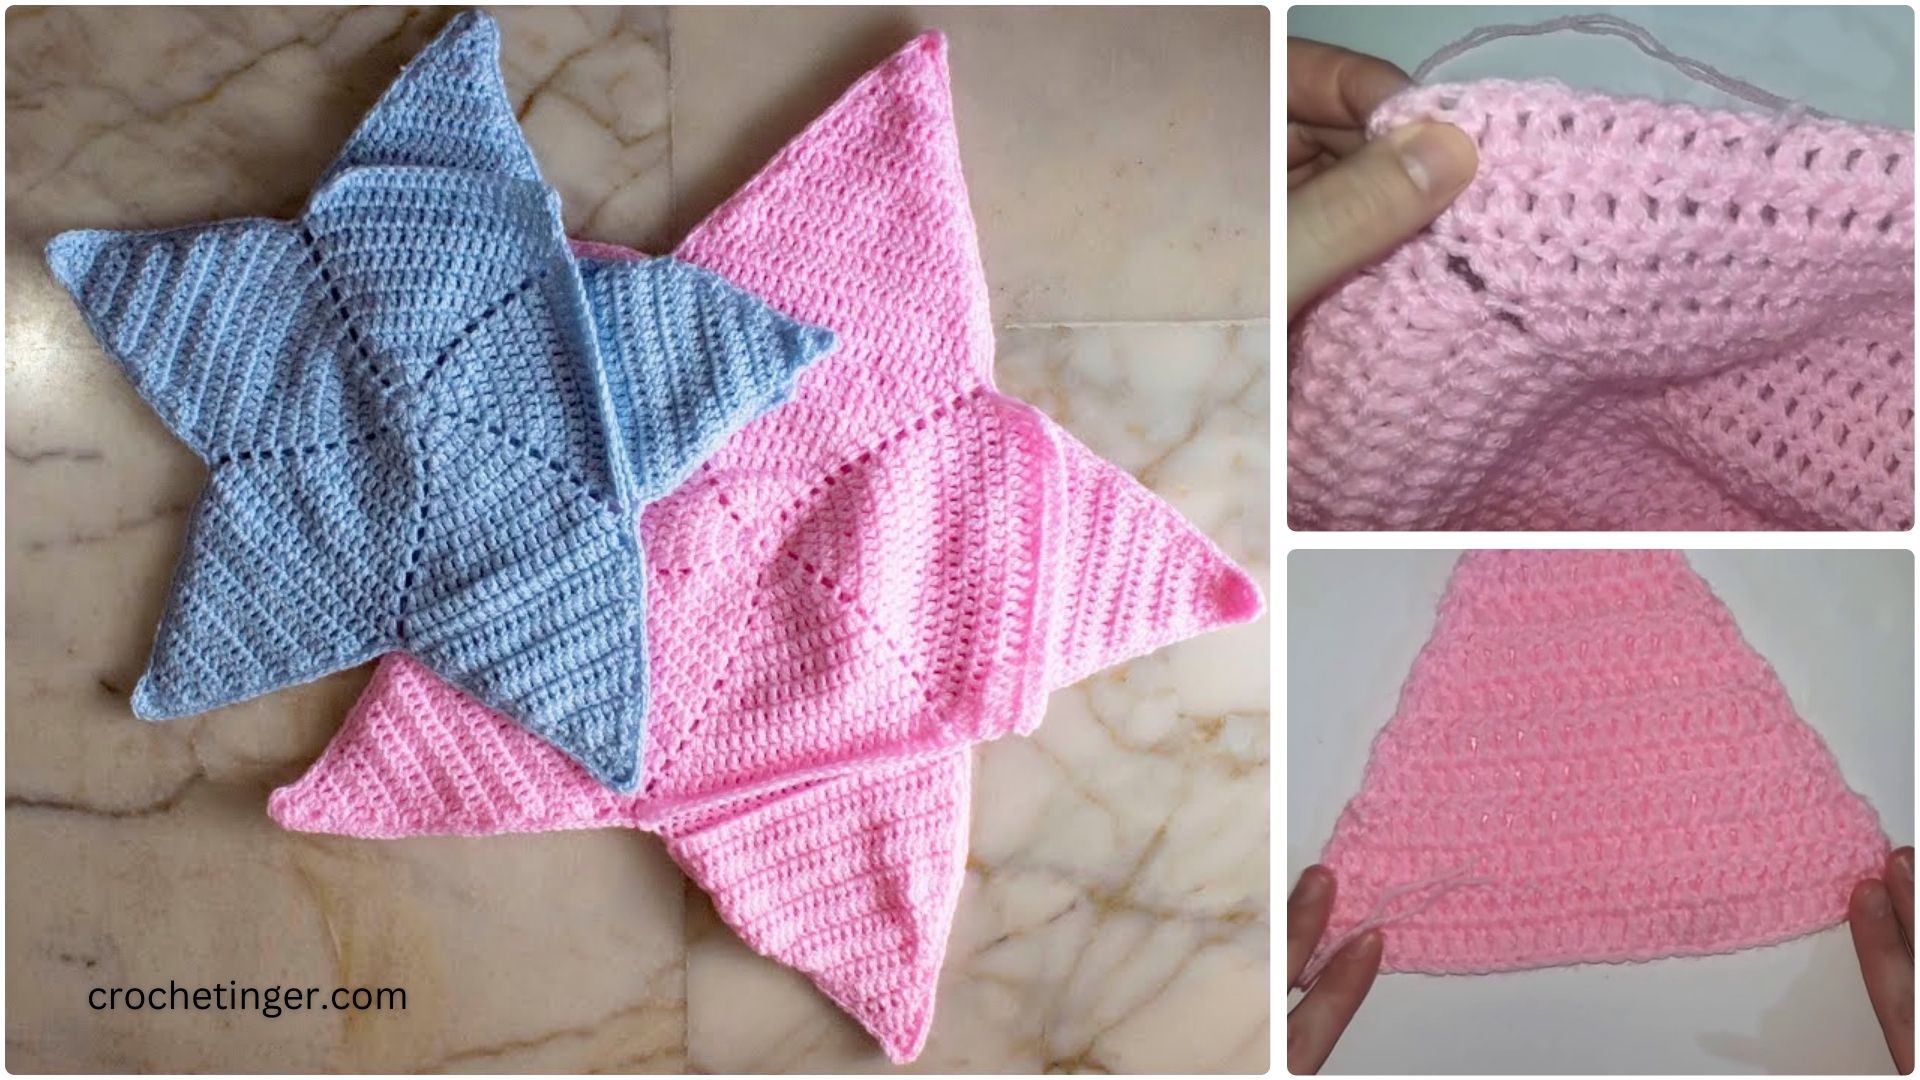
Tiny heads need cozy hats! If you’re new to crochet or just looking for a quick and satisfying project, this easy crochet baby hat pattern is perfect. Using only basic stitches, you can whip up an adorable and practical hat for a little one in no time.
This pattern is designed with beginners in mind, focusing on simple techniques and clear instructions. It’s a great way to practice your stitches and create a lovely handmade gift.
Why this hat is easy:
- Uses fundamental crochet stitches.
- Simple shaping with easy increases.
- Works up relatively quickly.
Materials You’ll Need:
- Worsted weight yarn (approx. 100-150 yards) – Choose a soft, machine washable yarn suitable for babies.
- Crochet hook size H/8 (5.0 mm) or size needed to obtain gauge.
- Yarn needle for weaving in ends.
- Scissors.
- Stitch marker (optional, but helpful for marking the beginning of rounds).
Gauge:
Gauge is important to ensure your hat fits! Work a small swatch in the main stitch pattern to check your gauge. For this pattern, 4 double crochet stitches and 3 rows should measure approximately 1 inch. If your swatch is smaller, try a larger hook; if it’s larger, try a smaller hook.
Abbreviations (US Terms):
- ch: chain
- sl st: slip stitch
- dc: double crochet
- inc: increase (work 2 dc in the same stitch)
- st(s): stitch(es)
- rnd: round
Video tutorial
Let’s Get Started!
This hat is worked in the round, starting from the crown.
Create a Magic Circle:
A magic circle (or magic ring) creates a tightly closed hole at the top of the hat. If you’re not comfortable with a magic circle, you can also chain 3 and join with a slip stitch to form a ring, then work the first round of stitches into the center of the ring.
Round 1: Make a magic circle, ch 2 (does not count as a st), work 10 dc into the magic circle. Pull the tail to close the circle. Join with a sl st to the top of the first dc. (10 sts)
Round 2: Ch 2, 2 dc in each st around. Join with a sl st to the top of the first dc. (20 sts)
Round 3: Ch 2, *dc in the next st, inc in the next st*. Repeat from * to * around. Join with a sl st to the top of the first dc. (30 sts)
Round 4: Ch 2, *dc in the next 2 sts, inc in the next st*. Repeat from * to * around. Join with a sl st to the top of the first dc. (40 sts)
Round 5: Ch 2, *dc in the next 3 sts, inc in the next st*. Repeat from * to * around. Join with a sl st to the top of the first dc. (50 sts)

(Optional Increase Rounds for Larger Sizes): If you need a slightly larger hat, continue increasing in this manner, adding one more dc between increases in each subsequent increase round until you reach the desired diameter for the crown. Refer to a baby hat size chart for typical measurements.
Body of the Hat:
Now you will work even rounds (no increases) to create the body of the hat.
Round 6 onwards: Ch 2, dc in each st around. Join with a sl st to the top of the first dc. (50 sts – or your stitch count after increases)
Repeat this round until the hat measures approximately 5.5 to 6 inches from the crown (for a newborn to 3-month size). You can adjust the length for different baby sizes.

Finishing Round (Optional – for a neat edge):
Ch 1, work a round of single crochet stitches around the brim. Join with a sl st to the first sc.

Finishing:
Fasten off, leaving a tail of about 6-8 inches. Thread the tail onto your yarn needle and weave in all loose ends securely on the inside of the hat.
Tips for Beginners:
- Keep your tension consistent for an even fabric.
- Use a stitch marker to keep track of the beginning of each round.
- Don’t worry if it’s not perfect – handmade items have character!
- Watch video tutorials for the stitches if you’re unsure.
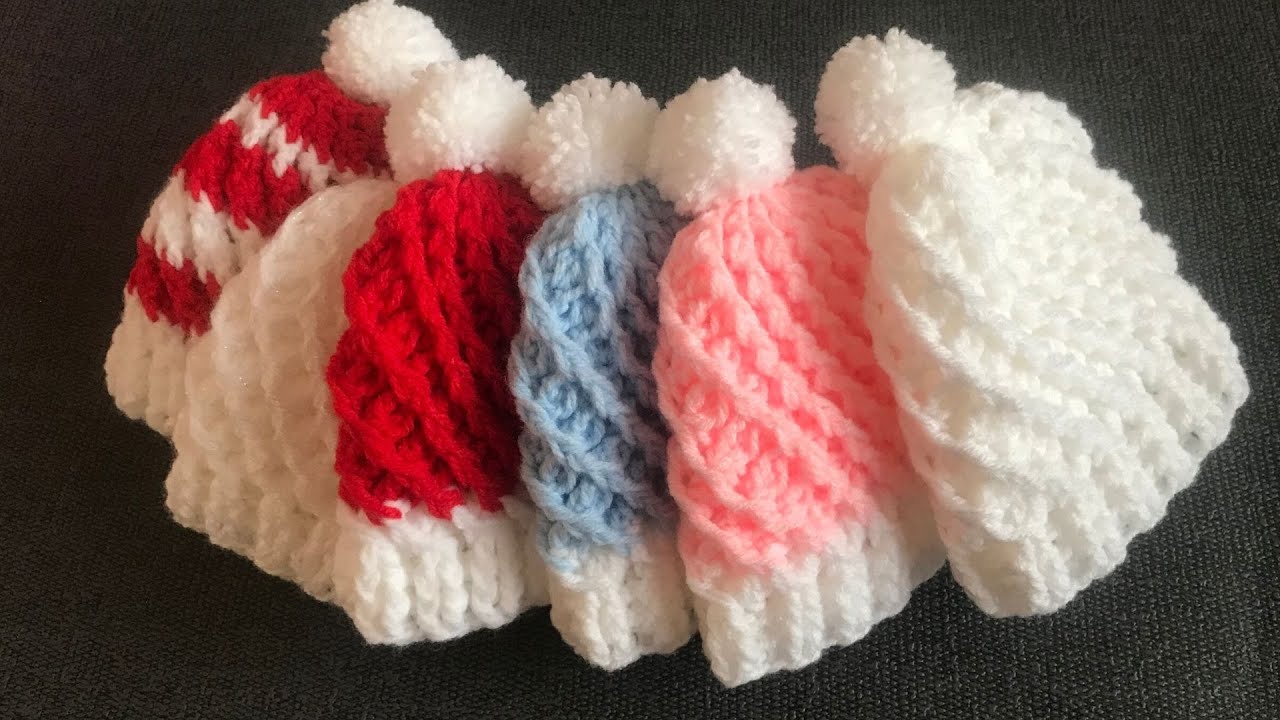
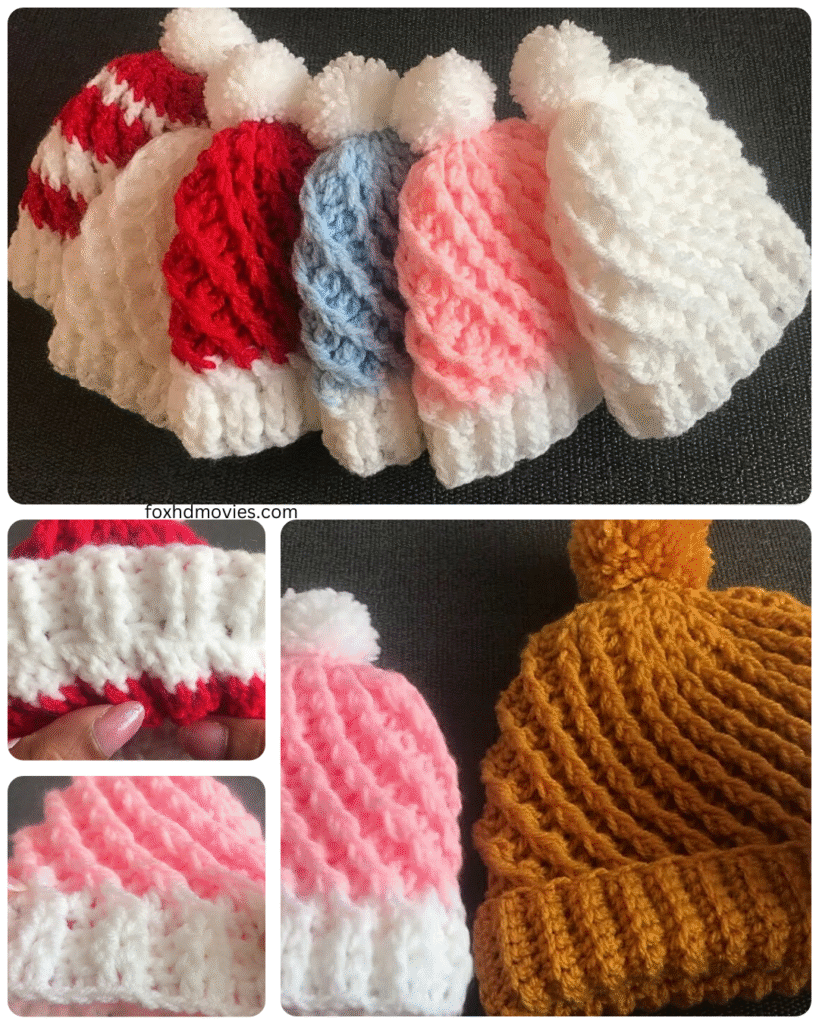
That’s it! You’ve crocheted an easy and adorable baby hat. You can add embellishments like appliques, buttons, or a pom pom to personalize it further.