 by
by 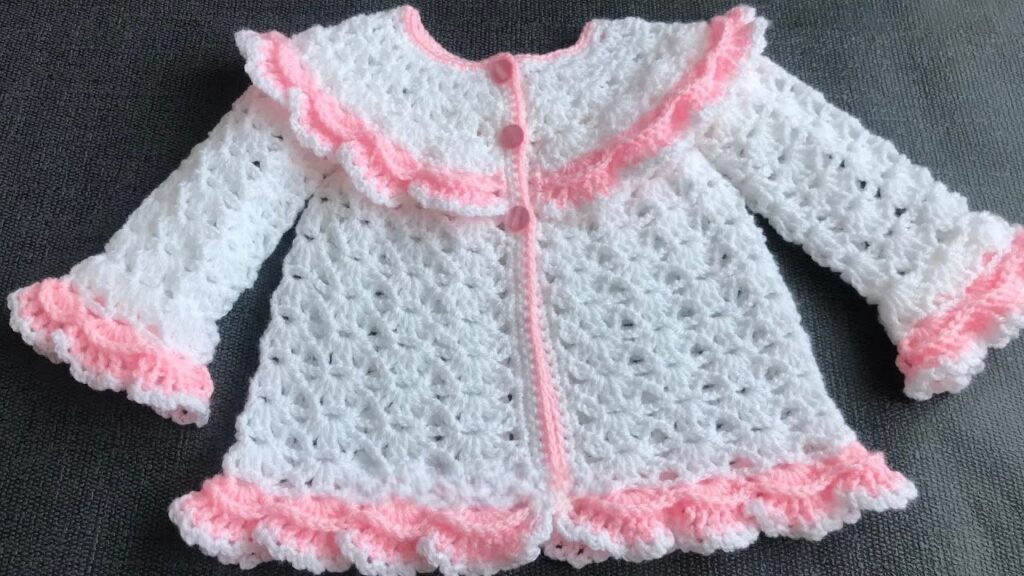
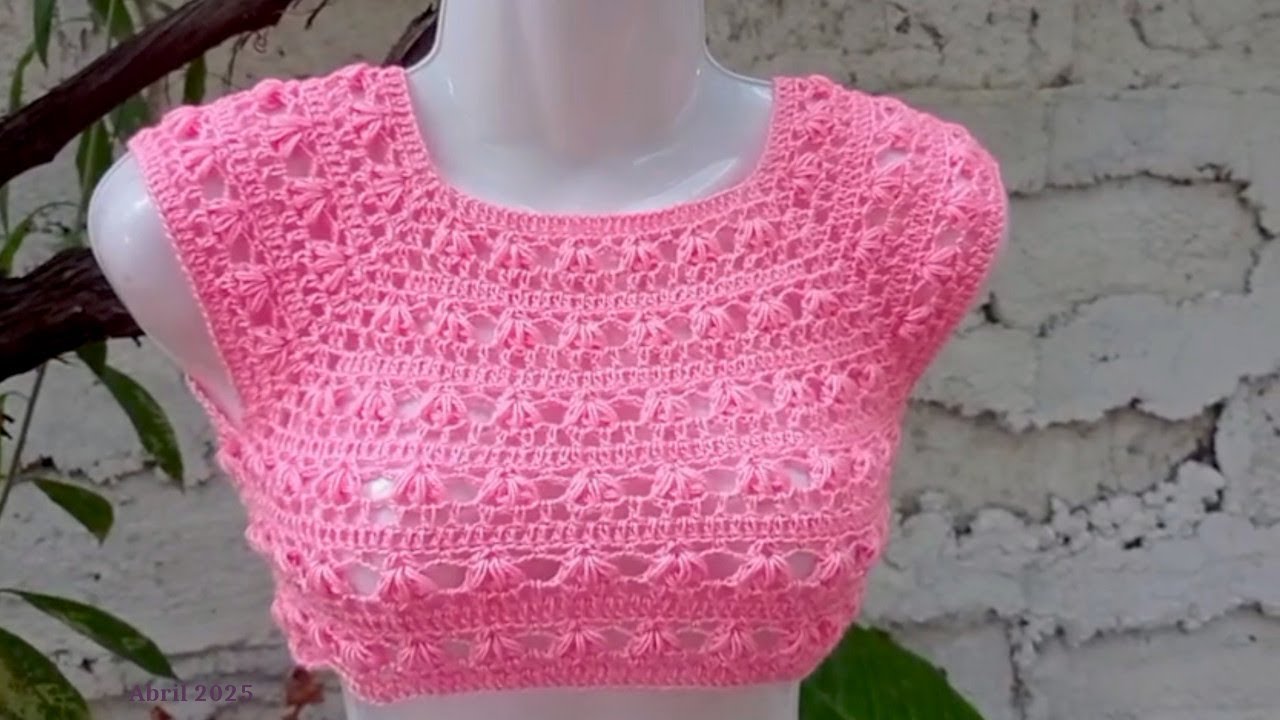
Hello fellow makers! There’s something incredibly special about creating handmade items for little ones. A cozy, soft crochet cardigan is not only practical but also a beautiful keepsake. If you’ve been wanting to try making baby garments but felt intimidated, this pattern is for you!
I’ve designed this Sweet Snuggles Cardigan to be simple, using basic stitches and construction. It’s perfect for beginners comfortable with double crochet, and works up relatively quickly. Let’s get started!
(Another Photo Idea: A flat lay of the materials needed – yarn, hook, buttons, scissors, tapestry needle)
Skill Level: Easy/Beginner Friendly
Finished Size: Approximately 3-6 Months (See notes on adjusting size)
Materials:
- Approximately 200-250 yards of DK weight yarn (Look for soft, washable fibers like acrylic, cotton blends, or superwash merino wool)
- Crochet hook size G/6 (4.0 mm) or H/8 (5.0 mm) – Check your gauge!
- Tapestry needle for weaving in ends and seaming
- Scissors
- 3-4 buttons (approx. 1/2 to 3/4 inch diameter)
- Stitch markers (helpful but optional)
Gauge:
Getting the correct gauge is important to ensure your cardigan turns out the correct size. Using your chosen hook and yarn, create a swatch:
Chain 18 Row 1: Dc in the 3rd chain from the hook and in each chain across. (16 dc) Row 2: Ch 2 (does not count as dc), turn. Dc in the first stitch and in each stitch across. (16 dc) Repeat Row 2 for a total of 12 rows.
Your swatch should measure approximately 4 inches wide by 4 inches tall in double crochet.
If your swatch is larger, try a smaller hook size. If your swatch is smaller, try a larger hook size.
(Photo Idea: A photo of a gauge swatch next to a ruler)
Stitches Used:
- ch: chain
- sl st: slip stitch
- sc: single crochet
- dc: double crochet
Important Notes Before Starting:
- Ch 2 at the beginning of a row/round does not count as a stitch unless otherwise specified.
- Work in the tops of stitches unless otherwise indicated.
- Numbers in parentheses () at the end of a row/round indicate the stitch count for that row/round.
Video tutorial
The Pattern
This cardigan is worked in 5 pieces: Back Panel, 2 Front Panels, and 2 Sleeves. They are then seamed together, and an edging is added.
Back Panel:
Ch 35. Row 1: Dc in the 3rd chain from the hook and in each chain across. (33 dc) Row 2: Ch 2, turn. Dc in the first stitch and in each stitch across. (33 dc) Repeat Row 2 until the panel measures approximately 7 inches from the beginning chain. Fasten off and weave in ends.
(Photo Idea: A photo of the completed back panel)
Front Panels (Make 2):
Ch 16. Row 1: Dc in the 3rd chain from the hook and in each chain across. (14 dc) Row 2: Ch 2, turn. Dc in the first stitch and in each stitch across. (14 dc) Repeat Row 2 until the panel measures approximately 7 inches from the beginning chain.
For the first front panel, fasten off and weave in ends. For the second front panel, DO NOT fasten off. You will continue from this panel to add the edging.
(Photo Idea: A photo of the two front panels)

Sleeves (Make 2):
Ch 24. Round 1: Dc in the 3rd chain from the hook and in each chain across. Join with a sl st to the top of the first dc to form a ring. (22 dc) Round 2: Ch 2 (does not count as stitch), dc in the first stitch and in each stitch around. Join with a sl st to the top of the first dc. (22 dc) Repeat Round 2 until the sleeve measures approximately 5.5 inches from the beginning chain. Fasten off, leaving a long tail for seaming.
(Photo Idea: A photo of one completed sleeve)
Assembly:
(Photo Idea: A photo showing the panels laid out before seaming)
- Lay the back panel flat. Place the two front panels on top, aligning the bottom edges and leaving a space in the center for the front opening.
- Shoulder Seams: Using a tapestry needle and a length of yarn, seam the top edge of each front panel to the top edge of the back panel. Sew across approximately the first 5-6 stitches from the outside edge. Secure and weave in ends.
- Side Seams: Fold the cardigan so the front and back panels are aligned, right sides facing together. Use a tapestry needle or crochet hook (using sc) to seam up the sides from the bottom edge towards the armhole, leaving approximately 3-4 inches open for the armhole. Secure and weave in ends.
- Attach Sleeves: Turn the cardigan right side out. Insert the sleeves into the armholes. Using the long tail left on the sleeves and a tapestry needle, seam the top of the sleeve around the armhole opening. Secure and weave in ends.
(Photo Idea: A photo showing the cardigan with shoulders and sides seamed, sleeves attached)

Edging:
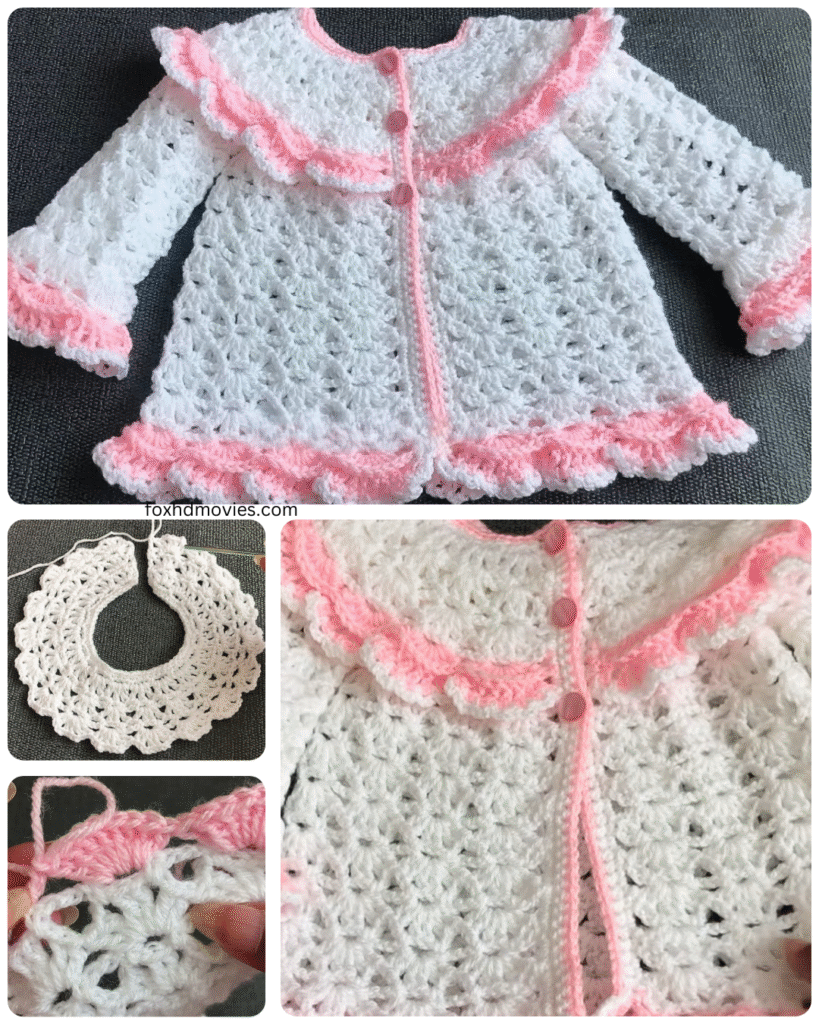
Now, using the front panel where you did NOT fasten off (or join new yarn to the bottom corner of one front panel), we will work an edging around the entire opening of the cardigan (bottom edge, up the front, around the neck, and down the other front).
Round 1: Ch 1 (does not count as stitch). Work single crochet stitches evenly spaced around the entire opening. Aim for approximately 2 sc for every dc row end, and 1 sc for every sc stitch or chain along the neckline. When you reach the beginning, join with a sl st to the first sc.
(Photo Idea: A photo showing the edging being worked along the front opening)
Button Band & Buttonhole Band:
Now we will add a few rows of single crochet along the front edges to create the button bands.
Buttonhole Band (Usually the Right Front Panel for girls, Left for boys – choose one):
Join yarn to the bottom corner of your chosen front panel’s edging row. Row 1: Ch 1, turn. Sc in each sc up the front edge. (This row count should match the number of sc stitches along one front edge from the edging round). Row 2: Ch 1, turn. Sc in the first few stitches. Now, create buttonholes: Ch 2, skip 2 stitches. Sc in the next few stitches. Repeat the “Ch 2, skip 2” for your desired buttonhole placement (evenly spaced, usually 3-4 buttonholes total). Finish the row with sc stitches. Row 3: Ch 1, turn. Sc in each sc and work 2 sc into each Ch-2 space from the previous row. Fasten off and weave in ends.
(Photo Idea: A close-up photo of the buttonhole band with buttonholes visible)
Button Band (The other Front Panel):
Join yarn to the bottom corner of the other front panel’s edging row. Row 1: Ch 1, turn. Sc in each sc up the front edge. (Should match the stitch count of the first row of the buttonhole band). Row 2: Ch 1, turn. Sc in each sc across. Row 3: Ch 1, turn. Sc in each sc across. Fasten off and weave in ends.
(Photo Idea: A close-up photo of the plain button band)
Finishing:
- Weave in any remaining loose ends securely using your tapestry needle.
- Lay the cardigan flat. Mark the placement for your buttons on the Button Band, lining them up with the buttonholes on the Buttonhole Band.
- Using your tapestry needle and matching yarn, sew the buttons securely onto the Button Band.
- Block your cardigan gently if desired (check yarn label for care instructions). This helps to even out stitches and shape the garment.
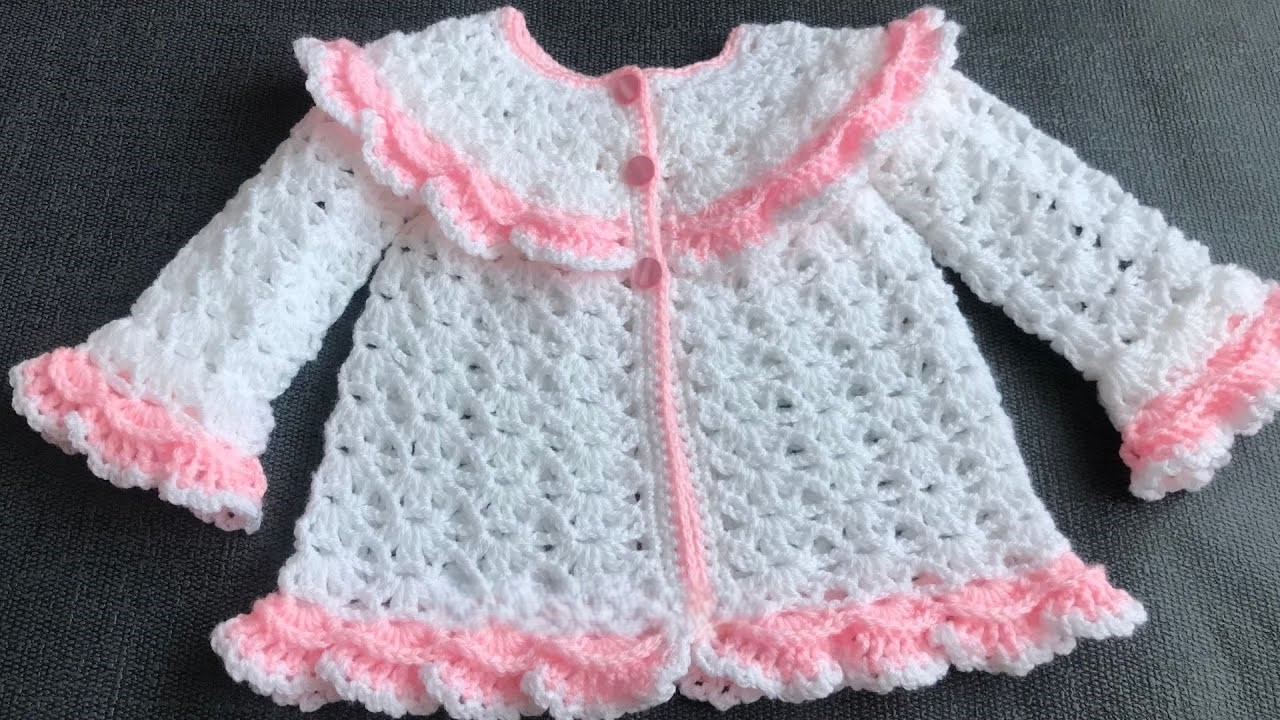
(Final Photo Idea: The finished cardigan, buttoned up, looking adorable!)
Sizing Adjustments:
- To make the cardigan wider, increase the starting chain for the back and front panels, keeping the ratio similar (Back chain approx. double a front chain, plus a few stitches). You’ll need more yarn.
- To make the cardigan longer, add more rows to the back and front panels before seaming.
- To make the sleeves wider, increase the starting chain for the sleeves.
- To make the sleeves longer, add more rounds to the sleeves.
- Remember to check your gauge! Varying tension is the most common reason for size differences.