by
by 
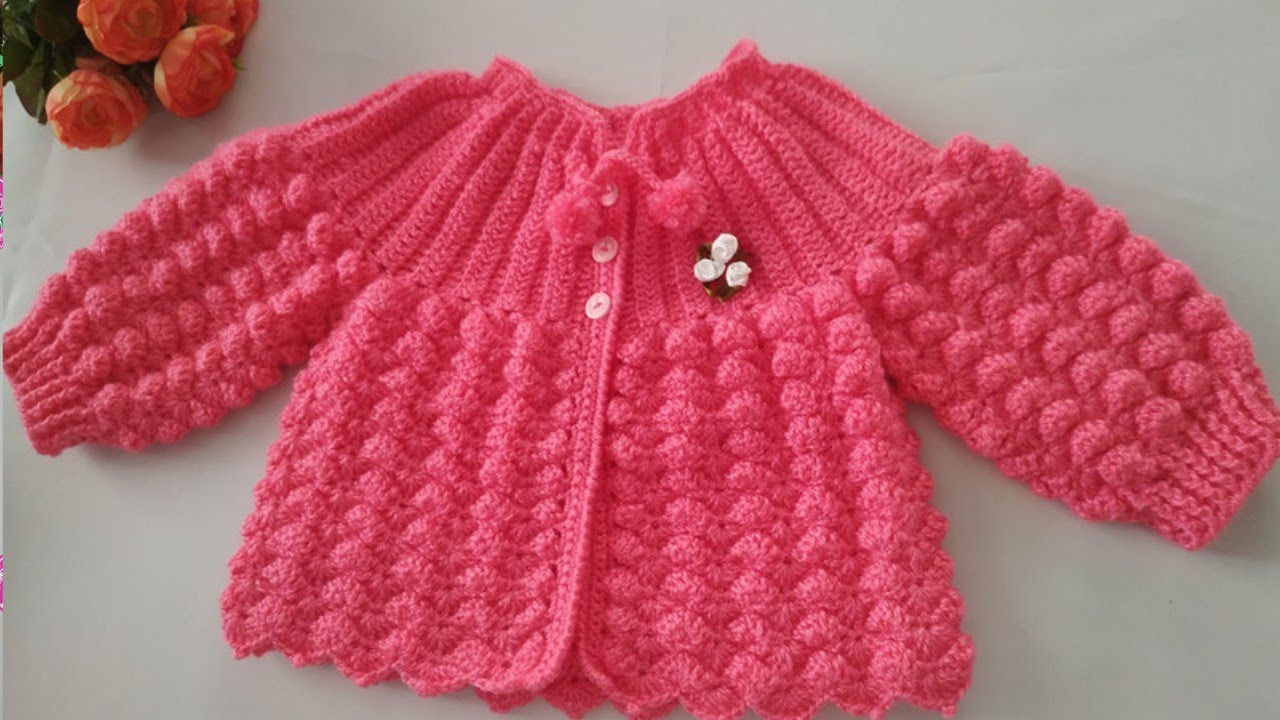
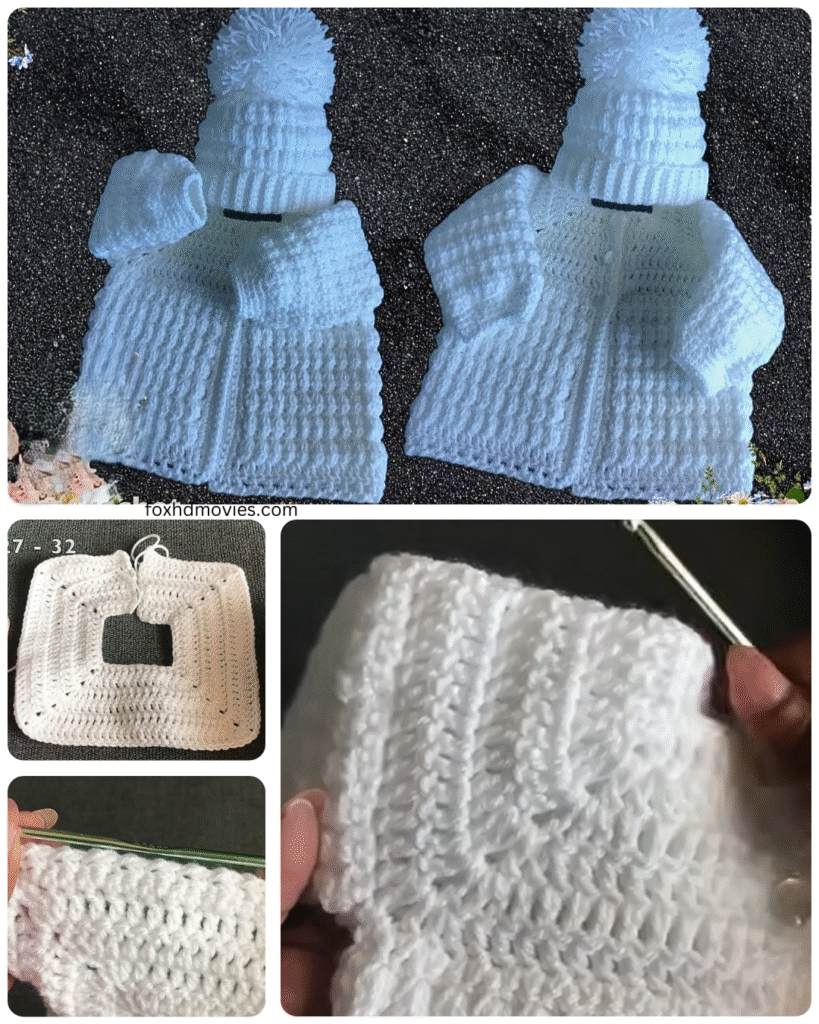
Dreaming of a handmade wardrobe but feel intimidated by garment making? This easy crochet cardigan pattern is designed just for you! Using simple stitches and straightforward construction, you’ll create a comfortable and stylish layering piece you’ll love to wear. Let’s grab our hooks and get started!
This cardigan is worked in simple panels and then seamed together, making it a perfect project for those new to crochet garments. We’ll use basic stitches that are easy to master, resulting in a lovely drape without complicated shaping.
Skill Level: Beginner
Materials:
- Approximately 800-1200 yards of Worsted Weight (Aran) yarn (check your gauge and desired size) – Look for smooth, lighter-colored acrylic or a wool blend for ease of seeing stitches.
- Crochet hook size K/6.5 mm (or size needed to obtain gauge)
- Tapestry needle for weaving in ends and seaming
- Scissors
- Stitch markers (optional, but helpful!)
Gauge: Achieving the correct gauge is important for your cardigan to fit as expected. While not strictly necessary for this very relaxed style, aiming for something close will help. A common gauge for worsted weight yarn and a K hook in half double crochet is around 11-13 hdc stitches and 8-9 rows per 4 inches. Make a gauge swatch before you start!
Stitches Used:
- Ch: Chain
- Hdc: Half Double Crochet
- Sl St: Slip Stitch
Construction:
This cardigan is made from three main panels: a back panel and two front panels. The sleeves are then worked directly onto the armholes, or can be made separately and seamed. This pattern will describe the three-panel construction with seamed sleeves as it is often the most beginner-friendly.
Notes:
- This pattern is written for a relaxed fit. You can adjust the width by adjusting your starting chain and the length by adjusting the number of rows.
- Read through the entire pattern before you begin.
- Chain 2 at the beginning of Hdc rows typically counts as a stitch.
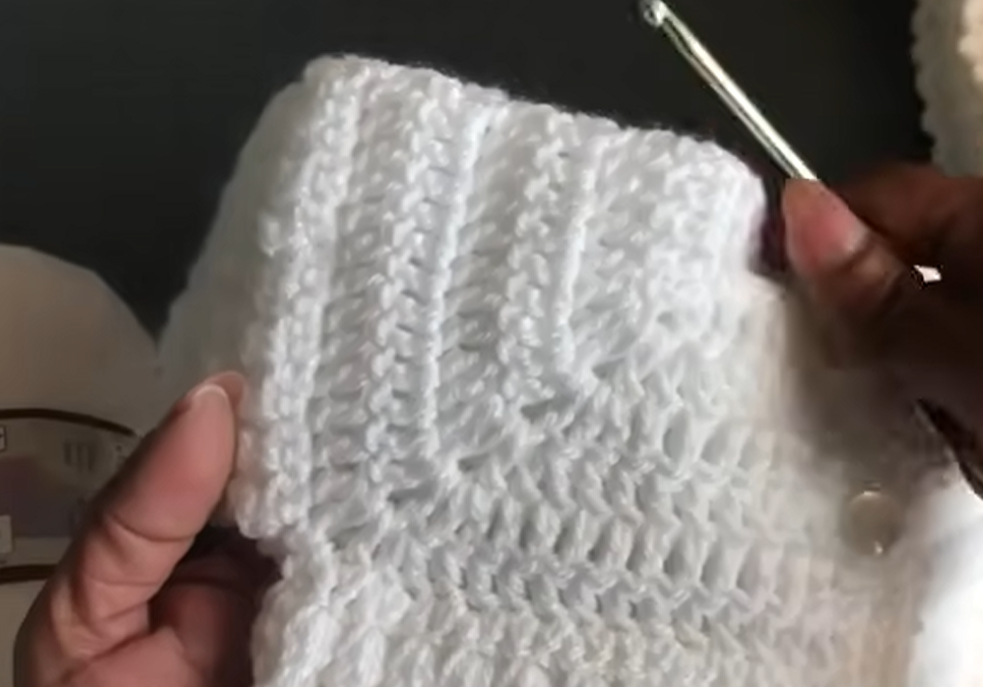
Video tutorial
Let’s Get Crocheting!
Back Panel:
- Chain: Chain a number of stitches that, when worked in hdc, measures approximately half of your desired back width, plus a few extra for ease. For a standard adult size medium, a starting chain of around 50-60 stitches is a good starting point, but measure to be sure!
- Row 1: Hdc in the 3rd chain from the hook and in each chain across. (Your stitch count will be your starting chain number minus 2).
- Rows 2 onwards: Ch 2 (counts as hdc), turn. Hdc in each stitch across.
- Repeat Row 2 until your back panel reaches from the bottom hem to the top of your shoulder. Fasten off and weave in ends.

Front Panels (Make 2 identical panels):
- Chain: Chain a number of stitches that, when worked in hdc, measures approximately half of your back panel width.
- Row 1: Hdc in the 3rd chain from the hook and in each chain across.
- Rows 2 onwards: Ch 2 (counts as hdc), turn. Hdc in each stitch across.
- Repeat Row 2 until your front panels are the same length as your back panel. Fasten off and weave in ends on one panel. Do not fasten off the second panel if you plan to work a continuous edging.

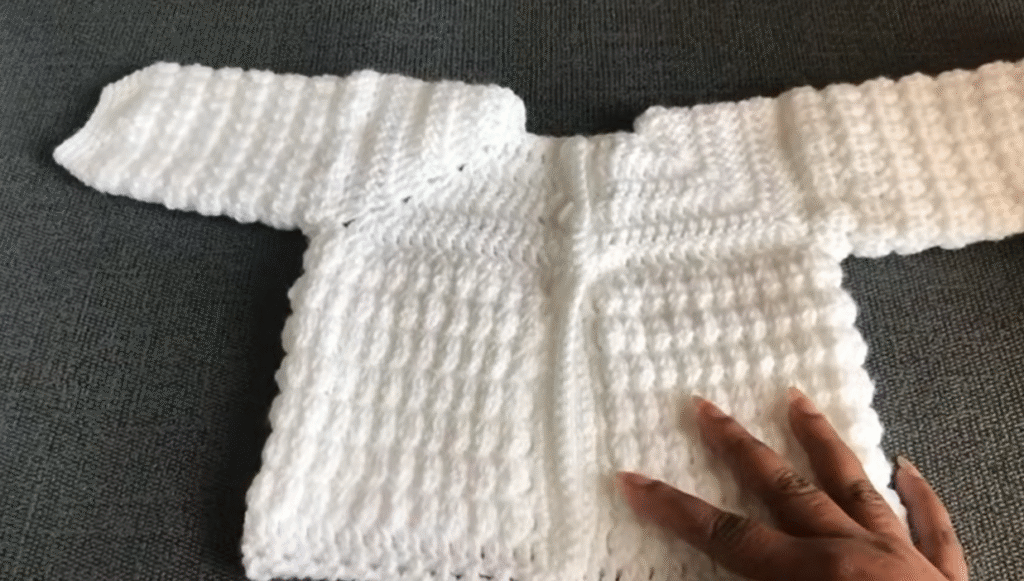
Assembly:
- Lay your back panel flat. Place the two front panels on top, aligning the bottom and side edges. The space between the two front panels will be the opening of your cardigan.
- Shoulder Seams: Using your tapestry needle and a length of yarn, seam the tops of the front panels to the top edges of the back panel. You can use a whip stitch or a mattress stitch for a neater finish. Seam across the width you want for your shoulder. Leave the center unseamed for the neck opening.
- Side Seams: Decide how deep you want your armholes to be. Measure down from the shoulder seam on both the front and back panels and place a stitch marker. Using your tapestry needle, seam the sides of the front and back panels together from the bottom edge up to the stitch marker. Repeat on the other side.
Sleeves:
You can create simple rectangular sleeves and seam them, or work them directly into the armhole. For a beginner-friendly option, let’s make simple rectangles:
- Chain: Chain a number of stitches that, when worked in hdc, measures the desired circumference of your upper arm.
- Row 1: Hdc in the 3rd chain from the hook and in each chain across.
- Rows 2 onwards: Ch 2 (counts as hdc), turn. Hdc in each stitch across.
- Repeat Row 2 until your sleeve reaches from the armhole down to your wrist (or desired length). Fasten off, leaving a long tail for seaming.
- Fold the sleeve in half lengthwise and seam the raw edges together using your tapestry needle.
- Attach the sleeve to the armhole by aligning the center seam of the sleeve with the bottom of the armhole and stitching it in place around the opening. Repeat for the second sleeve.
Edging (Optional but Recommended):
Adding a simple edging can give your cardigan a polished look.
- Join yarn with a slip stitch at the bottom corner of one front panel.
- Round 1: Work single crochet stitches evenly around the entire opening of the cardigan (down the front, around the neck, and up the other front). Aim for a consistent number of stitches. When working along the raw edges of rows, try to work 1 sc for each hdc row, or adjust as needed to keep the edge flat. Work 3 sc in each corner to help it lay nicely. Join with a sl st to the first sc.
- You can repeat Round 1 for a thicker single crochet band, or work a round of slip stitches for a clean finish.
- Fasten off and weave in all remaining ends.
Finishing Touches:
- Weave in any remaining loose ends securely.
- (Optional) Block your cardigan according to your yarn’s recommendations. This can help even out your stitches and improve the drape.