by
by 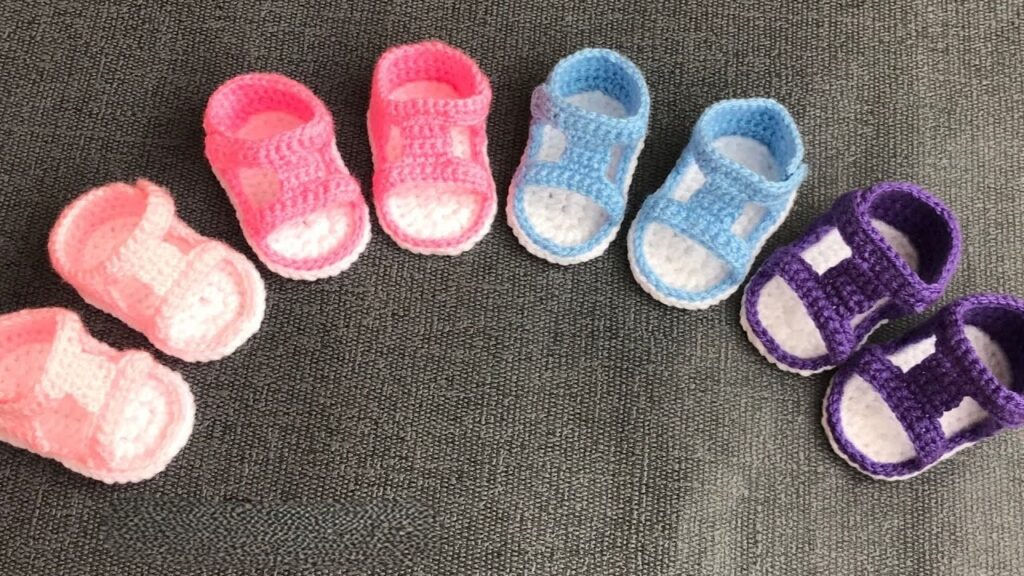
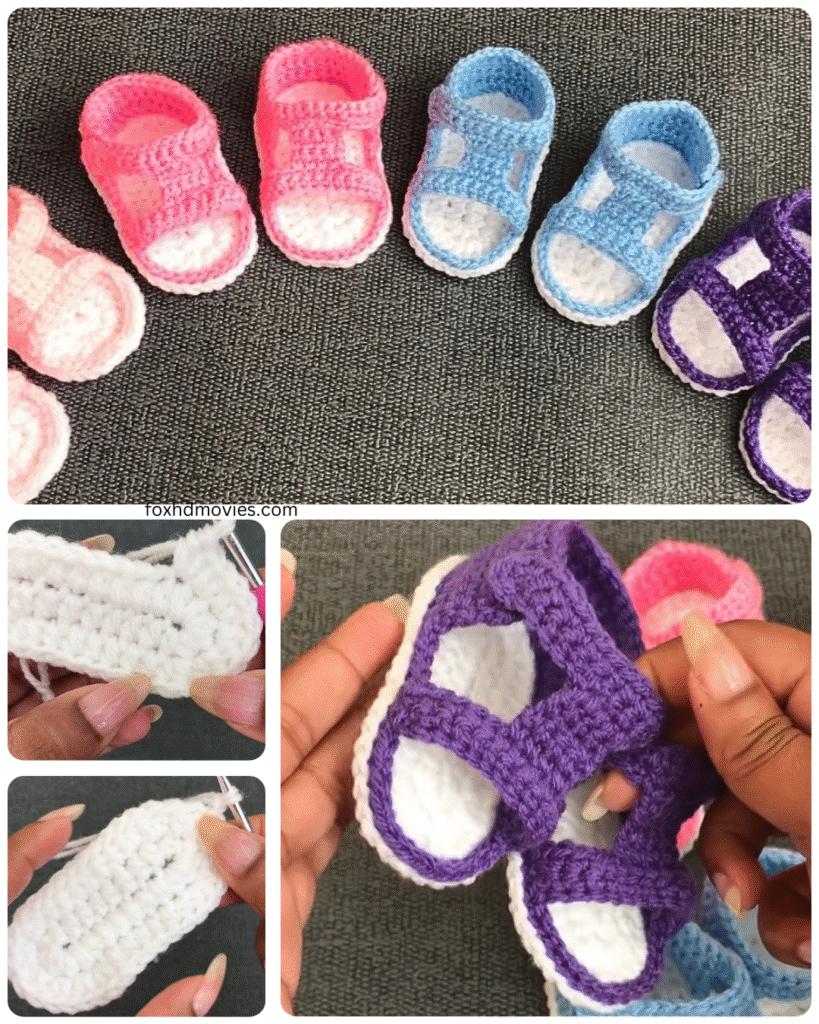
Dreaming of breezy summer days and cute, comfortable footwear? Why not combine your love for crochet with your summer wardrobe by creating your own stylish and easy crochet sandals! Whether you’re a complete beginner or just looking for a quick and satisfying project, this pattern is designed to get you into handmade sandals without the fuss.
Forget complicated stitches and tricky shaping. We’re going to use basic crochet techniques to transform a simple pair of flip-flops into adorable and wearable sandals. Ready to give it a try?
Here’s what you’ll need:
- A pair of inexpensive flip-flops (choose a size that fits you well)
- Worsted weight cotton yarn (cotton is breathable and durable for footwear)
- Crochet hook suitable for your yarn (check the yarn label for a recommendation, usually around G/4.00mm or H/5.00mm)
- Sharp tool for poking holes (a skewer, awl, or even a sharp darning needle works)
- Tapestry needle
- Scissors
- Stitch markers (optional, but helpful)
Let’s Get Started! Preparing Your Soles
The genius of this easy pattern lies in using the sturdy base of flip-flops.
- Remove the straps: Carefully remove the plastic or rubber straps from your flip-flops. You can usually pull them out from the bottom.
- Mark your holes: Using a pen or marker, make small dots around the edge of the sole. Aim for consistent spacing, about 1/2 inch apart. Avoid marking too close to the edge.
- Poke the holes: Carefully use your sharp tool to poke holes through the sole at each marked spot. Twist the tool as you push down to make clean holes. Be mindful of your fingers!
Video tutorial
Crocheting Your Sandal Uppers
We’ll create simple crocheted pieces to form the straps and upper part of your sandals.
Part 1: The Toe Piece (Make 2)
This piece will go across the widest part of your foot near your toes.
- Chain: Chain a length that, when slightly stretched, covers the width of your foot where you want the toe strap to sit. Make sure the number of chains is an even number.
- Row 1: Single crochet (sc) in the second chain from the hook and in each chain across. Chain 1, turn.
- Row 2: Single crochet (sc) in each stitch across. Chain 1, turn.
- Repeat Row 2 for a few more rows until your toe piece is the desired width. For a simple strap, 3-4 rows might be enough. For more coverage, add more rows.
- Fasten off and leave a long tail for sewing.

Part 2: The Side Straps (Make 4)
These straps will connect the toe piece to the sides of the sole and potentially wrap around your ankle.
- Chain: Chain a length that is long enough to go from the edge of your toe piece to a hole on the side of your sole, and then potentially wrap around your ankle if desired. It’s better to make them a bit too long and adjust later.
- Row 1: Single crochet (sc) in the second chain from the hook and in each chain across. Chain 1, turn.
- Row 2: Single crochet (sc) in each stitch across. Chain 1, turn.
- Repeat Row 2 for 1-2 more rows, depending on how wide you want your straps.
- Fasten off and leave a long tail for sewing.
Assembly: Bringing It All Together
Now it’s time to attach your crocheted pieces to the flip-flop soles.
- Position the Toe Piece: Place the crocheted toe piece across the front of the sole, centering it over where your toes will be.
- Sew the Toe Piece: Using your tapestry needle and the long yarn tail, sew the toe piece securely to the sole by going through the holes you poked earlier. Stitch back and forth through the stitches of the toe piece and the holes in the sole.
- Attach the Side Straps: Take two of your side straps. On one side of the sandal, align one end of a strap with the edge of the toe piece and the other end with a hole on the side of the sole. Sew securely in place using your tapestry needle, again going through the crocheted strap and the holes in the sole. Repeat on the other side with the second strap.
- Add the Remaining Side Straps: Take the remaining two side straps. Attach one end of each strap to a hole near the heel on each side of the sole. These can be simple heel straps or long enough to tie around your ankle for a different look. Sew securely.
- Weave in Ends: Once all your pieces are attached, carefully weave in all your loose yarn ends on the underside of the sandal for a neat finish.

Voila! Your Easy Crochet Sandals are Ready!
You’ve done it! You’ve transformed a simple pair of flip-flops into unique, handmade sandals. These are perfect for lounging by the pool, strolling on the beach, or just adding a touch of handmade charm to your summer outfits.
Tips for Customization:
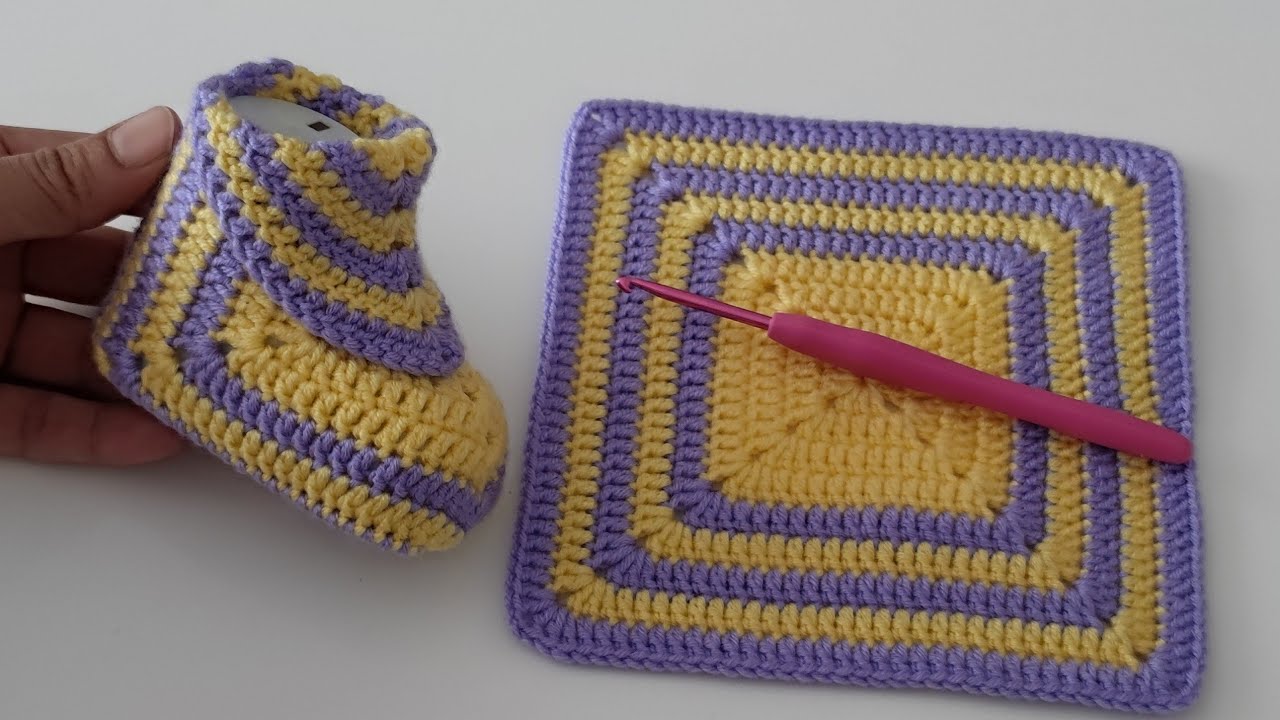
- Experiment with colors: Use different yarn colors for the toe piece, side straps, or even striped patterns.
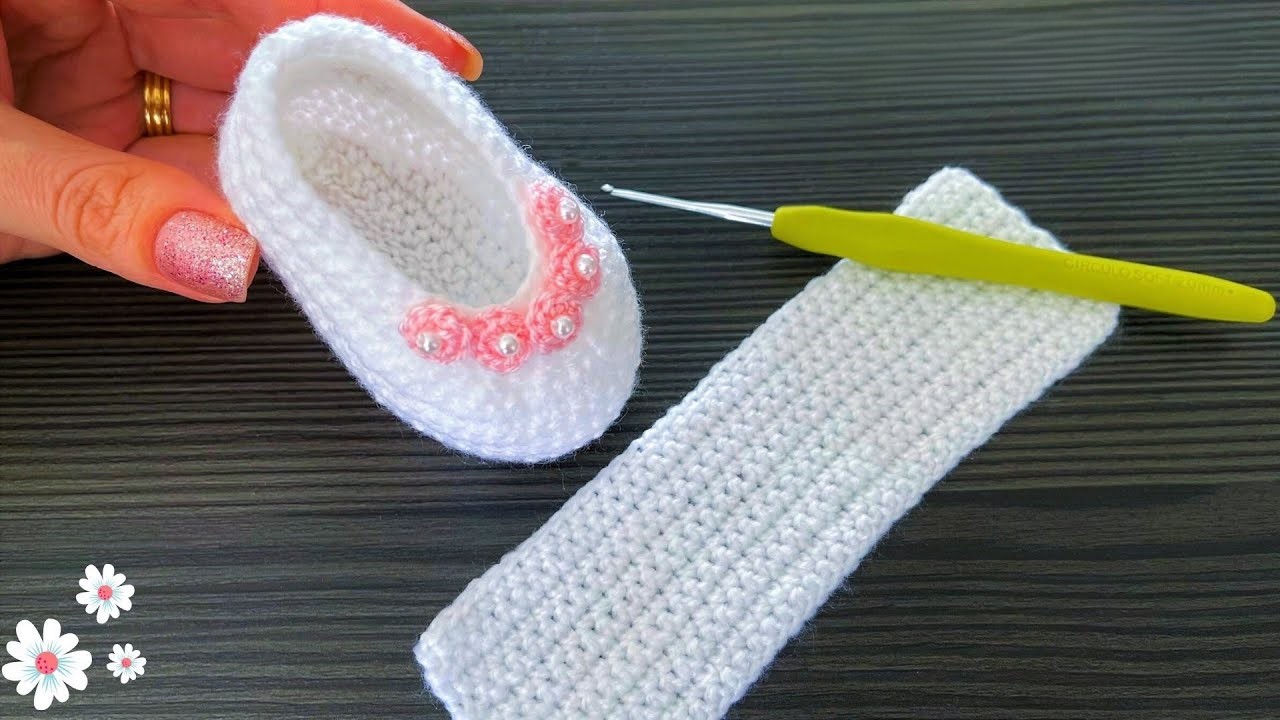
- Add embellishments: Sew on beads, buttons, or crochet small flowers to add extra flair.
- Adjust strap length: Make the side straps longer to criss-cross them up your leg or shorter for a simple slip-on style.
- Try different stitches: Once you’re comfortable, you can explore other simple stitches like half double crochet or double crochet for different textures.