 by
by 
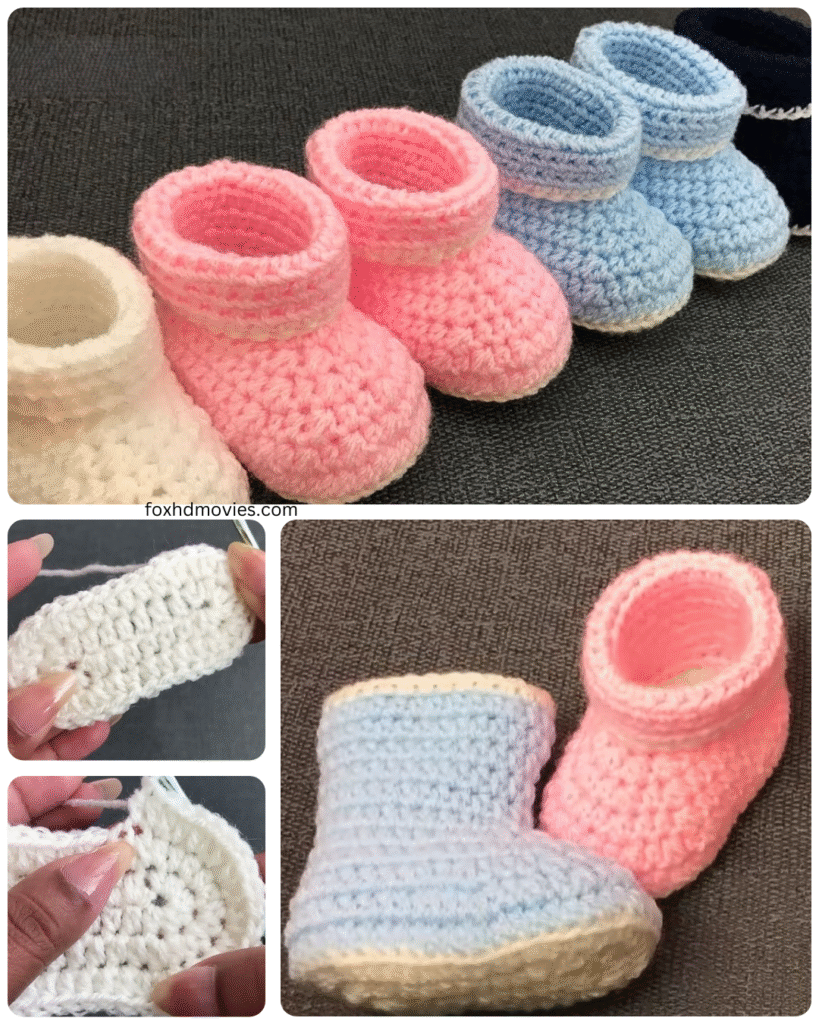
There’s something incredibly special about handmade gifts for new arrivals, and crochet baby booties are a perennial favorite. They’re quick to make, require minimal yarn, and offer that perfect touch of cozy cuteness for tiny feet. If you’ve been wanting to try crocheting or are looking for a simple, satisfying project, this easy baby bootie pattern is perfect for you!
This pattern uses basic crochet stitches and is designed with beginners in mind. You’ll be amazed at how quickly you can create a sweet pair of booties, even if you’ve never crocheted before.
Ready to get started? Let’s gather your supplies!
Materials You’ll Need:
- Yarn: Approximately 50-100 yards of soft, worsted weight yarn. Look for baby-friendly yarns that are washable and gentle on delicate skin. Acrylic or cotton blends are great choices.
- Crochet Hook: A hook size suitable for your yarn. Check the yarn label for a recommended hook size (usually between 4mm and 5.5mm for worsted weight). Having a couple of sizes on hand can be helpful for checking your gauge.
- Yarn Needle: For weaving in ends.
- Scissors: For cutting yarn.
- Optional: Stitch markers (highly recommended for keeping track of rounds, especially for beginners).
Understanding the Basics: Stitches Used
This pattern primarily uses the following simple crochet stitches (US terms):
- Chain (ch): The foundation of your work.
- Slip Stitch (sl st): Used to join rounds and move across stitches without adding height.
- Single Crochet (sc): A basic, compact stitch.
- Half Double Crochet (hdc): Slightly taller than a single crochet.
- Double Crochet (dc): Taller than a half double crochet.
Video tutorial
Let’s Crochet! (Pattern for 0-3 Months)
This pattern is worked in rounds, starting with the sole and then building up the sides and top of the bootie.
Sole:
We’ll start by creating an oval shape for the base of the bootie.
Round 1: Chain 11.
- Make 2 hdc in the 2nd chain from the hook.
- Hdc in the next 8 chains.
- Make 5 hdc in the last chain (this creates the curve for the toe).
- Now you’ll work along the other side of the starting chain. Hdc in the next 8 chains.
- Make 3 hdc in the last chain (this completes the curve for the heel).
- Join with a sl st to the top of the first hdc. (26 hdc)
Round 2: Chain 2 (does not count as a stitch).
- Make 2 hdc in the same stitch as the chain 2.
- Hdc in the next 9 stitches.
- Make 2 hdc in each of the next 3 stitches.
- Hdc in the next 9 stitches.
- Make 2 hdc in each of the last 2 stitches.
- Join with a sl st to the top of the first hdc. (34 hdc)

Creating the Body of the Bootie:
Now we’ll work without increases to build the sides.
Round 3: Chain 1 (does not count as a stitch).
- Sc in the back loop only (BLO) of each stitch around. This creates a defined edge for the sole.
- Join with a sl st to the top of the first sc. (34 sc)
Round 4-7: Chain 1 (does not count as a stitch).
- Sc in each stitch around, working through both loops now.
- Join with a sl st to the top of the first sc. (34 sc)
- Repeat for a total of 4 rounds, or until the bootie reaches the desired height before the toe shaping.
Shaping the Toe:
Now we’ll start decreasing to form the front of the bootie.
Round 8: Chain 1 (does not count as a stitch).
- Sc in the first 10 stitches.
- Sc2tog (single crochet two together – a decrease) over the next two stitches. Repeat from * 5 more times. (6 decreases)
- Sc in the remaining 12 stitches.
- Join with a sl st to the top of the first sc. (28 stitches)
Round 9: Chain 1 (does not count as a stitch).
- Sc in the first 9 stitches.
- Sc2tog over the next two stitches. Repeat from * 3 more times. (4 decreases)
- Sc in the remaining 12 stitches.
- Join with a sl st to the top of the first sc. (24 stitches)
Finishing the Cuff (Optional):
You can add a simple cuff for extra warmth and style.
Round 10: Chain 2 (does not count as a stitch).
- Dc in each stitch around.
- Join with a sl st to the top of the first dc. (24 dc)
Round 11: Chain 2 (does not count as a stitch).
- Working in the back loop only (BLO), dc in each stitch around. This creates a nice ribbed effect when the cuff is folded.
- Join with a sl st to the top of the first dc. (24 dc)
Round 12: Chain 1 (does not count as a stitch).
- Sc in each stitch around.
- Join with a sl st to the top of the first sc. (24 sc)
- Fasten off and weave in your ends securely.
Make a second bootie following the same steps.

Tips for Beginner Bootie Success:
- Use a stitch marker: Place a stitch marker in the first stitch of each round, especially when working in continuous rounds or before joining. This helps you keep track of where the round begins and ends.
- Keep your tension consistent: Try to maintain an even tension throughout your work for a neater finish.
- Don’t be afraid to start over: If you make a mistake, it’s okay to unravel and try again. Crochet is very forgiving!
- Watch video tutorials: If you’re a visual learner, there are many excellent free video tutorials available online for basic crochet stitches and baby booties.
- Practice makes perfect: The more you crochet, the more comfortable you’ll become with the stitches and techniques.
Customizing Your Booties:
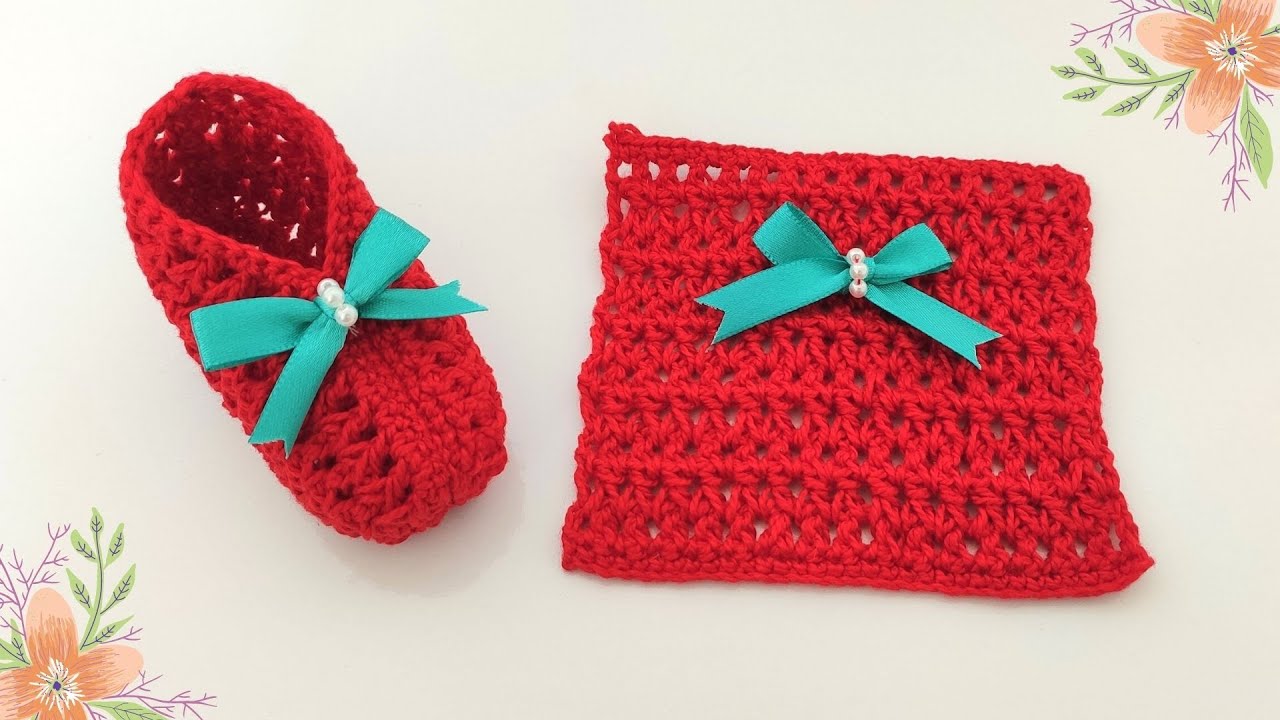
- Add a tie or ribbon: Thread a ribbon or a crocheted chain through the stitches around the ankle for a sweet tie closure.
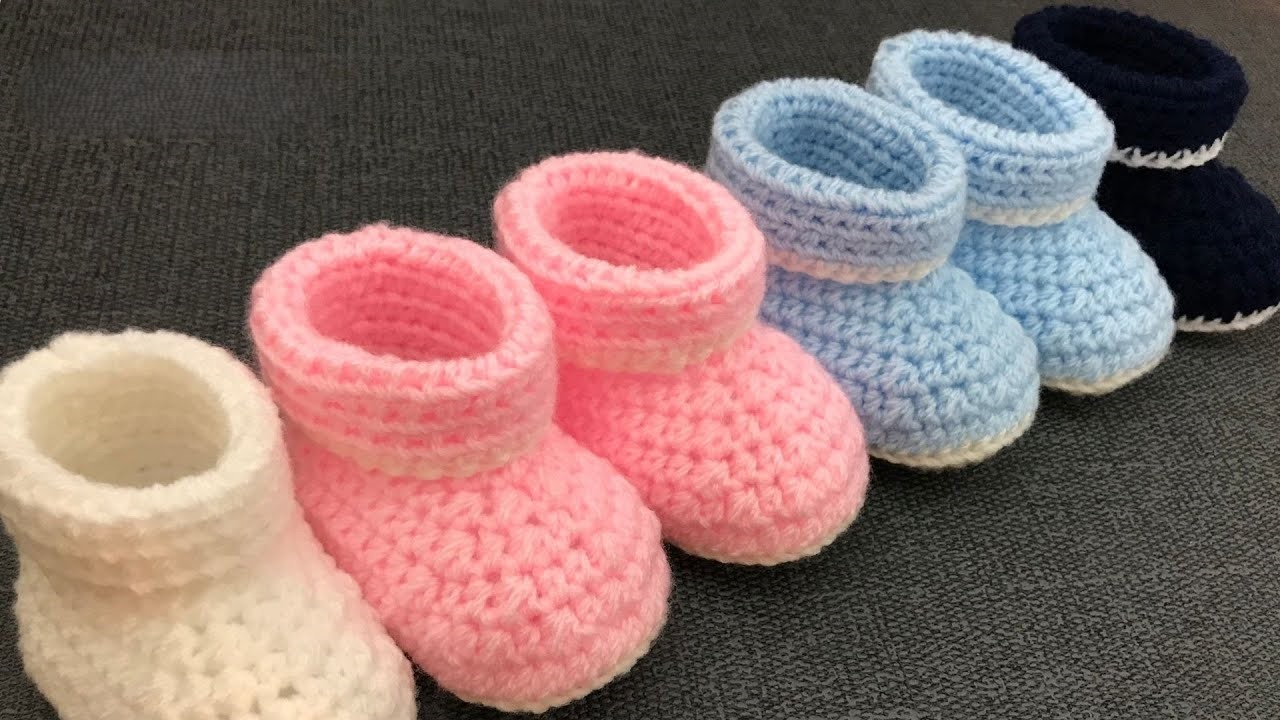
- Change colors: Use different colors for the sole, body, and cuff for a fun look.
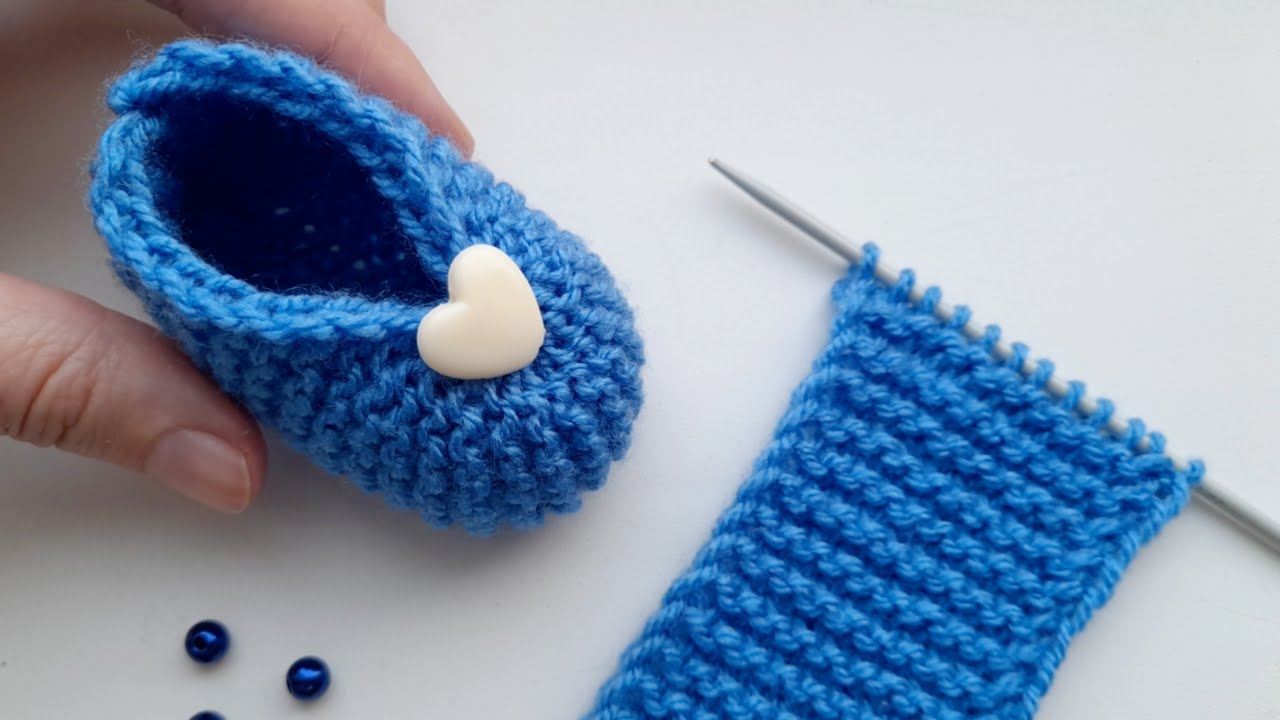
- Add embellishments: Sew on small buttons (make sure they are securely attached), appliques, or add a simple crochet flower.
- Adjust the size: You can typically adjust the size by using a different yarn weight and corresponding hook size, or by adding or subtracting stitches in the initial chain and increase rounds of the sole. Many free patterns offer multiple sizes.