 by
by 
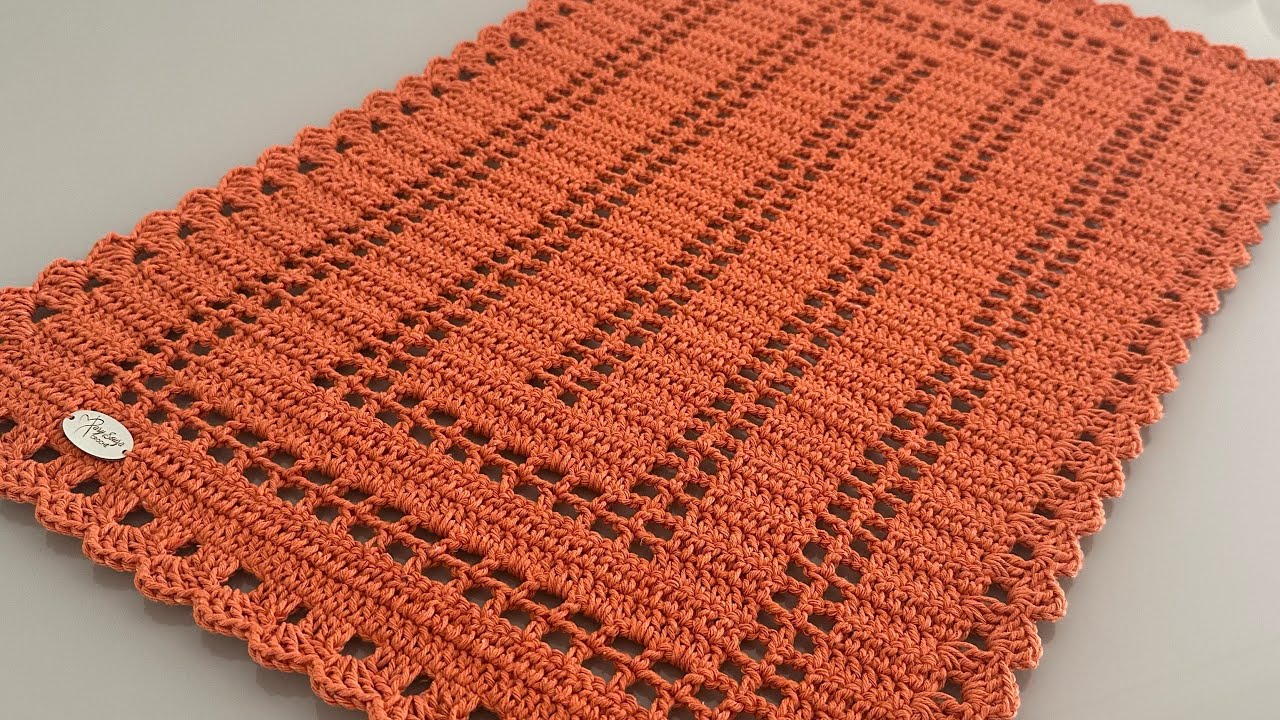
Welcome, fellow fiber artists! Today, we’re embarking on a satisfying project that will add warmth, texture, and a touch of handmade charm to any room: a popular rectangular crochet rug. This type of rug is a favorite for its simplicity, versatility, and the wonderful cozy feeling it brings to your space.
Whether you’re a beginner looking for a larger, rewarding project or an experienced crocheter wanting a relaxing and practical make, this guide will walk you through the steps to create your very own beautiful rectangular rug. Get ready to transform your yarn stash into a functional piece of art for your home!
Why Crochet a Rectangular Rug?
- Customizable Size: You can easily adjust the dimensions to fit any area, from a small entryway to a large living room.
- Endless Design Possibilities: Play with colors, textures, and simple stitch patterns to create a rug that perfectly complements your decor.
- Durable and Practical: Depending on the yarn you choose, your crochet rug can be quite durable and washable, making it ideal for high-traffic areas.
- A Great Way to Use Up Yarn: Have a collection of bulky yarn? This is a fantastic project to put it to good use!
- Adds Handmade Warmth: There’s nothing quite like the feeling of a handmade item adding a personal touch to your home.

What You’ll Need:
- Bulky Weight Yarn: The amount will vary greatly depending on the size of your rug. Estimate generously! Consider using sturdy, washable yarns like cotton, acrylic blends, or even recycled t-shirt yarn. For a medium-sized rug (approx. 3ft x 5ft), you might need several large skeins.
- Large Crochet Hook: Choose a hook size appropriate for your bulky yarn. Common sizes range from K/10.5 (6.5 mm) to N/15 (10 mm) or even larger. Check your yarn label for recommendations.
- Scissors: For snipping your yarn.
- Yarn Needle with a Large Eye: For weaving in those inevitable ends.
- Stitch Markers (optional but helpful): Especially for keeping track of the beginning and end of rounds if you choose to work in a spiral, or for marking specific points in your rows.
- Measuring Tape: To check your progress and ensure your rug reaches the desired size.
Choosing Your Stitch:
For a beginner-friendly and popular rectangular rug, we’ll focus on a simple stitch that creates a nice, dense texture:
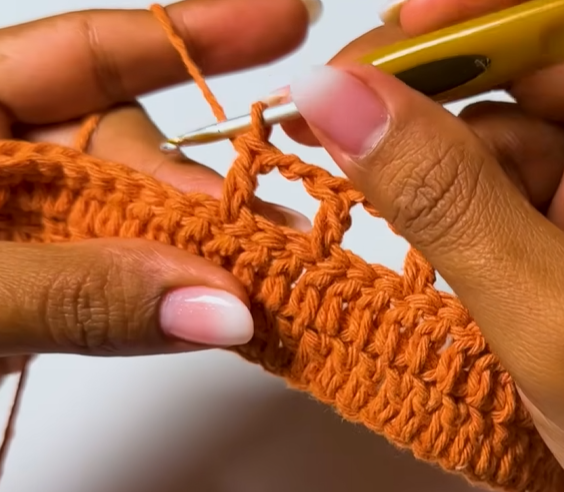
- Half Double Crochet (hdc): This stitch is taller than single crochet but shorter than double crochet, creating a good balance of texture and speed.
You can also explore other simple stitches like single crochet (sc) for a denser, more tightly woven rug or double crochet (dc) for a quicker project with a more open texture. Just remember that your yarn usage and the final size will be affected by your stitch choice.
Video tutorial
The Pattern: Building Your Rectangular Rug
We’ll be working in rows to create a classic rectangular shape.
- Foundation Chain: Decide on the desired width of your rug. Chain the number of stitches needed to achieve this width. Remember that your foundation chain will be the shorter side of your rectangle. For example, if you want a rug that is 3 feet wide, and your gauge (if you’re checking it) tells you that 8 hdc stitches equal 4 inches, you would chain approximately 72 stitches (36 inches / 4 inches * 8 stitches). It’s always a good idea to make a small gauge swatch to estimate your final size.
- Row 1: Half double crochet (hdc) in the third chain from the hook (the first two chains count as your turning chain), and in each chain across. Turn. (Your stitch count will be one less than your initial chain).
- Row 2: Chain 2 (this counts as your first hdc). Half double crochet (hdc) in each stitch across. Turn.
- Repeat Row 2: Continue repeating Row 2 until your rug reaches your desired length. Keep measuring periodically to ensure you’re on track.


Tips and Variations for Your Rug:
- Color Changes: Introduce stripes by changing yarn colors every few rows. You can have thin stripes, thick bands, or even create ombre effects.
- Textural Stripes: Alternate rows or sections of different simple stitches (like sc and hdc) to create subtle textural stripes.
- Working in the Back Loop Only (BLO): For a subtle ribbed texture, work each hdc through the back loop only instead of both loops.
- Adding a Border: Once your main rectangle is complete, you can add a border of a few rounds of single crochet, half double crochet, or even a more decorative stitch to give it a finished look and help it lay flat.
- Working in Rounds (Optional for a Different Look): While this pattern focuses on rows, you could also work in continuous rounds (a spiral) or joined rounds to create a rectangular shape. If working in rounds, you’ll need to increase strategically at the corners to maintain the rectangular form. This method is slightly more advanced for beginners.
Finishing Your Rug:
- Fasten Off: Once your rug reaches the desired size, fasten off your yarn securely.
- Weave in Ends: Using your yarn needle, weave in all loose ends neatly on the wrong side of your rug. Make sure they are secure so they don’t unravel with use.
Caring for Your Crochet Rug:
The care instructions for your rug will depend on the type of yarn you used.
- Cotton or Durable Acrylic: Many cotton and acrylic rugs can be machine washed on a gentle cycle and laid flat to dry. Check your yarn label for specific instructions.
- Delicate Yarns: Hand washing and air drying might be necessary for rugs made with more delicate fibers.
- Spot Cleaning: For small spills, try to spot clean the affected area with a mild detergent and a damp cloth.
Enjoy Your Handmade Creation!
Congratulations! You’ve now created a beautiful and practical rectangular crochet rug. Place it in your entryway, living room, bedroom, or anywhere you need a touch of cozy comfort and handmade style.
Remember that this is just a starting point. Feel free to experiment with different colors, yarn weights, and stitch patterns to create a rug that truly reflects your personal style and enhances your home decor.