 by
by 
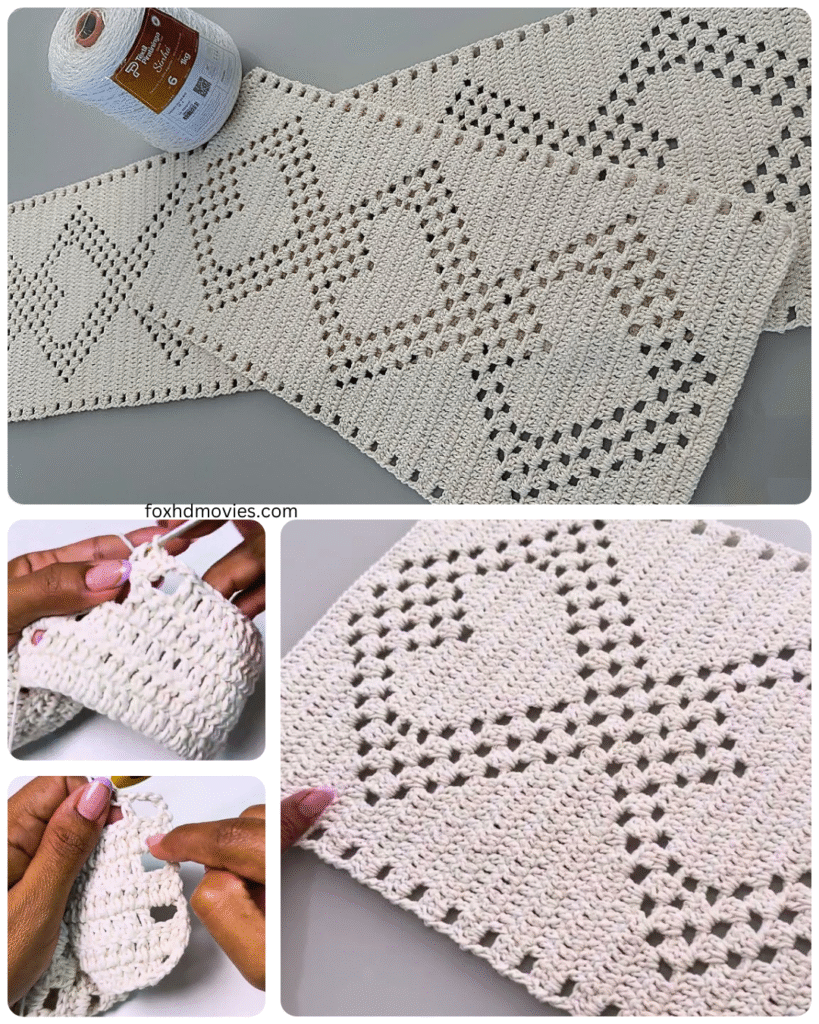
Welcome, fellow fiber artists! Today, we’re embarking on a journey to create a cozy and personalized addition to your home: a rectangular crochet rug. This project starts with a solid foundation – a perfectly shaped rectangular base – and then explores various ways to build upon it to create a rug that reflects your unique style.
Whether you’re a seasoned crocheter looking for a new project or a confident beginner ready to tackle a larger piece, this comprehensive guide will walk you through every step. So, gather your chunky yarn, your largest hook, and let’s craft a rug that will add warmth and texture to your space!
Part 1: Crafting the Perfect Rectangular Crochet Rug Base
A well-made base is crucial for a durable and beautifully shaped rug. We’ll be using simple stitches and a clever starting technique to achieve a neat rectangle.
What You’ll Need:
- Super Bulky Yarn: Choose a sturdy and washable yarn suitable for rugs. Consider wool blends, acrylic, or even upcycled fabric yarn. The amount will depend entirely on your desired rug size – be prepared for a significant amount!
- Large Crochet Hook: The size will depend on your yarn weight. Typically, an L/11 (8.0 mm) or larger hook is recommended for super bulky yarn. Check your yarn label for suggestions.
- Scissors: For snipping your yarn.
- Stitch Markers (highly recommended): To mark the corners and help maintain the rectangular shape.
- Measuring Tape: To ensure your rug reaches the desired dimensions.
Understanding the Stitches:
We’ll primarily be using the following basic crochet stitches:
- Chain (ch): The foundation of our rectangle.
- Single Crochet (sc): Creates a dense and sturdy fabric for the base.
Video tutorial
The Pattern: Building Your Rectangular Foundation
We’ll start with a chain and then work in rounds around it to create the rectangle. This method avoids a long starting chain and provides a clean, even edge.
- Foundation Chain: Chain the desired width of your rug minus 1. For example, if you want a rug that is approximately 30 stitches wide, chain 29.
- Round 1:
- Single crochet (sc) in the second chain from the hook and in each chain across.
- In the last chain, work 3 single crochet stitches (this creates the first rounded corner).
- Working along the opposite side of your foundation chain, single crochet (sc) in each of the unworked loops across.
- In the last chain (which is the same chain where you worked your first single crochet), work 2 more single crochet stitches (completing the second rounded corner).
- Slip stitch (sl st) to the first single crochet of the round to join.
- Round 2: Chain 1 (does not count as a stitch).
- Single crochet (sc) in each single crochet across until you reach the first corner (the group of 3 sc from the previous round).
- In the first stitch of the corner, work 2 single crochet stitches. Place a stitch marker in the second of these two stitches (this marks your corner).
- Single crochet (sc) in the middle stitch of the corner.
- In the last stitch of the corner, work 2 single crochet stitches. Place a stitch marker in the first of these two stitches (this marks your corner).
- Continue single crocheting (sc) along the next long side until you reach the next corner.
- Repeat the corner increases (2 sc in the first corner st, sc in the middle, 2 sc in the last corner st, placing stitch markers in the outer sc of each increase).
- Continue around the remaining sides, working single crochet stitches along the straight edges and the (2 sc, sc, 2 sc) increase in each corner, remembering to place your stitch markers.
- Slip stitch (sl st) to the first single crochet of the round to join.
- Subsequent Rounds: Chain 1 (does not count as a stitch).
- Single crochet (sc) in each single crochet across until you reach a stitch marker.
- When you reach a stitch marker, work 2 single crochet stitches in that stitch. Replace the stitch marker in the second of these two stitches.
- Continue single crocheting (sc) until you reach the next stitch marker.
- Work 2 single crochet stitches in that stitch and replace the stitch marker in the first of these two stitches.
- Repeat this process around the entire round – single crocheting along the sides and working 2 single crochet stitches in each marked corner stitch.
- Slip stitch (sl st) to the first single crochet of the round to join.
- Continue Repeating Round 4 until your rectangular base reaches your desired dimensions. Remember to move your stitch markers up with each round, always placing them in the outer of the two increase stitches at each corner.
- Finishing the Base: Once your base is the desired size, fasten off your yarn and weave in the ends securely.

Part 2: Transforming Your Base into a Complete Crochet Rug – Unleash Your Creativity!
With your sturdy rectangular base complete, the real fun begins! Here are several ideas and techniques you can use to transform it into a finished rug:
Option 1: Simple Single Crochet Fill
This is the easiest way to create a solid, textured rug.
- Join Yarn: Join your chosen yarn (you can continue with the same yarn as the base or switch to a new color or texture) with a slip stitch to any stitch of the last round of your base.
- Round 1 (and all subsequent rounds): Chain 1 (does not count as a stitch). Single crochet (sc) in each stitch around the entire base. When you reach the corners, simply work a single crochet in each of the corner stitches (you don’t need to increase further unless you want a ruffled edge). Slip stitch (sl st) to the first single crochet to join.
- Continue Repeating Round 2 until your rug reaches your desired height or you’re happy with the texture. You can change colors in stripes or blocks for visual interest.
- Finishing: Fasten off your yarn and weave in all ends securely.

Option 2: Textured Stitches
Introduce different crochet stitches to add visual and tactile interest to your rug. Here are a few ideas:
- Half Double Crochet (hdc): Creates a slightly taller and looser fabric than single crochet.
- Double Crochet (dc): Adds more height and texture.
- Treble Crochet (tr): Creates a very open and drapey fabric (might not be ideal for high-traffic areas but can be beautiful).
- Front Post/Back Post Stitches (fpdc/bpdc): Create a ribbed or textured surface. You can alternate them in rows or rounds.
- Bobble Stitch or Popcorn Stitch: Add raised, bumpy textures.
Simply replace the single crochet in Option 1 with your chosen stitch, working evenly around the base.
Option 3: Stripes and Colorwork
Play with color to create stunning visual patterns.
- Simple Stripes: Change colors every few rounds or rows for horizontal stripes.
- Vertical Stripes (requires more planning): You would need to work in rows and change colors at the beginning of each row.
- Geometric Patterns: Use graph patterns or follow charts to create intricate colorwork designs using techniques like tapestry crochet or intarsia (carrying or dropping colors as needed).
Option 4: Adding Texture with Loops or Puffs
Create a more plush and tactile rug by incorporating loop stitches or puff stitches.
- Loop Stitch: Pull loops of yarn through your work at regular intervals to create a shaggy texture. You can use your fingers or a gauge to ensure consistent loop height.
- Puff Stitch: Creates a raised, puffy texture. Work several incomplete stitches in the same stitch and then pull the yarn through all the loops on your hook.
Option 5: Combining Techniques
Don’t be afraid to mix and match these ideas! You could have a solid single crochet center with textured borders, stripes of different stitches, or even incorporate loop stitches in specific sections.

Adding a Border (Optional but Recommended for a Polished Look):
Once your rug body is complete, consider adding a border to frame it and give it a more finished appearance. A simple few rounds of single crochet, half double crochet, or even a decorative shell stitch can make a big difference.
- Join Yarn: Join your chosen border yarn to any stitch of the last round of your rug body.
- Round 1 (Simple sc border): Chain 1, single crochet in each stitch around. Work 3 single crochet stitches in each corner stitch to help it lay flat. Slip stitch to the first single crochet to join.
- Repeat Round 2 (and subsequent rounds) as desired for the width of your border. You can change stitches or colors for added interest.
- Decorative Border: For a more decorative edge, you can work rounds of shell stitches, picots, or other lace-like edgings.
Finishing Touches:
- Weave in all loose ends securely. This is crucial for a rug that will withstand use and washing.
- Blocking (optional but can be helpful for larger rugs): If your rug is uneven or doesn’t lay completely flat, you can try gently steam blocking or wet blocking it (depending on your yarn fiber).
Care and Maintenance:
The care instructions for your rug will depend on the yarn you used. Generally, hand washing or gentle machine washing (in a large enough machine) and air drying are recommended for handmade crochet rugs. Avoid harsh chemicals or high heat.