by
by 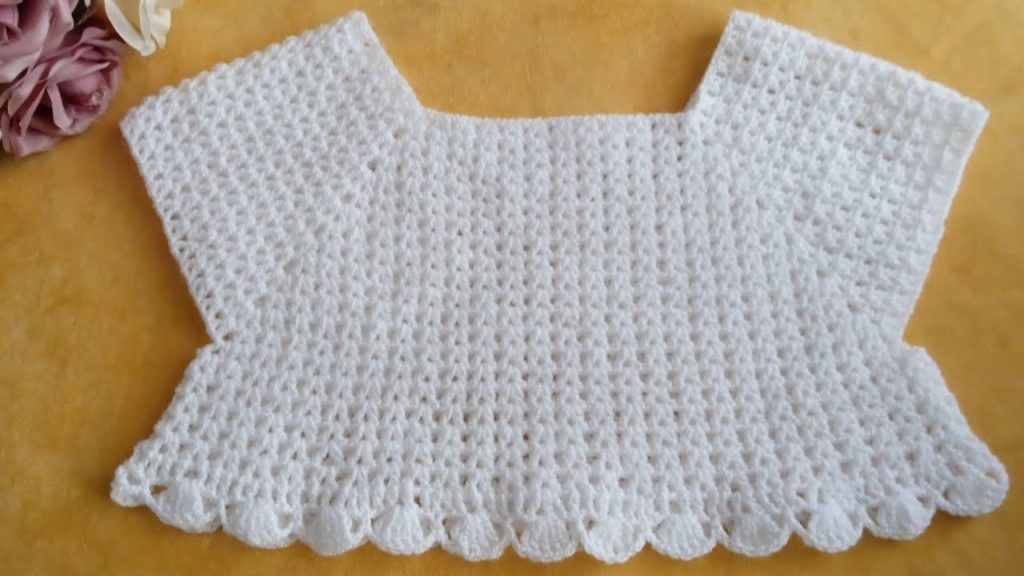
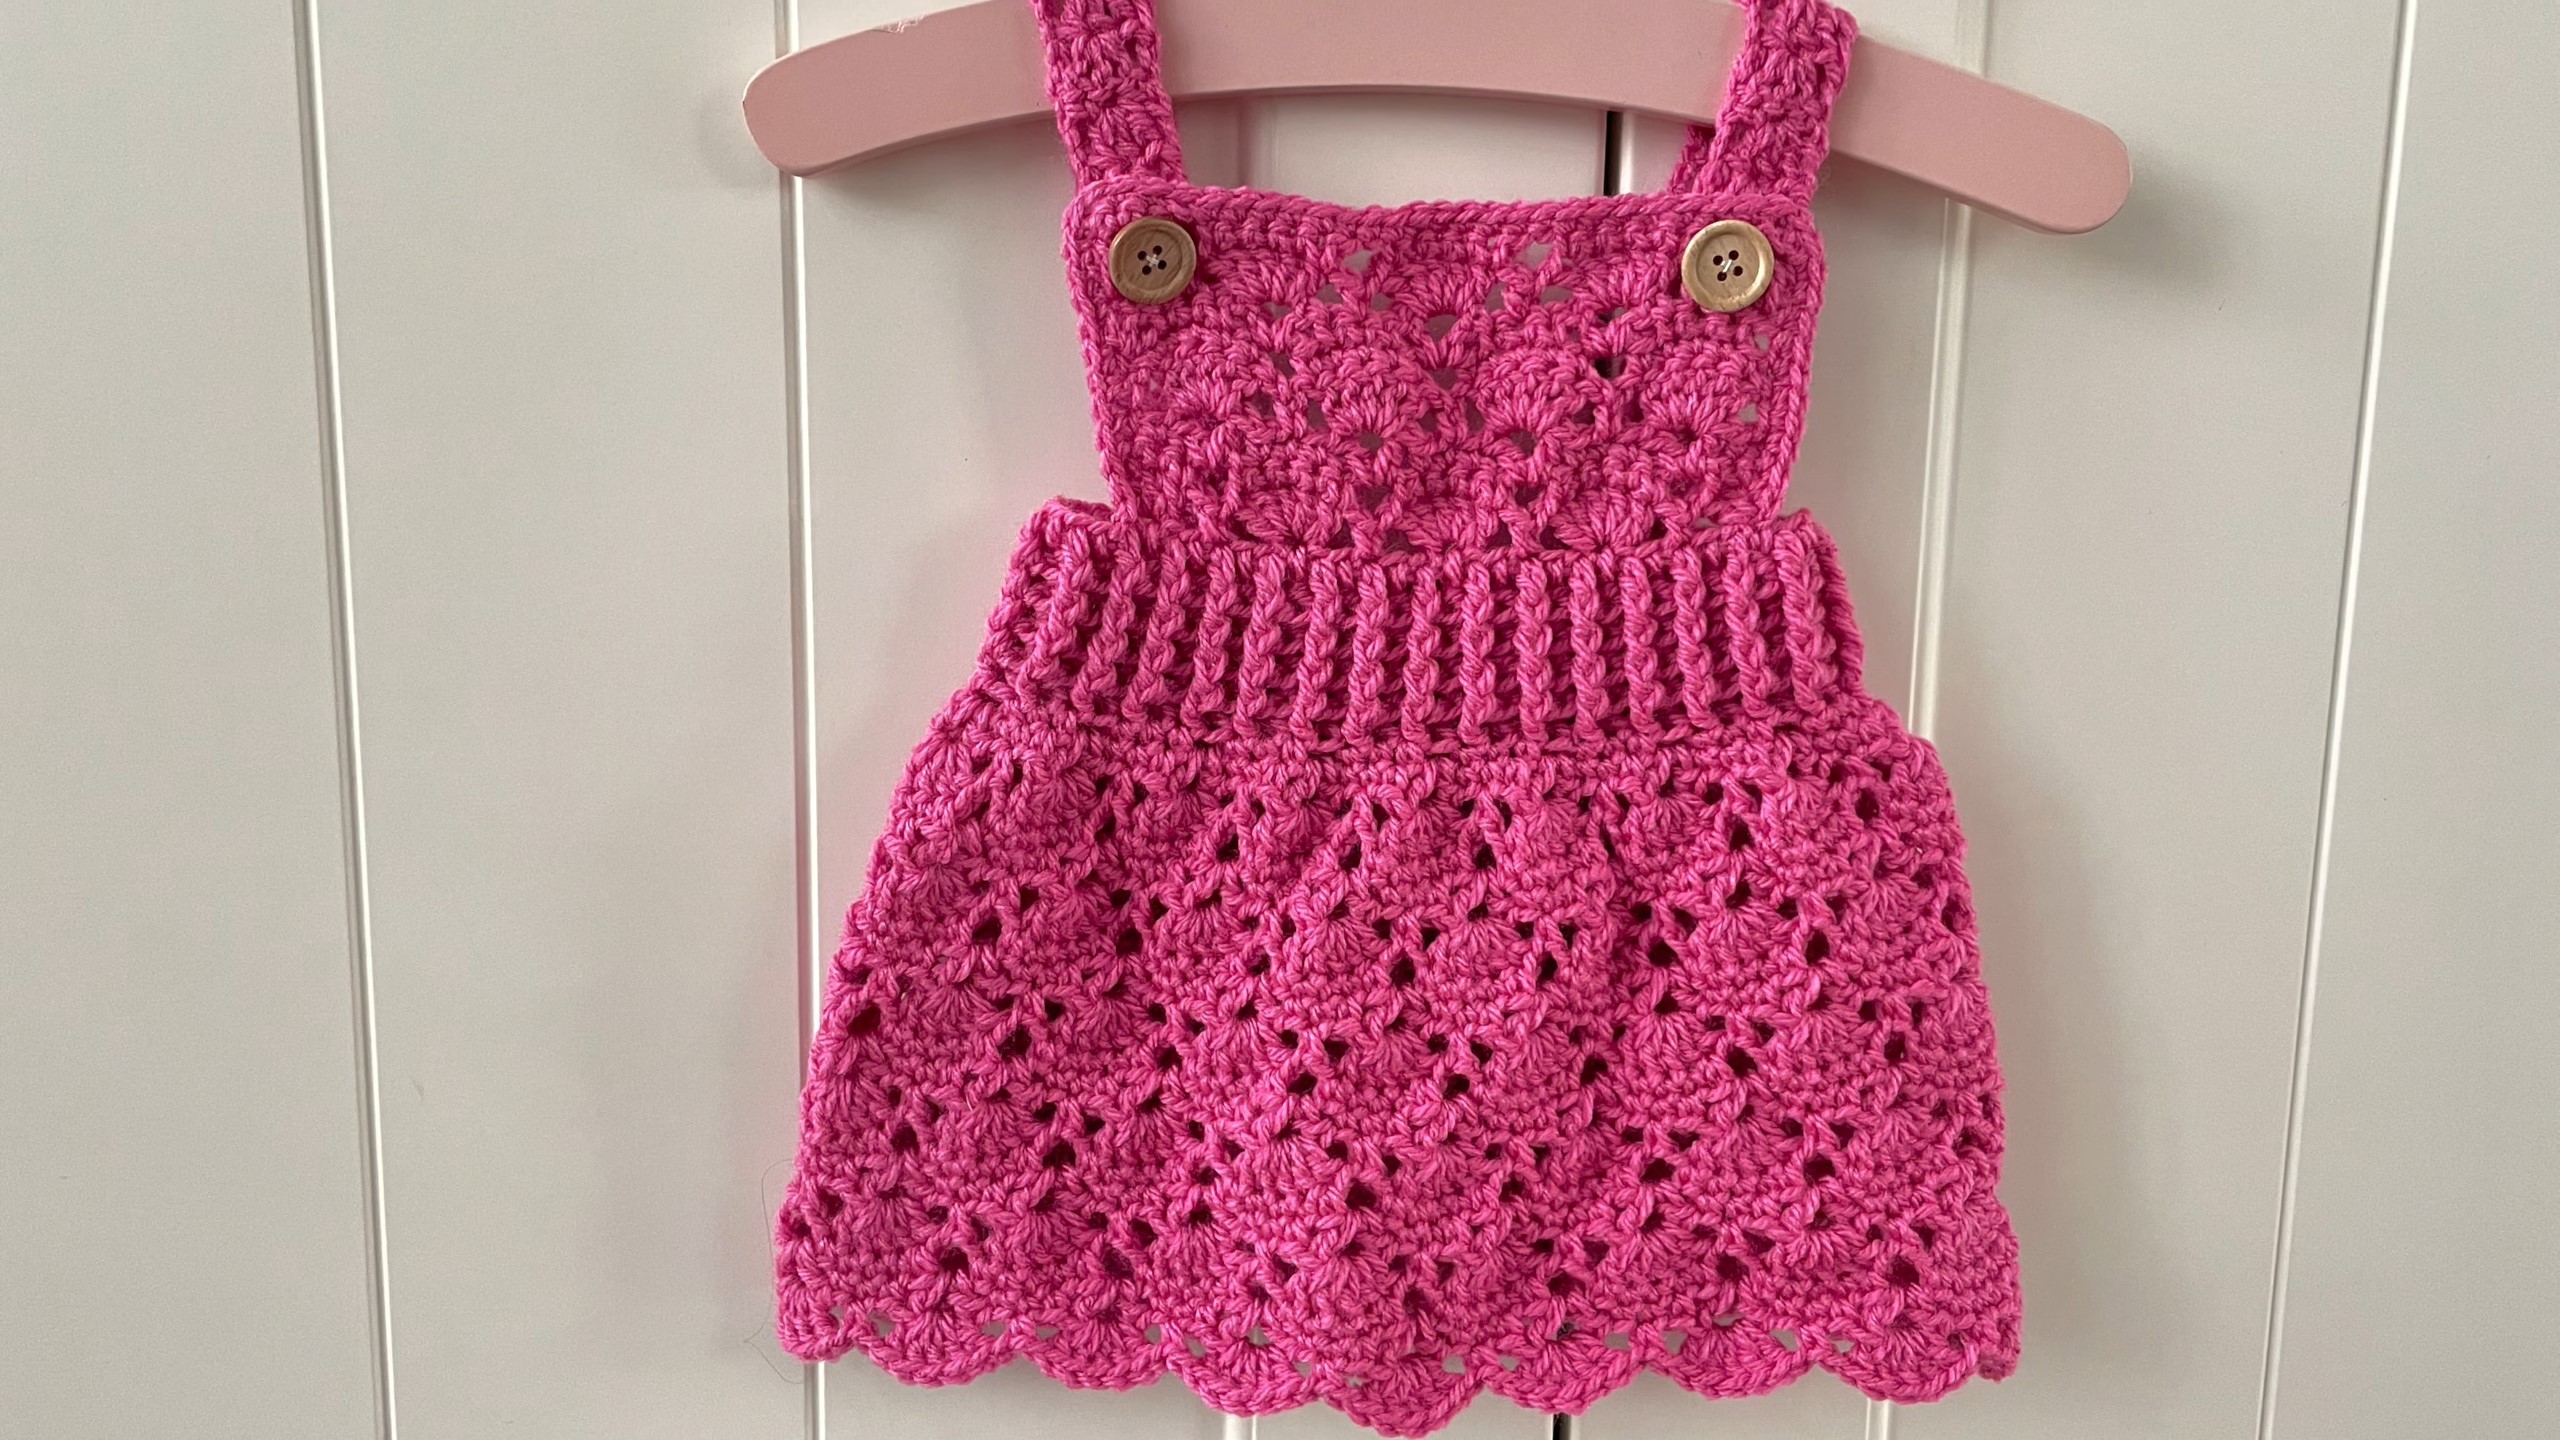
Introduction & Inspiration
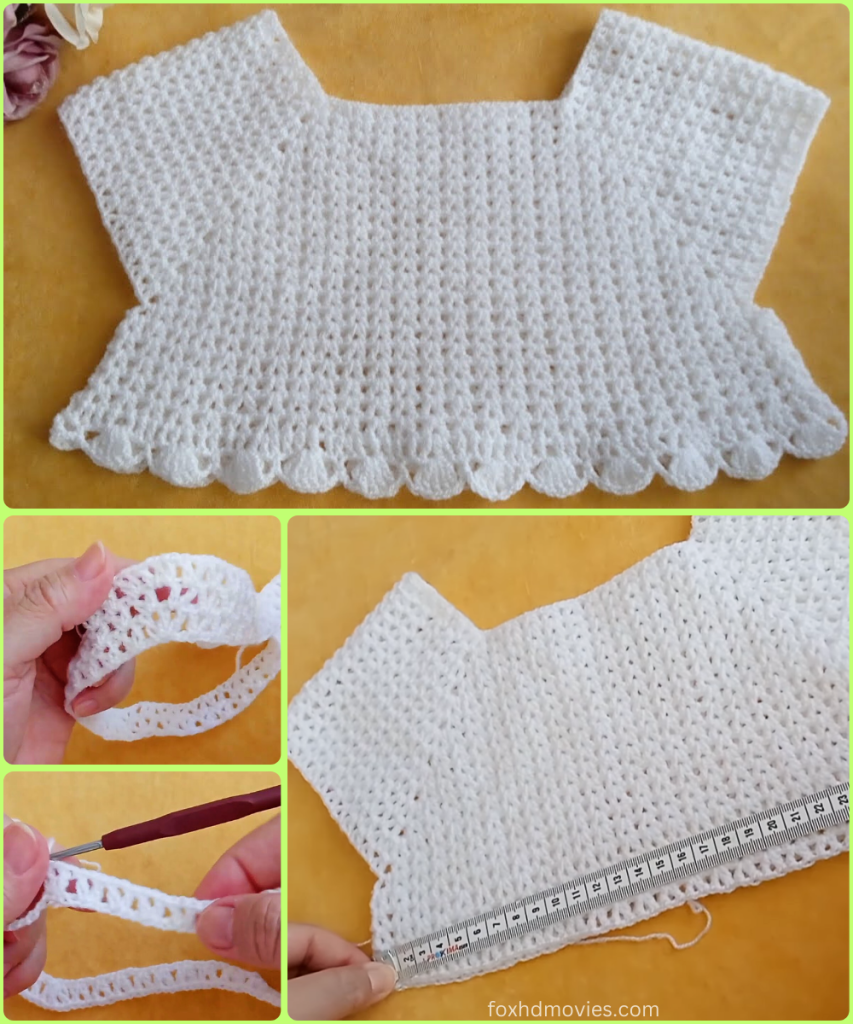
Crafting crochet garments with a decorative yoke offers both elegance and ease. A yoke (“pala”) made with a classic v-stitch brings airy texture and gentle drape—ideal for lightweight children’s tops, dresses, or tunics. This guide walks you through the process from materials to finishing, offering tips, variations, and personalization suggestions along the way.
1. Materials & Tools Needed
- Yarn:
Light DK (Light #3) or cotton-blend yarn—soft, breathable, and machine-washable. Estimate: 250–300 g for a top-length design; 350–400 g for tunic/dress length with sleeves. - Hook:
4.0 mm (G-6) or 4.5 mm (7/0) crochet hook; adjust according to your tension and desired drape. - Notions:
- Stitch markers (for sleeve and section divisions)
- Yarn needle
- Scissors
- Measuring tape
- Optional: small decorative buttons, ribbon, or fabric labels
- Gauge Swatch (recommended):
Create a 10 cm × 10 cm square in v-stitch pattern to check tension:- Aim for about 12 v-stitches (each v = dc-ch-dc) by 8 rows.
- Adjust hook size if needed to meet gauge for consistent fit.
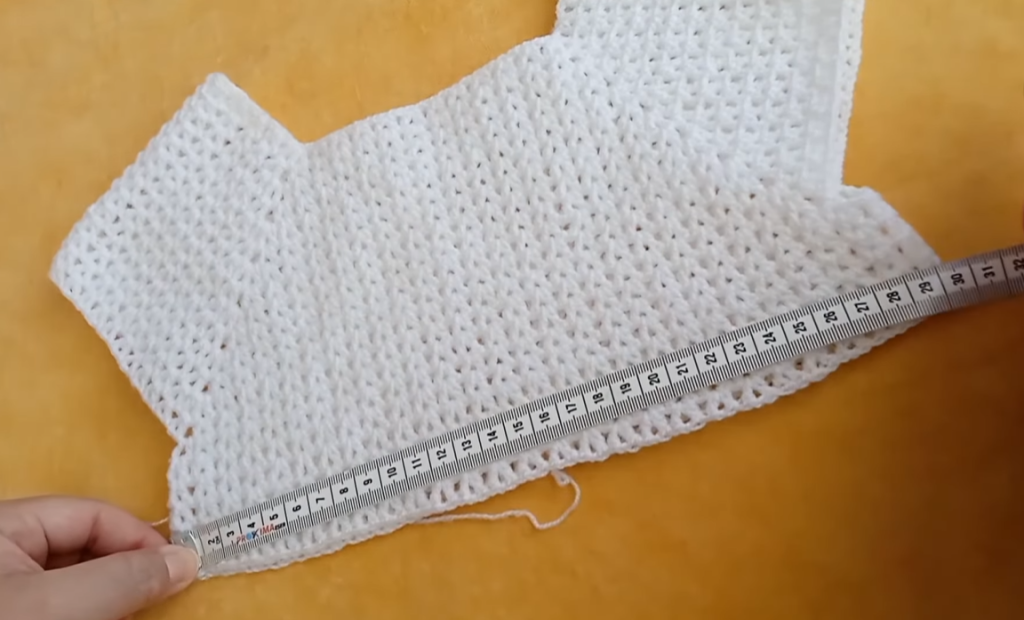
2. Sizing & Measurements
This pattern is sized for 3–5-year-olds and can be adapted. Approximate measurements:
- Neck circumference: 28–32 cm
- Yoke depth (shoulder to underarm): 10–12 cm
- Chest circumference: 56–60 cm
- Garment length:
- Top: ~30 cm from shoulder
- Dress: ~40–45 cm from shoulder
Measure a child’s favorite existing garment if possible to compare and match.
3. Abbreviations & Stitch Guide
- ch – chain
- dc – double crochet
- v-st – v-stitch (dc, ch 1, dc in same stitch or space)
- sl st – slip stitch
- inc – increase (placing two dc in the same stitch)
- sk – skip
- rep – repeat
4. V-Stitch Explanation
V-stitch: (dc, ch 1, dc) all worked into the same space—creates light, lacy texture, ideal for yokes with gentle drape and airflow.
5. Gauge Swatch Tips
- Chain 22 (multiple of 4 + 2) plus 1 for turning.
- Work v-stitch rows for about 10 cm.
- Check that 12 v-stitches across and 8 rows equals 10 cm.
- Adjust hook if your result is significantly off gauge.
6. Pattern Instructions
A. Foundation & Yoke Start
- Chain 64, loosely join with sl st to form a circle—ensure it’s not twisted.
- Round 1: ch 2 (counts as dc), then dc in next ch, ch 1, skip 1 ch, dc in next across, join with sl st to top of beginning ch-2.
- Round 2: ch 2, dc in ch-1 space, ch 1, dc in same space (creates v-stitch), repeat around. Join.

B. Yoke Construction with Gradual Increases
- Even rounds: work v-stitches in each ch-1 space.
- Increase rounds (every 3rd round, for example):
- Increase by adding one extra v-stitch: Work v-stitch in first space, v-stitch, then (dc, ch 1, dc) in same space to increase one stitch.
- Continue alternating 2–3 rounds of even v-stitch with 1 increase round until yoke depth reaches ~10–12 cm.

C. Dividing Body & Sleeves (Yoke to Garment Transition)
- Mark your pattern into front, sleeve, back, sleeve sections. Example:
- Front: 16 v-stitches
- Sleeve: 12 v-stitches
- Back: 16 v-stitches
- Sleeve: 12 v-stitches
- Join into body rounds:
- Work around the front section.
- Chain 8 (for sleeve armhole), skip the sleeve stitches, then work across the back.
- Chain 8 again, skip the next sleeve, and complete the round across front.
- Continue working in rounds over body and chain spaces (armholes) until reaching desired length.
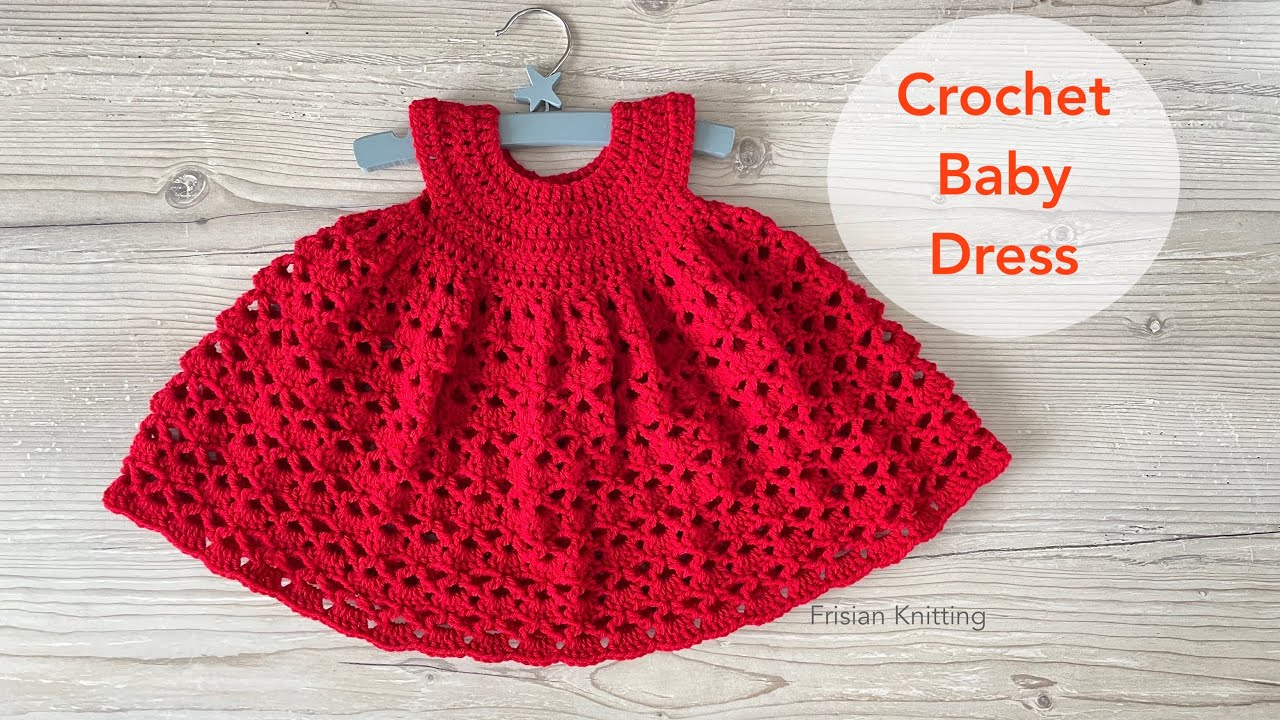
D. Body (Skirt or Torso)
- Basic: Continue v-stitches in rounds until reaching top length.
- Optional lace border: Switch to alternating shell stitch or picot for fun accent in the final 4–6 rows.
E. Sleeves (Optional Short or Long)
- Join yarn at armhole chain space.
- Work v-stitch rounds around that opening for desired sleeve length (e.g., 6 rounds for short sleeves).
- Finish with a scalloped edge or simple dc round.
F. Edging & Neck Finishing
- Finish neckline with 1–2 rounds of sc or crab stitch (reverse single crochet) for structure.
- Optionally add a ribbon threaded through neckline or a button-up keyhole at back for flair.
Video tutorial
7. Finishing & Blocking
- Securely weave in all ends with a yarn needle.
- Lightly block the garment to even out stitching and shape garment pieces.
- Press or steam (according to yarn care) for a polished look.
8. Customization Ideas
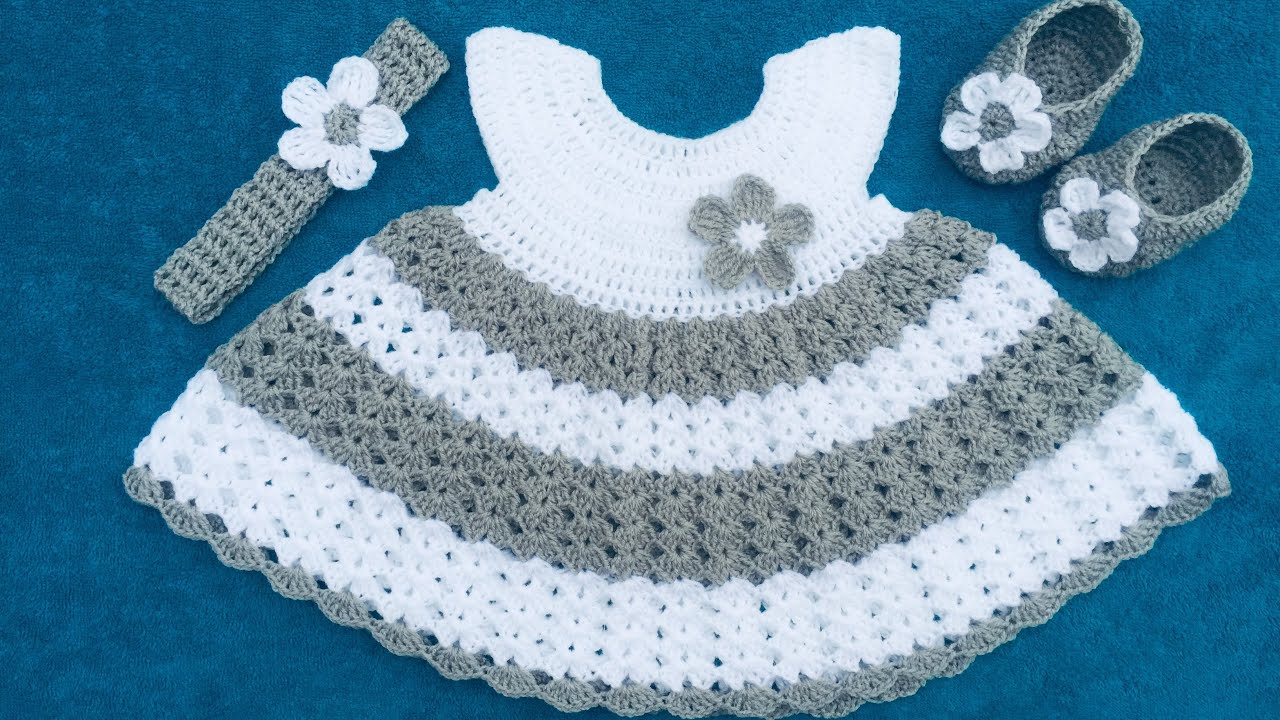
- Color Play: Alternate colors every few rounds to create stripes or color-block yoke.
- Texture Variation: Use puff stitches or bobbles on the yoke in place of some v-stitches for depth.
- Buttons: Add functional buttons or decorative tags at the back neck.
- Length Alterations: Shorten body for a top, or lengthen for a dress. Use the same body section to extend or hem as needed.
- Inclusive Sizing: To make larger or smaller sizes, adjust foundation chain and rounds proportionally, keeping the multiple of 4 + 2.
9. Troubleshooting Tips
- Yoke too tight? Increase starting chain or use a larger hook/gauge.
- Yoke bunching or ruffling? Adjust increase frequency—spread increases out more.
- Body too wide or too narrow? Alter the number of chain stitches for armholes or adjust body rounds.
- Sleeves don’t fit? Increase chain count or add additional rounds before closing.
10. Final Thoughts
This v-stitch yoke garment offers both charm and versatility—perfect for mixing texture, adjusting sizes, and adding creative touches. Whether aiming for a playful summer top or a layered tunic, the design grows beautifully with every twist of the hook.