by
by 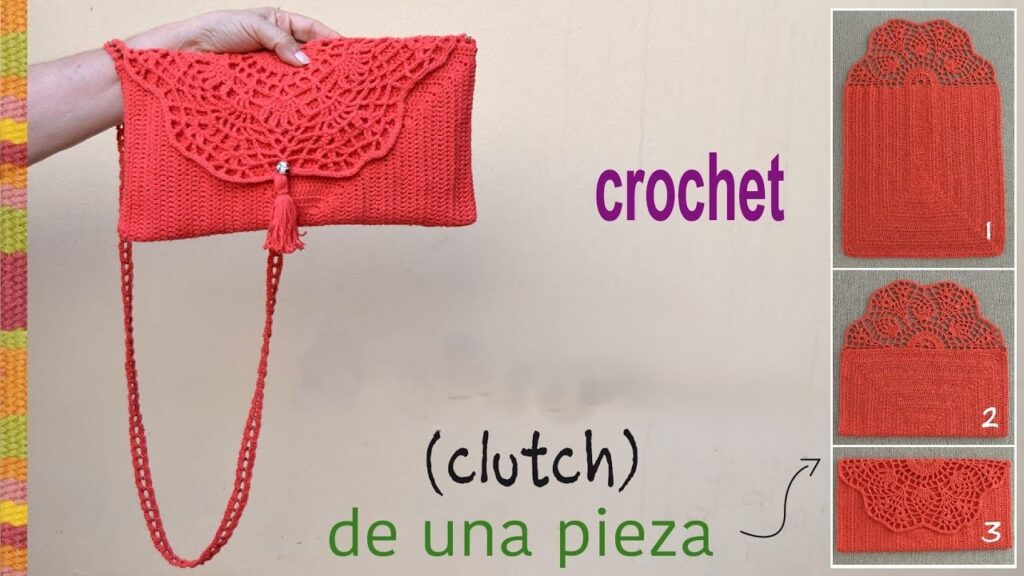
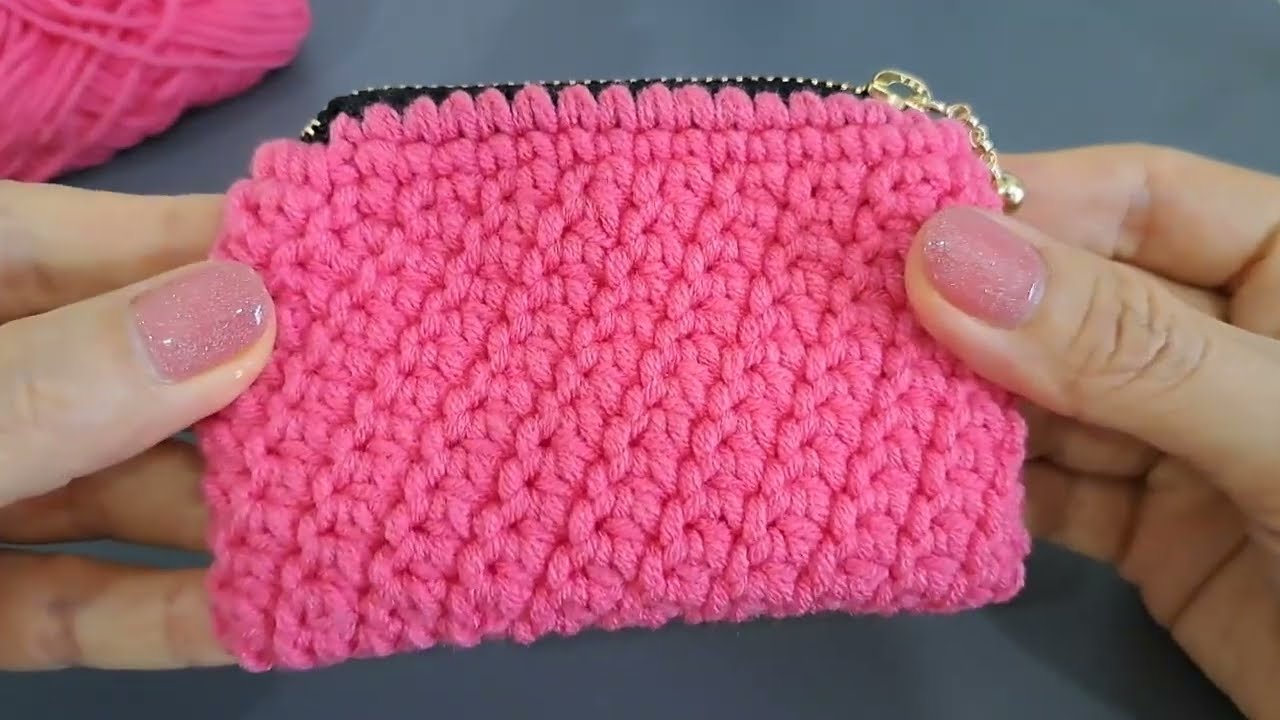
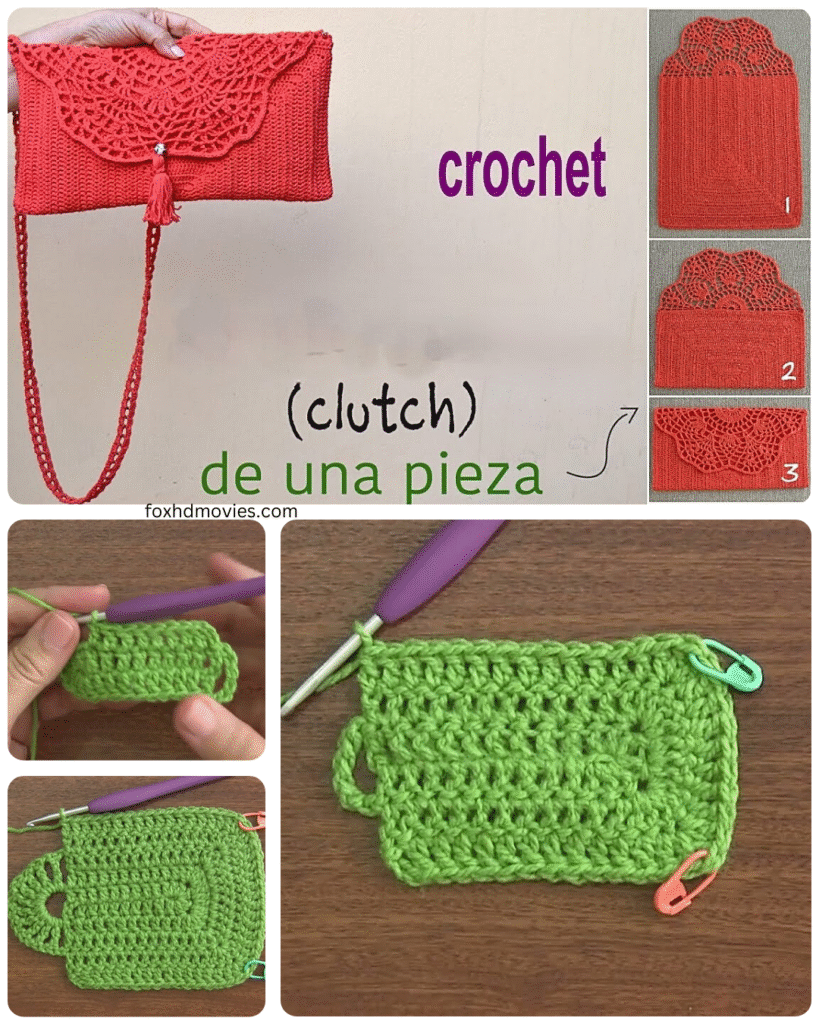
Hello, fellow crochet lovers! Are you ready to create a handbag that’s not only functional but also a stunning piece of handmade art? Today, we’re embarking on a journey to crochet a Pretty Lace Handbag. This project combines delicate lace patterns with a practical design, resulting in a unique accessory that will surely turn heads.
While this project involves some lace techniques, don’t be intimidated! We’ll break it down into manageable steps, making it achievable for crocheters with a bit of experience looking to expand their skills. Get ready to transform your favorite fine yarn into a beautiful and personalized handbag!
What You’ll Need:
- Fine to Medium Weight Yarn: Choose a yarn that offers good stitch definition for the lace pattern. Cotton, mercerized cotton, or a sturdy acrylic blend are excellent choices. Consider the drape and durability you desire for your handbag. Approximately 300-400 yards should be sufficient, but this will vary based on your bag size and yarn weight.
- Crochet Hook: Select a hook size appropriate for your chosen yarn. A common size range for this type of project is between 3.0mm and 4.0mm.
- Scissors: For snipping yarn.
- Yarn Needle: For weaving in ends securely.
- Stitch Markers: Essential for marking specific stitches and rows, especially in lace patterns.
- Fabric for Lining (optional): If you want a lined handbag for added structure and to prevent small items from slipping through the lace, you’ll need fabric, matching thread, and basic sewing supplies (needle, scissors, sewing machine or hand-sewing needle).
- Magnetic Snap or Other Closure: To secure the top of your handbag.
- Handles or Strap: You can crochet your own (instructions provided for a simple crocheted strap) or purchase готовые handles or a chain strap.
- Blocking Pins and Blocking Board (optional but recommended): For shaping and setting the lace panels.
Video tutorial
Understanding the Lace Pattern:
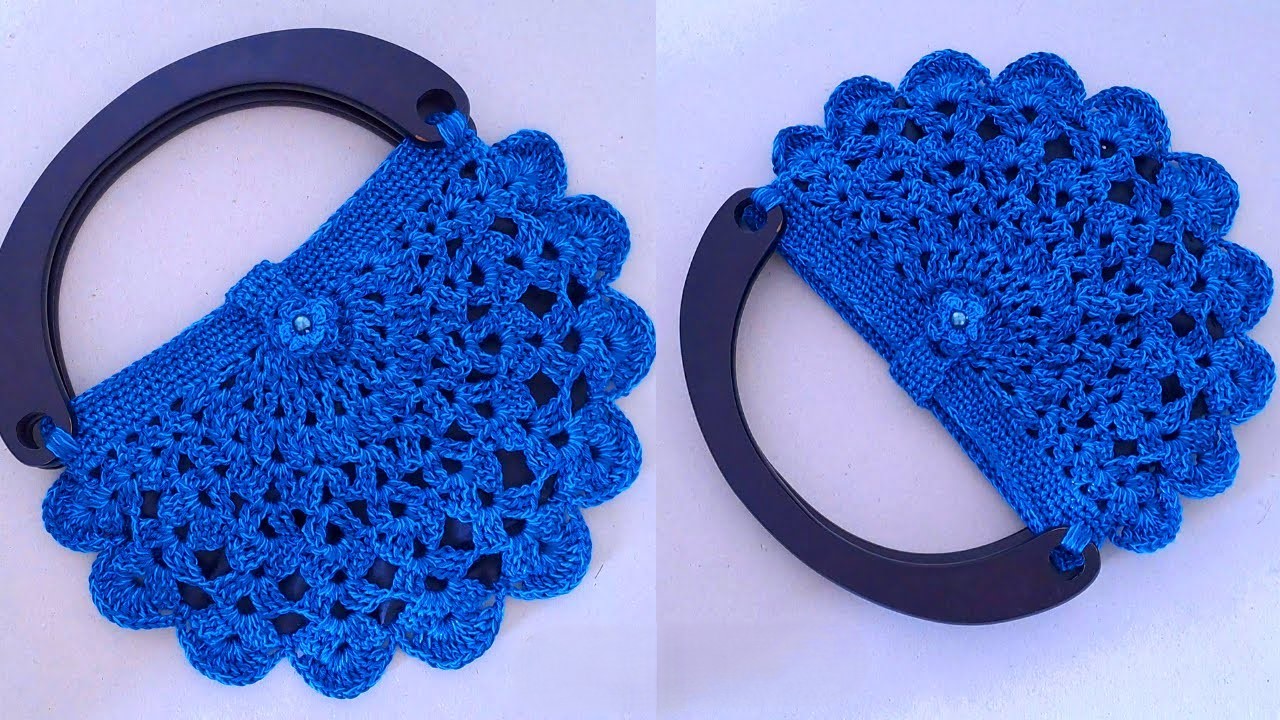
The beauty of this handbag lies in the delicate lace panels. We’ll be using a combination of basic stitches and chain spaces to create an openwork design. Here’s the stitch key and a small repeat of the lace pattern we’ll be working with (adjust the repeat based on your desired panel size):
Stitch Key:
- ch = chain
- sl st = slip stitch
- sc = single crochet
- hdc = half double crochet
- dc = double crochet
- tr = treble crochet
- sp(s) = space(s)
- sk = skip
- rep = repeat
- beg = beginning
Lace Panel Pattern (Repeat over a multiple of 8 stitches + 1):
Row 1 (RS): Ch 3 (counts as first dc), dc in the next st, *ch 3, sk next 3 sts, sc in the next st, ch 3, sk next 3 sts, dc in the next 2 sts; rep from * across, ending with dc in the last st. Turn.
Row 2 (WS): Ch 1, sc in the first dc, *ch 5, sc in the next sc; rep from * across, ending with ch 2, hdc in the top of the beg ch-3. Turn.
Row 3: Ch 3 (counts as first dc), dc in the first hdc, *ch 3, sc in the center ch of the next ch-5 sp, ch 3, dc in the next 2 sc; rep from * across, ending with dc in the last sc. Turn.
Row 4: Ch 1, sc in the first dc, *ch 3, sc in the next sc, ch 5, sc in the next sc; rep from * across, ending with ch 3, sc in the top of the beg ch-3. Turn.
Row 5: Ch 5 (counts as first tr), tr in the first sc, *ch 1, sc in the center ch of the next ch-3 sp, ch 3, sc in the center ch of the next ch-5 sp, ch 1, tr in the next 2 sc; rep from * across, ending with tr in the last sc. Turn.
Row 6: Ch 3 (counts as first dc), dc in the first tr, *ch 3, sc in the next sc, ch 3, sc in the next sc, ch 2, hdc in the next tr; rep from * across, ending with hdc in the top of the beg ch-5. Turn.
Repeat Rows 1-6 for the desired height of your lace panels.
Constructing the Handbag: Panel by Panel

We will crochet two identical lace panels for the front and back of the handbag, and then potentially two smaller, simpler panels for the sides (or you can adapt the lace pattern for the sides as well).
- Creating the Front and Back Panels:
- Determine the desired width and height of your handbag. Based on your gauge and the lace pattern repeat (8 stitches + 1), calculate the number of chains you need to start. For example, if you want a panel approximately 10 inches wide and your gauge is roughly 4 stitches per inch, you’d need around 40 stitches. Adjust to fit the multiple of 8 + 1.
- Chain the required number of stitches for your desired width.
- Work the Lace Panel Pattern (Rows 1-6) until your panel reaches the desired height.
- Fasten off and weave in the ends for both the front and back panels.
- Creating the Side Panels (Simplified Version):
- Determine the desired width and height of your side panels. These will typically be narrower than the front and back panels.
- Chain the required number of stitches for the width of your side panel.
- Work in a simple stitch like single crochet (sc) or half double crochet (hdc) until the side panel reaches the same height as your front and back panels.
- Make two identical side panels. Fasten off and weave in the ends.
- (Optional: You can adapt the Lace Panel Pattern for the side panels by working fewer repeats across.)

Assembling the Handbag:
- Blocking (Recommended): Gently block your crocheted panels to ensure they are flat and the lace pattern is well-defined. Pin them to your blocking board according to your desired finished dimensions and lightly steam or mist them with water. Allow them to dry completely.
- Seaming the Panels:
- With the wrong sides of the panels facing each other, use your yarn needle and the same yarn to seam the side edges of the front panel to the side edges of one side panel. Use a whip stitch or a mattress stitch for a neat seam.
- Repeat this process to attach the other side panel to the other side edge of the front panel.
- Finally, attach the back panel to the remaining edges of the side panels, leaving the top open for the handbag opening.
- Adding the Lining (Optional):
- Measure the inside of your crocheted bag. Cut out fabric pieces for the front, back, and sides of the lining, adding a seam allowance of about 1/2 inch (1.25 cm) all around.
- Sew the lining pieces together using your sewing machine or by hand, creating a fabric bag that fits snugly inside your crocheted bag.
- Insert the lining into the crocheted bag and carefully hand-stitch the top edge of the lining to the inside top edge of the crochet.
- Attaching the Closure:
- Position your magnetic snap or other closure mechanism on the inside top edges of the front and back panels.
- Sew the closure pieces securely in place, either through the crochet stitches or through the lining if you added one.
- Adding the Handles or Strap:
- Crocheted Strap (Optional):
- Chain a long strand of yarn to your desired strap length.
- Work a row of single crochet (sc) back along the chain.
- You can work additional rows of sc or slip stitch for a sturdier strap.
- Fasten off and securely sew the ends of the strap to the top side edges of your handbag.
- ** готовые Handles or Strap:** Attach your purchased handles or strap to the top edges of your handbag, ensuring they are securely fastened. You can use yarn to stitch them on or follow the manufacturer’s instructions.
- Crocheted Strap (Optional):