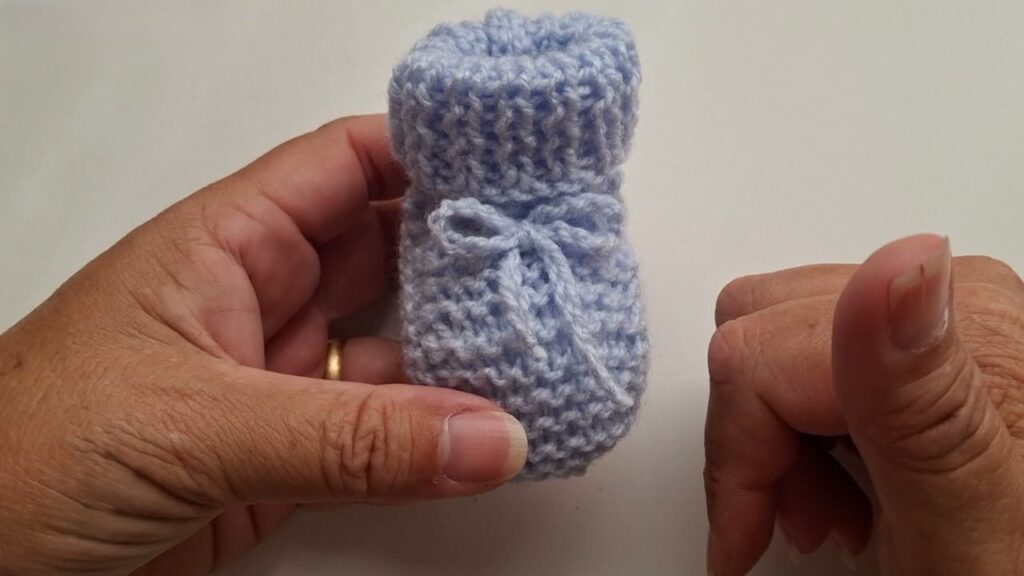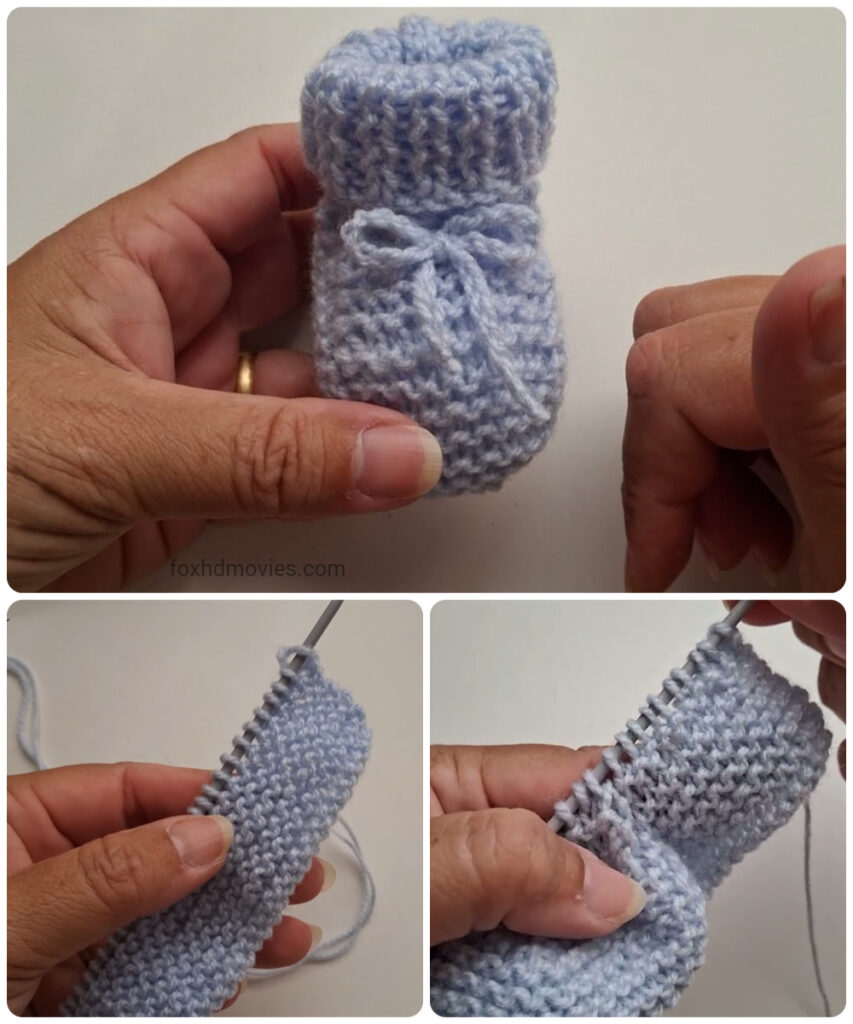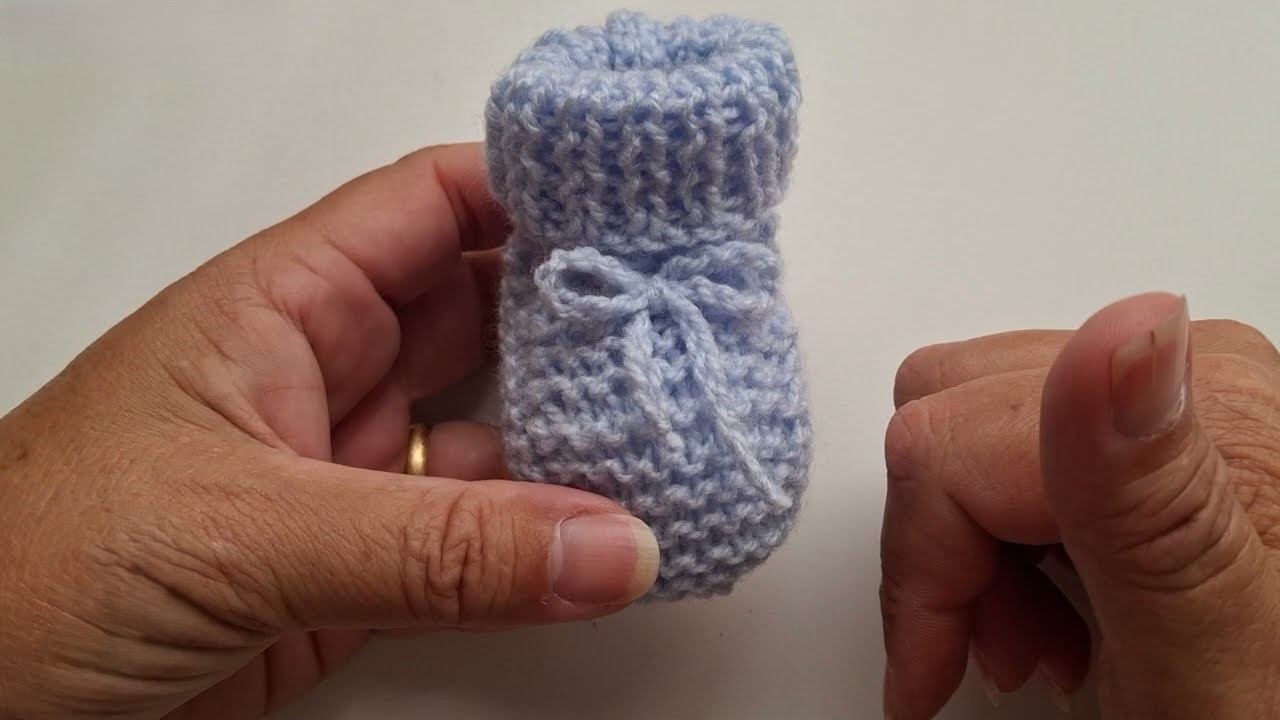
Keep your little one’s feet warm and stylish with these adorable knitted booties! The classic garter stitch provides softness and stretch, while the ribbed toe and ankle cuff add a touch of texture and ensure a great fit. The simple drawstring tie means these booties will stay on, no matter how much those little legs kick!
This pattern is written for a 0-3 month size, but tips for adjusting are included.
Skill Level:
Easy

Materials:
- Yarn: DK weight (Light Worsted / #3) baby yarn (approx. 30-50g per pair). The example uses a beautiful light blue.
- Needles: 3.5 mm (US 4) straight knitting needles or circular needles (for working flat)
- Tapestry needle (for seaming and weaving in ends)
- Scissors
- Stitch marker (optional, but helpful for indicating instep section)
Abbreviations (US Terms):
- CO: Cast On
- K: Knit
- P: Purl
- st(s): stitch(es)
- RS: Right Side
- WS: Wrong Side
- k2tog: knit two stitches together (a decrease)
- yo: yarn over (creates a small hole for drawstring)
- garter stitch: every row knit
- ribbing: alternating knit and purl stitches (e.g., K1, P1 rib)
Gauge:
24 stitches and 48 rows = 4 inches (10 cm) in garter stitch
(Important: Please check your gauge! Accurate gauge is crucial for baby items to ensure they fit the intended size. If your gauge is different, adjust your needle size up or down accordingly. A slight difference can impact the finished size significantly for baby items.)
Pattern Notes:
- These booties are knitted flat as a single piece and then seamed.
- The sole, heel, and side panels are worked in garter stitch.
- The top of the foot (instep) has a defined ribbed section.
- The drawstring is created separately and threaded through eyelets.
- This pattern is for size 0-3 months. Suggestions for adjusting the size are provided at the end.
Pattern Instructions
Part 1: The Sole and Lower Heel (Garter Stitch)
Using 3.5 mm (US 4) needles and your chosen DK weight yarn,
CO 36 stitches.
Work in garter stitch (knit every row) for 32 rows. (This section forms the sole of the bootie and the lower back of the heel. The piece should measure approximately 6.5 cm / 2.5 inches wide and 6.5 cm / 2.5 inches long.)

Part 2: Shaping the Heel and Beginning the Instep Opening (Garter Stitch)
This section creates the “U” shape for the heel and the opening for the top of the foot.
Row 33 (RS): K 13 stitches, bind off 10 stitches, K to the end of the row (13 stitches remaining on your right needle, 13 stitches on your left needle). (26 sts total now on needles)
Row 34 (WS): K across all 26 stitches.
Row 35 (RS): K across all 26 stitches.
Repeat Row 34 and Row 35 for a total of 6 more rows (Rows 36-41). (You should now have a rectangular piece of garter stitch with a “U” shaped cutout in the center.)
Part 3: The Instep (Garter Stitch & Ribbed Section)
Now we will join the sides and work the top of the foot. You will pick up stitches to bridge the gap created in the previous step.
Row 42 (WS): K 13 sts (these are the stitches on the left side of the “U” opening), pick up and knit 10 stitches along the bound-off edge of the “U” (this closes the gap), K 13 sts (these are the stitches on the right side of the “U”). (36 sts total now on needles)
Work in garter stitch (K every row) for 4 rows. (This forms the initial part of the foot above the sole.)
Now, we will introduce the ribbing for the distinct instep/toe area:
Row 47 (RS – Ribbing Set Up): K 13 sts, (K1, P1) 5 times, K 13 sts. (The 10 central stitches are now ribbed.)
Row 48 (WS): K 13 sts, (P1, K1) 5 times, K 13 sts.
Repeat Row 47 and Row 48 for a total of 10 rows of ribbing (5 repeats of the 2-row pattern). (This ribbed section will be approximately 2 cm / 0.75 inches long and forms the top of the foot/toe.)

Part 4: Ankle & Drawstring Row (Garter Stitch with Eyelets)
Now we transition to the ankle section and create the holes for the drawstring.
Row 57 (RS): K across all 36 stitches.
Row 58 (WS): K across all 36 stitches.
Row 59 (RS – Eyelet Row): K2, *K2tog, yo, K2*. Repeat from * to * until the last 2 sts, K2. (This creates small holes for the drawstring.)
Row 60 (WS): K across all 36 stitches. (Make sure to knit the yarn overs like regular stitches.)
Row 61 (RS): K across all 36 stitches.
Part 5: The Cuff (Ribbing)
Now we create the stretchy ribbed cuff that will roll down.
Row 62 (WS): *P1, K1* across all 36 stitches.
Row 63 (RS): *K1, P1* across all 36 stitches.
Repeat Row 62 and Row 63 for a total of 12 rows of ribbing (6 repeats of the 2-row pattern). (This cuff should be approximately 2.5 cm / 1 inch long when unrolled.)
Part 6: Finishing
Bind off all 36 stitches loosely in the ribbing pattern (K1, P1 as you bind off).
Assembly:
- Fold and Seam: Lay your knitted piece flat. Carefully fold the piece in half lengthwise, bringing the cast-on edge up to meet the bound-off edge.
- Toe Seam: Using your tapestry needle and a long length of your yarn, seam the bound-off edges together from the very top (the end of the cuff) downwards for about 2-2.5 inches, going through the ribbed cuff and the ribbed toe section. This forms the front of the bootie, including the top of the toe. Use the mattress stitch for a neat, invisible seam, or a simple whip stitch.
- Heel Seam: Now, starting from the cast-on edge (the sole), seam the side edges of the garter stitch section together to form the back of the heel. Continue seaming until you reach the beginning of the picked-up stitches/instep section.
- Side/Ankle Seam: Continue seaming the side edges along the garter stitch instep section and then up the side of the eyelet row and ribbed cuff.
- Create Drawstring: Using the same yarn, create a simple knitted i-cord about 25-30 cm (10-12 inches) long, or crochet a chain of about 60-70 stitches. Alternatively, cut a length of ribbon or braided yarn.
- Weave Drawstring: Starting from the center back seam, weave the drawstring through the eyelets created in Row 59, going in and out, until you come back to the center front. Pull it through to meet the other end at the front center.
- Tie and Adjust: Tie the drawstring into a neat bow at the front.
- Weave in Ends: Securely weave in all remaining loose ends.
Video tutorial
Repeat all steps for the second bootie!
Sizing Adjustments (Approximate Guidance):
To adjust the size, you’ll mainly modify the number of stitches and rows:
- For 3-6 Months:
- CO 40 sts.
- Work 36-40 rows in Part 1.
- In Part 2, bind off 12 sts and work 8 rows.
- In Part 3, pick up 12 sts, work 6 garter rows, then 12 rows of ribbing (K1, P1 6 times).
- In Part 4, knit 2 rows garter, Eyelet row (K2, K2tog, yo, K3), knit 2 rows garter.
- In Part 5, work 14-16 rows of ribbing.
- For 6-12 Months:
- CO 44 sts.
- Work 44-48 rows in Part 1.
- In Part 2, bind off 14 sts and work 10 rows.
- In Part 3, pick up 14 sts, work 8 garter rows, then 14 rows of ribbing (K1, P1 7 times).
- In Part 4, knit 2 rows garter, Eyelet row (K2, K2tog, yo, K4), knit 2 rows garter.
- In Part 5, work 16-18 rows of ribbing.
(Always adjust based on your personal gauge and the desired finished length of the sole to fit the baby’s foot.)
There you have it – a sweet and charming pair of handmade baby booties, perfect for keeping tiny toes warm and adding a personalized touch!
Happy knitting!


