by
by 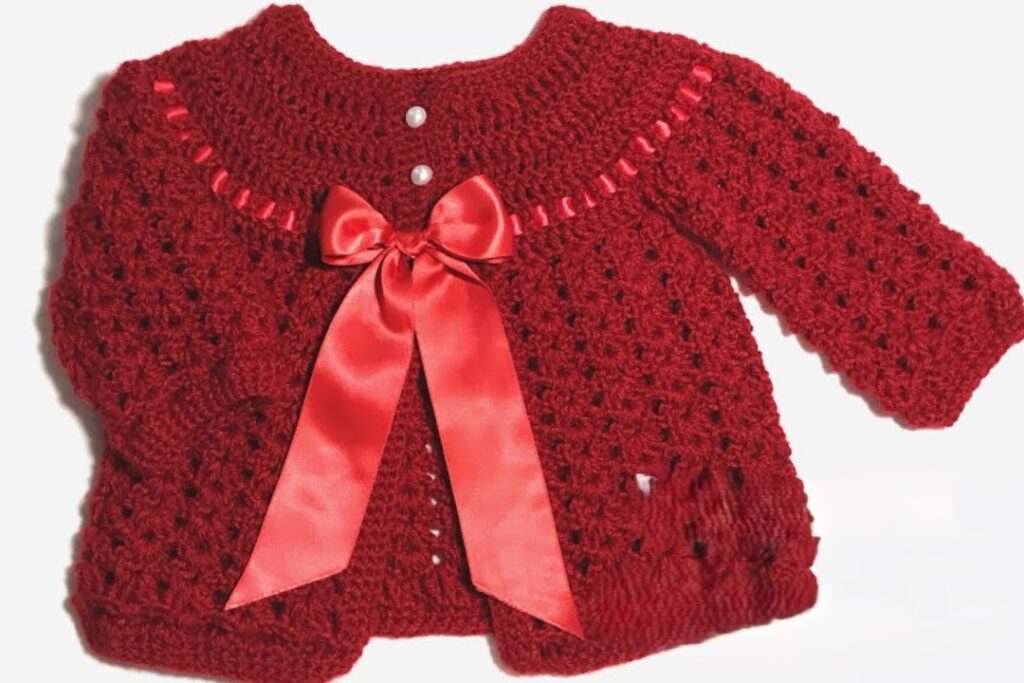
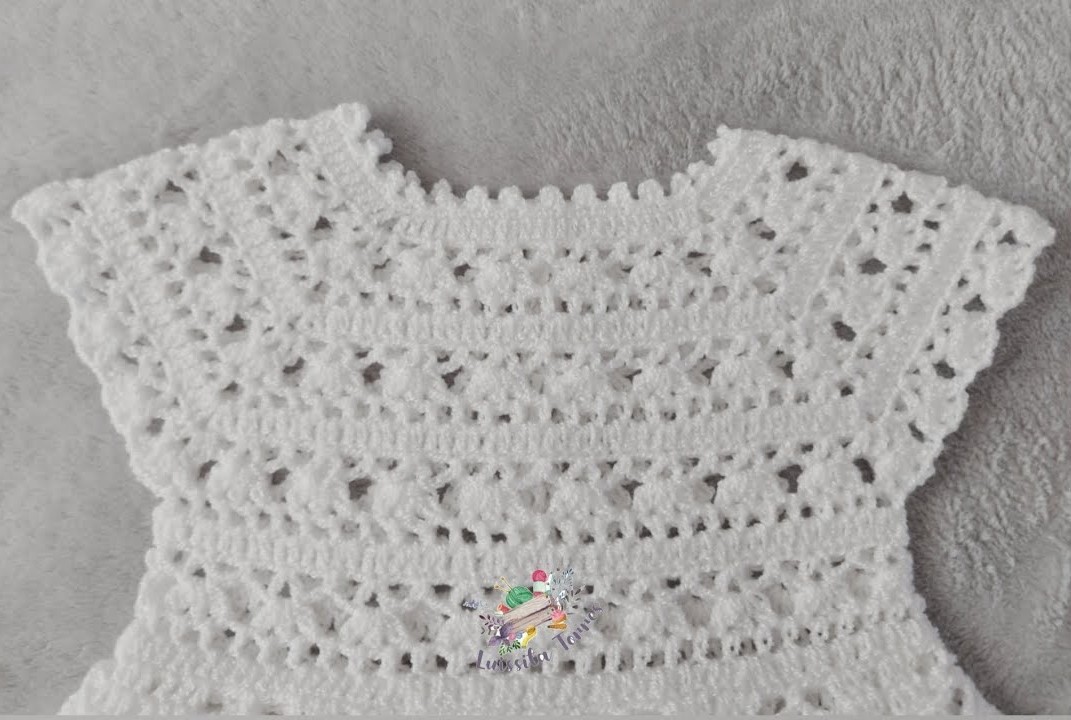
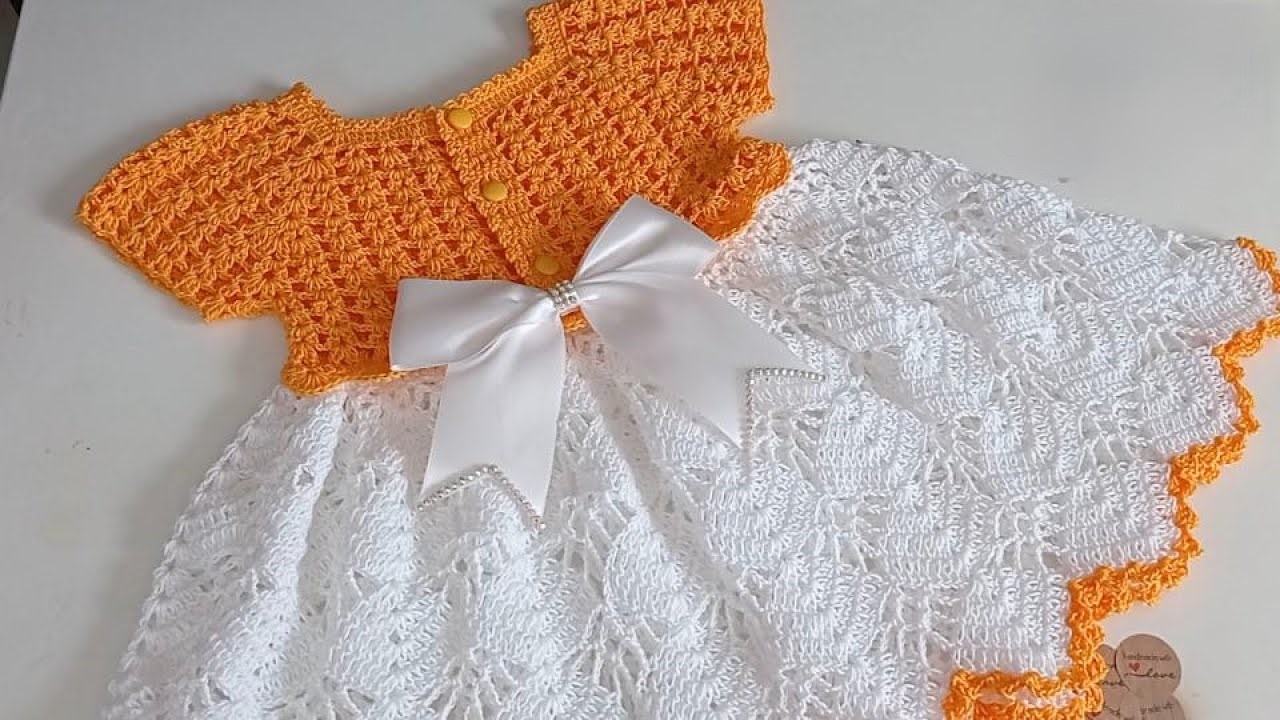
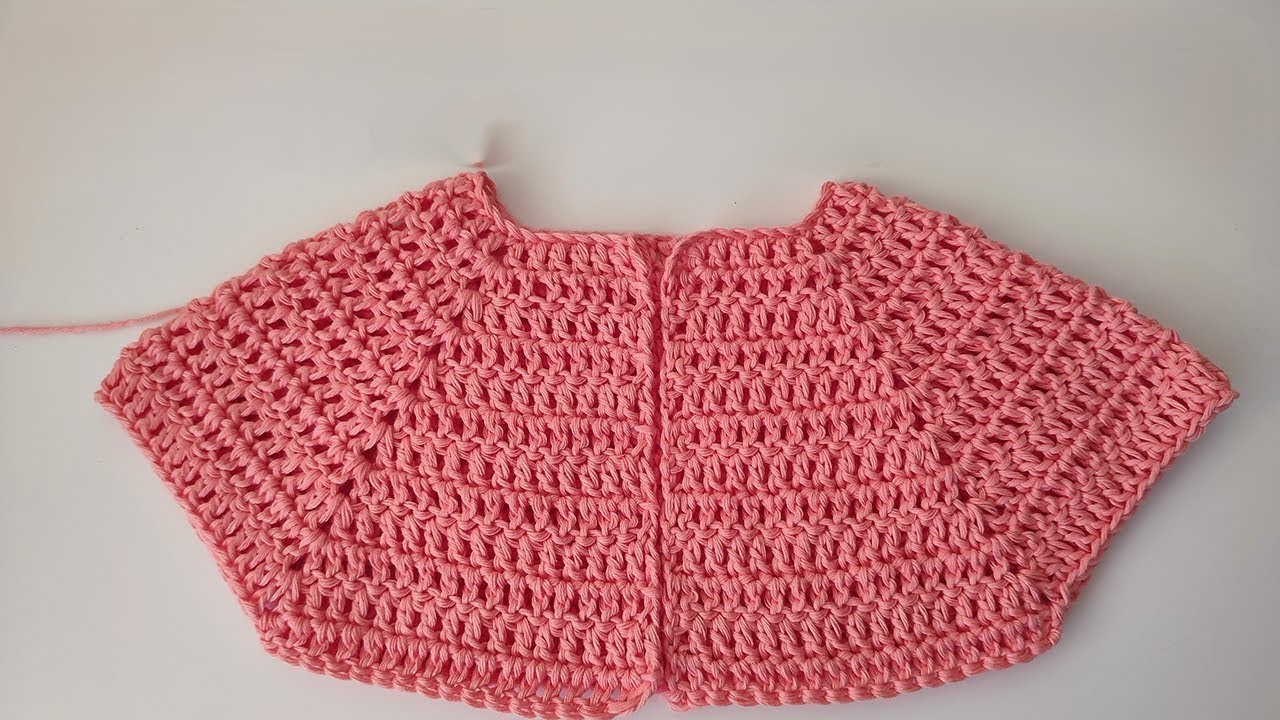
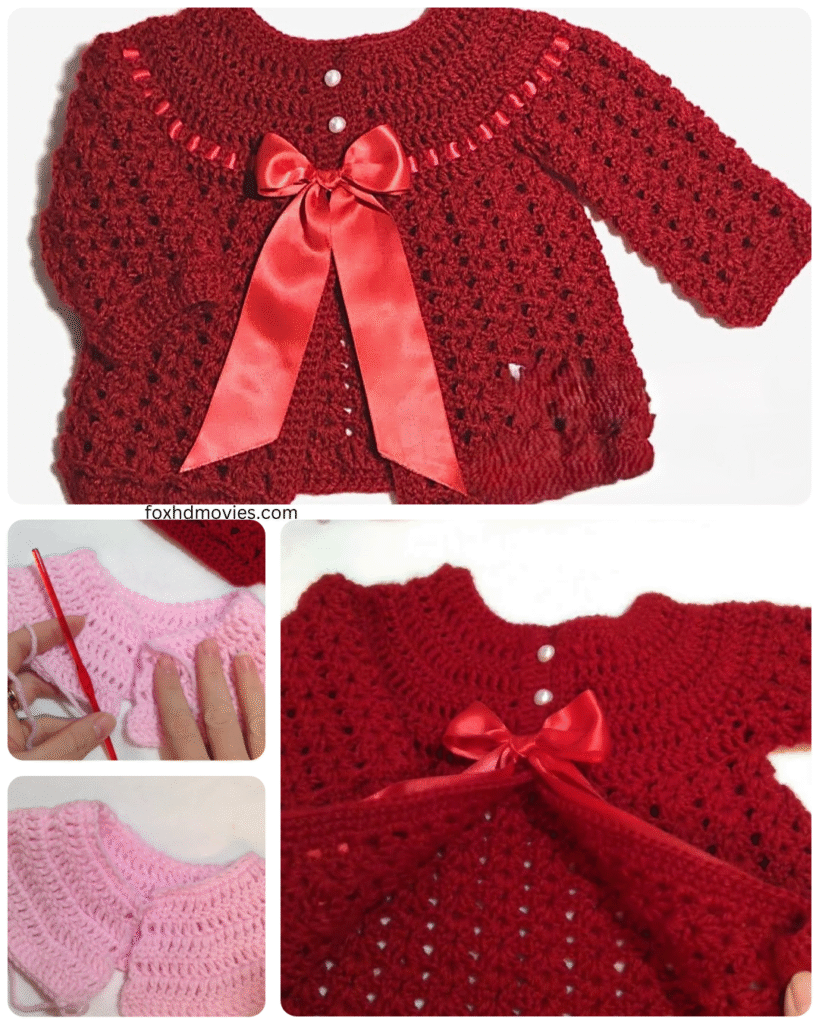
This pattern will guide you through crocheting a classic baby jacket, perfect for a little one aged 0-3 months. The design is simple, yet adorable, and can be easily customized with different colors or embellishments.
Materials:
- DK weight yarn (approximately 250-300 yards)
- Size E/4 (3.5 mm) crochet hook
- 4-5 small buttons
- Yarn needle
Gauge:
- 5 double crochet (dc) stitches and 4 rows = 1 inch
Finished Measurements:
- Chest: 20 inches
- Length: 9.5 inches
- Sleeve length: 6 inches
Abbreviations:
- ch – chain
- sl st – slip stitch
- sc – single crochet
- hdc – half double crochet
- dc – double crochet
- tr – treble crochet
- st(s) – stitch(es)
- sk – skip
- sp – space
- rep – repeat
- RS – right side
- WS – wrong side
- inc – increase
Special Stitches:
- Increase (inc): 2 dc in the same stitch
Pattern Notes:
- The jacket is worked in rows from the top down.
- Chain 2 at the beginning of a row counts as a dc.
- The pattern uses US crochet terms.

Yoke:
- Row 1: Ch 41, dc in 3rd ch from hook, dc in next 5 ch, hdc in next 6 ch, dc in next 12 ch, hdc in next 6 ch, dc in next 6 ch. (40 sts)
- Row 2: Ch 2, turn, dc in first st, inc in next st, dc in next 5 sts, inc in next st, hdc in next 6 sts, inc in next st, dc in next 12 sts, inc in next st, hdc in next 6 sts, inc in next st, dc in next 6 sts, inc in last st. (48 sts)
- Row 3: Ch 2, turn, dc in first st, dc in next st, inc in next st, dc in next 6 sts, inc in next st, hdc in next 6 sts, inc in next st, dc in next 14 sts, inc in next st, hdc in next 6 sts, inc in next st, dc in next 7 sts, inc in last st. (56 sts)
- Row 4: Ch 2, turn, dc in first st, dc in next 2 sts, inc in next st, dc in next 7 sts, inc in next st, hdc in next 6 sts, inc in next st, dc in next 16 sts, inc in next st, hdc in next 6 sts, inc in next st, dc in next 8 sts, inc in last st. (64 sts)
- Row 5: Ch 2, turn, dc in first st, dc in next 3 sts, inc in next st, dc in next 8 sts, inc in next st, hdc in next 8 sts, inc in next st, dc in next 18 sts, inc in next st, hdc in next 8 sts, inc in next st, dc in next 9 sts, inc in last st. (72 sts)
- Row 6: Ch 2, turn, dc in first st, dc in next 4 sts, inc in next st, dc in next 9 sts, inc in next st, dc in next 28 sts, inc in next st, dc in next 9 sts, inc in next st, dc in next 4 sts, dc in last st. (80 sts)
- Row 7: Ch 2, turn, dc in first st, dc in next 5 sts, inc in next st, dc in next 10 sts, inc in next st, dc in next 30 sts, inc in next st, dc in next 10 sts, inc in next st, dc in next 5 sts, dc in last st. (88 sts)

Divide for Sleeves and Body:
- Row 8: Ch 2, turn, dc in first 13 sts (right front), ch 4, sk next 18 sts (right sleeve), dc in next 26 sts (back), ch 4, sk next 18 sts (left sleeve), dc in last 13 sts (left front). (60 sts)
Body:
- Row 9: Ch 2, turn, dc in each st across, dc in each of the 4 ch sts. (60 sts)
- Rows 10-20: Ch 2, turn, dc in each st across. (60 sts)
- Row 21: Ch 1, turn, sc in each st across. (60 sts)
Finish off.
Sleeves (Make 2):
- Attach yarn to the underarm of the jacket.
- Round 1: Ch 2, dc evenly around the armhole (22 sts)
- Rounds 2-10: Ch 2, dc in each st around. (22 sts)
- Round 11: Ch 1, sc in each st around. (22 sts)
Finish off.
Front Edging:
- Attach yarn to the bottom right corner of the jacket.
- Work a row of sc evenly up the front edge, around the neckline, and down the other front edge.
- Make sure to create buttonholes on the right front edge. A simple buttonhole can be made by chaining 2 and skipping 2 sc. Space the buttonholes evenly apart.
Finish off.

Finishing:
- Sew in all loose ends.
- Sew buttons onto the left front edge, opposite the buttonholes.
Video tutorial
Variations:
- Color: Change colors every few rows for a striped effect.
- Border: Add a different stitch for the border, such as a shell stitch or picot stitch.
- Embellishments: Add appliques, embroidery, or other decorations.
- Hood: To add a hood, you can work additional rows after dividing for the sleeves and then seam the top.
Enjoy crocheting this adorable baby jacket!