 by
by 
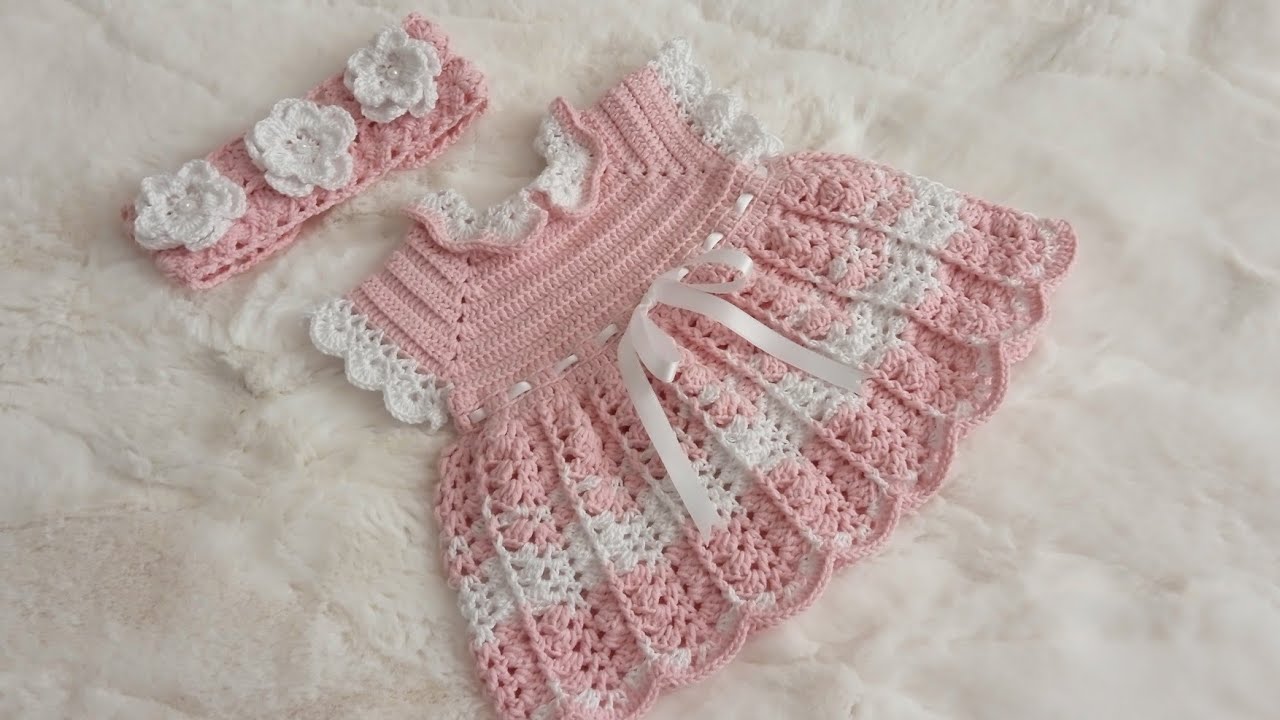
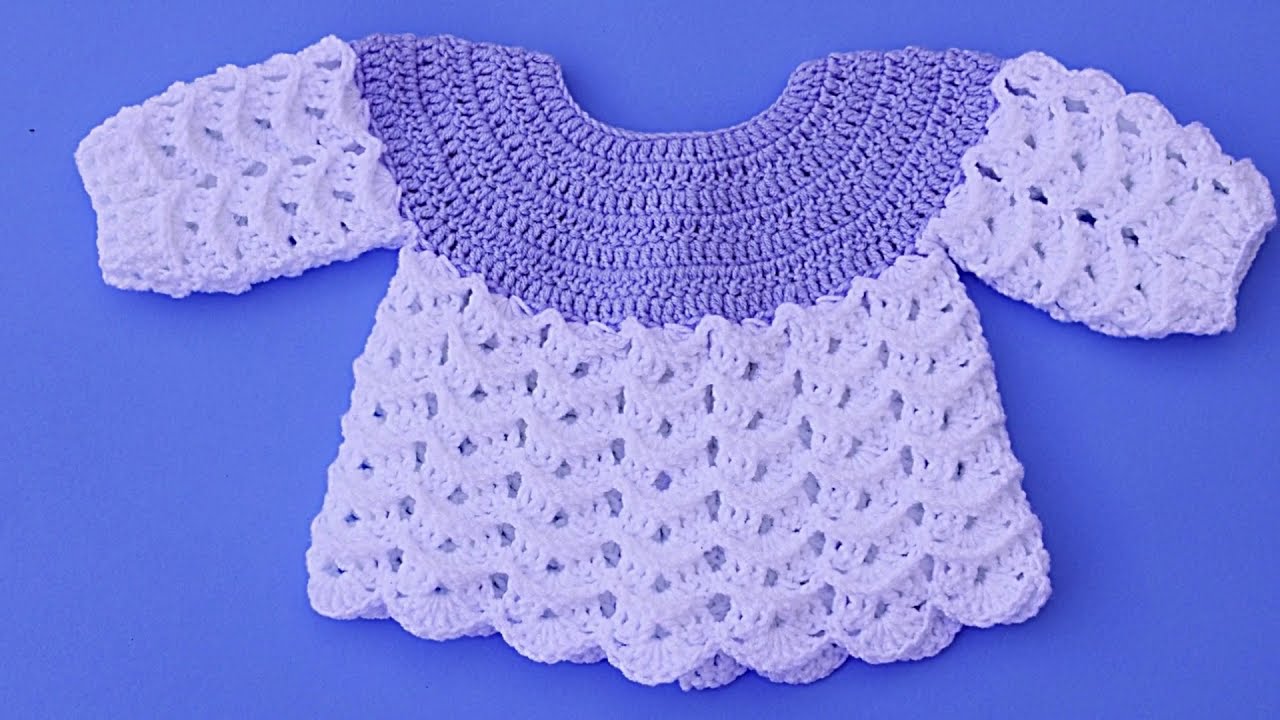
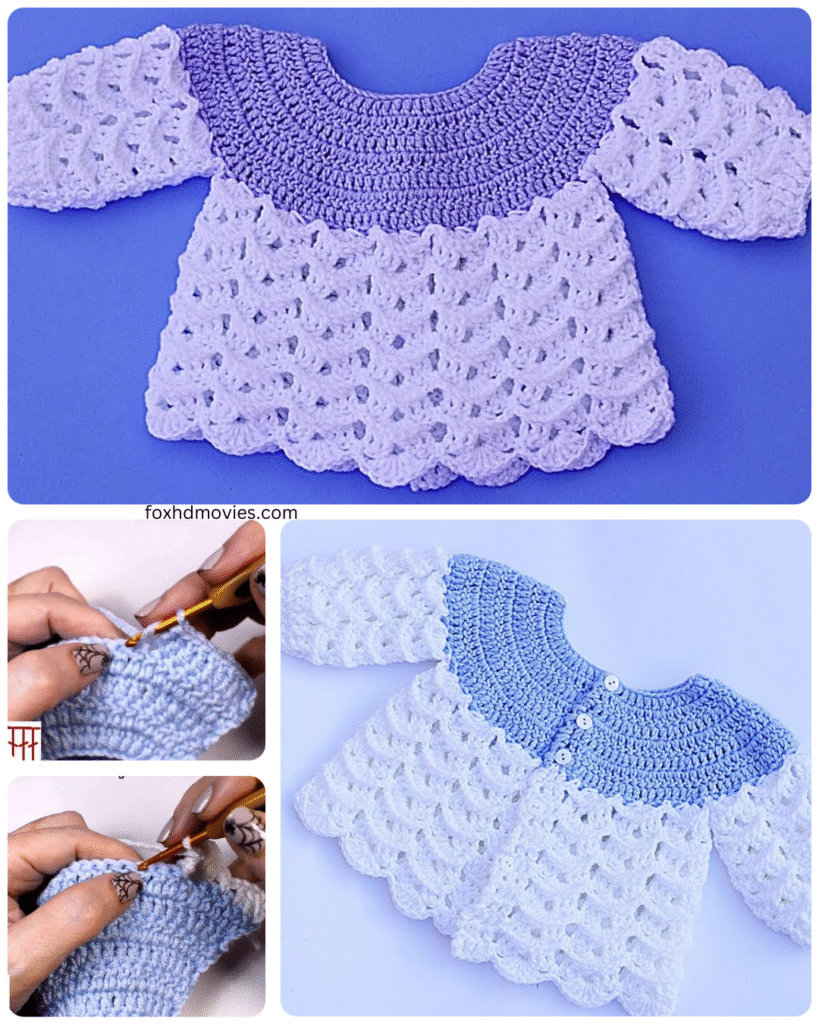
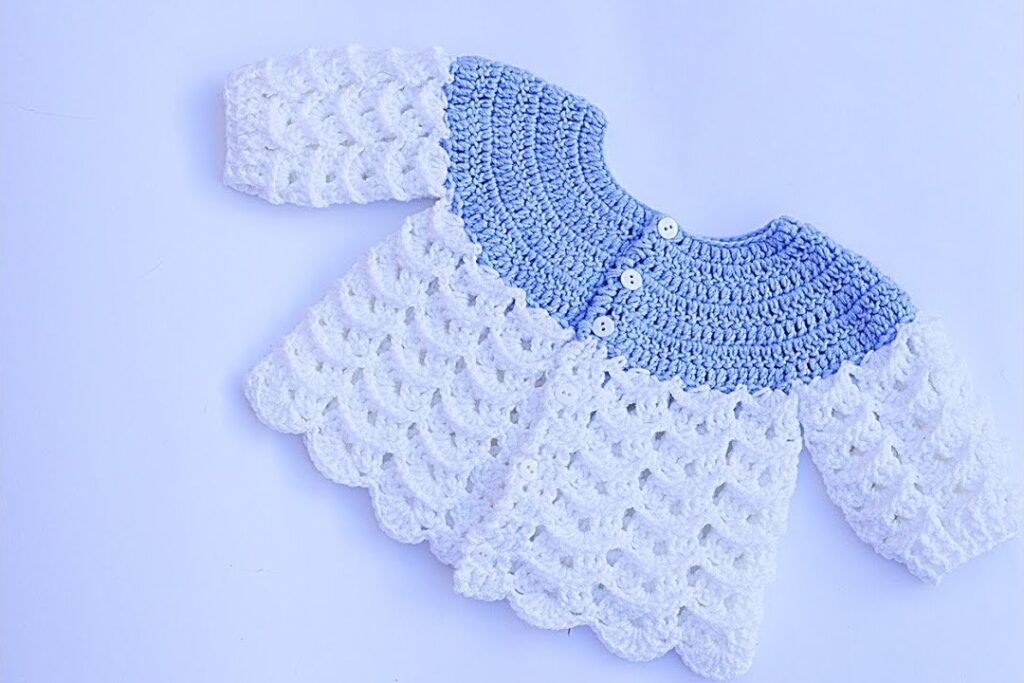
Here’s a detailed pattern inspired by her aesthetic for a lovely crochet baby jersey. This pattern incorporates some of her signature elements like textured stitches and delicate details.
Skill Level: Intermediate
Materials:
- Yarn: Approximately 300-400 yards of DK weight yarn (choose a soft, baby-friendly yarn like cotton or a bamboo blend). The exact amount will depend on the size you make.
- Crochet Hook: Size E/4 (3.5 mm) or the size needed to obtain the gauge.
- Stitch Markers: Several
- Scissors
- Tapestry Needle: For weaving in ends
- Buttons: 2-4 small, decorative buttons (optional, for the back closure)
Gauge: 20 double crochet (dc) stitches and 10 rows = 4 inches (10 cm). Adjust hook size if necessary to obtain gauge.
Finished Size: This pattern is written for approximately 6-12 months. Adjust the number of starting chains and rows for smaller or larger sizes.

Special Stitches and Abbreviations (US Crochet Terms):
- ch: chain
- sl st: slip stitch
- sc: single crochet
- hdc: half double crochet
- dc: double crochet
- tr: treble crochet
- fpdc: front post double crochet
- bpdc: back post double crochet
- V-stitch (V-st): (dc, ch 1, dc) in the same stitch
- Shell: (2 dc, ch 1, 2 dc) in the same stitch
- Picot: ch 3, sl st in the first ch
- beg: beginning
- rep: repeat
- sk: skip
- sp: space
- RS: right side
- WS: wrong side
Pattern:
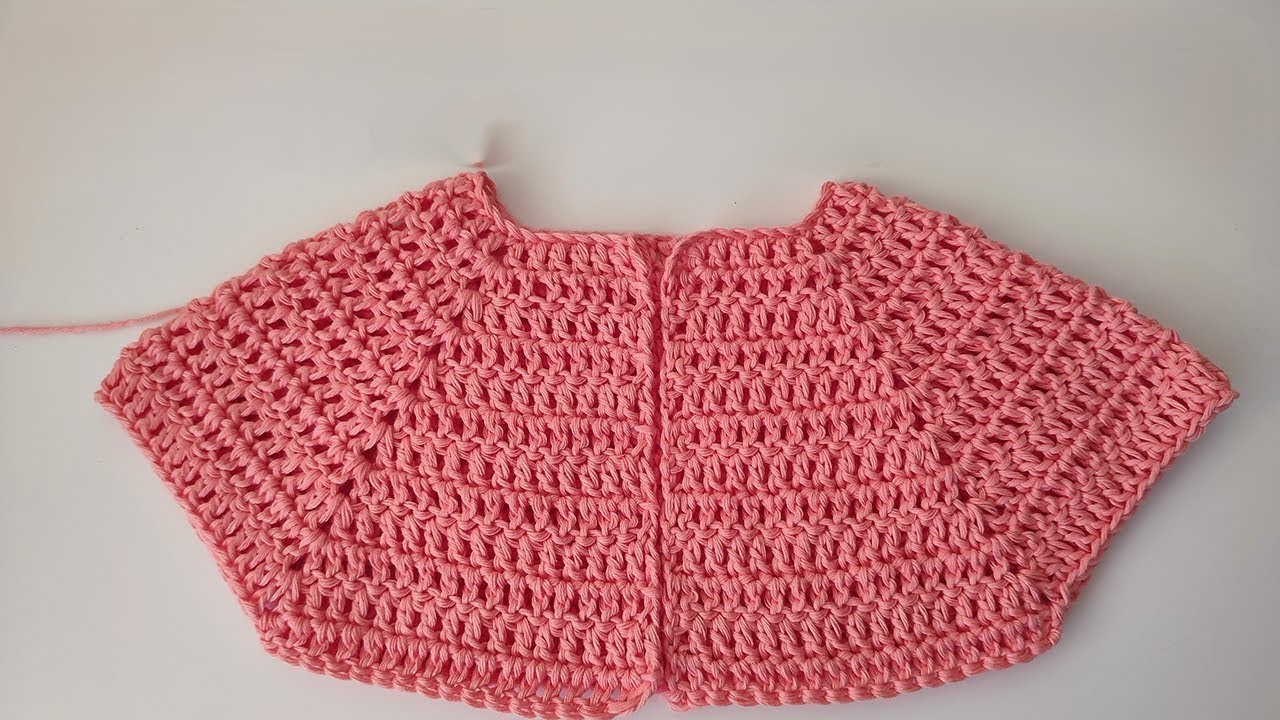
Yoke:
- Foundation Chain: Chain 75 (adjust this number in multiples of 6 for different sizes, adding a few extra for ease).
- Round 1: Dc in the 3rd ch from the hook (counts as first dc), dc in each ch across. Join with a sl st to the first dc. (73 dc)
- Round 2: Ch 3 (counts as first dc), fpdc around the next dc, *dc in the next dc, fpdc around the next dc; rep from * around. Join with a sl st to the top of the beg ch-3.
- Round 3: Ch 1, sc in the same st, *ch 3, sk 2 sts, sc in the next st; rep from * around. Join with a sl st to the first sc.
- Round 4: Sl st into the first ch-3 sp, ch 3 (counts as first dc), 2 dc in the same sp, *ch 1, 3 dc in the next ch-3 sp; rep from * around. Join with a sl st to the top of the beg ch-3.
- Round 5: Ch 3, dc in each dc around, working ch 1 sps as dc. Join with a sl st to the top of the beg ch-3.
- Round 6: Ch 1, sc in the same st, *ch 4, sk 3 sts, sc in the next st; rep from * around. Join with a sl st to the first sc.
- Round 7: Sl st into the first ch-4 sp, ch 3 (counts as first dc), 3 dc in the same sp, *ch 1, 4 dc in the next ch-4 sp; rep from * around. Join with a sl st to the top of the beg ch-3.
- Round 8: Ch 3, dc in each dc around, working ch 1 sps as dc. Join with a sl st to the top of the beg ch-3.
Divide for Sleeves and Body:
- Round 9: Ch 3, dc in the next 10 sts (right front), ch 3 (for armhole), sk the next 15 sts (right sleeve), dc in the next 21 sts (back), ch 3 (for armhole), sk the next 15 sts (left sleeve), dc in the remaining 11 sts (left front). Join with a sl st to the top of the beg ch-3. (11 front + 21 back = 32 body sts)
Body:
- Round 10: Ch 3, dc in each dc across, work 3 dc in each of the ch-3 armhole spaces. Join with a sl st to the top of the beg ch-3. (32 + 3 + 3 = 38 dc)
- Round 11: Ch 3, *fpdc around the next dc, bpdc around the next dc; rep from * around. Join with a sl st to the top of the beg ch-3. (This creates a lovely ribbed texture)
- Round 12: Ch 3, dc in each dc around. Join with a sl st to the top of the beg ch-3.
- Round 13: Ch 1, sc in the same st, *V-st (dc, ch 1, dc) in the next st, sc in the next st; rep from * around. Join with a sl st to the first sc.
- Round 14: Sl st into the first ch-1 sp of the V-st, ch 3, dc in the same sp, ch 1, 2 dc in the same sp (shell made), *sk the next sc, shell in the ch-1 sp of the next V-st; rep from * around. Join with a sl st to the top of the beg ch-3.
- Round 15: Ch 3, dc in the next dc, ch 1, 2 dc in the ch-1 sp of the shell, *sk the next 2 dc, 2 dc in the next dc, ch 1, 2 dc in the ch-1 sp of the next shell; rep from * around. Join with a sl st to the top of the beg ch-3.
- Repeat Rounds 11-16 until the body reaches your desired length.
- Edging: Ch 1, sc evenly around the bottom edge. Join with a sl st. Fasten off.
Sleeves (Work in Rounds):
- Join Yarn: With RS facing, join yarn in one of the armhole spaces.
- Round 1: Ch 3, dc evenly around the armhole opening (approximately 20-22 dc). Join with a sl st to the top of the beg ch-3.
- Round 2: Ch 3, *fpdc around the next dc, bpdc around the next dc; rep from * around. Join with a sl st to the top of the beg ch-3.
- Round 3: Ch 3, dc in each dc around. Join with a sl st to the top of the beg ch-3.
- Round 4: Ch 1, sc in the same st, *ch 3, sk 1 st, sc in the next st; rep from * around. Join with a sl st to the first sc.
- Round 5: Sl st into the first ch-3 sp, ch 3, 2 dc in the same sp, *ch 1, 3 dc in the next ch-3 sp; rep from * around. Join with a sl st to the top of the beg ch-3.
- Repeat Rounds 2-5 until the sleeve reaches your desired length.
- Cuff Edging: Ch 1, sc evenly around the cuff edge. Join with a sl st. Fasten off.
Repeat for the other sleeve.
Neck Edging:
- Join Yarn: With RS facing, join yarn at the back neck.
- Round 1: Ch 1, sc evenly around the neckline. Join with a sl st.
- Round 2: Ch 1, sc in each sc around, working a picot (ch 3, sl st in the first ch) every 5-7 sc for a decorative touch. Join with a sl st. Fasten off.
Back Opening (Optional):
If you want a back opening for easier dressing:
- Work the yoke as instructed.
- When you divide for the sleeves, instead of joining in a round, work the back in two separate sections with a few chain stitches in between for the opening.
- Continue working the body in rows for the back sections.
- Add a button loop on one side of the back opening and sew buttons on the other side to correspond with the loops.
Finishing:
- Weave in all loose ends securely with the tapestry needle.
- If you added a back opening, sew on the buttons.
- Block the jersey gently to shape and even out the stitches.
Video tutorial
Variations and Majovel Crochet Inspired Touches:
- Colorwork: Incorporate stripes or color blocks in the yoke or body, a signature of some of Majovel’s designs.
- Lace Details: Add a round of delicate lace stitches (like shells or picots) at the hem or cuffs.
- Textured Yoke: Experiment with different textured stitch patterns for the yoke, such as puff stitches or bobbles.
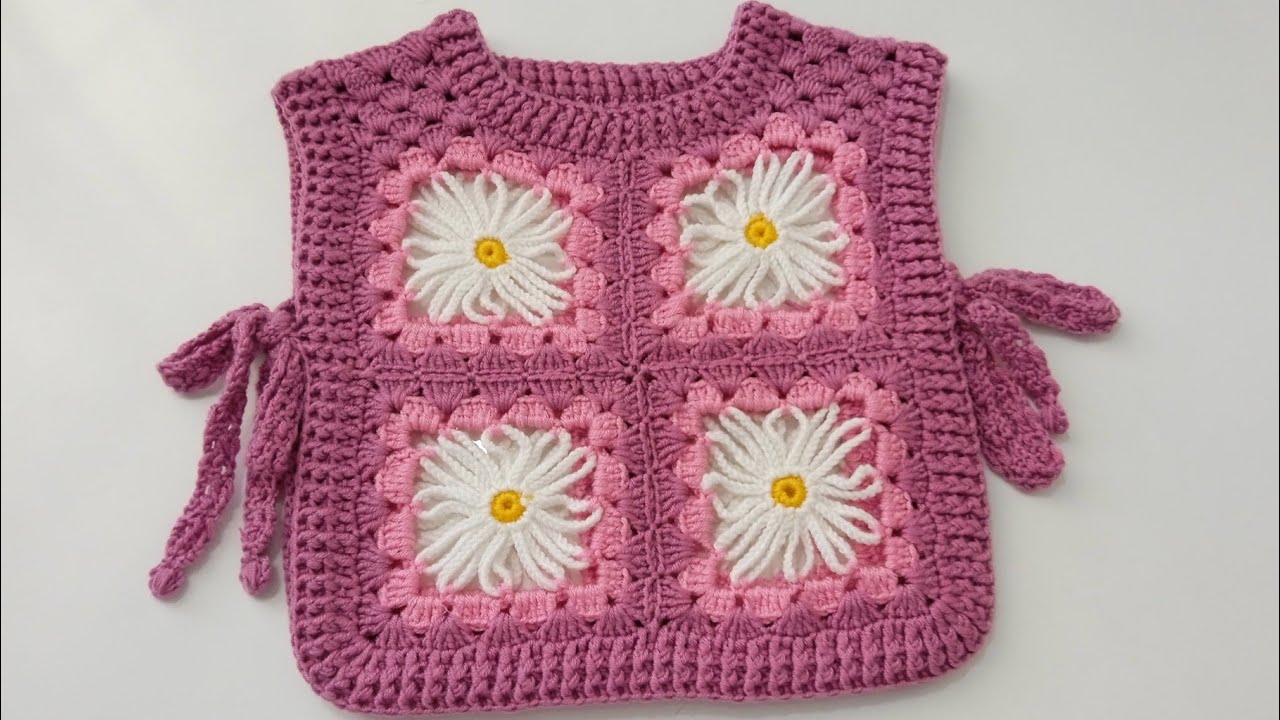
- Flower Appliques: Crochet small flower appliques and attach them to the yoke or front of the jersey for a sweet touch.
This pattern provides a solid base for creating a beautiful baby jersey with elements inspired by Majovel Crochet’s unique style. Feel free to adapt it with your favorite stitches and embellishments to make it truly your own! Happy crocheting!