 by
by 
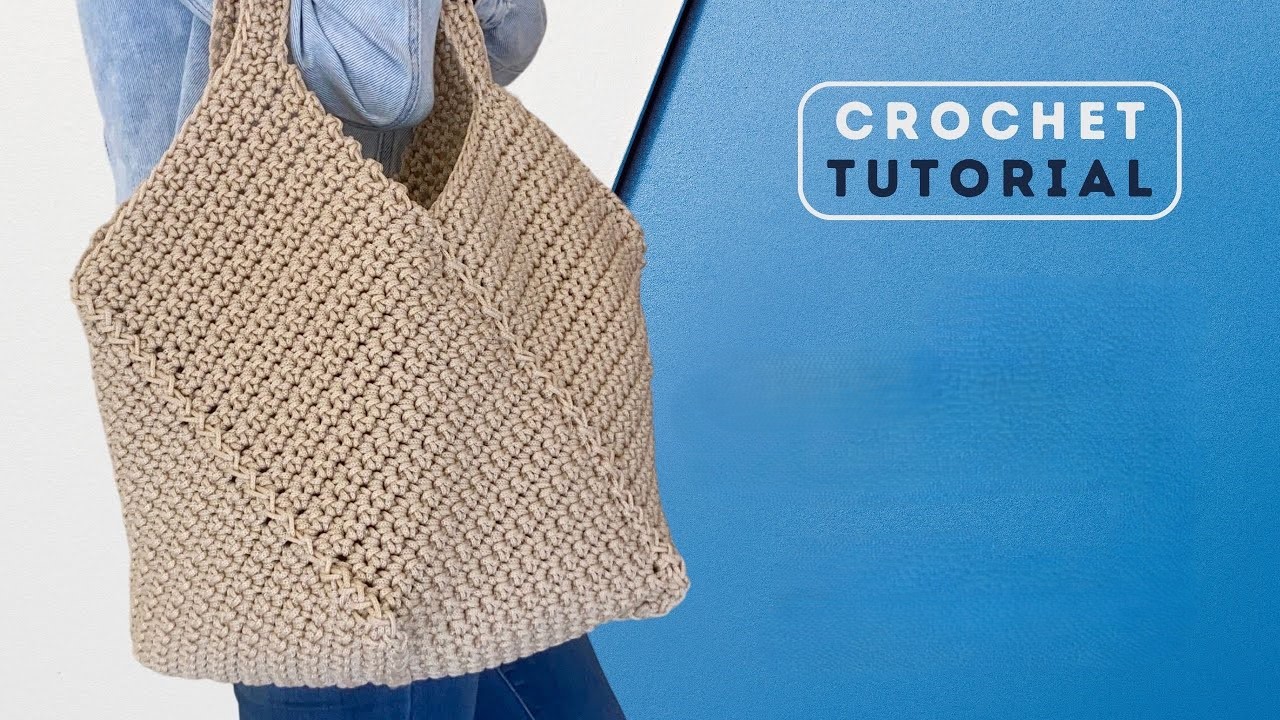
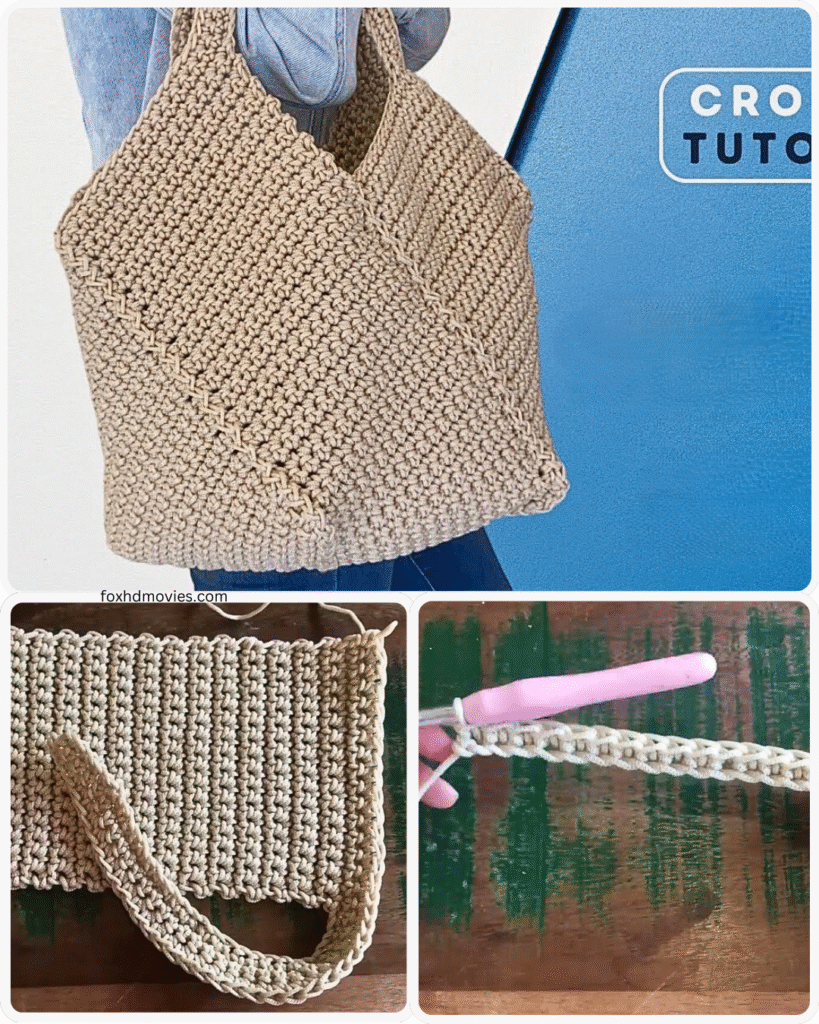
Crochet Rectangle Bag Pattern
This pattern will guide you through crocheting a simple yet stylish rectangular bag. The basic shape is a rectangle, which is then folded and seamed to create the bag. This pattern is suitable for beginners and can be easily customized in terms of size, color, and stitch pattern.
Materials
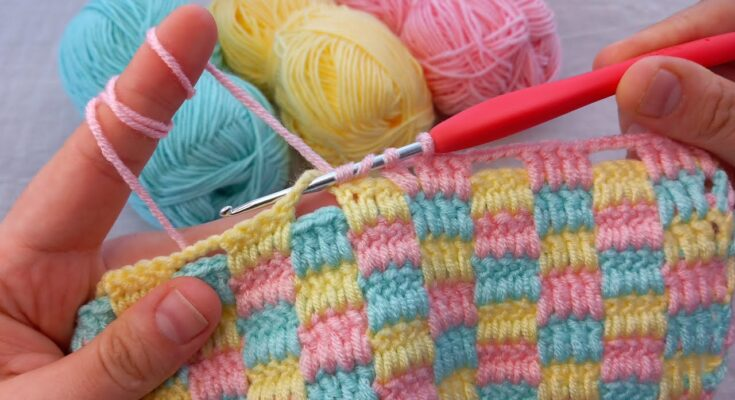
- Yarn: Medium-weight yarn (worsted weight) is recommended for durability. Cotton, acrylic, or a blend can be used. The amount of yarn will depend on the desired size of the bag.
- Crochet Hook: Choose a crochet hook size that is appropriate for your yarn. A common size for worsted weight yarn is a 5mm (H-8) hook.
- Yarn Needle: For weaving in ends and seaming the bag.
- Scissors: To cut the yarn.
- Optional:
- Buttons, zippers, or other closures
- Lining fabric
- Handles (crocheted, purchased, or made from other materials)
- Stitch markers
Gauge
Gauge is not critical for this project, but it’s helpful to maintain consistent tension. If you want your bag to be a specific size, you can make a gauge swatch.
Abbreviations
- Ch = Chain
- Sc = Single Crochet
- Hdc = Half Double Crochet
- Dc = Double Crochet
- Sl st = Slip Stitch
- St(s) = Stitch(es)
- Rep = Repeat
- Row(s) = Row(s)
- Tbl = Through Back Loop
- Flo = Front loop only
Instructions
1. Crochet the Rectangle:
- Foundation Chain: Determine the desired width of your bag. Chain a number of stitches to reach this width. Add a few extra chains if desired, depending on the stitch pattern.
- For example, if you want your bag to be 10 inches wide and you’re using half double crochet (hdc), you might chain 31 (to allow for a turning chain).
- Body of the Rectangle:
- Row 1: Work your chosen stitch in each chain from the hook. Here are a few options:
- Single Crochet (sc): Sc in the second chain from the hook and in each chain across. Turn.
- Half Double Crochet (hdc): Hdc in the third chain from the hook and in each chain across. Turn.
- Double Crochet (dc): Dc in the third chain from the hook and in each chain across. Turn.
- Special Stitch: You can also use a more textured stitch pattern, such as:
- Moss Stitch: (Sc, ch 1), skip one stitch, repeat.
- Granny Stitch: 3 dc in one stitch, skip 2 stitches, repeat.
- Subsequent Rows: Chain the correct number of chains for your chosen stitch (1 for sc, 2 for hdc, 3 for dc), and work that stitch across the row. Turn at the end of each row.
- For example, if you are using hdc: Ch 2, hdc in each stitch across. Turn
- Repeat: Repeat the row until your rectangle reaches the desired length. The length should be approximately twice the desired height of your finished bag, plus a little extra for the fold and seam.
- Row 1: Work your chosen stitch in each chain from the hook. Here are a few options:

2. Finishing the Rectangle:
- Fasten off: Once your rectangle is the desired size, fasten off the yarn, leaving a long tail for seaming.
3. Fold and Seam the Bag:
- Fold: Fold the rectangle in half, with the wrong side facing out. The bottom edge of your bag will be the folded edge.
- Seam the Sides: Use a yarn needle and the long tail of yarn to seam up the two open sides of the folded rectangle. You can use any seaming method you prefer, such as:
- Whip Stitch: A simple and common stitch for seaming.
- Slip Stitch Seam: Creates a neat, flat seam.
- Mattress Stitch: An invisible seam that’s good for creating a seamless look.

4. Add Handles (Optional):
- Crocheted Handles: You can crochet handles separately and sew them onto the bag. A simple pattern is to chain a long strand and then work a few rows of single crochet back along the chain.
- Other Handles: You can use purchased handles made of leather, wood, or other materials. Sew or attach them securely to the inside of the bag.
5. Add Closure (Optional):
- You can add a button, snap, zipper, or other type of closure to keep your bag closed.

6. Add Lining (Optional):
- For added durability and a more finished look, you can sew a fabric lining into your bag. Cut a piece of fabric the same size as your unfolded rectangle, fold it in half, sew the side seams, and then insert it into your bag and sew it in place.
Video tutorial
Customization Options
- Size: To make a larger or smaller bag, adjust the length of your foundation chain and the number of rows you crochet.
- Stitch Pattern: Experiment with different crochet stitches to create different textures and designs.
- Color: Use one color, alternate colors, or create stripes or other color patterns.
- Handles: Get creative with your handles! Try different materials, lengths, or styles.
- Embellishments: Add buttons, beads, fringe, or other embellishments to personalize your bag.
Enjoy crocheting your unique rectangle bag!