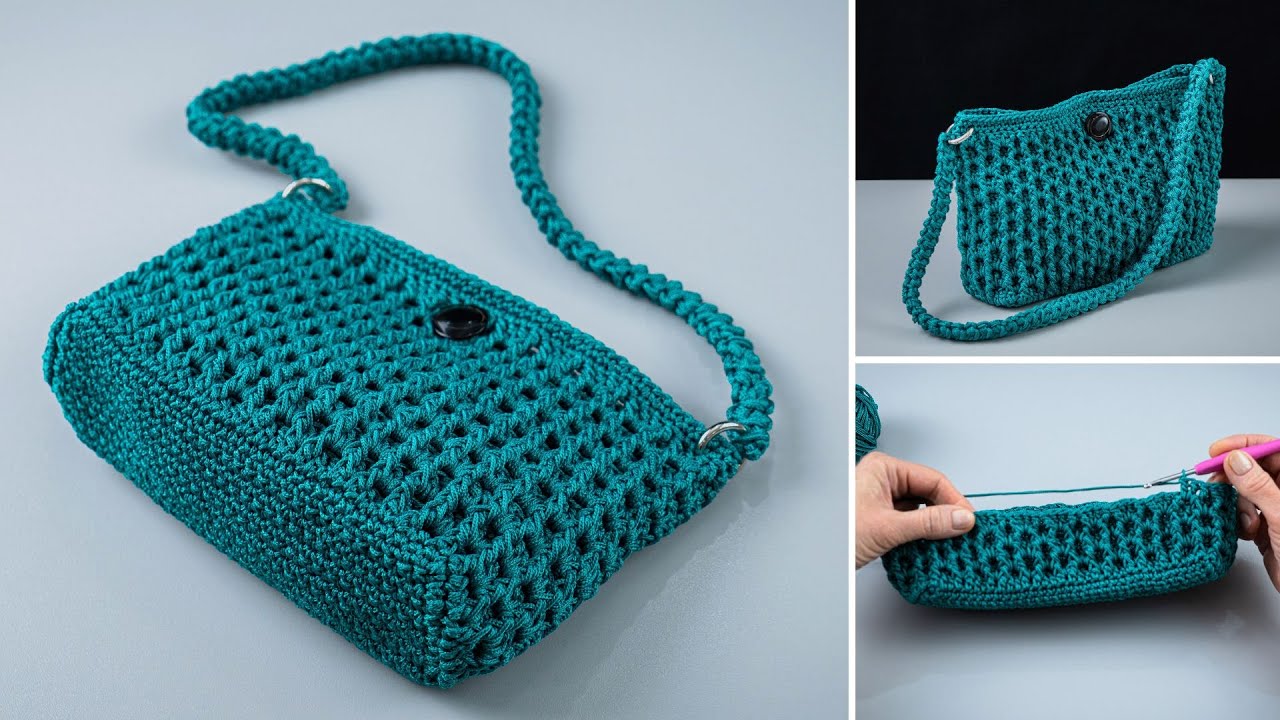
Crocheting a backpack is a fun and creative project that can be customized in various ways. Here’s a basic guide to help you crochet your own backpack, step by step:
Materials Needed:
- Yarn: Medium weight (worsted weight) yarn works best. You’ll need about 400-500 yards, depending on the size of your backpack.
- Crochet Hook: Use a hook size that matches your yarn (usually a 5.5mm (I) or 6mm (J)).
- Stitch Markers: For marking your rounds or rows.
- Tapestry Needle: To weave in ends and sew pieces together.
- Scissors.
- Backpack Straps: You can either crochet the straps or use pre-made adjustable backpack straps.
- Button or Zipper: For closure, optional depending on design.
Basic Crochet Backpack Pattern:
Step 1: Crochet the Body of the Backpack (Bag Base)
- Start with a magic ring (or chain 4 and join to form a ring).
- Round 1: Work 6 single crochets (sc) into the ring.
- Round 2: Work 2 sc into each stitch around (12 stitches).
- Round 3: 1 sc in the first stitch, 2 sc in the next stitch—repeat around (18 stitches).
- Round 4: 1 sc in the next two stitches, 2 sc in the next stitch—repeat around (24 stitches).
- Continue increasing in this manner, adding 6 stitches in each round, until the base is as wide as you want it (typically about 8-12 inches in diameter for a small to medium backpack).
Step 2: Crochet the Sides of the Backpack
- Once you reach the desired diameter, stop increasing and continue working in spirals (without joining rounds).
- Work 1 sc in each stitch around for each round until you have reached the height you want for your backpack (usually 12-15 inches).
Step 3: Shape the Top (Optional)
- If you want the top of the backpack to have a curved or folded look, you can work a few rounds of decreasing (sc2tog) until you close the top or create a flap.
- Alternatively, you can leave it open and add a flap closure or a drawstring later.
Step 4: Create the Backpack Flap (Optional)
- If you want a flap, crochet a rectangular piece with the same width as the top of your backpack.
- Make the flap long enough to fold over and cover the opening of the bag (about 6-8 inches long).
- Attach the flap to the back of the backpack by stitching it with your tapestry needle.
Step 5: Add the Backpack Straps
- Crocheted Straps:
- Make a chain long enough to fit comfortably over your shoulders (about 40-50 inches).
- Work single crochet (sc) along the chain to form a solid strap.
- You can make two straps this way.
- Pre-made Straps: If you prefer to use pre-made backpack straps, sew them securely to the top of the bag.
Step 6: Add Closure
- Button Closure:
- Attach a button to the front of the backpack and create a loop on the flap using crochet to fasten the bag.
- Drawstring Closure:
- Crochet a long chain and thread it through the top edge of the bag.
- Pull the chain to close the bag tightly.
Step 7: Finishing Touches
- Weave in all yarn ends using a tapestry needle.
- If you want a more structured bag, you can line the inside of the backpack with fabric. Simply sew a fabric lining, including a small pocket for organization.
Tips:
- Customization: You can make stripes, patterns, or even add appliqués like flowers or patches for decoration.
- Strengthen the Straps: If you crochet the straps, make sure they’re thick enough to handle the weight of the bag. You can also add a little reinforcement by crocheting two straps and joining them together for added strength.
Basic Crochet Stitches Used:
- Chain (ch): The starting stitch for most crochet projects.
- Single Crochet (sc): A tight stitch that creates a dense fabric, great for bags.
- Slip Stitch (sl st): Used to join rounds or move through the project.
- Increase (inc): Adding extra stitches into one stitch to widen your project.
- Decrease (dec): Crocheting two stitches together to reduce size.
This is a simple guideline to crochet a basic backpack. Feel free to experiment with colors, textures, and designs to make it uniquely yours!


