 by
by 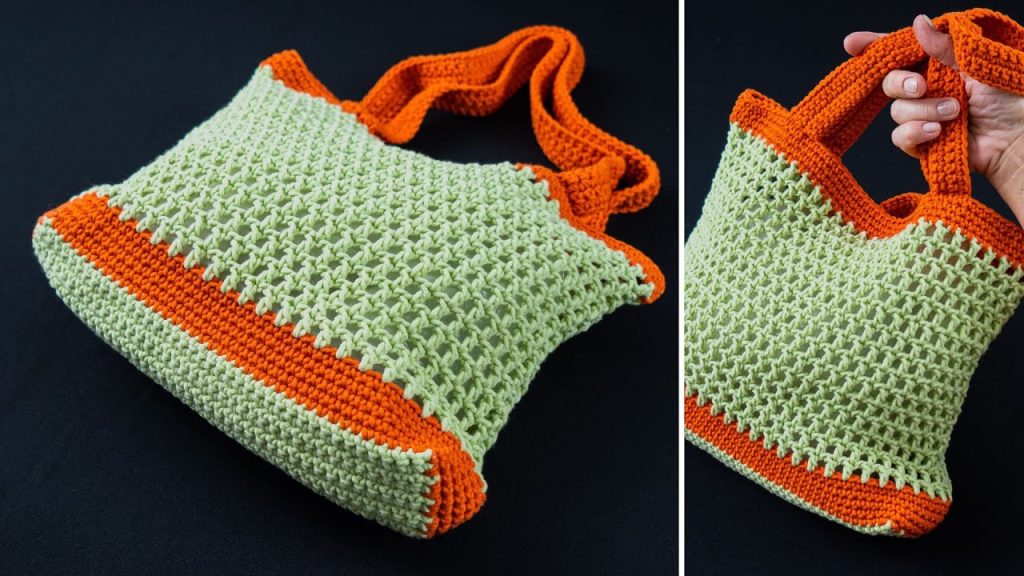
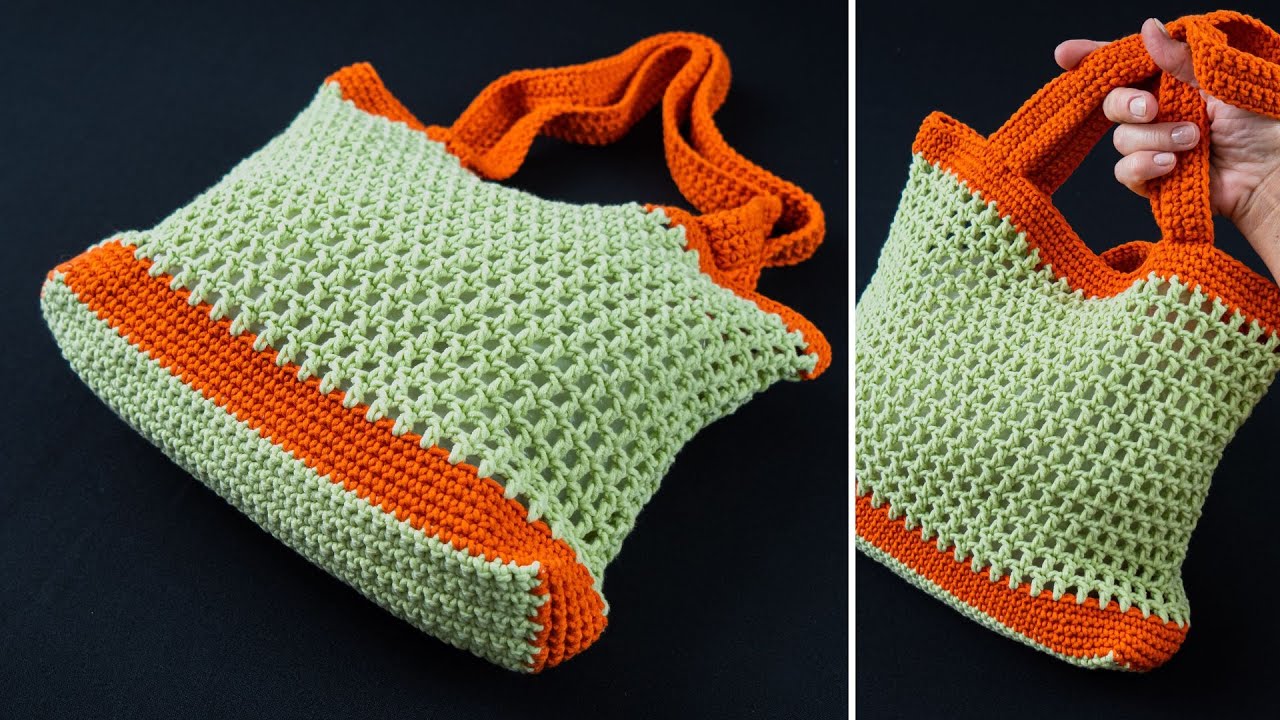
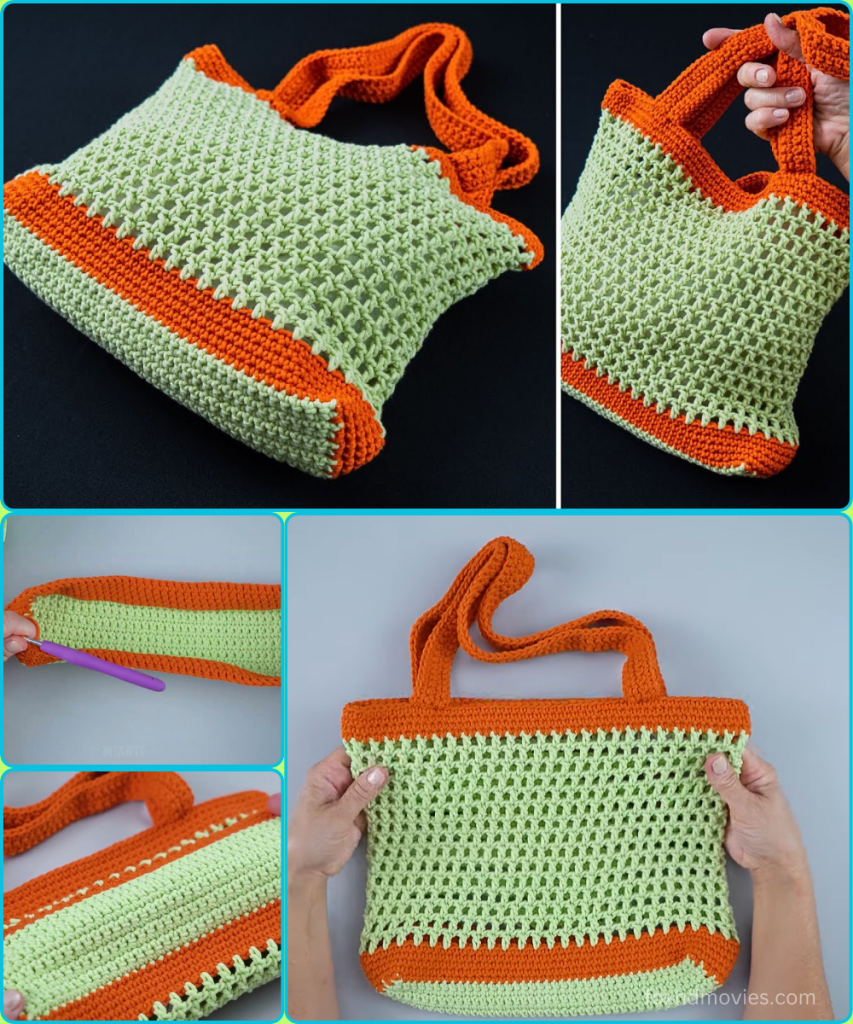
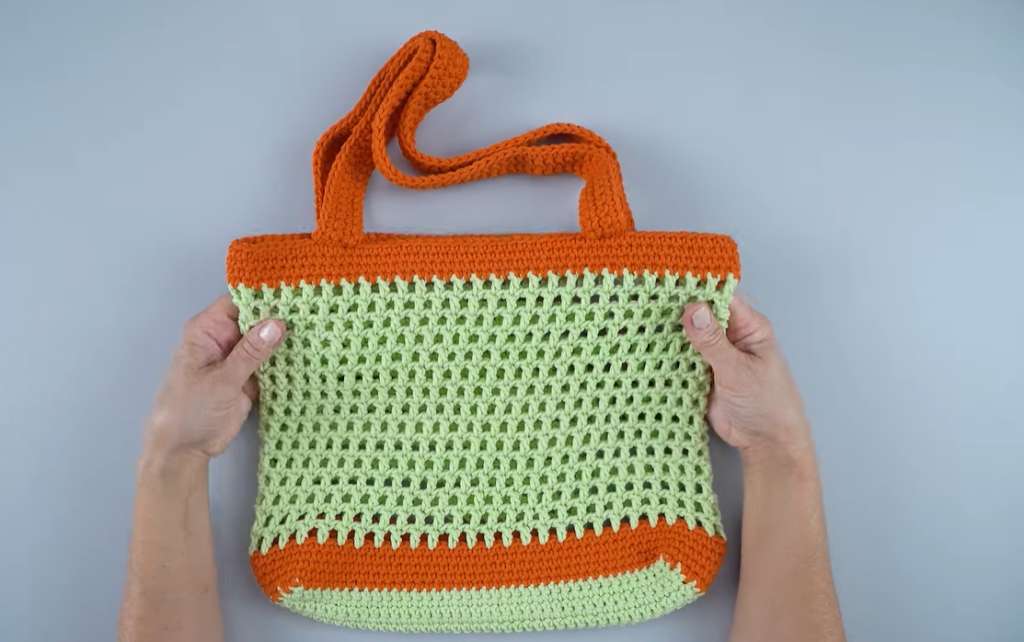
Looking for a bag that’s both practical and fashionable? This crocheted mesh tote is the perfect project. Featuring a sturdy, solid base and a light, airy mesh body, this bag is a joy to make and use. The construction is straightforward, and the clever use of two contrasting colors highlights the interesting stitch work. It’s an ideal accessory for shopping, carrying your essentials, or adding a touch of handmade style to your outfit.
Unlike the previous patterns, this bag is worked from the bottom up, starting with a flat rectangle that forms the base. From there, you’ll work in rounds to create the body and handles.
What You’ll Need:
- Yarn: Worsted weight (Aran/10 ply) cotton yarn is highly recommended for its strength and durability.
- Color A (Body): Approximately 200-250 yards of a main color (the light green in the example).
- Color B (Stripe, Base, & Handles): Approximately 150-200 yards of a contrasting color (the orange in the example).
- Crochet Hook: Size H/5.0mm (or hook size to achieve a firm fabric for the base and a nice drape for the mesh).
- Yarn Needle: For weaving in ends.
- Scissors
- Stitch Marker (optional): To mark the beginning of each round.
Abbreviations Used:
- ch: chain
- sl st: slip stitch
- sc: single crochet
- hdc: half double crochet
- dc: double crochet
- st(s): stitch(es)
- sp: space
- rnd: round
- FO: fasten off
- [ ]: repeat instructions in brackets
- ( ): stitch count at the end of the round
Gauge:
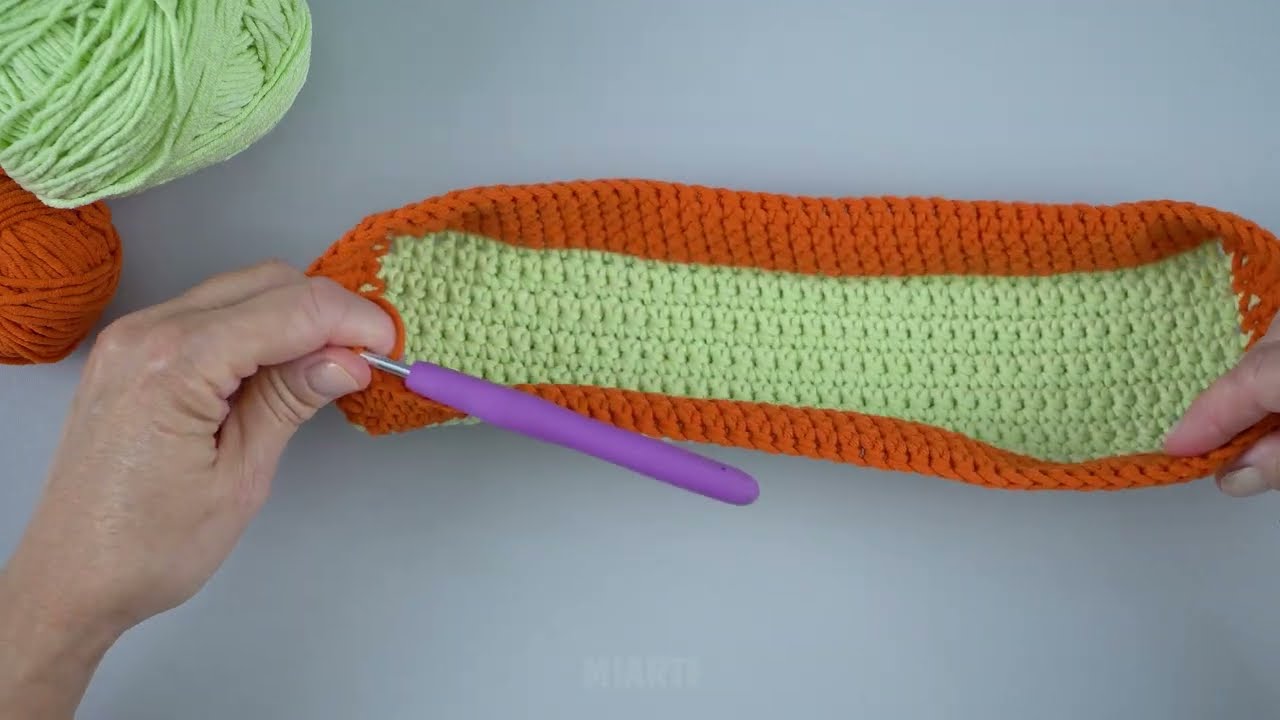
For the base, a firm fabric is desired. The finished rectangle should be approximately 25 cm x 10 cm (10 inches x 4 inches). This size can be adjusted based on your preference and the desired size of the finished bag.
Part 1: The Base (in Color B)
We’ll start by creating the rectangular base of the bag.
- Using Color B, ch 26.
- Row 1: Hdc in the second ch from the hook and in each ch across. (25 hdc)
- Row 2: Ch 1, turn. Hdc in each st across. (25 hdc)
- Repeat Row 2 for a total of 10 rows, or until your rectangle measures approximately 10 cm (4 inches) wide.
- Now, we will work in the round around the perimeter of the rectangle.
- Without turning, ch 1, and work a round of single crochet all the way around the rectangle. Work 1 sc for each hdc along the long edges, and 1 sc in each st along the short ends. Work 3 sc in each of the four corners to make a neat turn. (For example, 25 sc along the long side, 3 sc in the corner, 10 sc along the short side, 3 sc in the corner, etc.).
- Join with a sl st to the first sc of the round. (Approx. 76 sc total)
Part 2: The Body
The body starts with a few rounds of a solid stitch and then transitions to the mesh pattern.
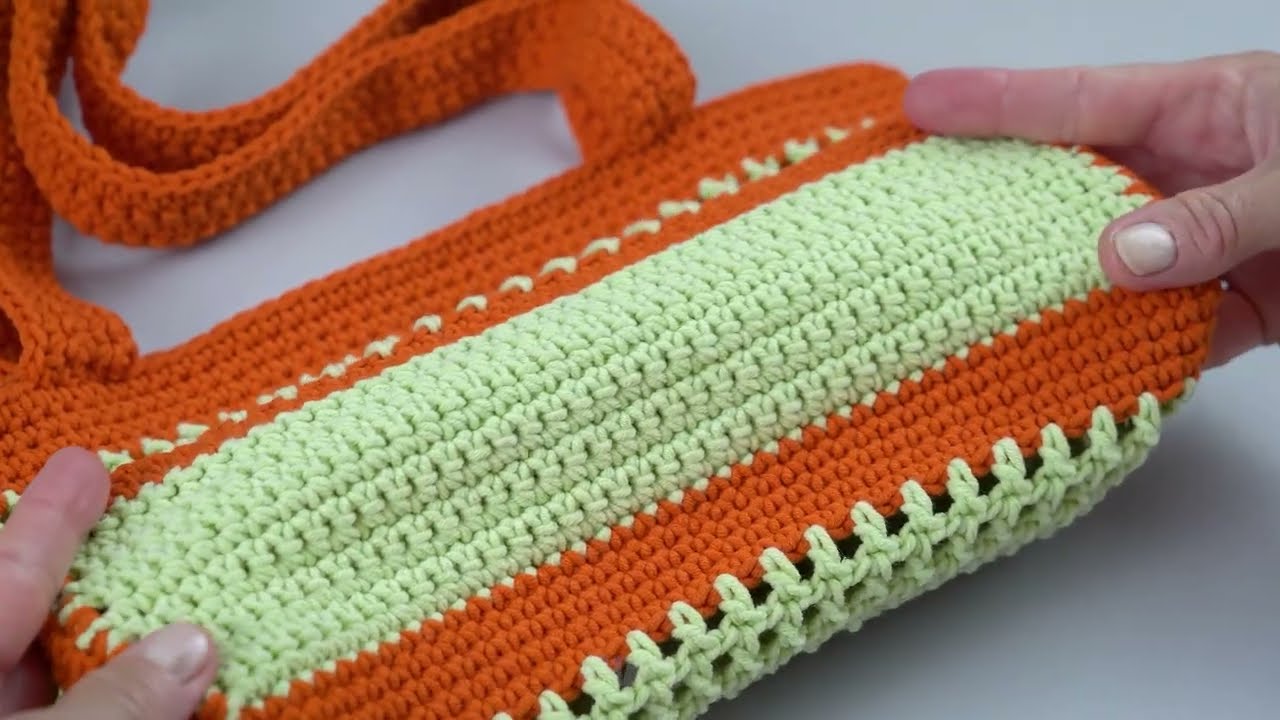
Rounds 1-3 (Solid Base Stripe – in Color B)
- Ch 1, sc in each st around. Join with a sl st to the first sc.
- Repeat for 2 more rounds.
- FO Color B.
Rounds 4 & Beyond (Mesh Body – in Color A)
- Join Color A in the first sc of the previous round. Ch 3 (counts as 1st dc).
- Rnd 4: Dc in the same st. [Ch 1, skip 1 st, dc in the next st] around. Join with a sl st to the top of the initial ch 3.
- Rnd 5: Ch 3 (counts as 1st dc). Work 1 dc in the first ch-1 sp. [Ch 1, work 1 dc in the next ch-1 sp] around. Join with a sl st to the top of the initial ch 3.
- Repeat Rnd 5 until your bag reaches the desired height. The bag in the example looks to be around 25-30 rounds of the mesh pattern.
Part 3: The Top Edge & Handles
We will create a sturdy top edge and the two handles.
Top Edge (in Color B)
- Join Color B in any stitch. Ch 1, sc in each st around. (Work 1 sc in each dc and 1 sc in each ch-1 space). Join with a sl st to the first sc.
- Repeat for 3 more rounds, or until your top edge is as thick as you’d like.
Handles (in Color B)
- Preparation: This part requires some planning to ensure your handles are centered and evenly spaced. Count the total number of stitches around your bag’s top edge. For example, if you have 80 stitches, you might work 18 stitches for the front, chain 22 for the first handle, skip 22 stitches for the opening, work 18 for the back, chain 22 for the second handle, and skip the final 22 stitches.
- Rnd 1 (Handles): Ch 1, sc in the first 18 stitches. Ch 22 (or to your desired handle length). Skip the next 22 stitches. Sc in the next 18 stitches. Ch 22. Skip the last 22 stitches. Join with a sl st to the first sc.
- Rnd 2 (Securing Handles): Ch 1, sc in each of the 18 sc. When you get to the chain, sc in each of the 22 chains. Sc in the next 18 sc, then sc in each of the next 22 chains. Join with a sl st to the first sc.
- Rnd 3 (Finishing Handles): Ch 1, sc in each st around the entire bag (including the handles). Join with a sl st to the first sc.
- FO and weave in all remaining ends.
Video tutorial
Finishing Touches:
- Weave in all remaining ends securely. This is a critical step for a clean and professional-looking finished bag.
- Blocking (optional but recommended for cotton): Gently wash your bag according to yarn instructions, then stuff it with towels and shape it to help it hold its form while it air dries.
You’ve now created a beautiful and durable mesh tote bag! Enjoy it on your next outing.