by
by 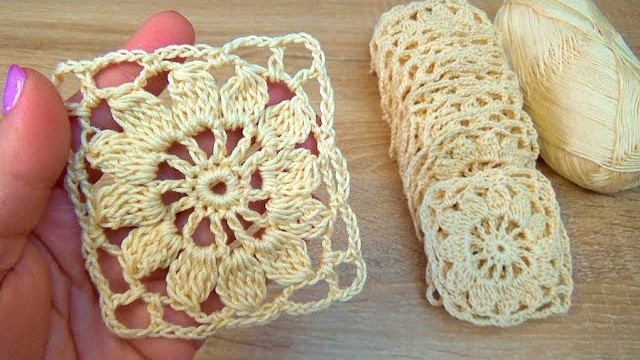
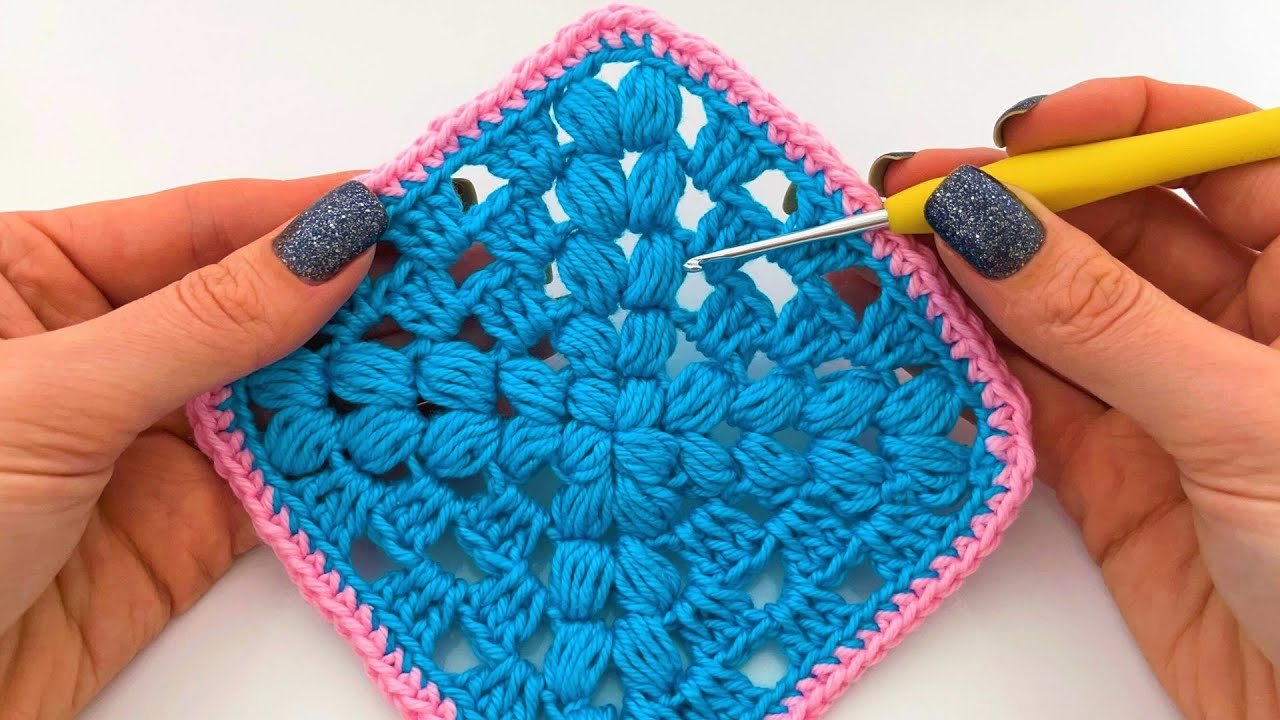
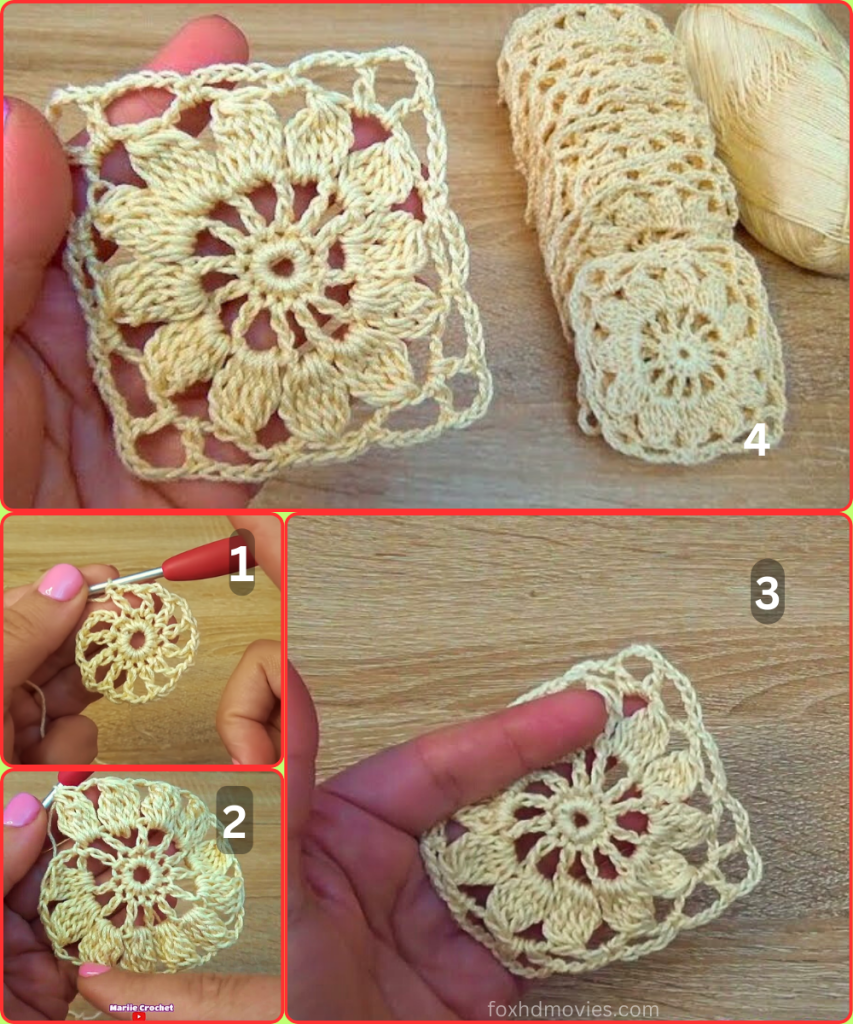
Hello, fellow crocheters! Today, we’re diving into the wonderful world of granny squares with a pattern that’s anything but ordinary. This Petal Square features a beautiful, dimensional flower at its center, surrounded by a classic granny square border. It’s a versatile motif that’s perfect for blankets, scarves, bags, and more. This detailed pattern will walk you through each step, ensuring your squares turn out perfectly every time.
Materials Needed
- Any weight yarn you prefer. The sample uses a DK or sport weight cotton yarn. The yarn weight you choose will determine the final size of your square.
- A crochet hook that is appropriate for your chosen yarn. For DK weight, a 4.0mm (G-6) hook is a great choice.
- Scissors.
- Tapestry needle for weaving in ends.
Stitches and Abbreviations
- ch: chain
- sl st: slip stitch
- sc: single crochet
- dc: double crochet
- tr: treble crochet
- […]: repeat instructions within brackets
- (…): number of stitches at the end of the round
Gauge
Gauge isn’t critical for a project like this, but if you’re making a larger piece like a blanket, it’s a good idea to check that your squares are all a consistent size.
- A finished square should measure approximately 4 inches by 4 inches (10 cm x 10 cm) if you are using DK weight yarn and a 4.0mm hook.
The Petal Square Pattern
Round 1: The Center
Using your chosen yarn, ch 4 and sl st to the first ch to form a ring. Alternatively, you can use a magic ring. Ch 3 (counts as first dc). Work 11 dc into the ring. Sl st to the top of the beginning ch-3 to join. (12 dc)
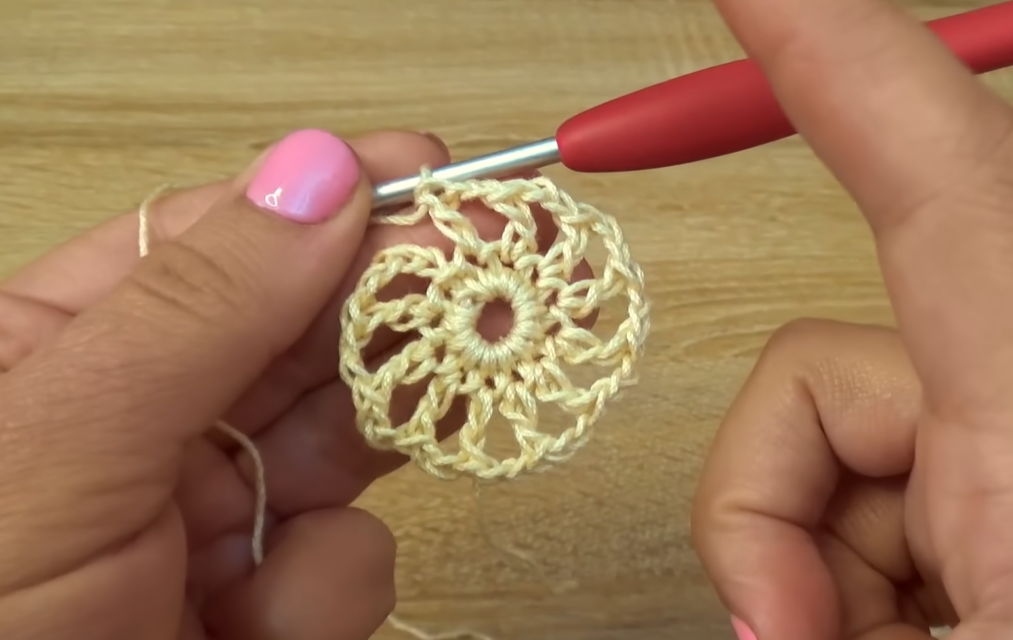
Round 2: Building the Petals
This round creates the foundation for our petals.
Ch 1 (does not count as a stitch). Sc in the same stitch as the join. Ch 3. Sc in the next dc. [Ch 3, sc in the next dc] around. You should have 12 ch-3 loops. Sl st to the first sc to join. (12 ch-3 loops)
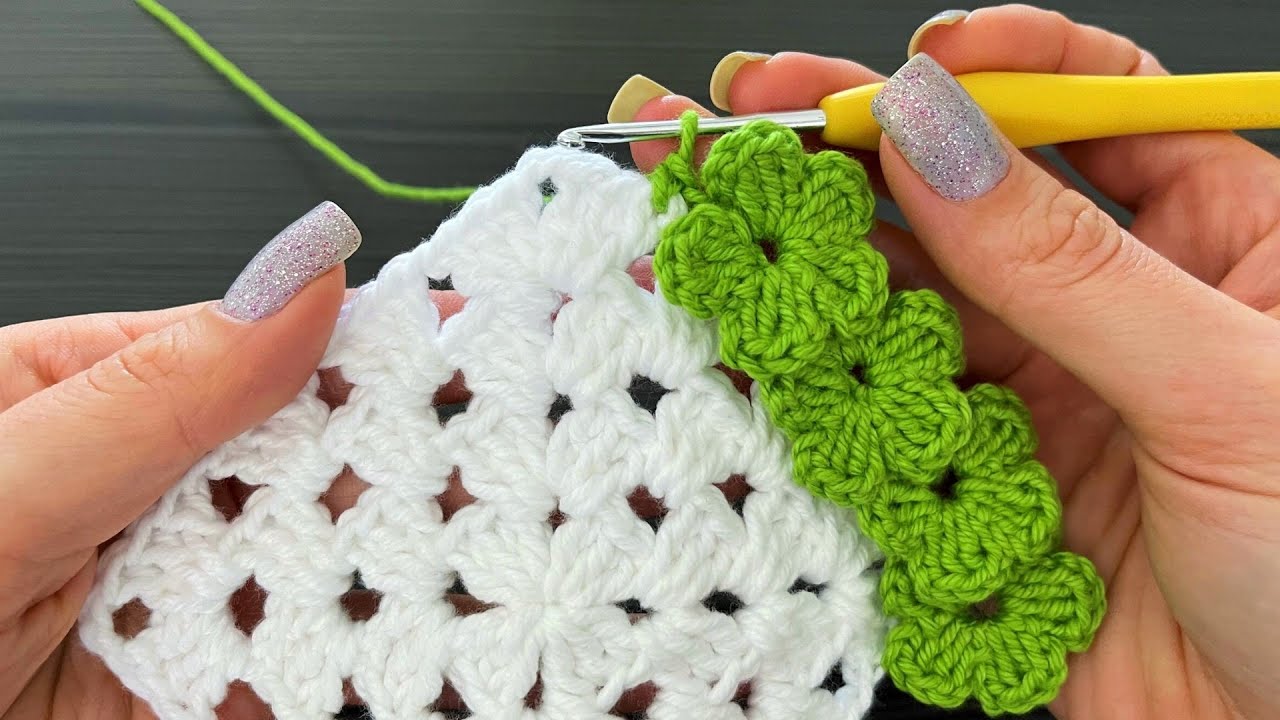
Round 3: The Petals
Now we’ll work into those ch-3 loops to create the petals.
Sl st into the first ch-3 loop. Ch 3 (counts as first dc). Work 2 dc, ch 2, and 3 dc into the same ch-3 loop. [Sl st into the next sc, work (3 dc, ch 2, 3 dc) into the next ch-3 loop]. Repeat from * to * 5 more times. Sl st into the first ch-3 loop to join. (6 petals)
Round 4: Connecting the Petals
This round joins the petals and begins to form the square shape.
Sl st into the next 2 dc to get to the ch-2 space of the first petal. Sl st into the ch-2 space. Ch 4 (counts as a tr). Work 3 tr into the same ch-2 space. [Ch 3, 4 tr in the ch-2 space of the next petal]. Repeat from * to * 4 more times. Ch 3. Sl st to the top of the beginning ch-4 to join. (6 groups of 4 tr, 6 ch-3 spaces)

Round 5: Creating the Corners
This is where the square truly takes shape.
Sl st into the next 3 tr to get to the ch-3 space. Sl st into the ch-3 space. Ch 3 (counts as dc). Work (2 dc, ch 3, 3 dc) into the same ch-3 space. This is your first corner. [Ch 1, 3 dc into the next ch-3 space]. This is your side. [Ch 1, (3 dc, ch 3, 3 dc) into the next ch-3 space]. This is your corner. [Ch 1, 3 dc into the next ch-3 space]. This is your side. [Ch 1, (3 dc, ch 3, 3 dc) into the next ch-3 space]. This is your corner. [Ch 1, 3 dc into the next ch-3 space]. This is your side. [Ch 1, (3 dc, ch 3, 3 dc) into the next ch-3 space]. This is your corner. [Ch 1, 3 dc into the last ch-3 space]. This is your last side. Ch 1. Sl st to the top of the beginning ch-3 to join. (4 corners, 4 sides)

Round 6: The Final Border
This last round adds a clean, finished edge to the square.
Sl st into the next 2 dc to get to the ch-1 space. Sl st into the ch-1 space. Ch 3 (counts as dc). Work 2 dc into the same ch-1 space. [Ch 1, (3 dc, ch 3, 3 dc) in the next corner ch-3 space]. [Ch 1, 3 dc in the next ch-1 space]. [Ch 1, 3 dc in the next ch-1 space]. Repeat from * to * to complete the square, working 3 dc in each ch-1 space and the (3 dc, ch 3, 3 dc) corner in each corner ch-3 space. Ch 1. Sl st to the top of the beginning ch-3 to join. Fasten off and weave in all loose ends.
Video tutorial
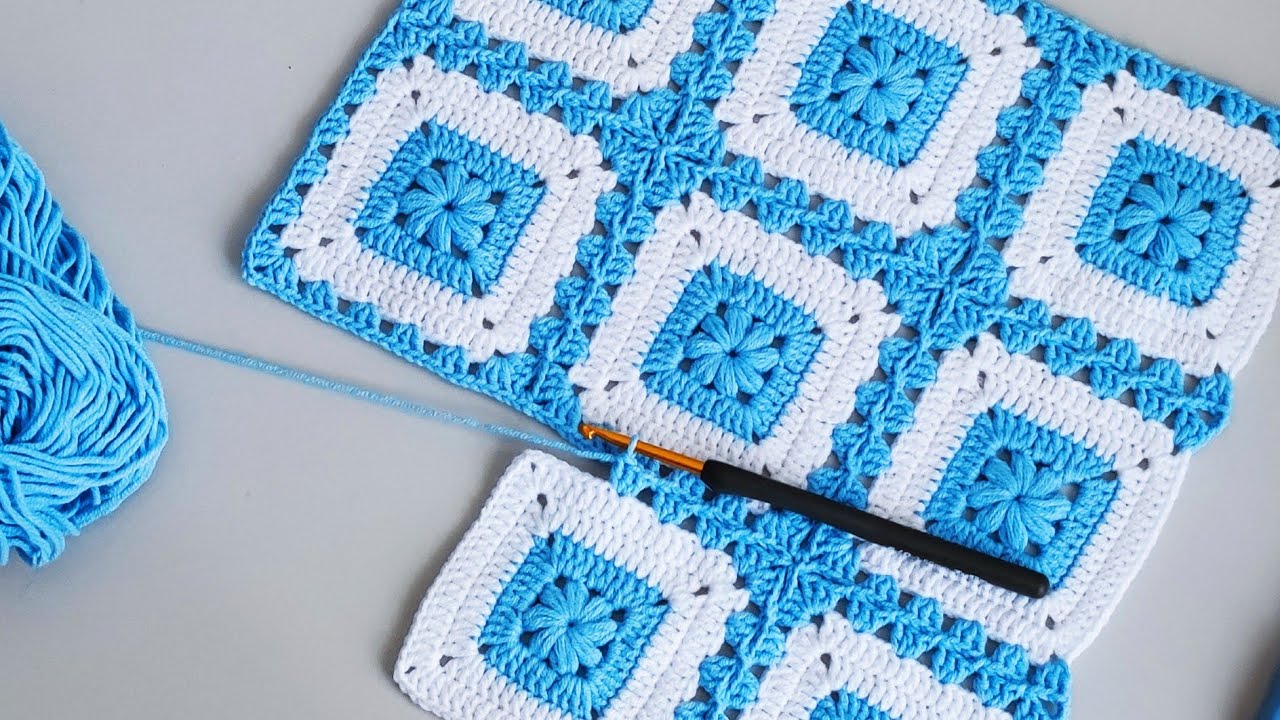
Project Ideas
Now that you have your beautiful Petal Square, what can you make? The possibilities are endless!
- Blanket: Join multiple squares together to create a stunning, textured blanket. The flower motif adds a lovely dimension to a classic granny square blanket.
- Bag: Join 6 squares for a simple tote or 12 for a larger shoulder bag.
- Table Runner or Placemats: Use a few squares to make a stylish table runner.
- Cushion Cover: Join 4 or 9 squares for a cozy and decorative cushion cover.
This pattern is a fantastic way to use up scrap yarn, as the centers and outer borders can be different colors. Feel free to experiment with color combinations to create a unique piece. Happy crocheting!