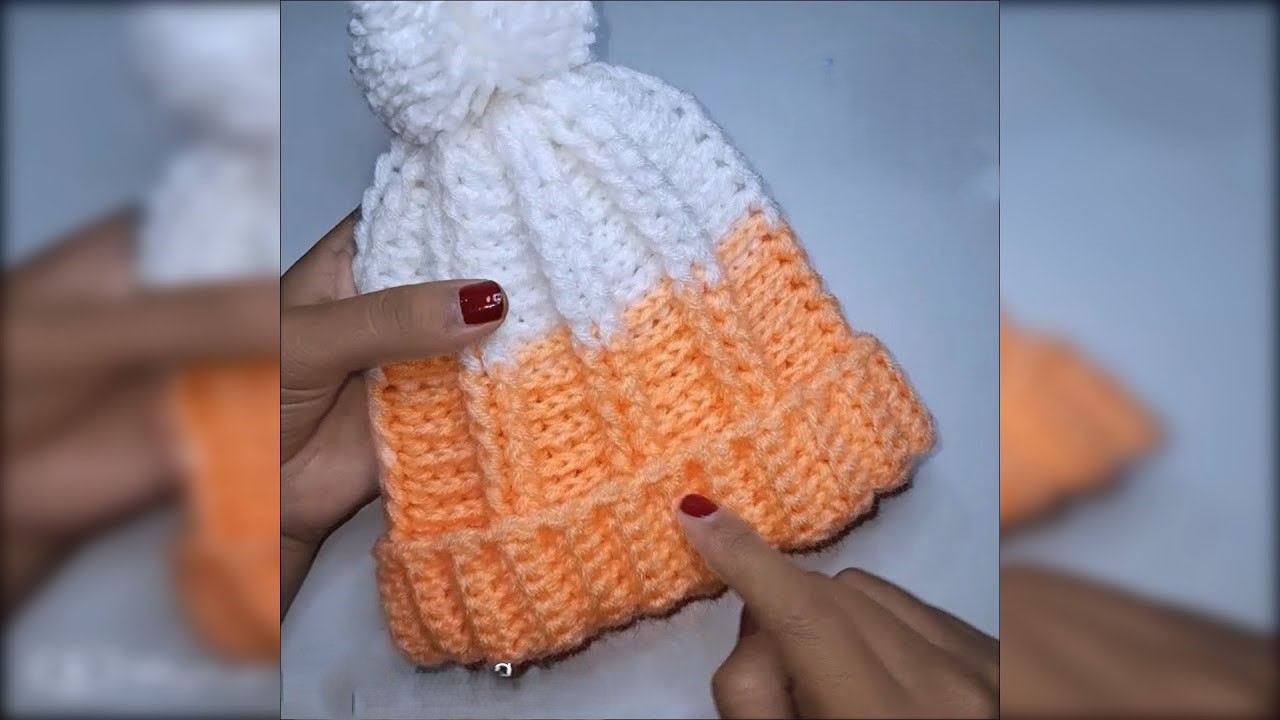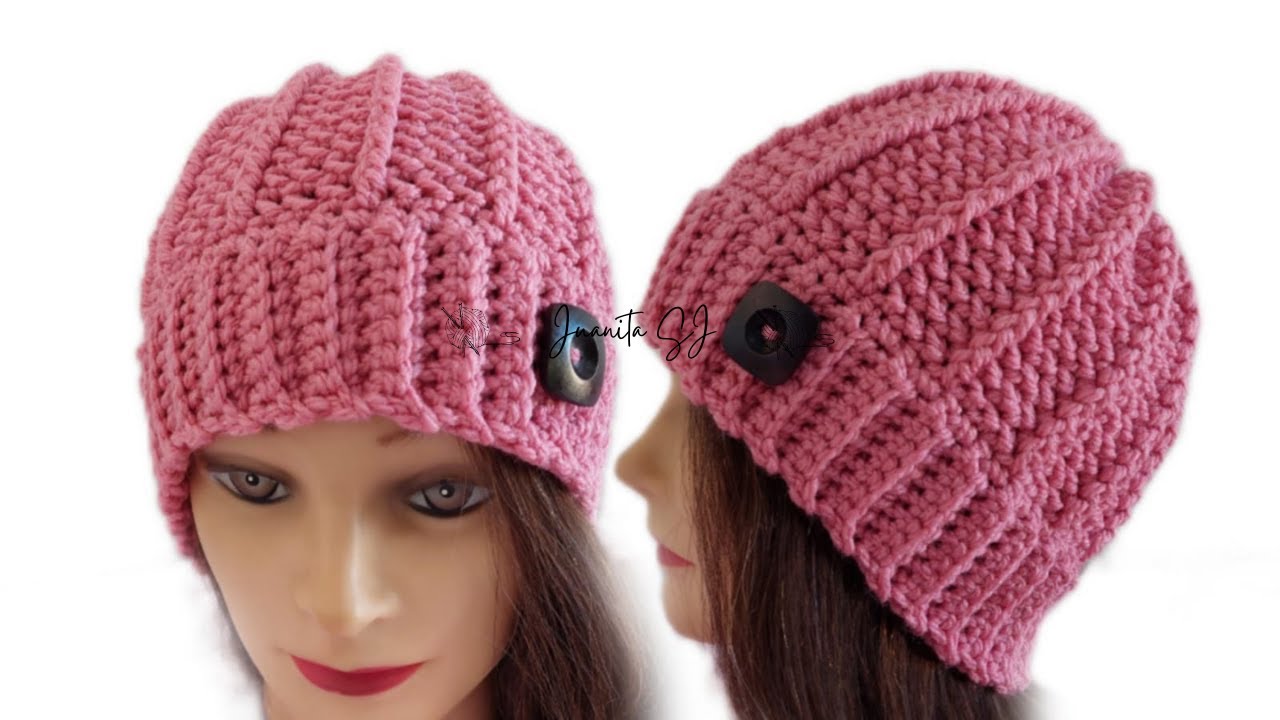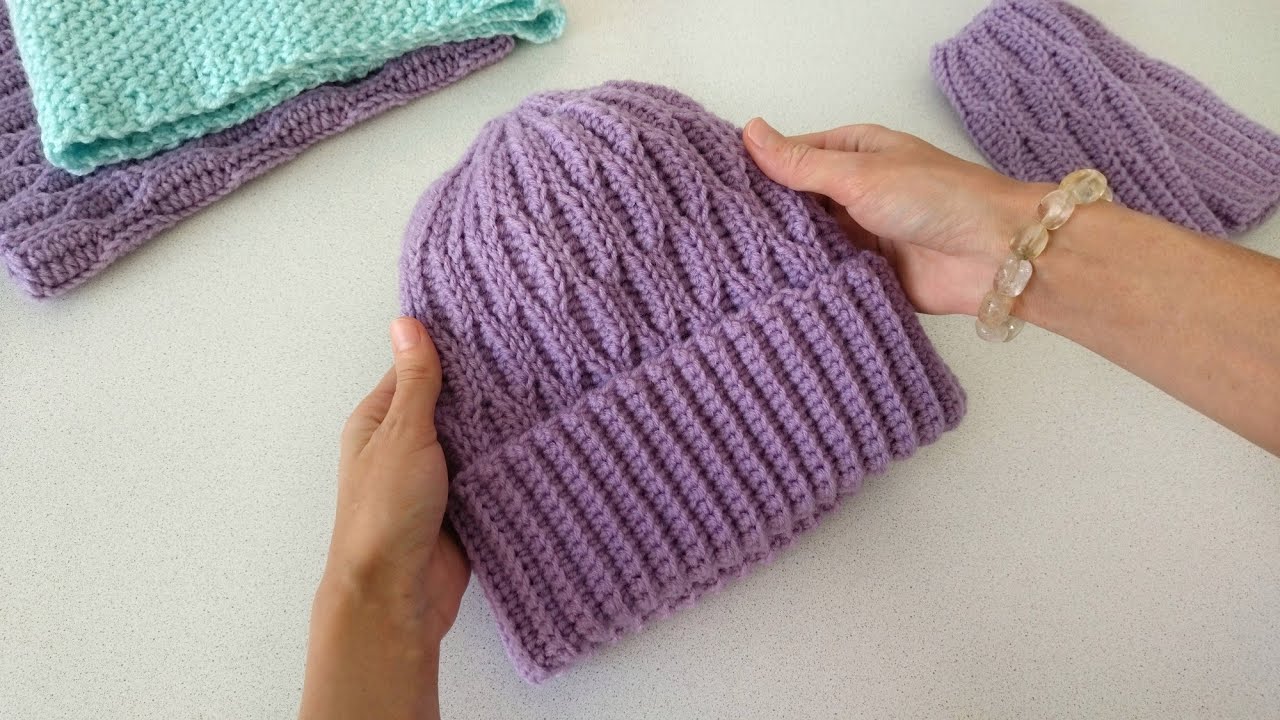
Get ready to create the coziest, most stylish beanie you’ll ever own! This pattern is designed to be a detailed guide for crocheters of all levels, especially those new to working with ribbing and color changes. The result is a beautifully textured, ribbed beanie with a fun color-block design, topped with a fluffy pom-pom. We’ll be working this pattern in the round from the bottom up.
What You’ll Need
- Yarn:
- Approximately 100 grams (about 180 yards) of worsted-weight yarn in Color A (the main color, like orange in the image).
- Approximately 50 grams (about 90 yards) of worsted-weight yarn in Color B (the contrasting color, like white in the image).
- Pro-Tip: Look for acrylic or wool blends for a warm, soft, and durable hat.
- Hook: A 5.5 mm (I/9) crochet hook.
- Tools:
- Scissors
- Tapestry needle for weaving in ends
- Stitch marker
- Pom-pom maker (optional, you can also make one by hand)
Key Crochet Stitches & Techniques
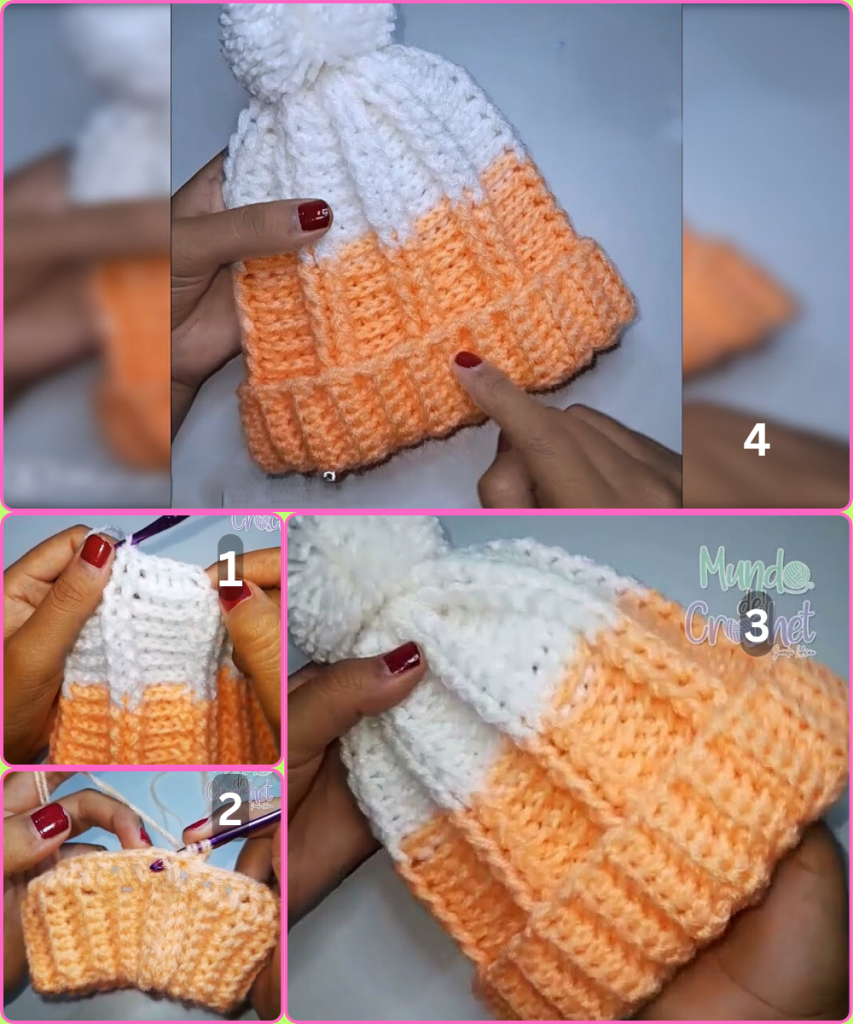
Before we start, let’s go over the stitches we’ll be using. If you’re new to these, don’t worry—I’ve included detailed descriptions.
- ch (chain): Yarn over, pull yarn through the loop on your hook.
- sl st (slip stitch): Insert hook into the next stitch, yarn over, and pull through both the stitch and the loop on your hook.
- hdc (half double crochet): Yarn over, insert hook into the stitch, yarn over and pull up a loop (3 loops on hook), yarn over and pull through all 3 loops on the hook.
- hdc in the 3rd loop: This is our secret to the beautiful ribbed texture! Instead of working into the top two loops of the stitch, you’ll insert your hook into the horizontal bar (the “third loop”) located directly behind the top two loops of the previous row’s half double crochet.
- Invisible decrease (hdc2tog): This is a clean way to decrease stitches, perfect for the crown of the hat.
- Yarn over.
- Insert hook into the third loop of the first stitch. Pull up a loop (3 loops on hook).
- Insert hook into the third loop of the second stitch. Pull up a loop (4 loops on hook).
- Yarn over and pull through all 4 loops on the hook.
The Pattern: Let’s Get Started!
The Ribbed Brim & Body
We’ll start with the ribbed brim and work our way up. This entire section is worked in the round, but we’ll join at the end of each round to keep the seam tidy.

Using Color A (Orange)
- Round 1: Chain 60. Join with a slip stitch to the first chain to form a circle. Be careful not to twist your chain.
- Round 2: Chain 1 (does not count as a stitch). Half double crochet (hdc) in the back loop only of each chain stitch around. Join with a slip stitch to the first hdc. (60 stitches)
- Round 3: Chain 1. Hdc in the 3rd loop of each hdc around. Join with a slip stitch to the first hdc. (60 stitches)
- Rounds 4-15: Repeat Round 3. This will create the beautiful, defined ribbing. Keep going until your brim measures about 4-5 inches tall, or your desired length.
Changing Color
Time to switch to your second color!

- Round 16: On the final slip stitch of Round 15, yarn over with your new yarn (Color B – white) and pull through to complete the stitch. Chain 1 with the new color. Cut Color A, leaving a long tail to weave in later. Hdc in the 3rd loop of each hdc around. Join with a slip stitch to the first hdc. (60 stitches)
- Rounds 17-25: Repeat Round 3. Continue working in hdc in the 3rd loop until your hat measures about 8-9 inches from the bottom of the brim, or your desired length.
Shaping the Crown (Decreasing)
Now, we’ll decrease stitches to shape the top of the hat. Use the invisible decrease (hdc2tog in the 3rd loop) to make the decreases almost invisible.

- Round 26: Chain 1. *Hdc in the 3rd loop of the next 8 stitches, then hdc2tog in the 3rd loop over the next two stitches*. Repeat from * to * around. Join with a slip stitch. (54 stitches)
- Round 27: Chain 1. Hdc in the 3rd loop of each stitch around. Join with a slip stitch. (54 stitches)
- Round 28: Chain 1. *Hdc in the 3rd loop of the next 7 stitches, then hdc2tog in the 3rd loop over the next two stitches*. Repeat from * to * around. Join with a slip stitch. (48 stitches)
- Round 29: Chain 1. Hdc in the 3rd loop of each stitch around. Join with a slip stitch. (48 stitches)
- Round 30: Chain 1. *Hdc in the 3rd loop of the next 6 stitches, then hdc2tog in the 3rd loop over the next two stitches*. Repeat from * to * around. Join with a slip stitch. (42 stitches)
- Round 31: Chain 1. *Hdc in the 3rd loop of the next 5 stitches, then hdc2tog in the 3rd loop over the next two stitches*. Repeat from * to * around. Join with a slip stitch. (36 stitches)
- Round 32: Chain 1. *Hdc in the 3rd loop of the next 4 stitches, then hdc2tog in the 3rd loop over the next two stitches*. Repeat from * to * around. Join with a slip stitch. (30 stitches)
- Round 33: Chain 1. *Hdc in the 3rd loop of the next 3 stitches, then hdc2tog in the 3rd loop over the next two stitches*. Repeat from * to * around. Join with a slip stitch. (24 stitches)
- Round 34: Chain 1. *Hdc in the 3rd loop of the next 2 stitches, then hdc2tog in the 3rd loop over the next two stitches*. Repeat from * to * around. Join with a slip stitch. (18 stitches)
- Round 35: Chain 1. *Hdc in the 3rd loop of the next stitch, then hdc2tog in the 3rd loop over the next two stitches*. Repeat from * to * around. Join with a slip stitch. (12 stitches)
- Round 36: Chain 1. Hdc2tog in the 3rd loop around. Join with a slip stitch. (6 stitches)
Video tutorial
Finishing Your Beanie
- Close the Crown: Cut your yarn, leaving a long tail (about 12 inches). Thread the tail through your tapestry needle. Weave the needle through the front loop of each of the remaining 6 stitches. Pull the yarn tight to cinch the hole closed. Secure with a knot on the inside of the hat.
- Weave in Ends: Use your tapestry needle to weave in all loose ends. A good practice is to weave them in and out of the same-colored stitches to make them invisible.
- Make and Attach the Pom-Pom: Use your pom-pom maker or a cardboard method to create a fluffy pom-pom. The image shows a white pom-pom, which is a great choice to match the top stripe. Tie it securely to the top of your beanie and trim it to your desired shape.
Congratulations! You’ve just created a gorgeous, handmade beanie. I hope you enjoy it or that it makes a perfect gift for someone special.
