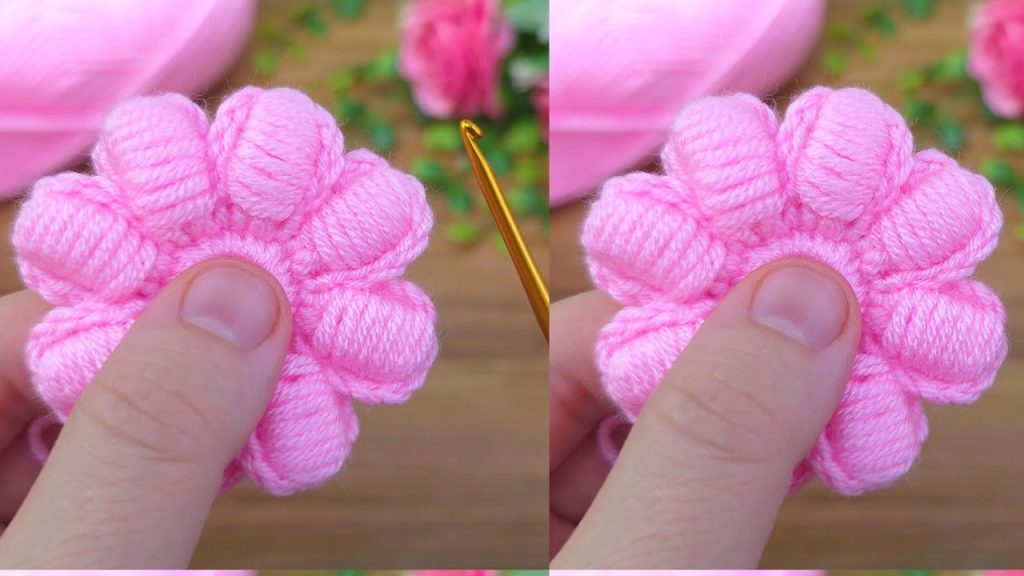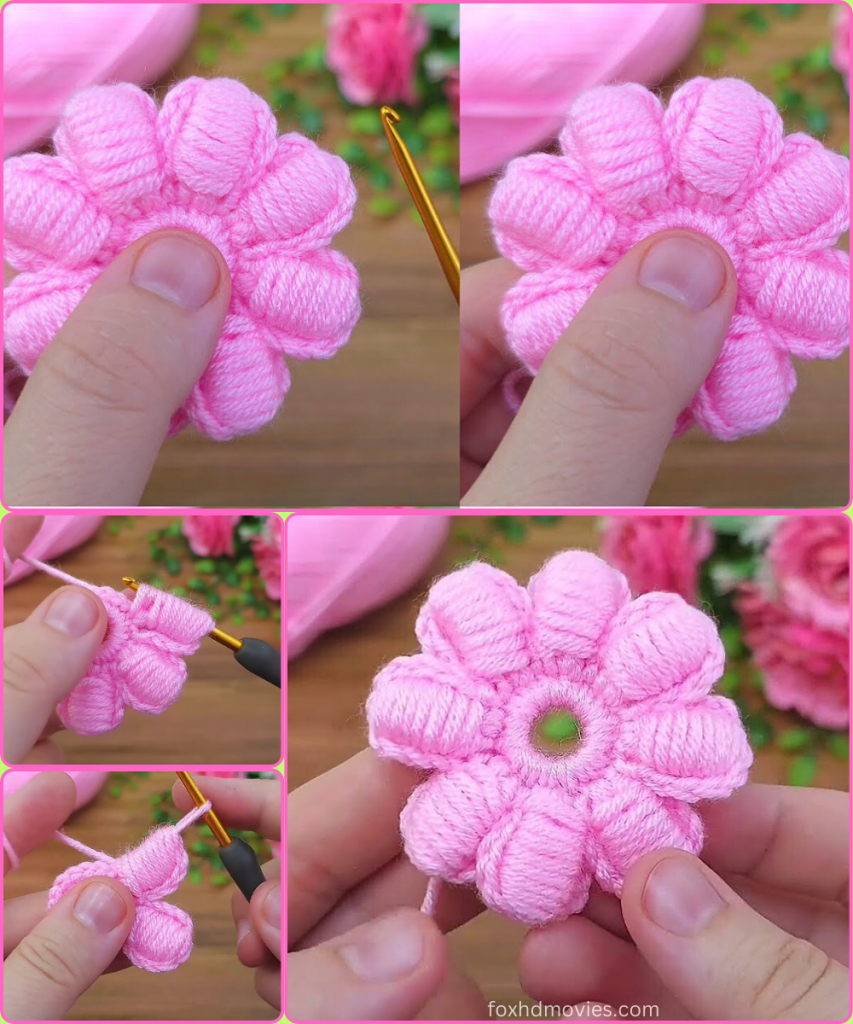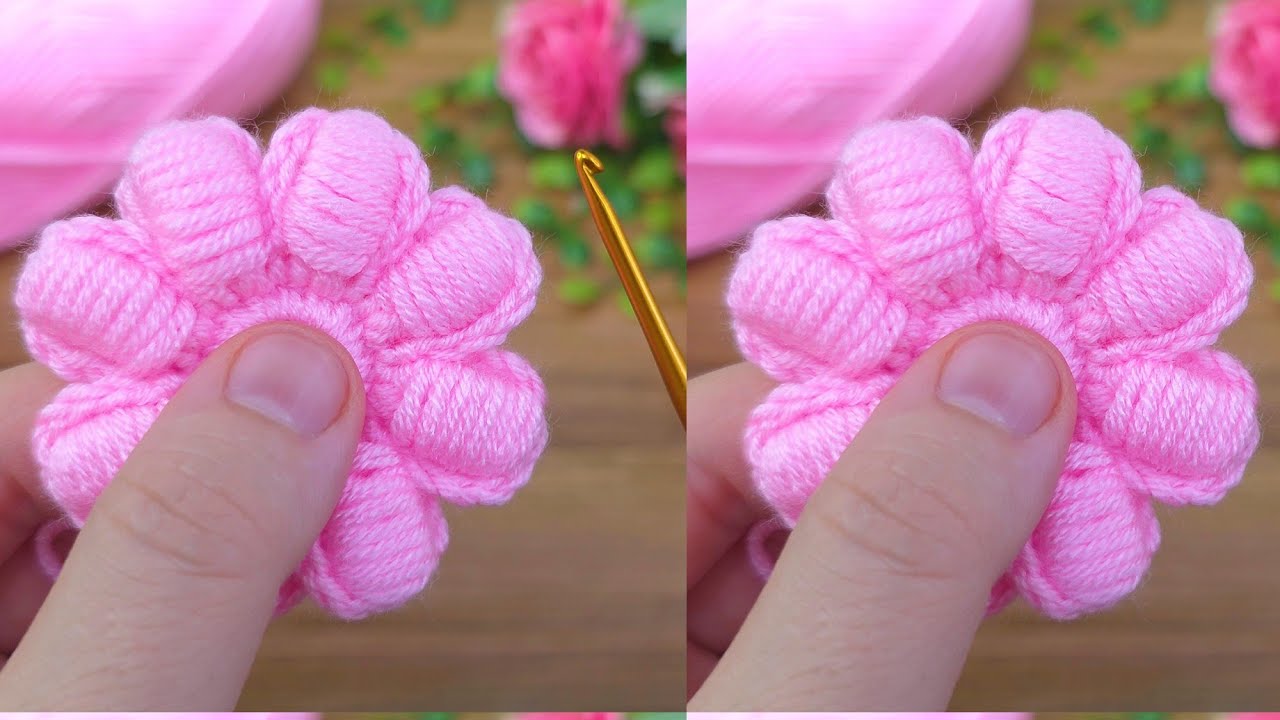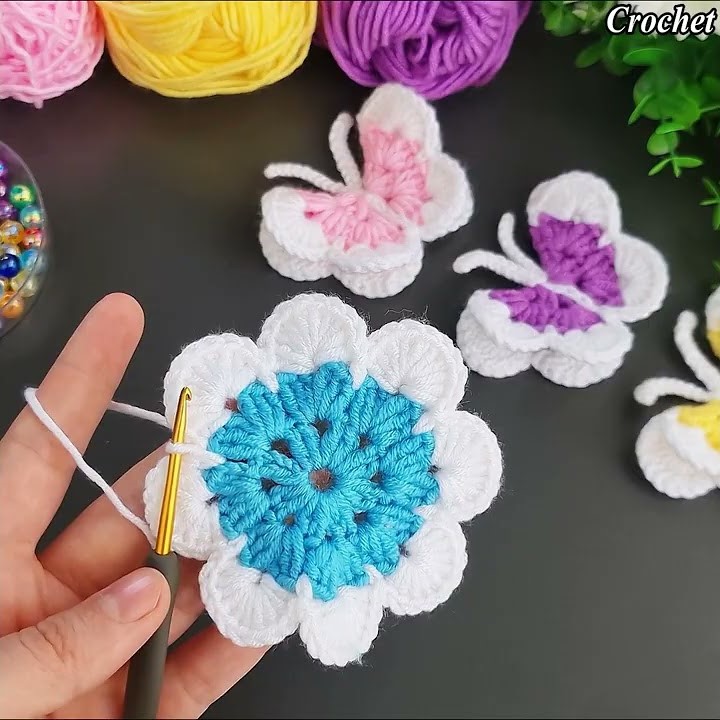
Welcome to your next favorite crochet project! If you’re looking for a quick and incredibly satisfying way to add a pop of texture and charm to your work, this is the pattern for you. This flower is a showstopper, featuring plush, three-dimensional petals that stand out beautifully. They are perfect for adorning hats, blankets, bags, or even for joining together to create a stunning piece of jewelry or a garland. The secret to their lush look is a simple yet effective stitch: the puff stitch.
This guide is your complete resource, designed to walk you through every single step with meticulous detail. We’ll cover everything from selecting the best yarn for a plump puff stitch to expert tips on how to keep your tension perfect. Get ready to create a gorgeous flower that feels as good as it looks!

Your Ultimate Materials Checklist
Choosing the right materials is the first step toward a perfect finished piece. For this pattern, a few key choices will make all the difference in your final product.
- Yarn: I highly recommend using a worsted-weight (size 4) yarn. Look for a yarn that is smooth, firm, and has good stitch definition. Fluffy or fuzzy yarns can hide the beautiful texture of the puff stitches. For the flower shown, you will need two colors:
- Color A: For the center of the flower (a vibrant yellow, white, or any color you desire).
- Color B: For the puffy petals (the pink in the image, or a contrasting color to your center).
- Crochet Hook: A 4.0mm (G-6) or 4.5mm (G-7) hook is an excellent starting point. The goal is to use a hook size that gives you a slightly looser tension than a typical amigurumi project but still firm enough to keep the puffs plump. If your fabric feels too tight and it’s difficult to pull through the loops, try a larger hook. If it’s too loose and floppy, go down a size.
- Essential Tools: You will need a pair of scissors to cut your yarn and a tapestry needle to weave in your ends cleanly. Weaving in ends is a crucial step that makes your work look polished and professional.
Mastering the Puffy Stitch
The star of this flower is the puff stitch. It’s what gives each petal its soft, full, and three-dimensional appearance. Here is a detailed breakdown of how to work a 5-loop puff stitch.

How to Work a Puff Stitch:
- Get Ready: Yarn over (yo) and insert your hook into the designated stitch.
- Pull up Loop 1: Yarn over and pull up a loop. You should now have 3 loops on your hook.
- Pull up Loop 2: Yarn over and insert your hook back into the same stitch. Yarn over and pull up another loop. You now have 5 loops on your hook.
- Pull up Loop 3: Repeat Step 3. You will have 7 loops on your hook.
- Pull up Loop 4: Repeat Step 3. You will have 9 loops on your hook.
- Close the Stitch: Take a moment to gently pull up on the loops so they are all the same height. Now, yarn over and carefully pull your yarn through all 9 loops on your hook. This can be a bit tricky, so take your time!
- Secure the Stitch: Chain 1 to lock the puff stitch in place. This chain is essential for keeping the stitch from unraveling.
The Pattern
All instructions are written in US crochet terms. The stitch counts are provided at the end of each round to help you stay on track.
Part 1: The Flower Center (Color A)
- Round 1: Start with a magic ring (mr). Or, if you prefer, you can chain 4 and join with a slip stitch to the first chain to form a ring. Inside the ring, chain 2 (this does not count as a stitch). Work 12 double crochets (dc) into the ring. Pull the magic ring tight to close the center. Join with a slip stitch (sl st) to the top of the first dc. (12 stitches)
Fasten off Color A, leaving a tail of about 4-5 inches. Weave in this end with your tapestry needle to secure the center.

Part 2: The Puffy Petals (Color B)
- Round 2: Attach Color B to any stitch from the previous round by pulling up a loop. Chain 1. Work 1 single crochet (sc) into the same stitch.
- Work a puff stitch (see instructions above) in the next stitch. Chain 1 to secure the puff.
- Repeat from * to * around. After the last puff stitch, you will have a total of 12 puff stitches and 12 single crochet stitches. Join with a sl st to the first sc of the round. (12 puff stitches)
- Round 3:Chain 1. Work a sl st into the top of the first puff stitch from the previous round.
- In the space between the current puff stitch and the next puff stitch, work a puff stitch. Chain 1 to secure it.
- Repeat from * to * around. You will be working a puff stitch in each of the 12 spaces between the puffs from the last round. Join with a sl st to the top of the first puff stitch. (12 puff stitches)
- Round 4:Chain 1. Work a sl st into the top of the first puff stitch from the previous round.
- Work a puff stitch in the next space between the puffs from the last round. Chain 1 to secure it.
- Repeat from * to * around. You will again work a puff stitch in each of the 12 spaces between the puffs from the last round. Join with a sl st to the top of the first puff stitch. (12 puff stitches)

Video tutorial
Final Touches: Fasten off Color B, leaving a tail long enough to weave in securely. Gently fluff and shape the petals with your fingers to make them stand out. You can also use a light mist of water and let the flower dry flat to block it into a perfect, uniform shape.
Congratulations! You’ve created a beautiful, textured crochet flower. What kind of project will you add this beautiful piece to?


