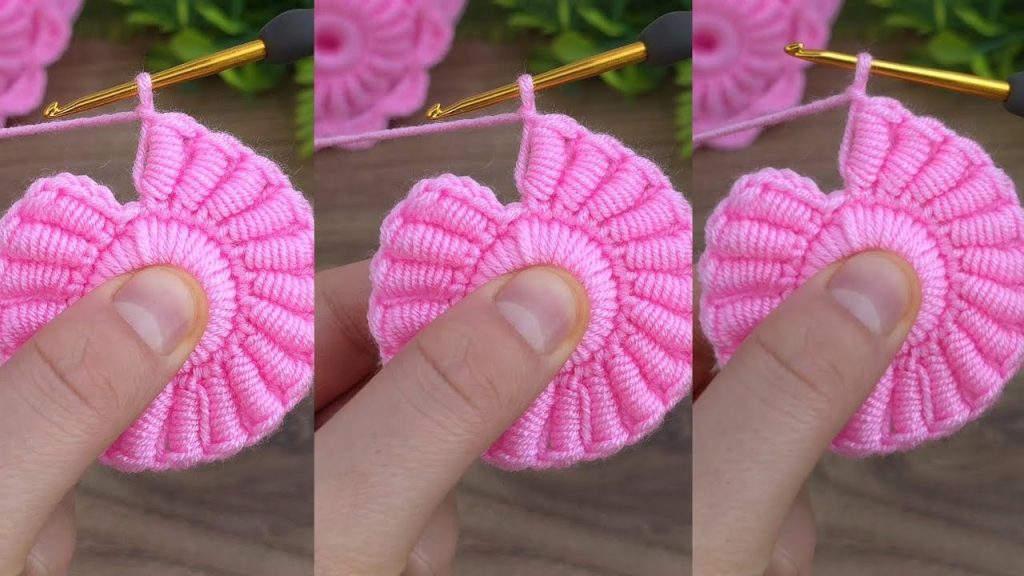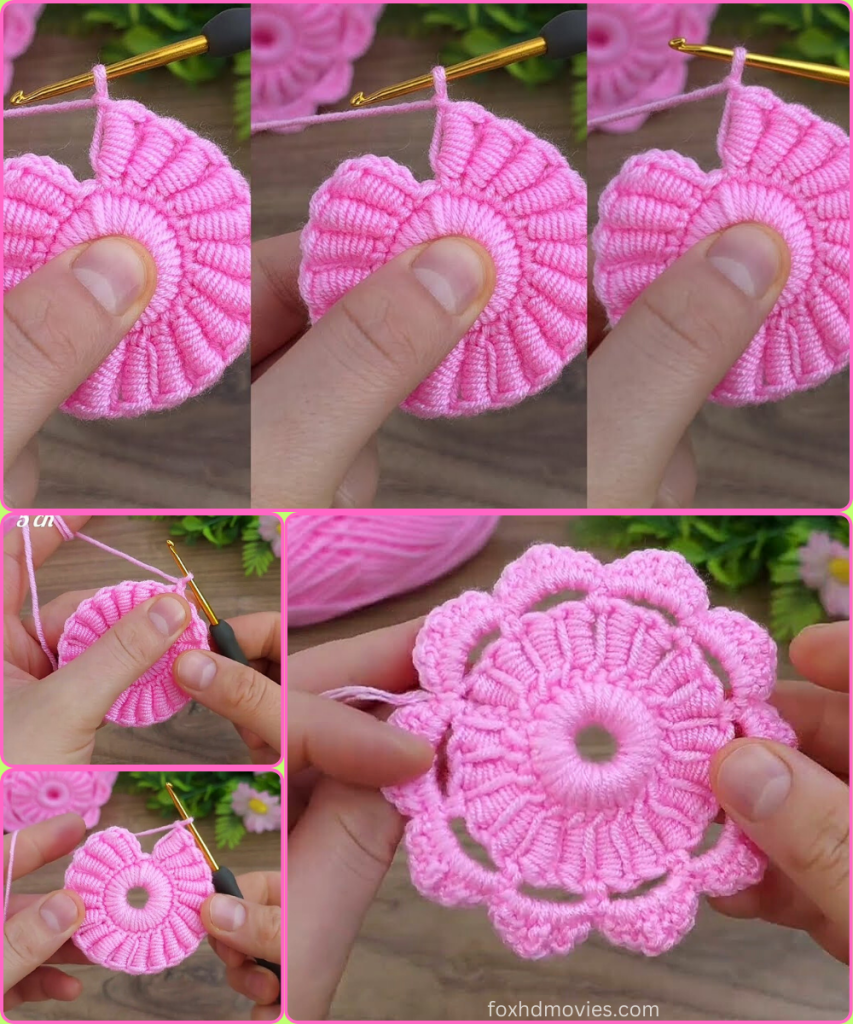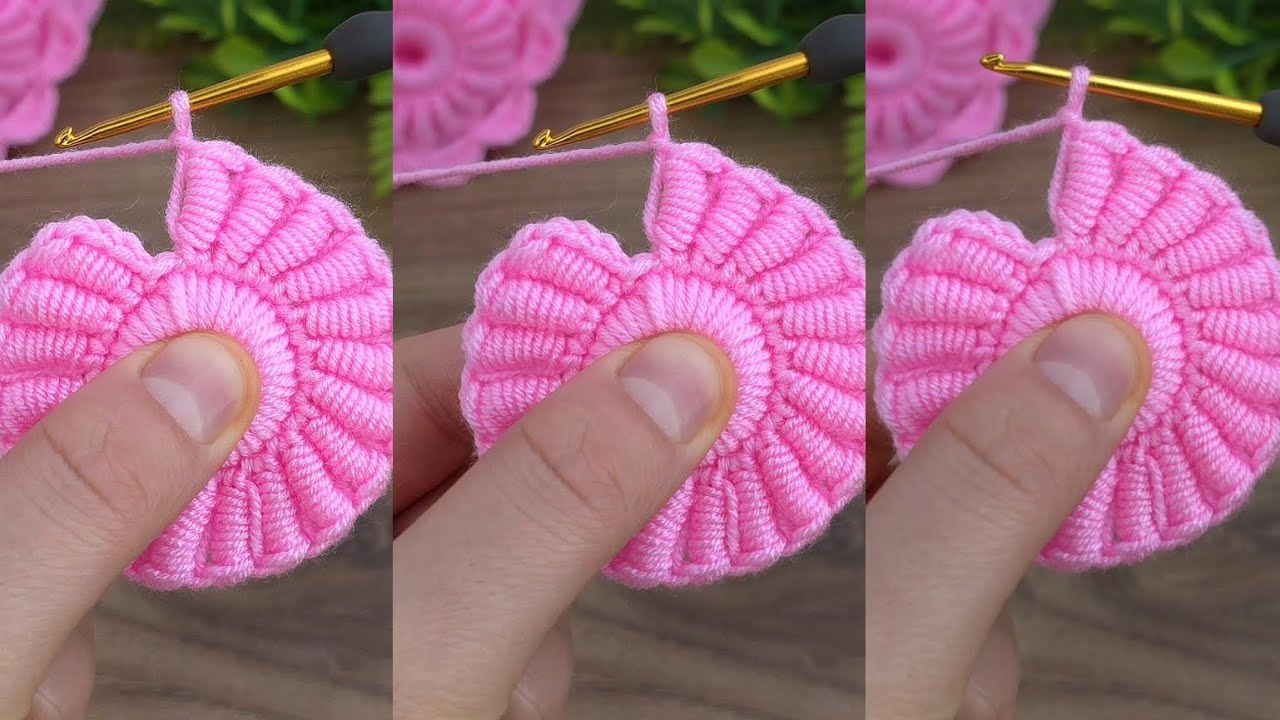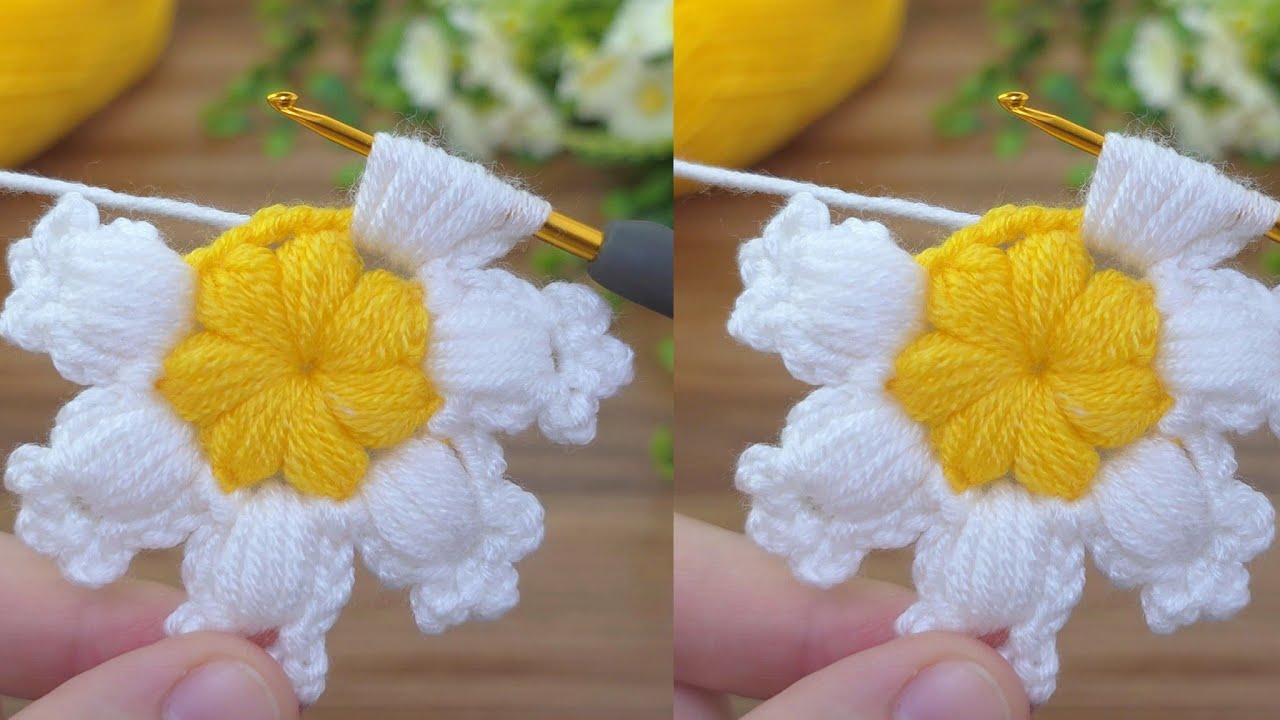
Hello, fellow yarn lover! Are you ready to dive into a project that’s not only beautiful but also incredibly satisfying? This is not your average crochet flower. This pattern will guide you in creating a stunning, textured piece that features beautiful, defined ridges spiraling out from the center. It’s a perfect way to add a unique, tactile element to your next project.
This spiral flower is an ideal project for making sturdy coasters, delightful appliqués for blankets or bags, or even for joining together to create a one-of-a-kind pillow cover. We’ll be using a special technique—working in the back loop only—to achieve those fantastic, raised ridges that make this flower so special. This guide is designed to be your comprehensive companion, with extra tips, detailed instructions, and troubleshooting advice to ensure your finished piece is absolutely perfect.

Your Ultimate Materials Checklist
Choosing the right materials is the first and most important step. For this pattern, a few key choices will make all the difference.
- Yarn: I highly recommend using a worsted-weight (size 4) yarn. Look for a yarn that is smooth, firm, and has clear stitch definition. Yarns with too much fluff or halo will hide the beautiful ridges, so a plied cotton or acrylic yarn is a perfect choice. You only need one color for this design, but feel free to experiment with a multi-colored yarn for a different effect.
- Crochet Hook: A 4.0mm (G-6) or 4.5mm (G-7) hook is an excellent starting point. The key is to choose a hook size that gives you a nice, firm tension. This is crucial for making the ridges stand out and for the flower to hold its shape without being floppy. If your fabric feels loose, try going down a hook size.
- Essential Tools: You will need a pair of scissors to cut your yarn and a tapestry needle to weave in your ends cleanly. A tapestry needle with a blunt tip is the best choice to avoid splitting the yarn.
- Stitch Marker (Optional): Since this pattern is worked in continuous rounds without a join, a stitch marker is your best friend. It will help you keep track of where each round begins and ends, saving you from having to constantly count your stitches.
Mastering the Techniques
This pattern relies on two key techniques that are easy to master but make all the difference in the final look.
- Continuous Rounds: Unlike some patterns that join each round with a slip stitch, this one is worked in a continuous spiral. This method eliminates the “seam” that joining creates, resulting in a cleaner, smoother spiral. It’s why a stitch marker is so helpful! You simply continue working into the next stitch to begin the new round.
- Back Loop Only (BLO): This is the magic behind the ridges! When you work a stitch (in this case, a half-double crochet), you normally insert your hook under both loops of the stitch from the previous round. For this pattern, you will only insert your hook under the back loop—the loop furthest away from you. This leaves the front loop exposed, creating the defined, horizontal ridge that gives the flower its unique texture.
The Pattern
All instructions are written in US crochet terms. The stitch counts are provided at the end of each round to help you stay on track.

Part 1: The Foundation
This section creates the flat, solid center that the spiral ridges will build upon. We’ll use half-double crochet stitches (hdc) to create a sturdy and compact base.
- Round 1: Start with a magic ring (mr). If you prefer, you can also chain 4 and join with a slip stitch to the first chain to form a ring. Work 12 hdc into the ring. Pull the magic ring tail tight to close the center. (12 sts)
- Round 2: Do not join. Work 2 hdc in each stitch around. This is your first round of increases. (24 sts)
- Round 3: Work 1 hdc in the next stitch, then work 2 hdc in the following stitch. Repeat from * to * around. (36 sts)
- Round 4: Work 1 hdc in the next 2 stitches, then work 2 hdc in the following stitch. Repeat from * to * around. (48 sts)
- Round 5: Work 1 hdc in the next 3 stitches, then work 2 hdc in the following stitch. Repeat from * to * around. (60 sts)
- Round 6: Work 1 hdc in the next 4 stitches, then work 2 hdc in the following stitch. Repeat from * to * around. (72 sts)
Fasten off after Round 6, leaving a tail long enough to weave in. Weave in the end securely with your tapestry needle.

Part 2: The Ridged Petals
This is where the magic happens! We’ll start working in the back loop only to create the spiraling ridges.
- Round 7: Attach your yarn to any stitch from Round 6. Chain 1 (this does not count as a stitch). Now, work 1 hdc in the back loop only (BLO) of the next 8 stitches.
- In the next stitch, work 2 hdc in the back loop only (BLO). This is your first increase.
- Work 1 hdc in the BLO of the next 7 stitches. In the following stitch, work 2 hdc in the BLO.
- Repeat from * to * around, creating a continuous spiral. You will have a total of 9 increases.
- After the last increase, you will work the last few stitches in the back loop only until you reach your first hdc of the round. You will have a total of 81 stitches.

Fasten off your yarn, leaving a tail of about 6 inches. Use your tapestry needle to weave this tail through the front loops of the last few stitches to create a smooth finish. Weave in the end on the back of the piece.
Video tutorial
Troubleshooting & Final Touches
- Is Your Flower Ruffling? If your flower is starting to ruffle like a pie crust, it means you’re increasing too often. Try working an extra hdc between your increases to keep the fabric flat.
- Is Your Flower Cupping? If your flower is cupping like a bowl, you’re not increasing often enough. In this case, you’ll need to add more increase stitches to keep it flat.
- Blocking: For a professional finish, you can block your finished piece. Simply get the flower wet, gently squeeze out the excess water, and lay it flat on a towel. Use your hands to gently shape it into a perfect circle and let it dry completely. This will ensure your stitches are even and the flower holds its shape beautifully.
Your beautiful textured flower is now complete! Take a moment to admire the unique, spiral texture you’ve created. Enjoy!


