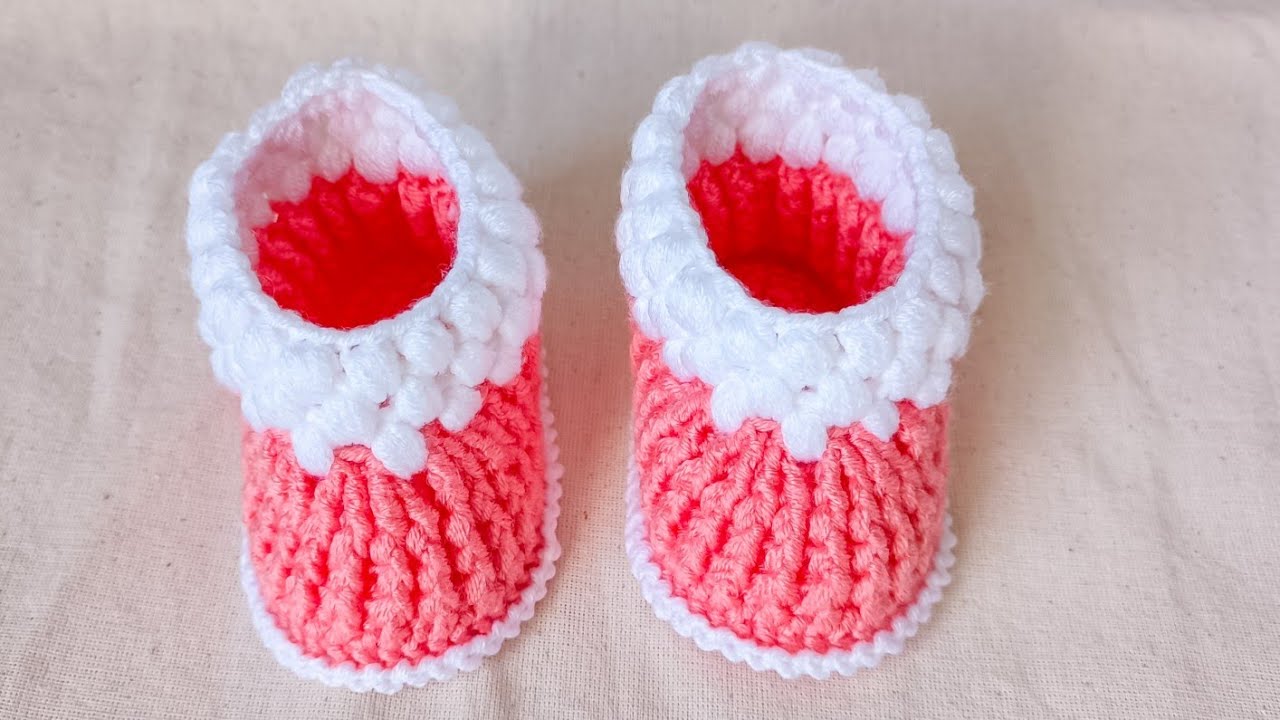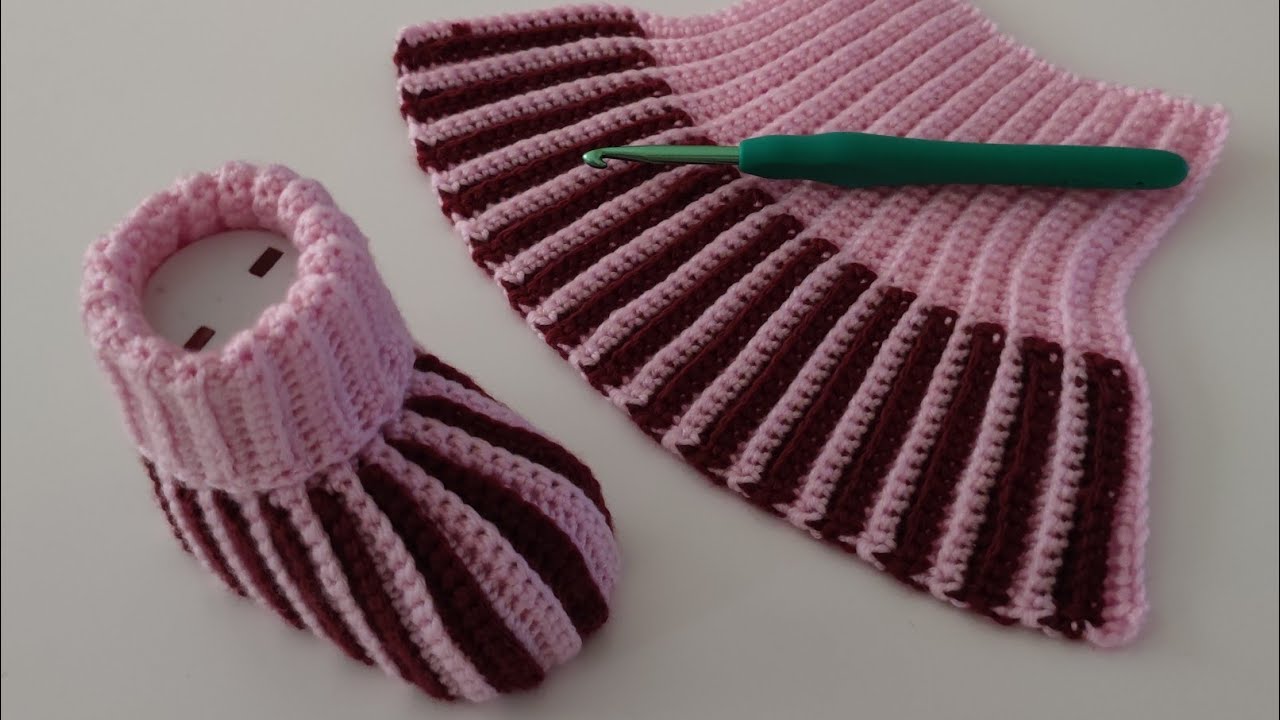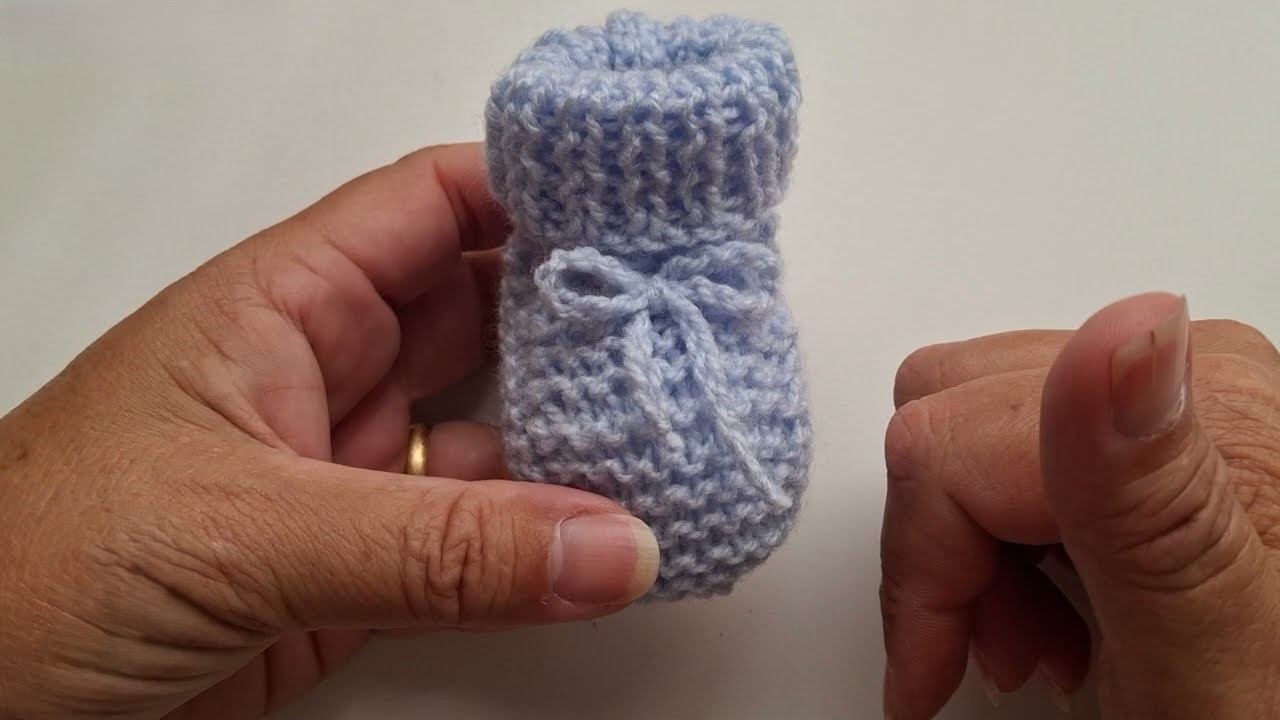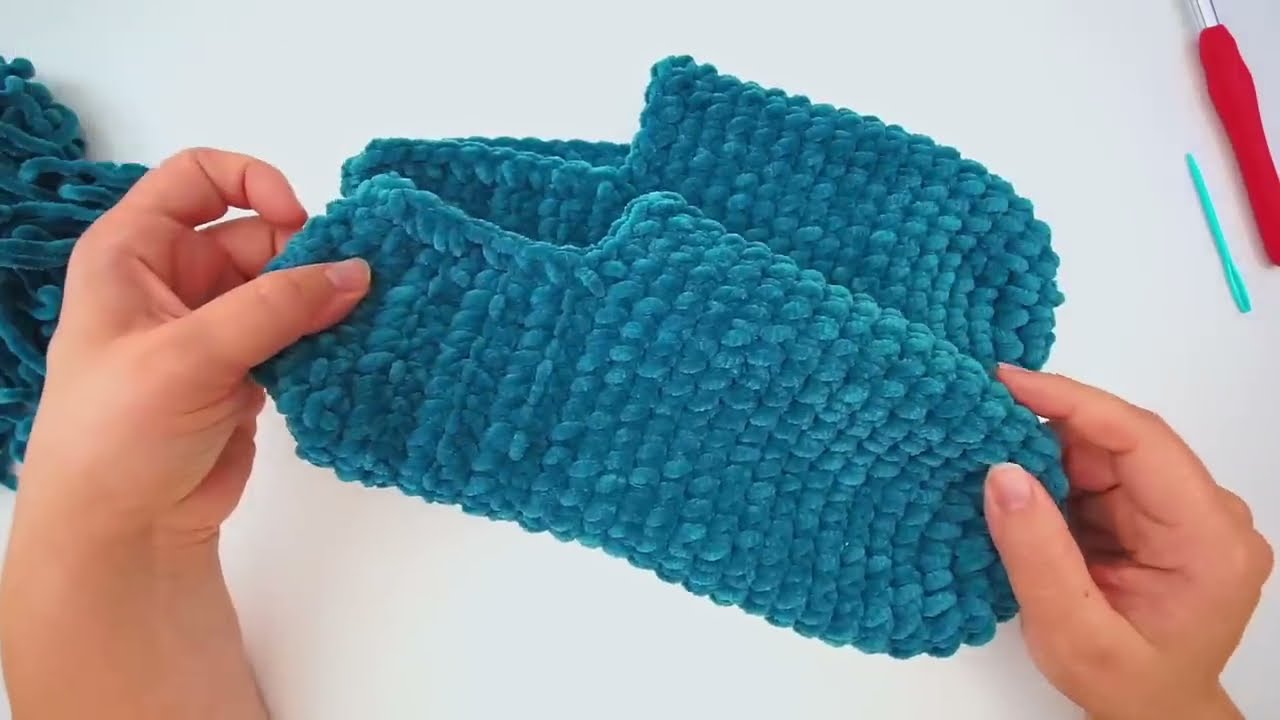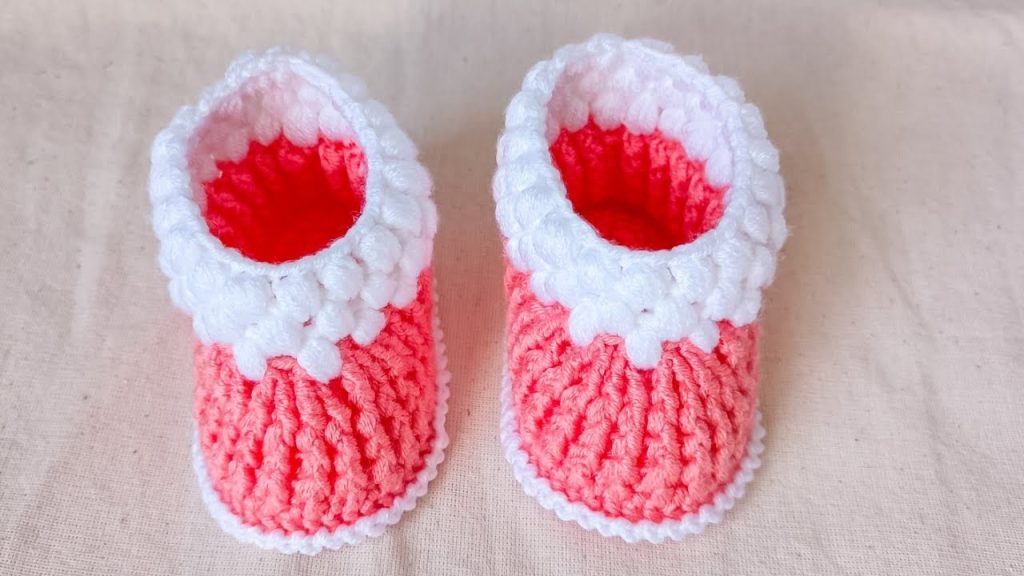
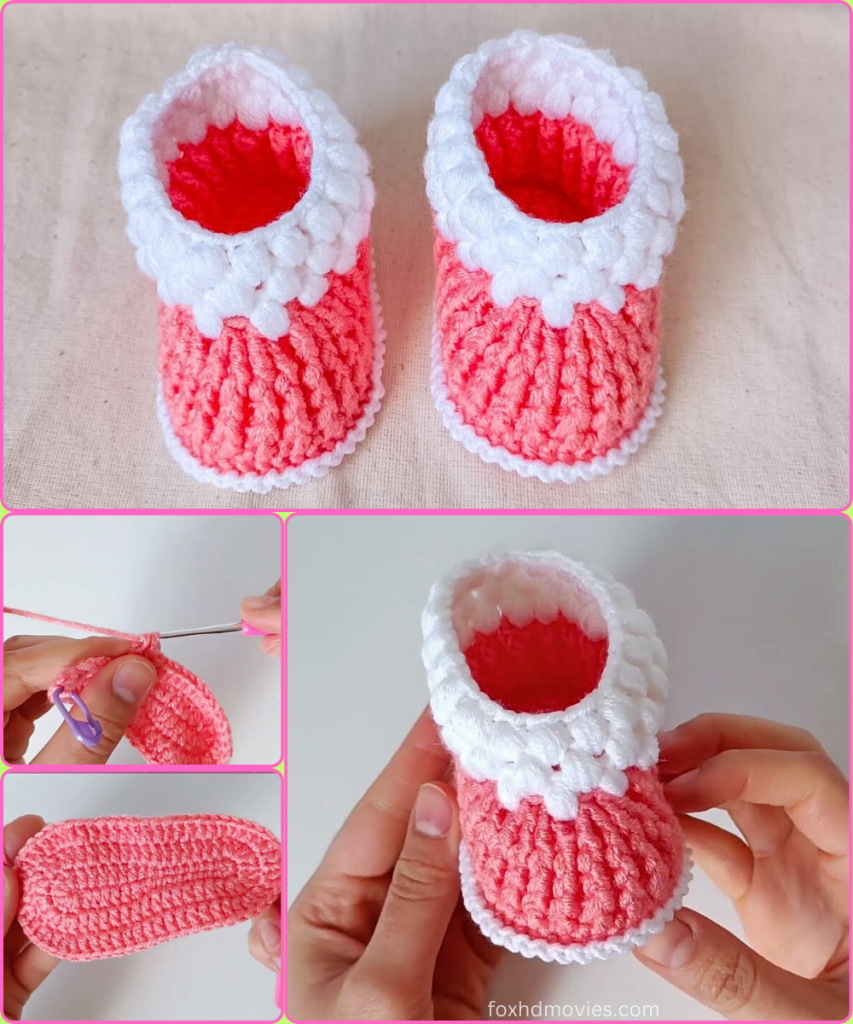
Create a pair of the most charming baby booties with this easy-to-follow, long, and detailed pattern. Inspired by the soft hues of a coral sunset, these “Sunset Beach Baby Booties” feature a sturdy base, a solid-colored body, and a contrasting ribbed cuff. This pattern is written for a standard baby size (approximately 3-6 months), but notes are included to help you adjust the size.
Skill Level: Intermediate – The pattern is written for those familiar with basic stitches and shaping techniques.
Materials You’ll Need:
- Yarn: Approximately 50-60 yards of DK (size 3) weight yarn in a main color (e.g., coral or pink).
- A small amount of yarn in a contrasting color (e.g., white or cream) for the cuff.
- Crochet Hook: A size G/6 (4.0mm) hook is recommended. You can adjust the hook size to make the booties smaller or larger.
- Scissors
- Yarn Needle for weaving in ends.
- Stitch Markers are helpful for keeping track of your rounds.
Key Stitches and Abbreviations:
- ch: chain
- st(s): stitch(es)
- sl st: slip stitch
- sc: single crochet
- hdc: half double crochet
- dc: double crochet
- inc: increase (2 stitches in the same stitch)
- dec: decrease (working a stitch over two stitches)
- blo: back loop only
Detailed Pattern Instructions (Make Two Booties)
We’ll start by making the sole, then build the bootie up from there.
Part 1: The Sturdy Sole (Main Color)
The sole is worked in the round to create a solid, flat base for the bootie.

- Starting Chain: ch 12.
- Rnd 1: Work 2 hdc in the second ch from your hook. Work 1 hdc in each of the next 9 chains. In the very last chain, work 5 hdc. Now, working along the opposite side of your foundation chain, work 1 hdc in each of the next 9 stitches. Work 2 hdc in the final stitch. Join with a sl st to the first hdc. (Total: 27 stitches)
- Rnd 2: ch 1 (does not count as a stitch). Work 2 sc in each of the next 2 stitches. Work 1 sc in each of the next 8 stitches. Work 2 hdc in each of the next 4 stitches. Work 1 sc in each of the next 8 stitches. Work 2 sc in each of the next 2 stitches. Join with a sl st to the first sc. (Total: 37 stitches)
- Rnd 3: Creating the Defined Edge: ch 1. Work 1 sc in each stitch around, but this time, work only in the back loop of each stitch. This creates a ridge that defines the edge of the sole and makes it easier to work the body of the bootie. Join with a sl st. (Total: 37 stitches)
Part 2: The Main Body (Main Color)
Now we’ll work on the body of the bootie, shaping the toe and heel.

- Rnd 4: ch 1. Work 1 sc in each of the next 10 stitches. This forms the heel. Place a stitch marker in the last stitch of this section.
- Rnd 5 (Toe Shaping): ch 1. Work 1 sc in each of the next 10 stitches. sc decrease (sc over the next two stitches) 4 times. Work 1 sc in each of the next 15 stitches. Join with a sl st to the first sc. (Total: 33 stitches)
- Rnd 6 (More Toe Shaping): ch 1. Work 1 sc in each of the next 10 stitches. sc decrease 2 times. Work 1 sc in each of the next 15 stitches. Join with a sl st to the first sc. (Total: 31 stitches)
- Rnd 7: ch 1. Work 1 sc in each stitch around. This round provides a smooth transition to the cuff. Join with a sl st. (Total: 31 stitches)
Cut the main color yarn and fasten off securely, leaving a tail for weaving in.
Part 3: The Ribbed Cuff (Contrasting Color)
The ribbed cuff is created by working in rows rather than rounds. It will have a nice stretch to it.

- Joining the Contrasting Color: With your contrasting color yarn, sl st into any stitch on the top of the bootie.
- Row 1: ch 9. Work 1 sc in the second ch from the hook and in each of the next 7 chains. (8 sts). Sl st into the next stitch on the bootie’s opening. This anchors the row.
- Row 2: Turn your work. Work 1 sc blo in each of the 8 stitches you just made. Do not sl st to the bootie.
- Row 3: Turn your work. ch 1. Work 1 sc blo in each of the 8 stitches. Sl st into the next stitch on the bootie’s opening.
- Repeat rows 2 and 3 around the entire top of the bootie, alternating between a row anchored by a sl st and a row that is not. This will create a continuous ribbed piece.
- Once you’ve worked your last row and sl st into the first stitch on the bootie, you can join the two ends of the cuff by either sewing or with a sl st.
Fasten off and weave in all loose ends. Fold the cuff down to create the finished look.
Part 4: Finishing Touches
- Weaving in Ends: Take your yarn needle and weave in all loose ends securely. This is a crucial step for a durable and professional finish.
- Blocking: Gently block your booties to help them hold their shape and ensure the cuff sits nicely. You can do this by misting them with water and stuffing them with paper or using a soft surface to pin them to dry.
Video tutorial
Sizing Notes:
- To make a smaller bootie, use a smaller hook and a thinner yarn.
- To make a larger bootie, use a larger hook and a thicker yarn. The number of stitches and rows remains the same, but the finished size will change.
You’re Done!
You’ve just completed a beautiful pair of “Sunset Beach Baby Booties” that are sure to be
