 by
by 
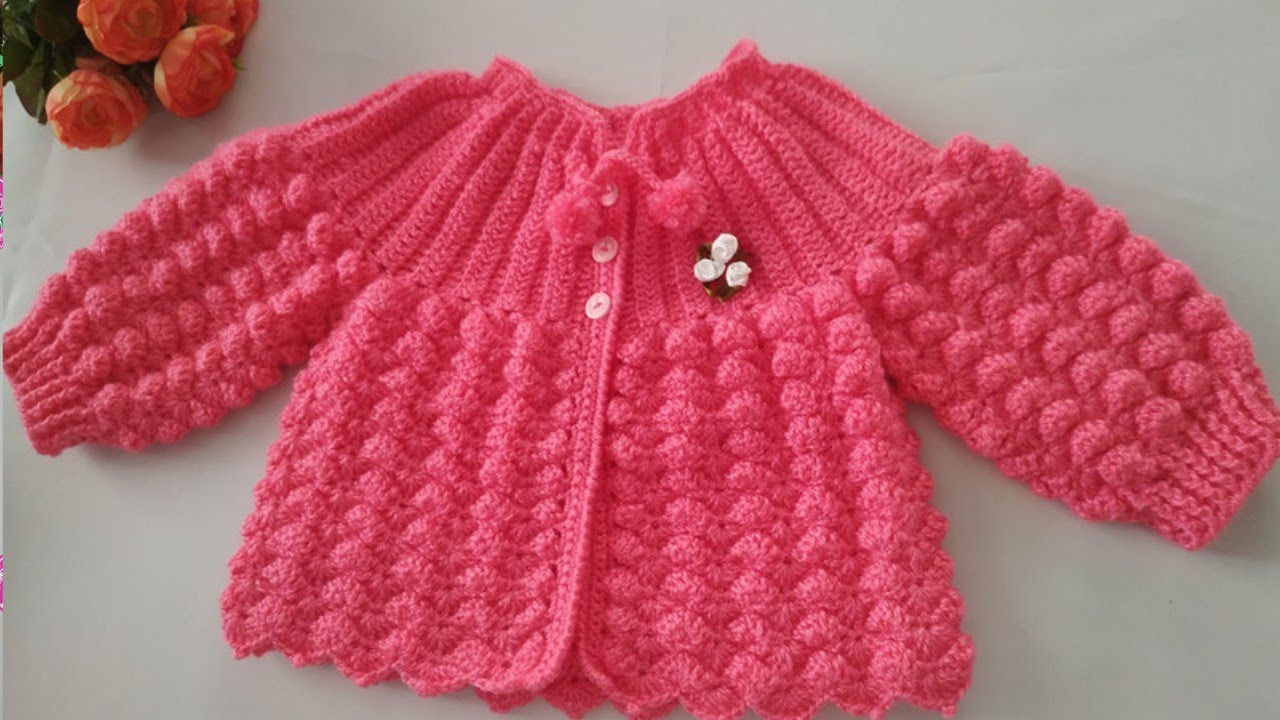
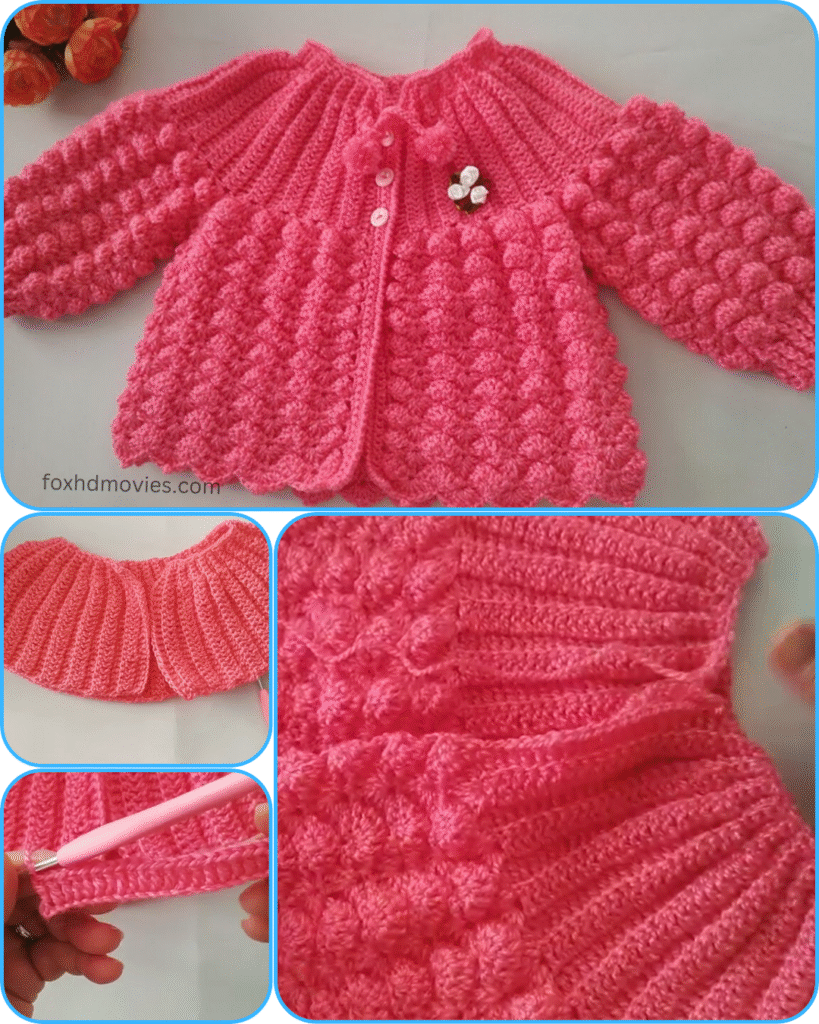
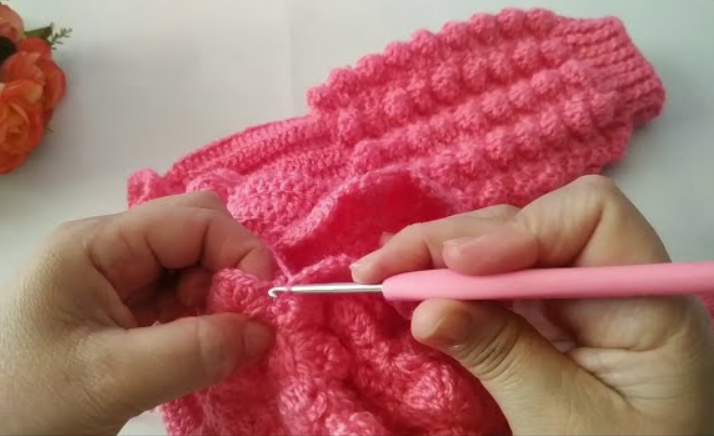
Wrap your little one in warmth and style with this adorable handmade crochet cardigan! Featuring a beautiful textured stitch throughout the body and sleeves, a classic ribbed yoke, and delicate details like the scalloped edge, this cardigan is both cozy and chic. It’s the perfect layering piece for any season!
This pattern is designed for a baby size (approximately 6-12 months), but I’ll include notes on how to adjust it for a larger fit.
Difficulty Level: Intermediate (familiarity with basic crochet stitches, post stitches, and textured stitches)
Materials You’ll Need:
- Yarn:
- DK weight (Category 3) yarn in Main Color (MC – Pink in the example) – approx. 250-300 yards
- Suggestions: A soft, baby-friendly acrylic or a cotton blend for breathability.
- Crochet Hook: 3.5mm (E/4) or size needed to obtain gauge
- Buttons: 2-3 small buttons (approx. 0.5 inch / 1.25 cm diameter)
- Embellishments: Small floral applique or crochet pom-poms (optional, as seen in image)
- Tapestry Needle: For weaving in ends and seaming
- Scissors
- Stitch Markers (highly recommended for marking sections and starting rounds!)
Gauge (worked in DC): 5 DC and 3 rows = 1 inch (2.5 cm) Always check your gauge! Adjust hook size if necessary to achieve the correct sizing.
Abbreviations (US Crochet Terms):
- ch: chain
- sl st: slip stitch
- sc: single crochet
- hdc: half double crochet
- dc: double crochet
- tr: treble crochet
- inc: increase (2 stitches in the same stitch)
- sk: skip
- sp: space
- st(s): stitch(es)
- rep: repeat
- RS: right side
- WS: wrong side
- MC: Main Color
- fpdc: front post double crochet
- bpdc: back post double crochet
Special Stitch: Bubble/Puff Stitch
The textured stitch in the cardigan looks like a variation of a bubble or puff stitch. Here’s a common way to make it:
4-DC Puff (4-DCP): Yarn over, insert hook into stitch, yarn over, pull up a loop, yarn over, pull through 2 loops (2 loops on hook). Yarn over, insert hook into same stitch, yarn over, pull up a loop, yarn over, pull through 2 loops. Repeat from * 2 more times (5 loops on hook). Yarn over, pull through all 5 loops on hook.
To create the textured rows: You will typically work a row of DC, then a row with (DC, 4-DCP) repeated, then another row of DC. This pushes the puff to the right side of the work.
Pattern Instructions
This cardigan is worked from the top down, starting with the ribbed yoke, then transitioning to the main body and sleeves.
Part 1: The Yoke (Top Down – MC)
The yoke is worked in rows, from the neck opening down, with increases to create the round shape.
- Ch 60. (Adjust initial chain for desired neck opening, ensuring it’s a multiple of 6 + 2 for the pattern repeat).
- Row 1 (RS): Sc in 2nd ch from hook and in each ch across. (59 sc) Turn.
- Row 2 (Ribbing Setup): Ch 2 (counts as hdc), hdc in each st across. Turn.
- Row 3 (Ribbing & Increases): Ch 2, fpdc around next st, bpdc around next st. Repeat from * until 1 st remains, hdc in last st. (You’re creating a ribbed pattern, alternating front post and back post stitches). Turn.
- Self-correction: The image shows a very distinct “fan” or “shell” type increase for the yoke. Let’s adjust the yoke to reflect that. It looks like a shell stitch is used to create the increases.
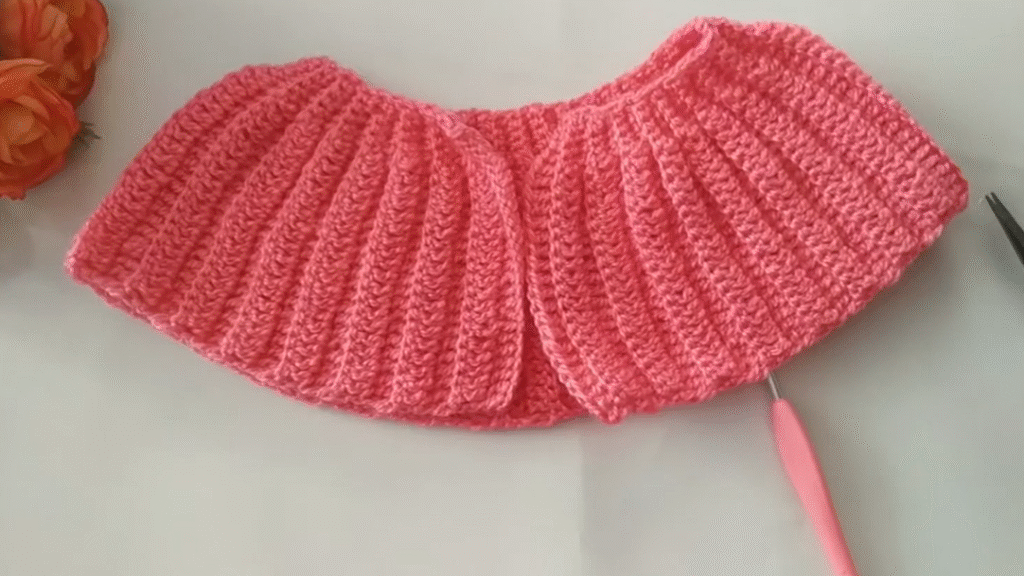
Revised Yoke Construction (Closer to image):
- Ch 58. (This will be the neck opening. Adjust initial chain for desired neck opening size. You want a flexible number of stitches for the 4 sections of the yoke).
- Row 1 (RS): Dc in 4th ch from hook (counts as 1st dc) and in next 8 ch (9 dc). (Dc, ch 2, dc) in next ch (corner 1). Dc in next 10 ch (10 dc). (Dc, ch 2, dc) in next ch (corner 2). Dc in next 16 ch (16 dc). (Dc, ch 2, dc) in next ch (corner 3). Dc in next 10 ch (10 dc). (Dc, ch 2, dc) in next ch (corner 4). Dc in last 9 ch (9 dc). Turn. (Total 54 dc + 4 ch-2 spaces).
- Row 2 (WS): Ch 3 (counts as 1st dc), dc in each dc to first ch-2 sp. (Dc, ch 2, dc) in ch-2 sp. Repeat from * 3 more times for remaining corners. Dc in each remaining dc to end of row. Turn.
- Repeat Row 2 for 3-4 more rows (or until yoke measures approx. 4-5 inches from neck edge, and fits across the upper back/shoulders). You will have 5-6 rows total for the yoke. The stitch count between corners will increase by 2 dc each row.
Part 2: Separating Body and Sleeves
- Next Row (RS): Ch 3 (counts as 1st dc), dc in each dc until first ch-2 sp. Dc in ch-2 sp. Skip all stitches between this ch-2 sp and the next ch-2 sp (this forms the first armhole). Dc in next ch-2 sp. Dc in each dc until next ch-2 sp. Dc in ch-2 sp. Skip all stitches between this ch-2 sp and the next ch-2 sp (this forms the second armhole). Dc in next ch-2 sp. Dc in each remaining dc to end of row. Turn.
- You’ve now connected the front and back sections, creating the armholes. This forms the main body stitches.
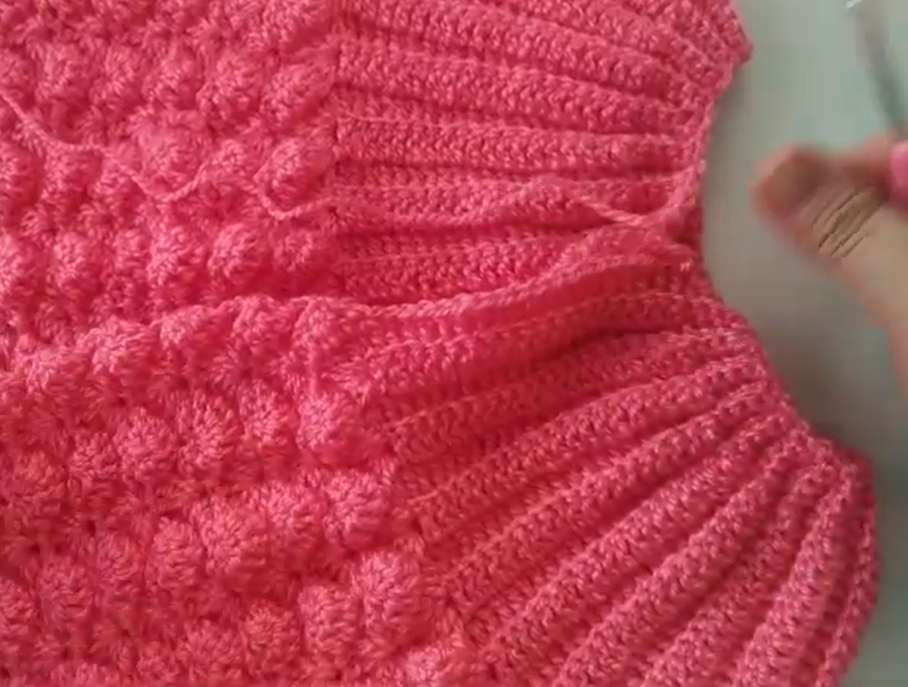
Part 3: Main Body (MC)
The body is worked in rows, back and forth, to maintain the front opening.
- Row 1 (RS – Textured Stitch Setup): Ch 3 (counts as 1st dc), dc in each dc across. Turn.
- Row 2 (Textured Row – Puffs): Ch 3 (counts as 1st dc), sk 1 st, 4-DCP in next st, dc in next st, sk 1 st. Repeat from * across, ending with dc in last st. (Ensure your puff stitches pop out on the RS). Turn.
- Row 3: Ch 3 (counts as 1st dc), dc in each st and on top of each puff st across. Turn.
- Repeat Rows 2 and 3 until the body measures the desired length, approximately 6-8 inches from the armpit, or until desired length. End on a Row 3 repeat.
Bottom Edging (Scallop – MC):
- Next Row (RS): Ch 1, (sc in next st, skip 1 st, 5 dc in next st, skip 1 st). Repeat from * across, adjusting the last repeat if necessary to meet the end of the row smoothly.
- Fasten off.
Part 4: Sleeves (Make 2 – MC)
Sleeves are worked in the round, joining at the armpit.
- Attach MC yarn to the center of an armpit.
- Round 1: Ch 3 (counts as 1st dc), dc evenly around the armhole opening, placing 1 dc for each dc and 2 dc in the corner ch-2 sps where the armhole was skipped. Sl st to join to top of ch 3. (Ensure you have an even number of stitches).
- Round 2 (Textured Row): Ch 3 (counts as 1st dc), sk 1 st, 4-DCP in next st, dc in next st, sk 1 st. Repeat from * around, adjusting the last repeat if necessary. Sl st to join.
- Round 3: Ch 3 (counts as 1st dc), dc in each st and on top of each puff st around. Sl st to join.
- Repeat Rounds 2 and 3 until the sleeve reaches the desired length before the cuff (approx. 5-6 inches from armpit).
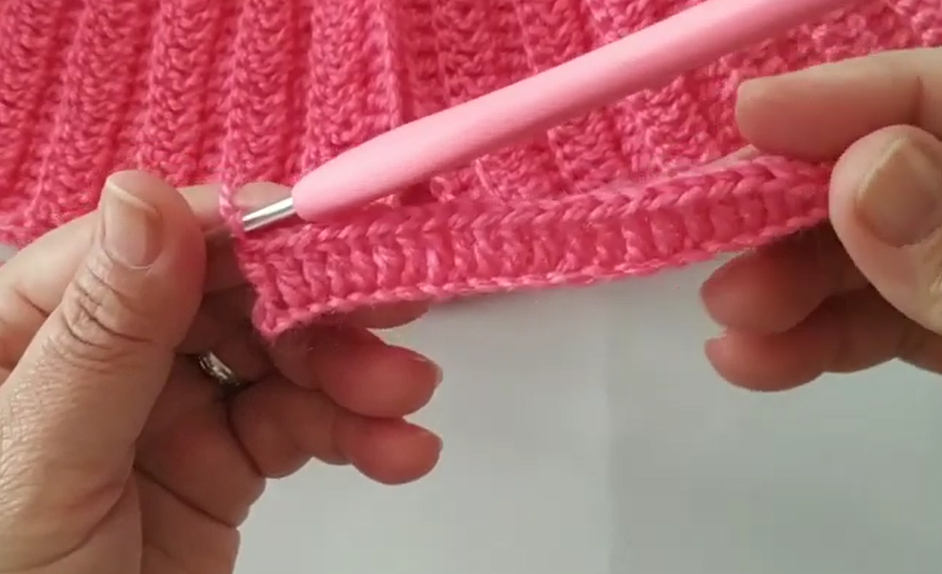
Cuff (Ribbing):
- Next Round (Decrease if needed): Ch 2 (counts as hdc), hdc2tog, hdc in each st around, decreasing evenly a few stitches if necessary to bring the cuff in. Sl st to join.
- Next Round (Ribbing): Ch 2, fpdc around next st, bpdc around next st. Repeat from * around. Sl st to join.
- Repeat Ribbing Round 1-2 more times for desired cuff length.
- Fasten off. Repeat for the second sleeve.

Part 5: Finishing Touches
- Button Bands & Neckline Edging:
- Along one front opening edge (RS facing): Attach MC yarn, Ch 1, sc evenly along the entire length of the opening, up around the neckline (working into the stitches of the starting chain of the yoke), and down the other front opening edge. Turn.
- Next Row: Ch 1, sc in each sc across. Turn.
- Buttonhole Row (on one side, for example the right side if wearing): Ch 1, sc in first few sts, (ch 2, sk 2 sts – buttonhole), sc in next few sts. Repeat for 2-3 buttonholes evenly spaced. Sc to end. Turn.
- Last Row: Ch 1, sc in each st and in each ch-2 sp across. Fasten off.
- Weave in all loose ends with your tapestry needle.
- Sew buttons onto the buttonhole-less front band, aligning them with the buttonholes.
- Optional: Create small crochet pom-poms or sew on a floral applique for embellishment, as seen in the image.
- Block your cardigan gently to shape and set the stitches.
Video tutorial
Sizing Adjustments:
- For a larger size:
- Yoke: Increase your initial chain and work more rows for the yoke before separating armholes. Ensure your increases at the corners (ch-2 spaces) are consistent.
- Body & Sleeves: Simply work more rows for the body and sleeves to achieve the desired length.
- Armholes/Cuff: If the initial stitch count for the armhole or cuff is too tight, you can add a few extra stitches evenly around in the first round of the sleeve/cuff.
- Gauge: If you’re using a thicker yarn, adjust your hook size accordingly.
This textured cardigan is a beautiful and practical addition to any baby’s wardrobe. Enjoy the process of creating this lovely handmade piece! Don’t forget to share your finished projects – I love seeing your beautiful work! Happy crocheting!