 by
by 
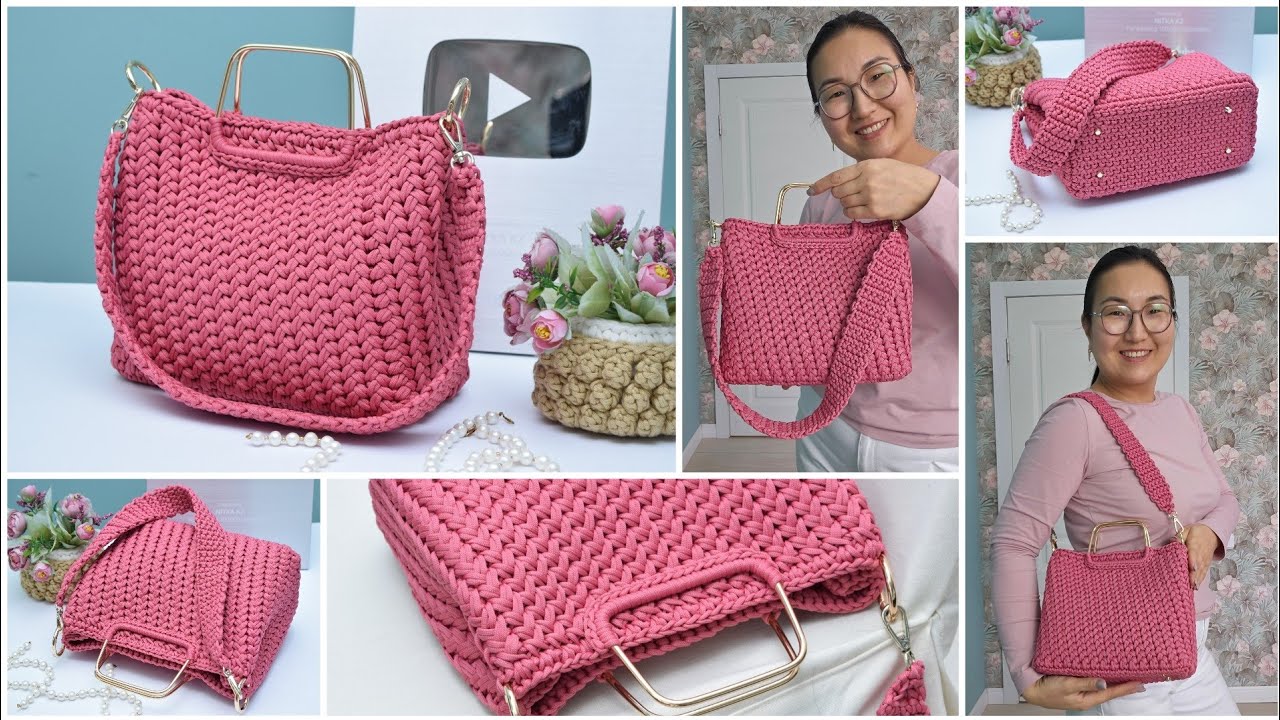
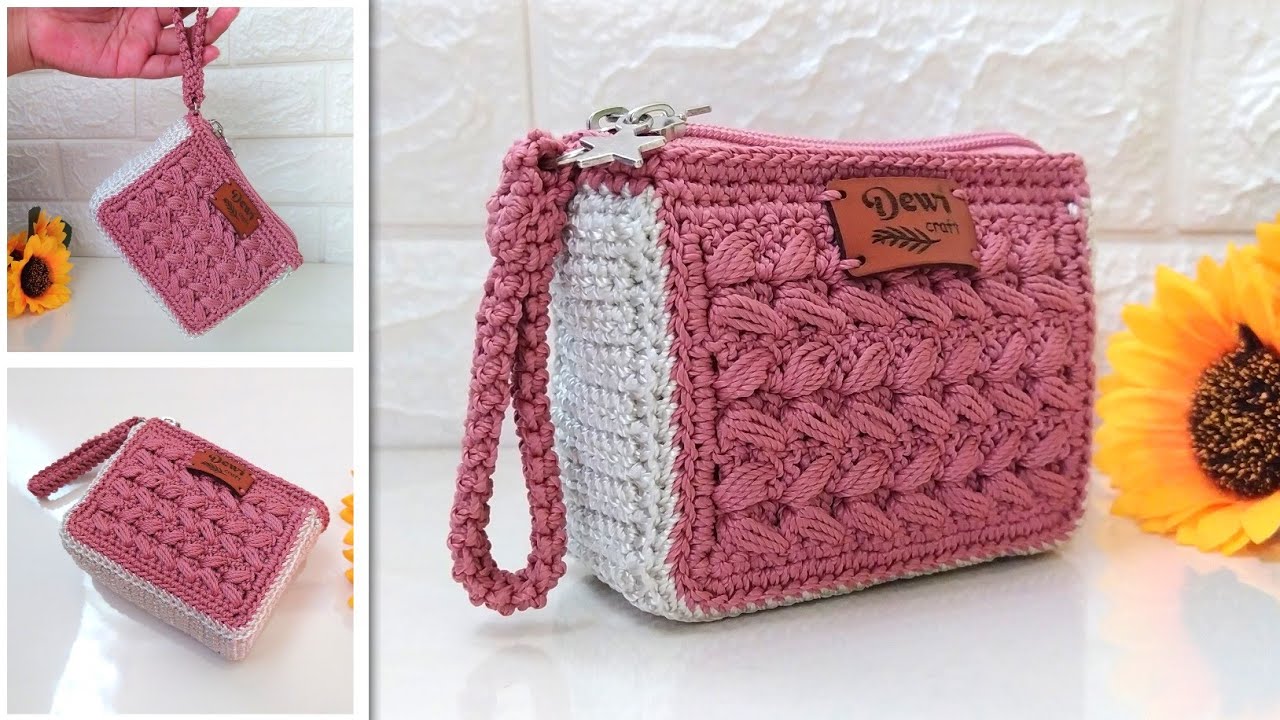
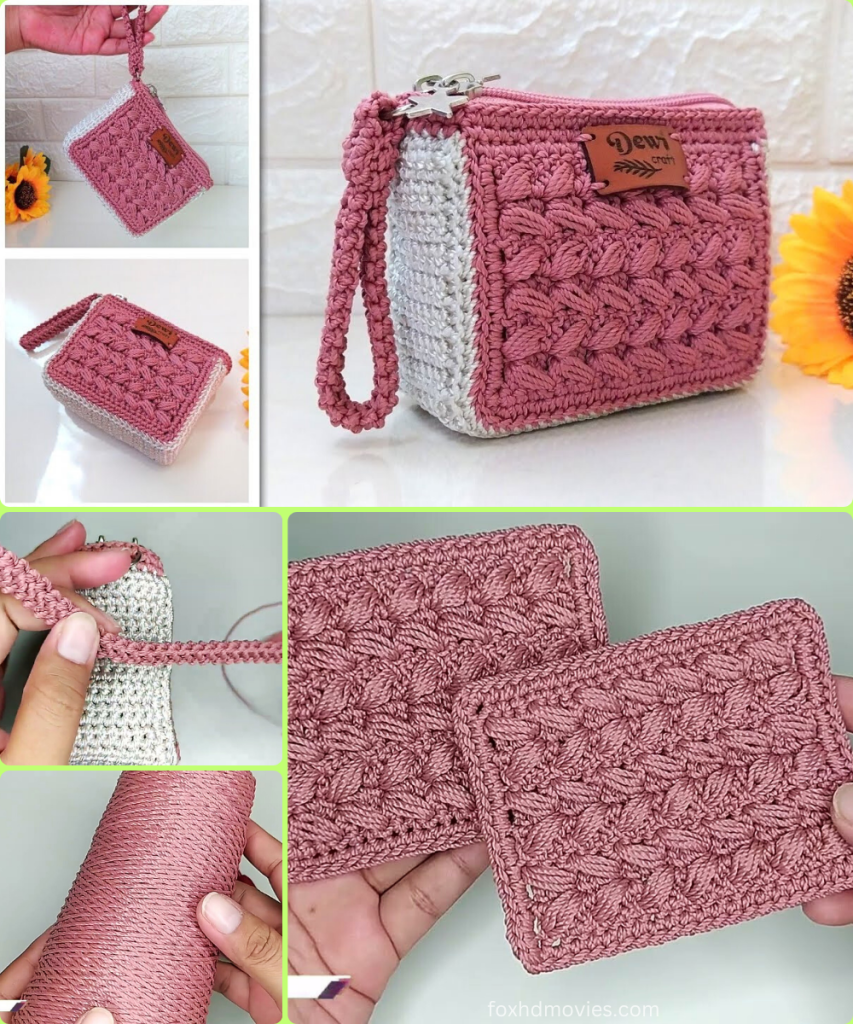
Create your own chic and practical mini wallet with this fantastic crochet pattern! Inspired by a detailed tutorial, this design guides you through crafting a compact yet spacious accessory, perfect for keeping your cards, cash, and small essentials organized. The pattern uses a combination of single and double crochet stitches to create a sturdy, durable fabric.
Skill Level: Intermediate
Finished Size (Approximate):
- Approximately 5.5 inches (14 cm) long x 3.5 inches (9 cm) high (when closed)
- Size can vary based on yarn, hook, and tension.
Materials You’ll Need:
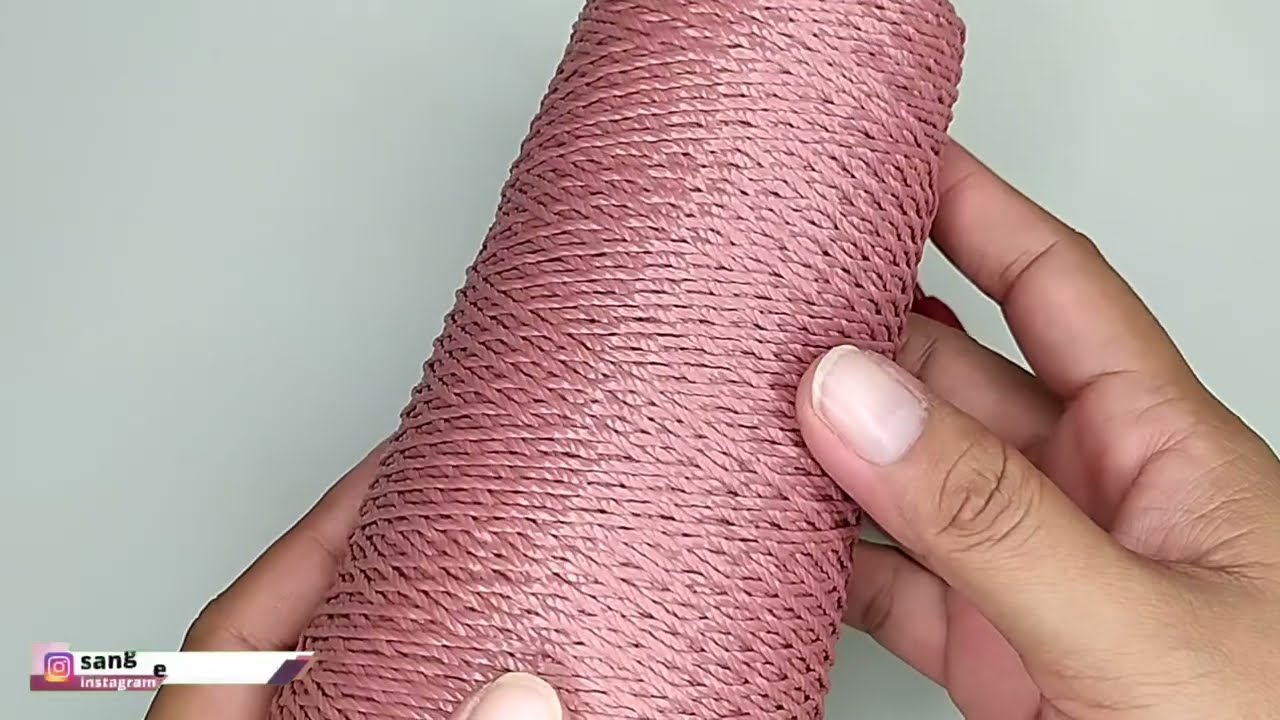
- Yarn: Approximately 80 grams of yarn. The video specifies nylon thread, but you can also use other durable yarns like:
- Cotton/Polyester Blend: For a sturdy, structured finish.
- Fingering/Sock Weight Yarn: Use two strands held together for added durability.
- A smooth, firm yarn is best for a wallet to prevent stretching.
- Crochet Hook: 4.0 mm (G/6) crochet hook.
- Choose a hook size that creates a very firm, dense fabric with no gaps. This is crucial for a durable wallet.
- Tapestry Needle: For weaving in ends and seaming.
- Scissors
- D-Ring: One 1.5 cm (approx. 0.6 inches) D-ring for a strap.
- Stitch Marker (Optional): To mark the beginning of rows or specific stitches.
- Zipper & Fabric (Optional): For a separate lining and zipper closure, as mentioned in the video.
Gauge (Crucial for Wallet Structure!):
Achieving a very firm, dense fabric is crucial for this wallet to hold its shape and be durable. Work a swatch to ensure your stitches are tight with no visible gaps. If your fabric is too loose, go down a hook size.
Abbreviations (US Crochet Terms):
- ch: chain
- sl st: slip stitch
- sc: single crochet
- dc: double crochet
- st(s): stitch(es)
- FO: Fasten off
Let’s Crochet Your Stylish Mini Wallet!
This wallet is constructed by creating two main body panels and a side panel, which are then joined together.
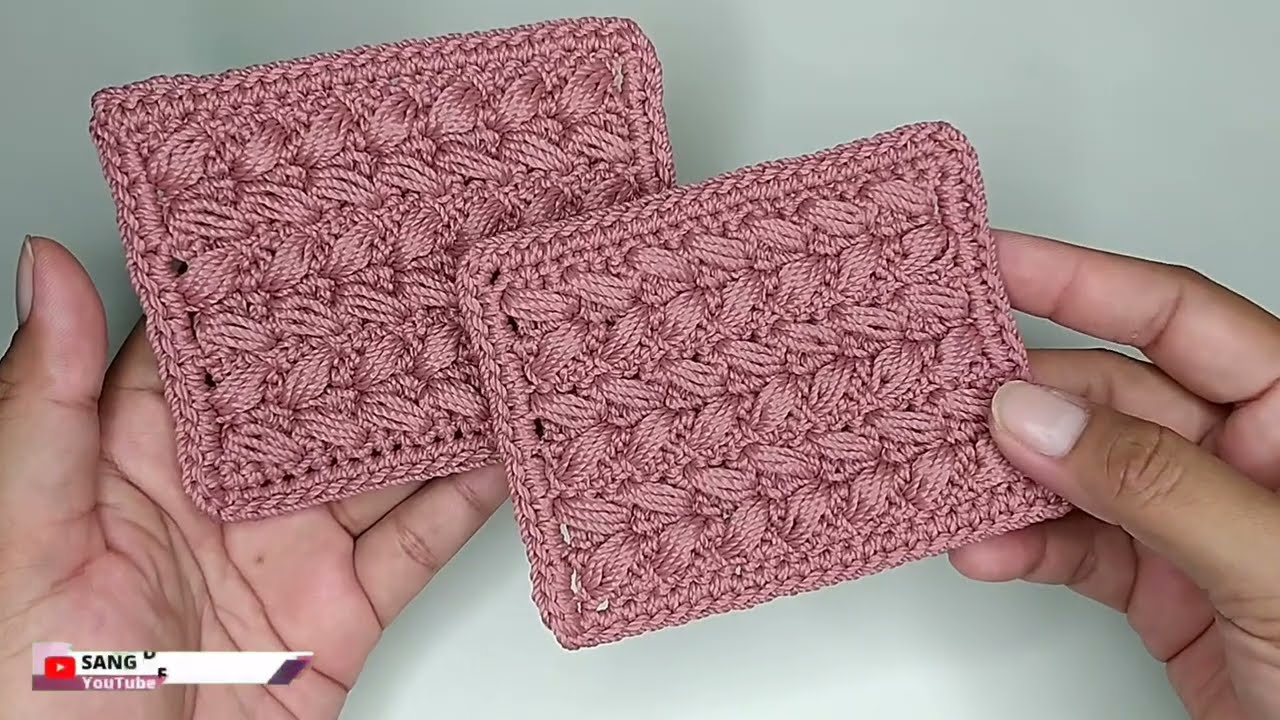
Part 1: The Main Wallet Panels (Make 2 – Main Yarn Color)
These two panels form the front and back of your wallet.
- Ch 24. (Adjust this chain length for a wider or narrower wallet).
- Row 1: Sc in 2nd ch from hook and in each ch across. Ch 1, turn. (23 sc)
- Row 2: Dc in first st. Sc in next st. Dc in next st, sc in next st. Repeat from * to * across. Ch 1, turn. (23 sts)
- This creates a textured, alternating stitch pattern. The last stitch will be a dc. You can also alternate the last stitch to sc for a cleaner edge.
- Row 3: Sc in first st. Dc in next st. Sc in next st, dc in next st. Repeat from * to * across. Ch 1, turn. (23 sts)
- This continues the alternating stitch pattern.
- Rows 4 – 20 (or until desired length): Repeat Rows 2 and 3 until each panel measures approximately 4 inches (10 cm) in length and 3.25 inches (8 cm) in height.
- The video specifies 10 cm x 8 cm for each panel.
FO, leaving a very long tail on one of the panels for seaming.
Part 2: The Side Panel (Main Yarn Color)
This long, narrow strip forms the sides and bottom of your wallet, giving it depth.
- Ch 10. (Adjust this chain length for a wider or narrower side panel/wallet depth).
- Row 1: Sc in 2nd ch from hook and in each ch across. Ch 1, turn. (9 sc)
- Rows 2 – 60 (or until desired length): Sc in each sc across. Ch 1, turn. (9 sc)
- To determine the correct length, you’ll need to measure the circumference of the three sides of your main wallet panel (the two long sides and the bottom short side). The side panel should be long enough to wrap around these three edges.
FO, leaving a very long tail for seaming.
Part 3: Assembly
- Single Crochet Edging:
- Take both of your main wallet panels and your side panel.
- Using a new piece of yarn, work one round of sc evenly around the entire edge of each piece. This will create a neat, finished edge and make seaming easier.
- Be sure to work 3 sc in each corner to keep the corners from curling.
- Seaming:
- Take your first main wallet panel and your long side panel.
- Using a tapestry needle and the long tail from the side panel, begin to sew them together. Start at one of the top corners and work your way down the side, across the bottom, and up the other side.
- Once the first panel is attached, take your second main wallet panel.
- Using the long tail from the second main panel, sew it to the remaining free edge of the side panel, creating the 3D wallet shape.
- Leave the top opening unseamed.
Part 4: Adding Accessories
- Attach D-Ring:
- Using a new piece of yarn and your tapestry needle, securely sew the D-ring to one of the top corners of the wallet opening. Sew through both sides of the corner to make it very strong.
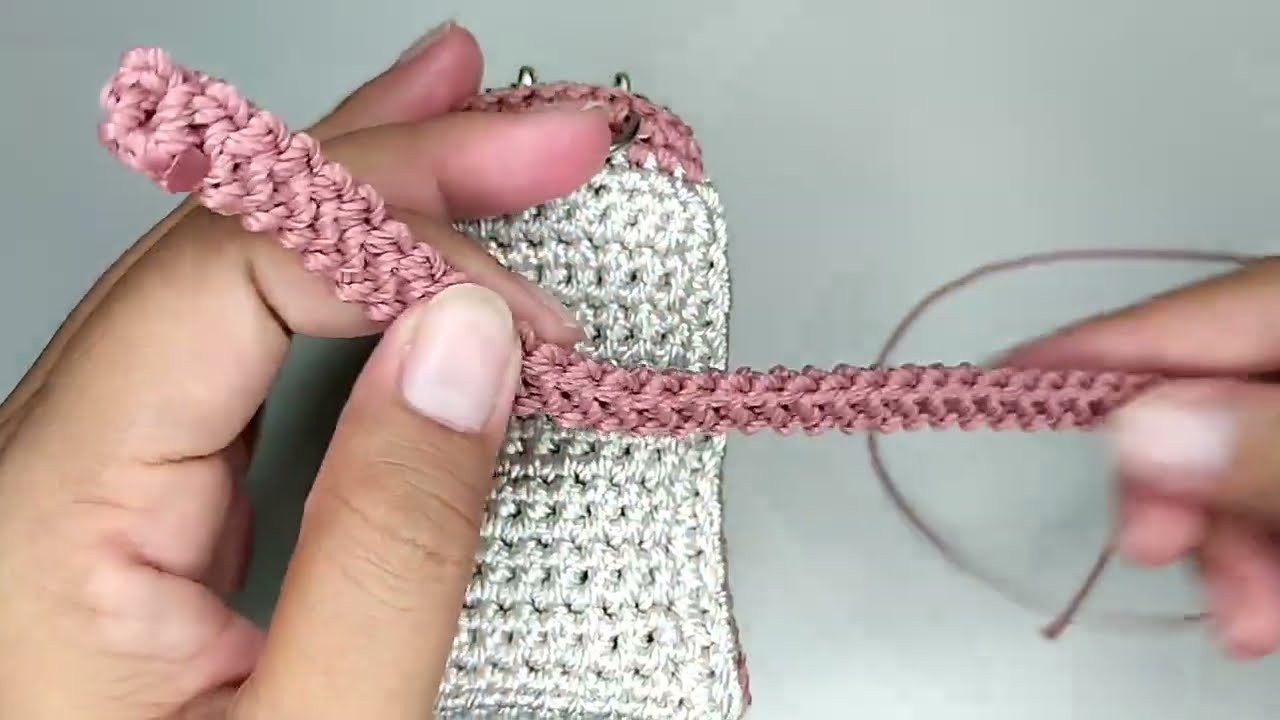
- Create the Strap:
- Ch 21. (This will create a strap approximately 20 cm long).
- Row 1: Sc in 2nd ch from hook and in each ch across. Ch 1, turn. (20 sc)
- Rows 2 – 3: Sc in each sc across. Ch 1, turn. (20 sc)
- FO, leaving a long tail. Use the long tail to sew the strap securely to the D-ring.
- Lining & Zipper (Optional):
- The video mentions a separate tutorial for this. If you wish to add a lining, you can cut fabric to the dimensions of the wallet panels and side panel, sew them together, and then hand-sew the lining into the finished crochet wallet, along with a zipper.
Part 5: Finishing Touches
- Weave in all ends: Use your tapestry needle to neatly weave in any remaining loose yarn tails.
- Shape: Gently shape your wallet, ensuring all seams are neat and the folds are crisp.
Video tutorial
Versatile Uses for Your Crocheted Mini Wallet:
- Everyday Wallet: Perfect for carrying your essential cards, cash, and ID.
- Coin Purse: Ideal for loose change.
- Small Pouch: Use for earbuds, lip balm, or other small items.
- Gift: A thoughtful and impressive handmade gift for friends or family.
Customization & Tips:
- Yarn Choice: Experiment with different colors or striped patterns for the main body or side panel.
- Size Adjustment:
- Larger Wallet: Increase the initial chain count for the main panels and the side panel.
- Smaller Wallet: Decrease the initial chain count for the main panels and the side panel.
- Stitch Variation: While the pattern uses sc and dc, you could experiment with other textured stitches (e.g., puff stitch, shell stitch) for a different look.
- Closure: Add a snap, button, or clasp to the top opening if you don’t want a zipper.
Enjoy crocheting your own beautiful, practical, and unique mini wallet! It’s a fantastic way to create a personalized accessory that’s sure to become a favorite.