 by
by 
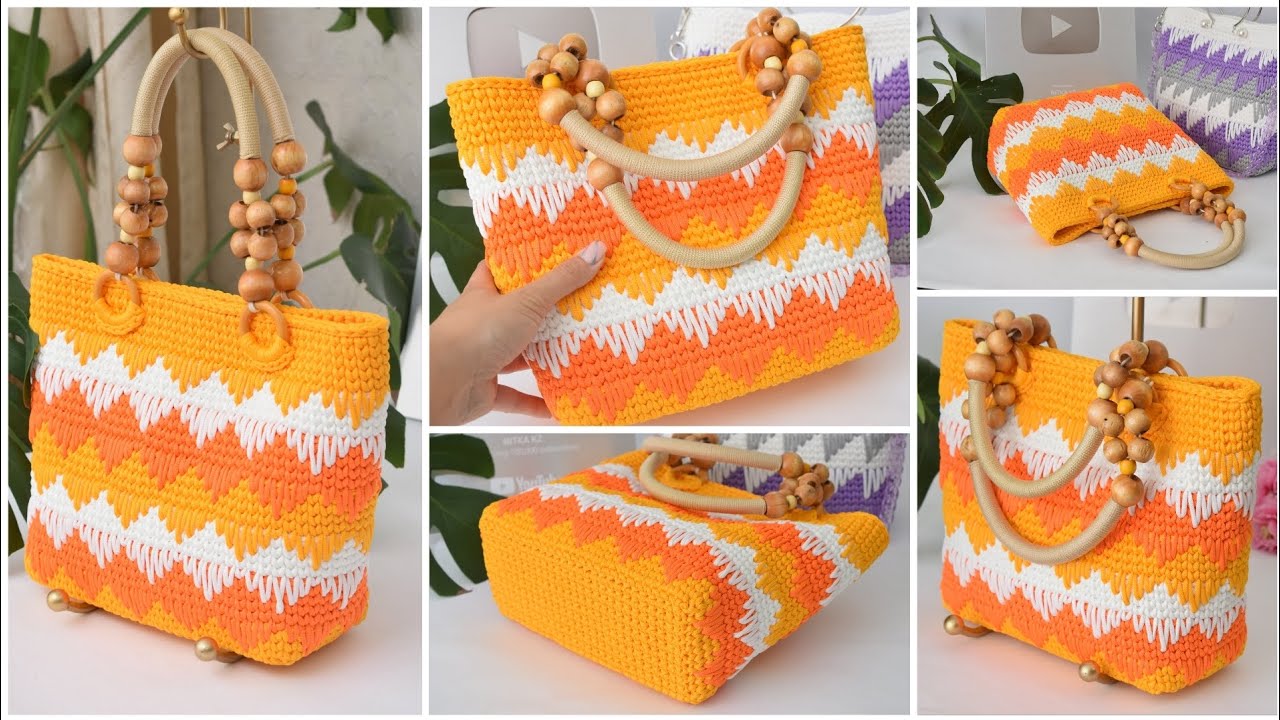
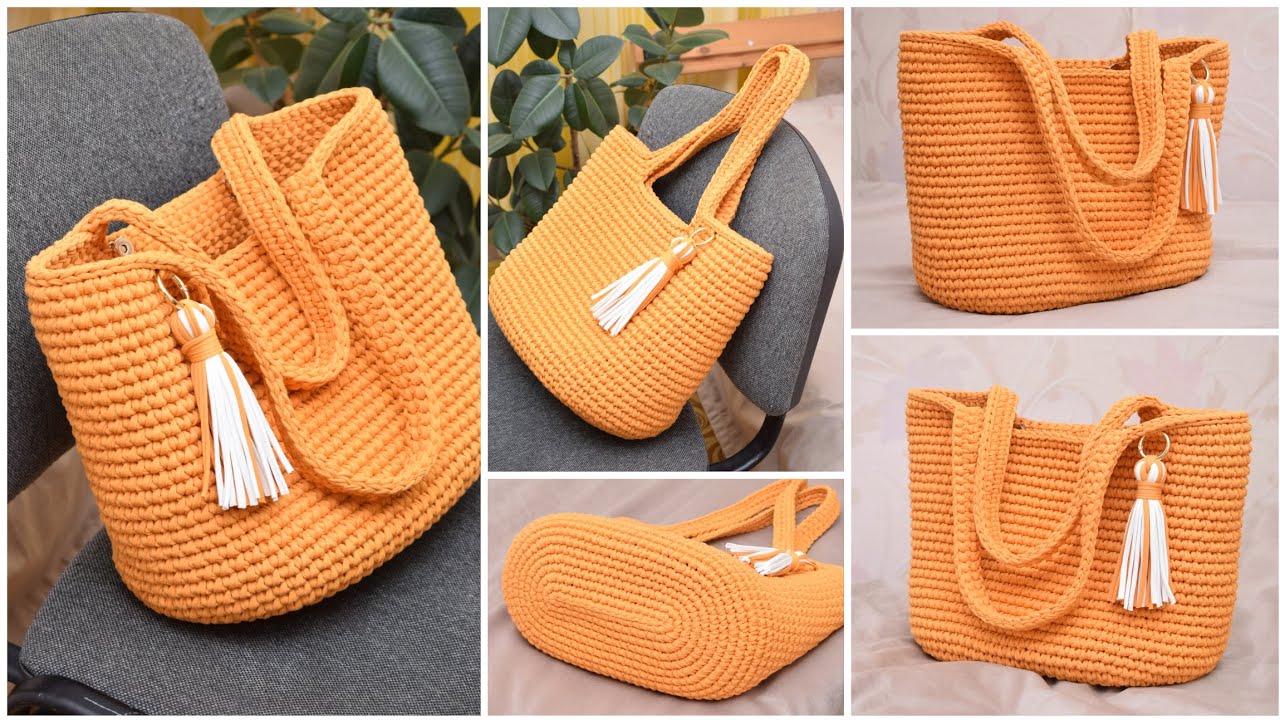
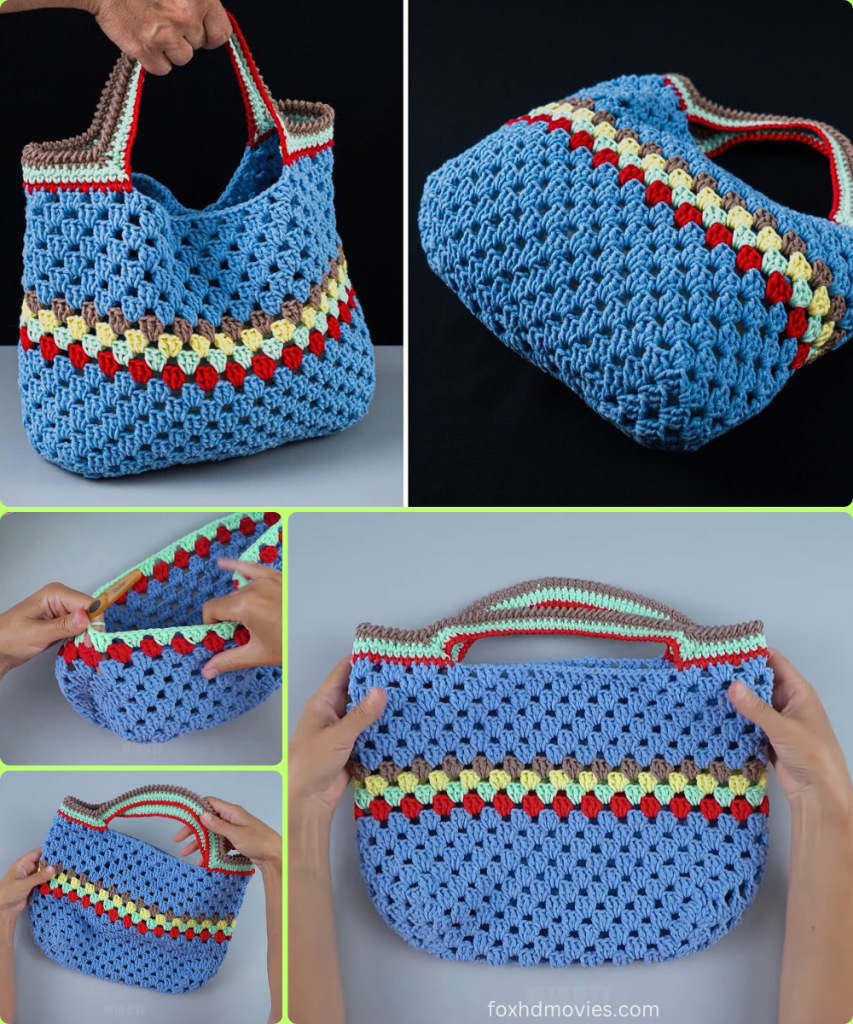
Create your own chic and practical tote bag with this fantastic crochet pattern! Inspired by a detailed, step-by-step tutorial, this design guides you through crafting a spacious and versatile bag featuring eye-catching stripes and sturdy handles. Perfect for groceries, beach trips, or everyday essentials, this tote is a wonderful way to add a handmade touch to your style.
Skill Level: Intermediate (familiarity with basic stitches and color changes recommended)
Finished Size (Approximate):
- Base: Approximately 10-12 inches (25-30 cm) long x 4-5 inches (10-12.5 cm) wide
- Bag Height: Approximately 12-14 inches (30-35 cm)
- Size can vary based on yarn, hook, and tension.
Materials You’ll Need:
- Yarn: Approximately 165g total of DK weight (Light Worsted / 8 ply) yarn. The video specifies 160m – 100g, 80% cotton, 20% polyacryl.
- Color A: For the base and main body stripes (e.g., a neutral color).
- Color B: For contrasting stripes (e.g., a bolder color).
- Color C: For additional contrasting stripes (optional, or use more of Color B).
- Choose yarns that will hold their shape well and are suitable for a bag.
- Crochet Hook: 4.0 mm (G/6) crochet hook.
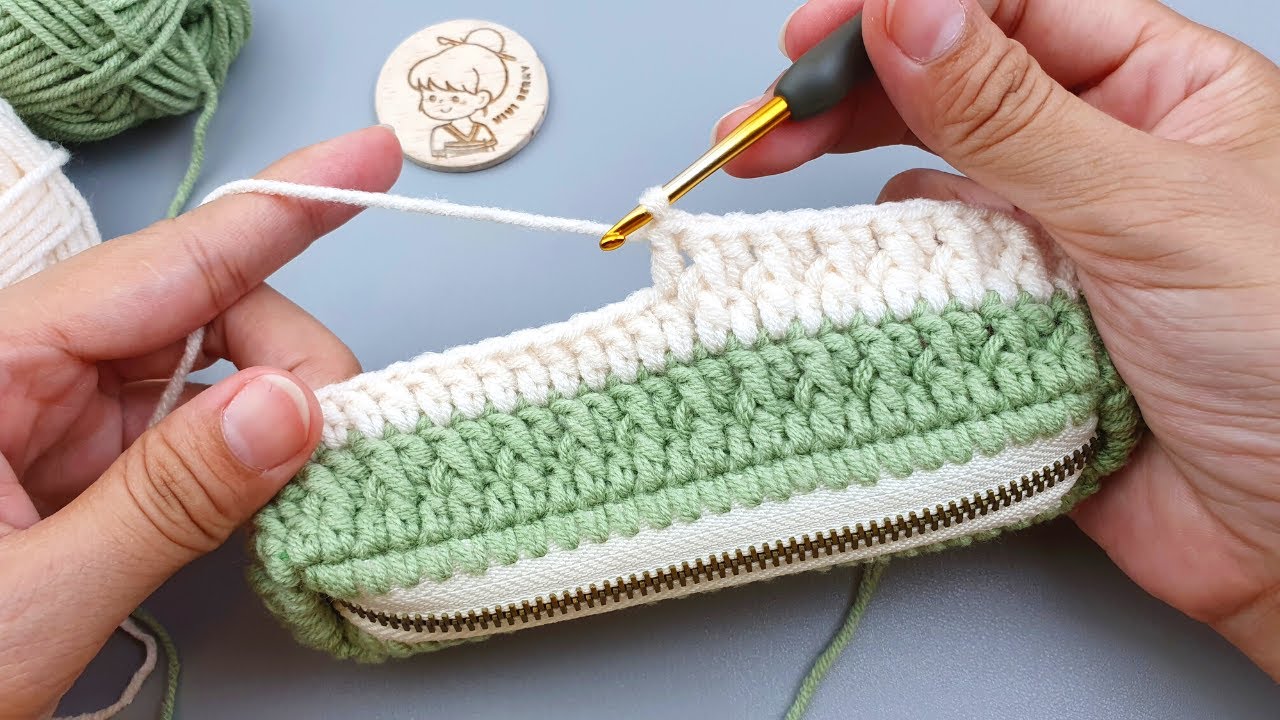
- Choose a hook size that creates a firm, dense fabric with no gaps. This is crucial for a durable tote bag.
- Tapestry Needle: For weaving in ends and seaming (if applicable).
- Scissors
- Stitch Markers (Optional): To mark the beginning of rounds or specific stitches.
Gauge (Crucial for Bag Structure!):
Achieving a firm, dense fabric is crucial for this bag to hold its elegant shape. Work a swatch to ensure your stitches are tight with no visible gaps. If your fabric is too loose, go down a hook size.
Abbreviations (US Crochet Terms):
- ch: chain
- sl st: slip stitch
- sc: single crochet
- dc: double crochet
- st(s): stitch(es)
- FO: Fasten off
- BLO: Back Loop Only
Let’s Crochet Your Stylish Striped Tote Bag!
This tote bag is constructed by first creating an oval base, then working up the sides, incorporating stripes, and finally adding the handles.
Part 1: The Bag Base (Color A)
The base is worked in oval rounds using double crochet stitches.
- Ch 31. (Adjust this chain length for a longer or shorter bag base. For a wider base, you would increase the number of stitches in the increase sections in subsequent rounds).
- Round 1: Dc in 3rd ch from hook (counts as 1st dc). Dc in next 27 ch. 5 dc in last ch.
- Now working on the opposite side of the chain: Dc in next 27 ch. 4 dc in last ch. Join with a sl st to the top of the initial ch 3. (64 dc)
- Round 2: Ch 2 (does not count as a stitch). 2 dc in first st. Dc in next 27 sts. 2 dc in next 5 sts. Dc in next 27 sts. 2 dc in next 4 sts. Join with a sl st to the top of the initial ch 2. (74 dc)
- Round 3: Ch 2. Dc in first st. 2 dc in next st. Dc in next 27 sts. (Dc in next st, 2 dc in next st) repeated 5 times. Dc in next 27 sts. (Dc in next st, 2 dc in next st) repeated 4 times. Join with a sl st to the top of the initial ch 2. (84 dc)
- Continue increasing in this manner for a few more rounds if you desire a wider base, ensuring your increases are at the ends of the oval to maintain the shape. The video shows a base that is approximately 10-12 inches long and 4-5 inches wide.
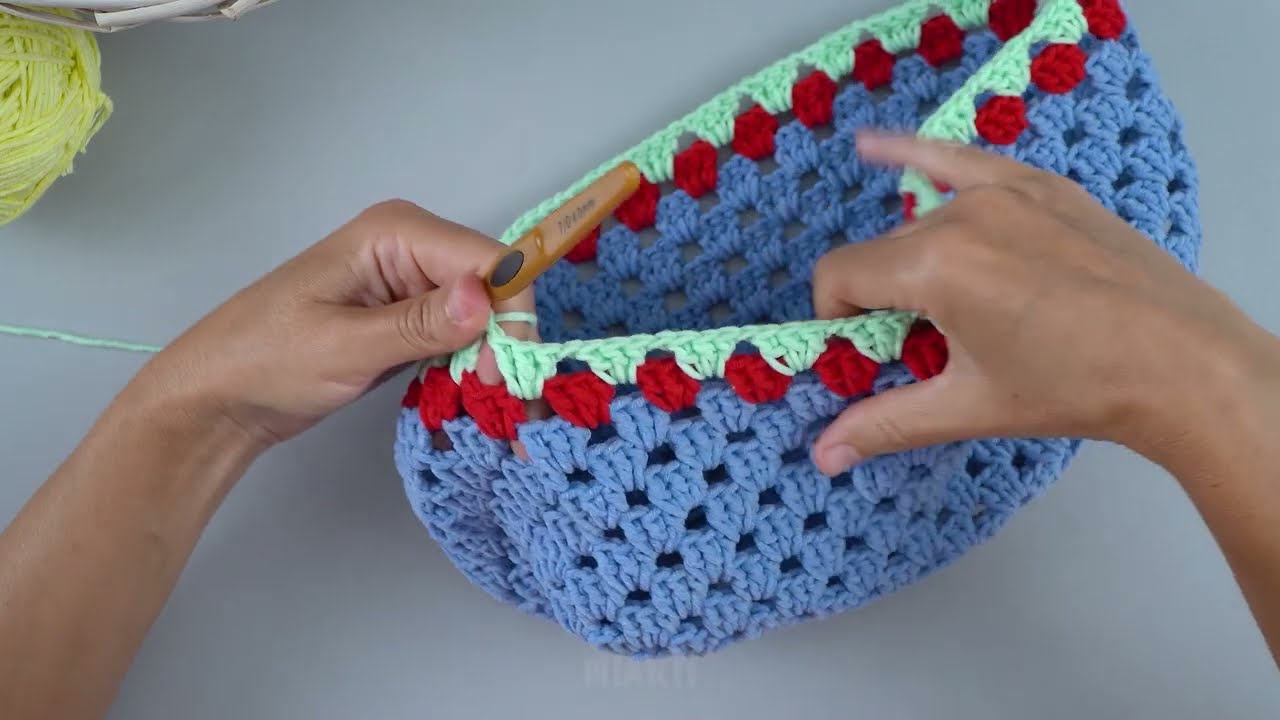
Part 2: Bag Body – Sides & Stripes
Now, we will work up the sides of the bag, incorporating color changes for the striped design.
- Transition Round (Color A): Ch 2 (does not count as a stitch). Work 1 dc in each dc around, working in the Back Loop Only (BLO) for this round. Join with a sl st to the top of the initial ch 2.
- Working in BLO for this round creates a defined edge between the base and the sides of the bag, helping it stand up.
- Body Rounds (Color A): Ch 2. Dc in each dc around. Join with a sl st to the top of the initial ch 2.
- Work 3-5 rounds in Color A for your first stripe section.
- Change color on the last yarn over of the last dc in the round before joining.
- Stripe Rounds (Color B): Ch 2. Dc in each dc around. Join with a sl st to the top of the initial ch 2.
- Work 2-3 rounds in Color B for your contrasting stripe.
- Change color on the last yarn over of the last dc in the round before joining.
- Continue Stripes: Alternate between Color A and Color B (or introduce Color C) for your desired stripe pattern and bag height.
- The video demonstrates various stitch patterns and color changes. You can follow a simple alternating stripe pattern or create more complex designs with different stitch types (e.g., sc, hdc, or textured stitches) if you’re comfortable.
- Continue working rounds until the bag reaches approximately 12-14 inches in height, or your desired height before adding handles.

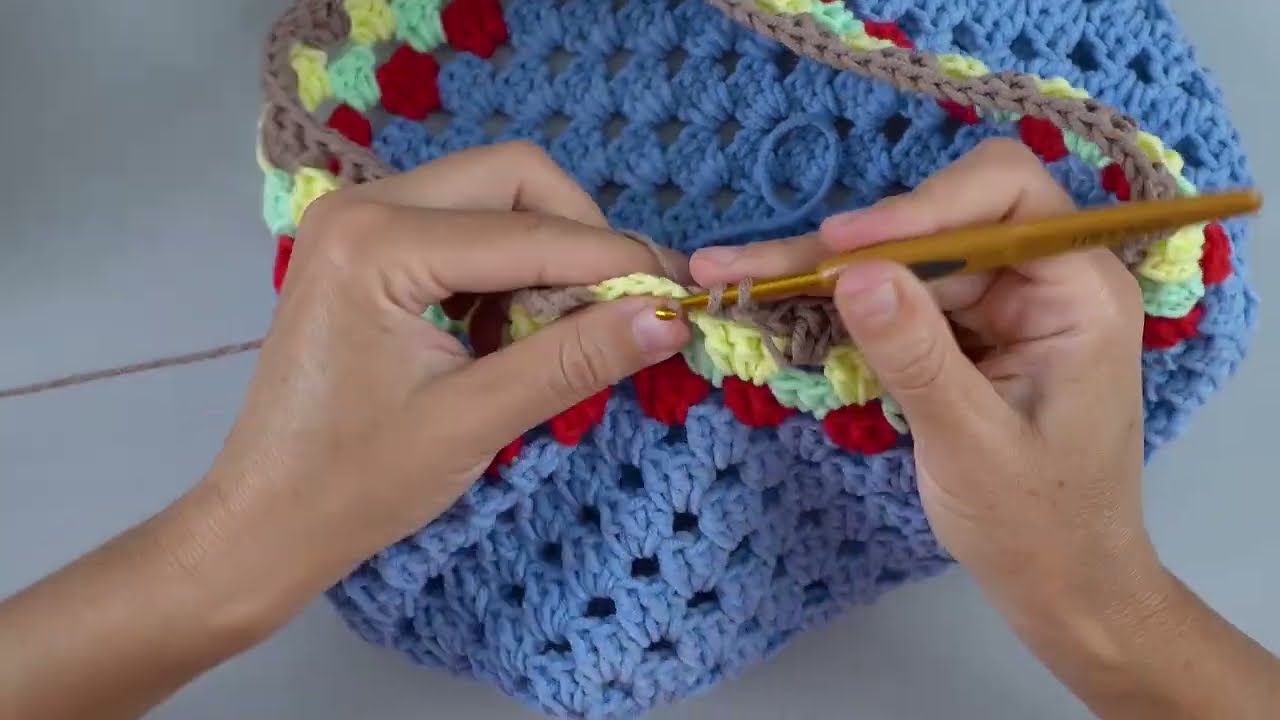
Part 3: Bag Handles (Color A or a contrasting color)
The video shows handles being added directly to the bag.
- Handle Placement: Determine the placement of your handles. They should be evenly spaced on the front and back of the bag. Use stitch markers to mark the start and end points of where your handles will attach.
- For example, if your bag has 84 stitches around, you might place markers at stitch 1, 20, 43, and 62, leaving 19 stitches for each handle opening and 22 stitches for the front/back panels.
- Handle Round: Ch 2 (does not count as a stitch).
- Dc in each stitch until you reach your first handle marker.
- Ch 50-60 (or desired length for your handle). Skip the stitches between your first and second handle markers.
- Dc in each stitch until you reach your third handle marker.
- Ch 50-60 (or desired length for your handle). Skip the stitches between your third and fourth handle markers.
- Dc in remaining stitches. Join with a sl st to the top of the initial ch 2.
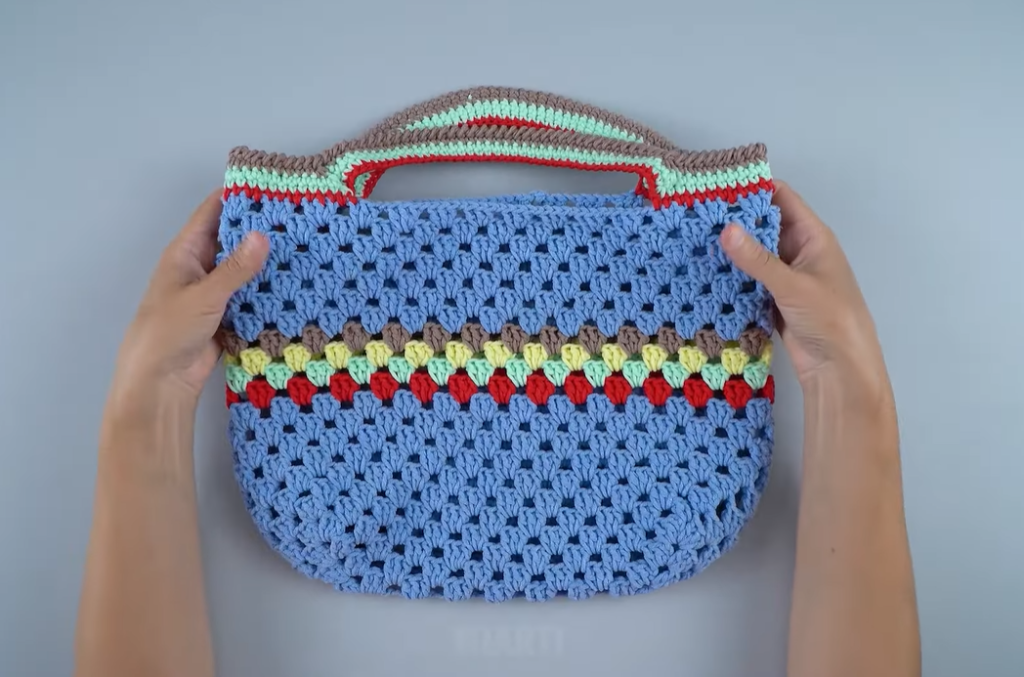
- This round creates the openings for your handles and the chain loops that will form the handles themselves.
- Handle Finishing Round: Ch 1. Sc in each dc around the bag. When you reach the chain spaces for the handles, work sc stitches evenly around the chain (e.g., 50-60 sc around the ch-50 space). Continue sc around the rest of the bag. Join with a sl st to the first sc.
- This round reinforces the handles and creates a neat top edge for the bag.
FO, leaving a long tail for weaving in.
Part 4: Finishing Touches
- Weave in all ends: Use your tapestry needle to neatly weave in any remaining loose yarn tails. This is especially important for color changes to ensure a clean finish.
- Shape: Gently shape your tote bag, ensuring the base is flat and the sides stand upright.
Video tutorial
Versatile Uses for Your Stylish Striped Tote Bag:
- Everyday Carryall: Spacious enough for your essentials, a small laptop, or a tablet.
- Shopping Bag: A reusable and stylish alternative for groceries or market trips.
- Beach Bag: Perfect for towels, sunscreen, and beach reads.
- Project Bag: A wonderful way to carry your current crochet or knitting project.
- Gift: A thoughtful and impressive handmade gift.
Customization & Tips:
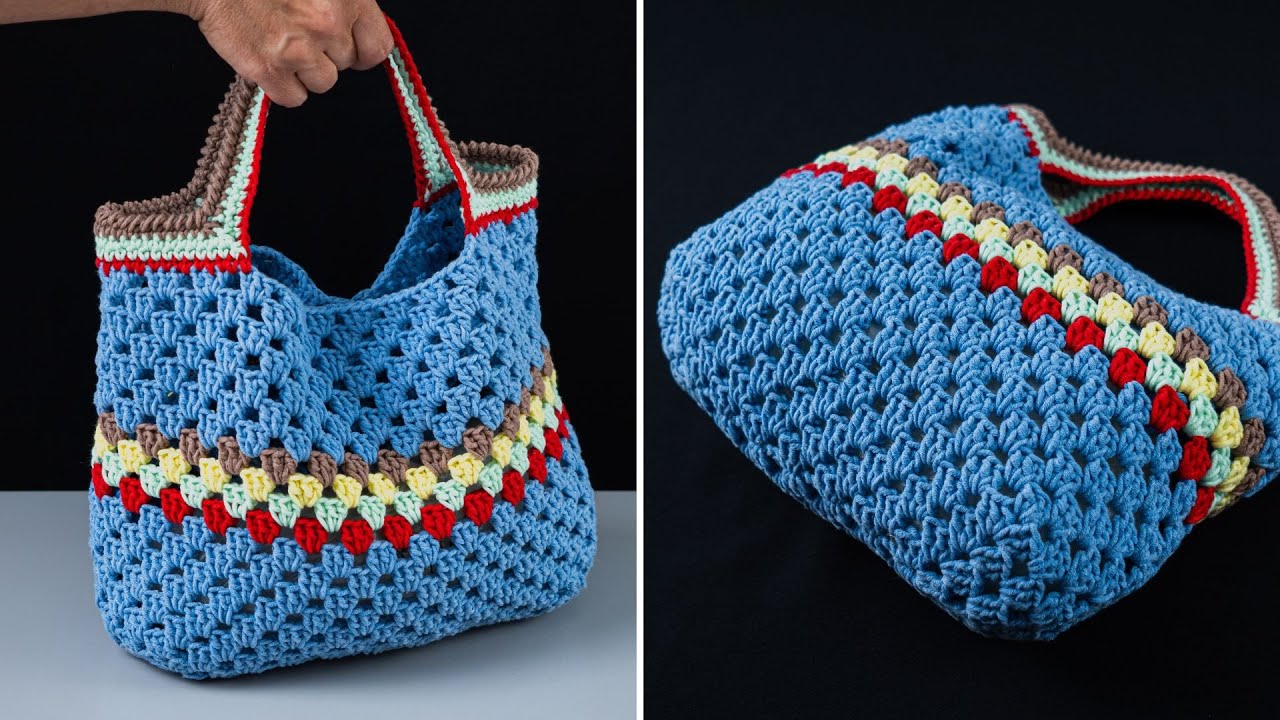
- Color Combinations: Experiment with different color palettes for your stripes. Ombre effects, bold contrasts, or subtle tonal changes can all look fantastic.
- Size Adjustment:
- Larger Tote: Increase the initial chain count for the base and the number of increase rounds. Add more body rounds for height. Increase the chain length for the handles.
- Smaller Tote: Decrease the initial chain count for the base and the number of increase rounds. Reduce the number of body rounds. Decrease the chain length for the handles.
- Stitch Variation: While double crochet creates a lovely drape, you could experiment with single crochet or half double crochet for a denser, stiffer bag, adjusting the number of rounds accordingly.
- Lining (Optional): For extra durability and to prevent small items from slipping through stitches, you can sew a fabric lining inside the bag.
- Closure (Optional): Add a magnetic snap or a button and loop closure to the top opening of the bag if desired.
Enjoy crocheting your own beautiful, practical, and stylish striped tote bag! It’s a fantastic way to create a unique and functional accessory that’s sure to become a favorite.