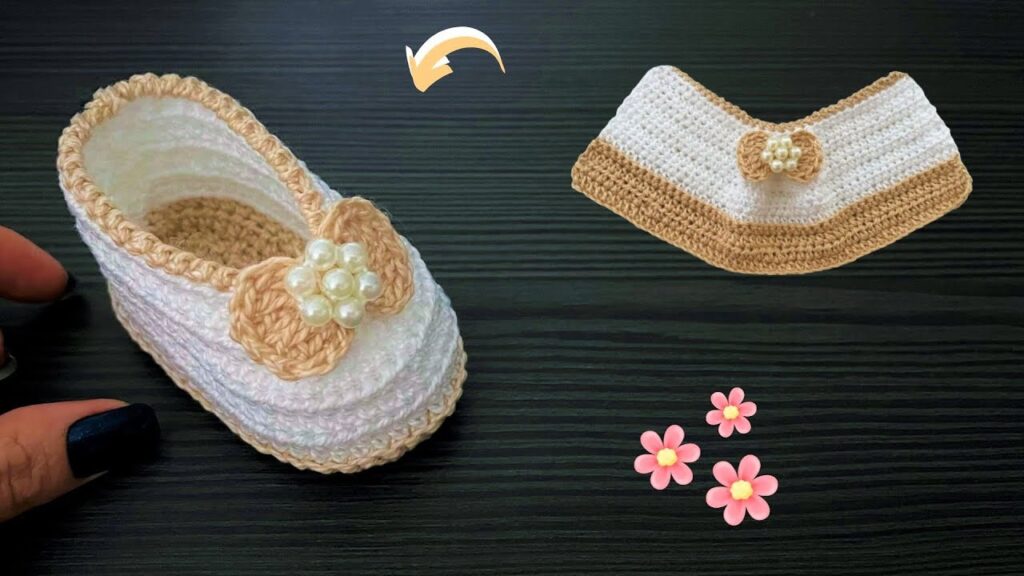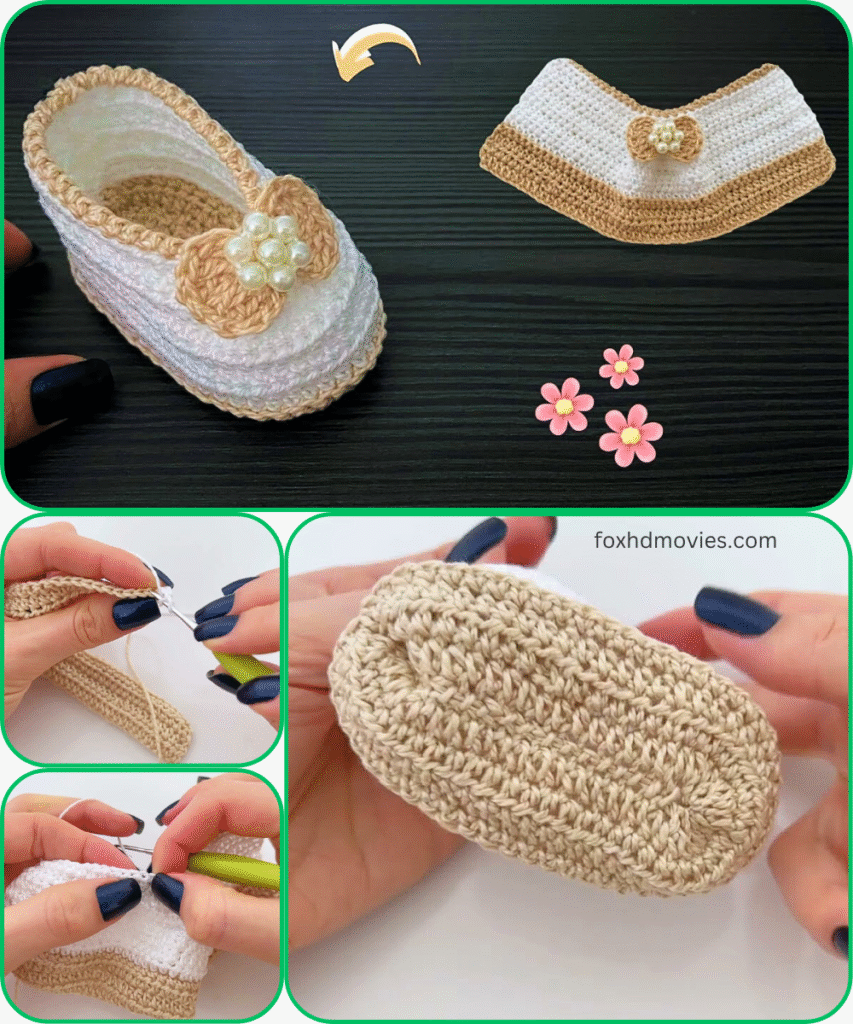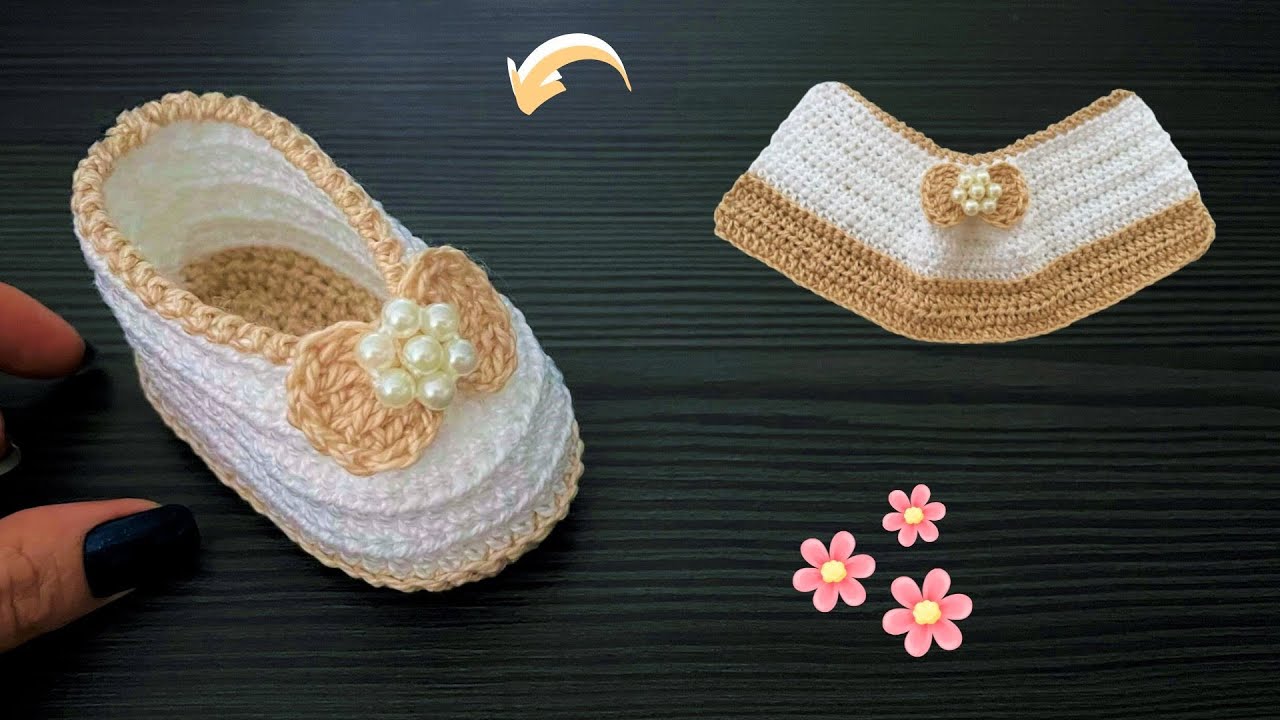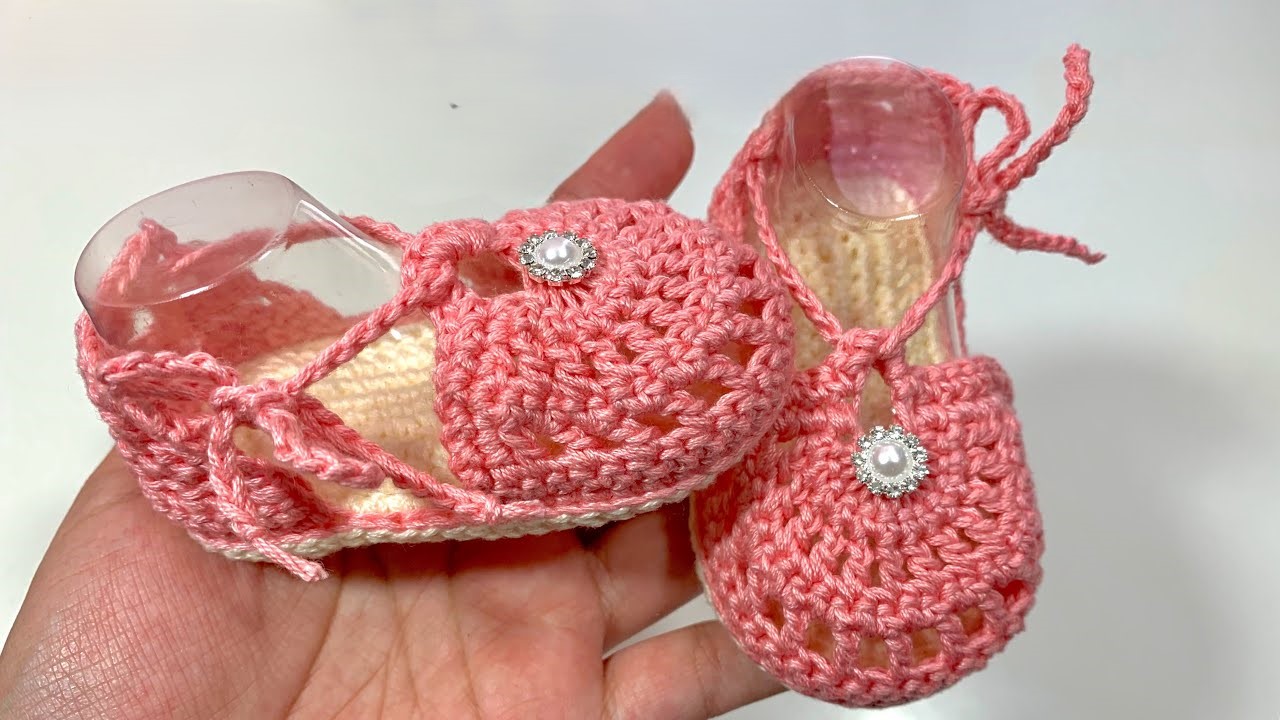
Wrap tiny feet in warmth and handmade charm with these adorable crocheted baby slippers! Featuring a beautiful textured stitch that creates subtle, raised bumps, and adorned with a delightful little bow complete with pearls, these slippers are both stylish and cozy. The clever L-shaped construction makes for a fun and unique project!
This pattern is suitable for intermediate crocheters, or confident beginners who are ready to learn a new textured stitch and a unique construction method.

Yarn:
- DK (Double Knit) or Light Worsted Weight yarn in Red, as pictured. Choose a soft, machine-washable baby-friendly yarn.
Hook:
- 3.5 mm (US E/4) crochet hook (adjust hook size if necessary to achieve desired fabric and tension).
Notions:
- Tapestry needle for seaming and weaving in ends
- Scissors
- 2 small white pearls or beads (for the center of the bow, as pictured).
Gauge (Important for Sizing!):
- For the textured pattern: A 2-stitch repeat (SC, Bobble St) should measure approximately 0.75 inches (2 cm) wide, and 2 rows of the pattern should measure about 0.75 inches (2 cm) tall.
- Always make a small swatch to check your gauge, as it’s crucial for the finished size of the slippers!
Size:
- Newborn to 3 months (approximately 3.75 – 4 inches / 9.5-10 cm sole length when finished).
- To adjust for larger sizes, you will need to increase the starting chain for the initial main body part and add more rows, ensuring the stitch pattern repeats are maintained proportionally.
Abbreviations (US Crochet Terms):
- Ch: Chain
- Sl St: Slip Stitch
- SC: Single Crochet
- HDC: Half Double Crochet
- DC: Double Crochet
- St(s): Stitch(es)
- FO: Fasten Off
- BOB (Bobble Stitch): [Yo, insert hook into st, Yo, pull up a loop, Yo, pull through 2 loops] 4 times in same st (5 loops on hook). Yo, pull through all 5 loops on hook.
Pattern Instructions:
These slippers are made from one continuous L-shaped piece that forms the upper and sides, a separate sole, and a small bow embellishment.

Part 1: The L-Shaped Main Body (Red)
This piece forms the entire upper and sides of the slipper. The pattern is a repeat of SC rows and Bobble Stitch rows.
- Ch 10. (This will be the width of the shorter “toe” arm of the L-shape.)
- Row 1 (RS): SC in 2nd Ch from hook. SC in each Ch across. (9 SC). Ch 1, turn.
- Row 2 (WS – Bobble Stitch Row): SC in first SC. BOB in next SC, SC in next SC. Repeat from * to * across. Your last stitch should be an SC. (4 BOB, 5 SC). Ch 1, turn.
- Row 3 (RS): SC in each SC and on top of each BOB across. (9 SC). Ch 1, turn.
- Row 4 (WS – Bobble Stitch Row – Offset): BOB in first SC. SC in next SC (on top of previous BOB), BOB in next SC. Repeat from * to * across. Your last stitch should be a BOB. (5 BOB, 4 SC). Ch 1, turn.
- Row 5 (RS): SC in each BOB and SC across. (9 SC). Ch 1, turn.
- Repeat Rows 2-5 one more time. (Total of 9 rows completed for the shorter arm of the L).

Creating the “Long Arm” of the L-Shape: Now, you will continue working rows, but also adding chains at the end of some rows to extend the piece into the L-shape.
- Row 10 (WS – Bobble Stitch Row): SC in first SC. BOB in next SC, SC in next SC. Repeat from * to * across. Ch 10 (this creates the extension for the “long arm”). Turn. (9 stitches across the original section, plus 10 chains).
- Row 11 (RS): SC in 2nd Ch from hook, SC in next 8 Ch. SC in each SC and on top of each BOB across the original 9 stitches. (9 SC on chain, 9 SC across original section = 18 SC). Ch 1, turn.
- Row 12 (WS – Bobble Stitch Row): SC in first SC. BOB in next SC, SC in next SC. Repeat from * to * across the entire row. (9 BOB, 9 SC). Ch 1, turn.
- Row 13 (RS): SC in each SC and on top of each BOB across. (18 SC). Ch 1, turn.
- Row 14 (WS – Bobble Stitch Row – Offset): BOB in first SC. SC in next SC, BOB in next SC. Repeat from * to * across. (9 BOB, 9 SC). Ch 1, turn.
- Row 15 (RS): SC in each BOB and SC across. (18 SC). Ch 1, turn.
- Repeat Rows 12-15 two more times. (Total of 23 rows for the entire L-shaped piece).
- Your piece should now resemble the L-shape in the image, with consistent texture throughout. FO, leaving a long tail for seaming.
Part 2: The Sole (Red)
The sole is worked in continuous rounds to create an oval shape.

- Ch 14.
- Round 1: SC in 2nd Ch from hook. SC in next 11 Ch. 3 SC in last Ch. (Work around the end of the chain). Working along the other side of the starting chain: SC in next 11 Ch. 2 SC in the very last Ch (this is the same ch as your very first SC). Sl St to first SC to join. (28 SC)
- Round 2: Ch 1 (does not count as a stitch). 2 SC in first SC. SC in next 11 SC. 2 SC in next 3 SC. SC in next 11 SC. 2 SC in last 2 SC. Sl St to first SC to join. (34 SC)
- Round 3: Ch 1. 2 SC in first SC. SC in next 13 SC. 2 SC in next 3 SC. SC in next 13 SC. 2 SC in last 2 SC. Sl St to first SC to join. (40 SC)
- This completes the flat sole. FO, leaving a long tail for sewing.
Part 3: The Bow Embellishment (Red)
Make 2 bows (one for each slipper), as pictured.
- Ch 10.
- Row 1: SC in 2nd Ch from hook, SC in each Ch across. (9 SC). Ch 1, turn.
- Row 2: SC in each SC across. (9 SC). FO, leaving a long tail.
- Assemble the Bow: Pinch the center of the small rectangle you just made. Wrap the long tail tightly around the pinched center a few times to cinch it and form a bow shape. Secure with a knot on the back.
Video tutorial
Finishing Your Slipper:
- Weave in all initial loose ends on the L-shaped piece and the sole.
- Forming the Slipper:
- Take your L-shaped piece. The shorter arm will be the top of the toe/instep. The longer arm will form the sole/sides/heel.
- Fold the L-shaped piece so the top edge of the long arm (where you started the additional 10 chains) aligns with the side edge of the shorter arm. This forms the front opening of the slipper.
- Using your tapestry needle and the long tail, whip stitch or mattress stitch these edges together to create the instep/top seam.
- Seaming the Heel:
- Now, find the short end of the long arm of the L (this is the heel end). Bring the edges together and whip stitch or mattress stitch this seam closed to form the back of the heel.
- Attaching the Sole:
- Align the bottom edge of your formed slipper upper (where the L-shape folds to create the bottom opening) with the perimeter of your crocheted sole. The heel seam of the upper should align with the center back of the sole.
- Using your tapestry needle and the long tail from the sole, securely whip stitch or mattress stitch the upper to the sole, working all the way around the oval. Ensure even distribution and a neat seam.
- Attach Bow:
- Stitch 2 small white pearls or beads to the center of each bow.
- Position the completed bow decoratively on the front top of the slipper, over the toe, as shown in the image. Securely stitch it in place.
- Make a Second Slipper: Repeat all steps to create a matching pair!
And there you have it! Beautifully textured, handmade baby slippers with a unique construction. They’re sure to be a cherished item for your little one or a thoughtful gift!
Happy crocheting!


