 by
by 
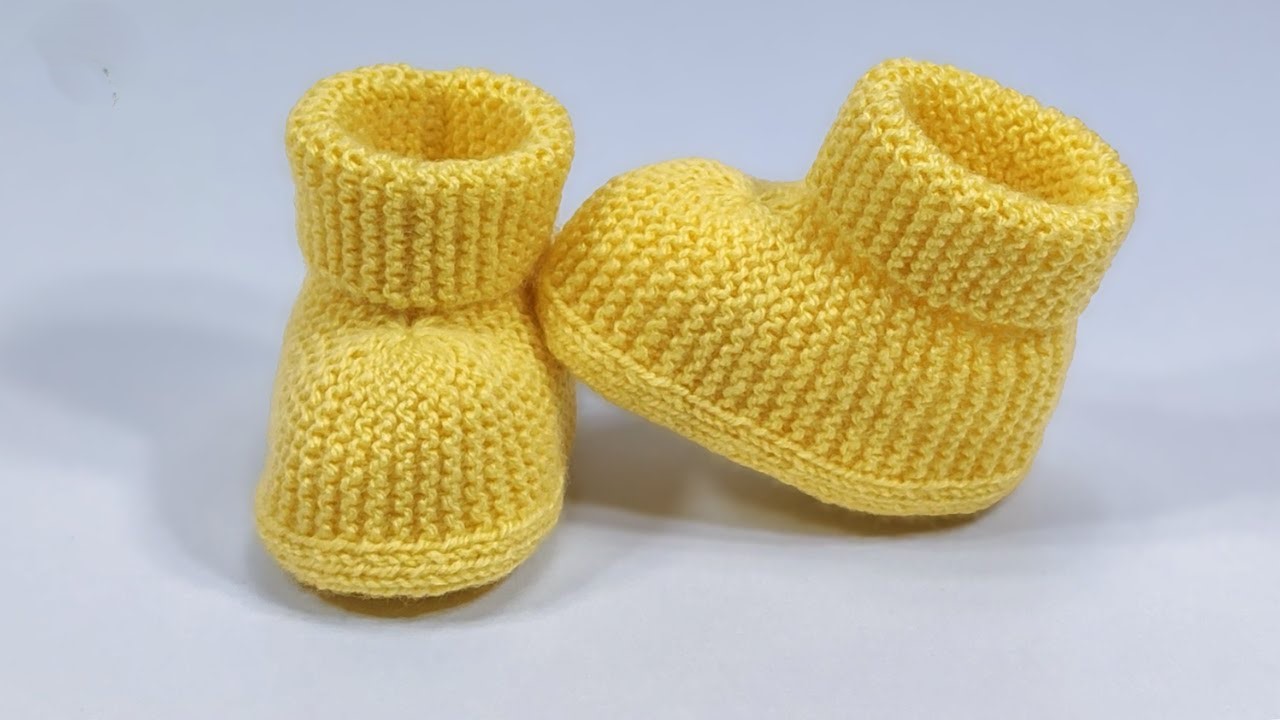
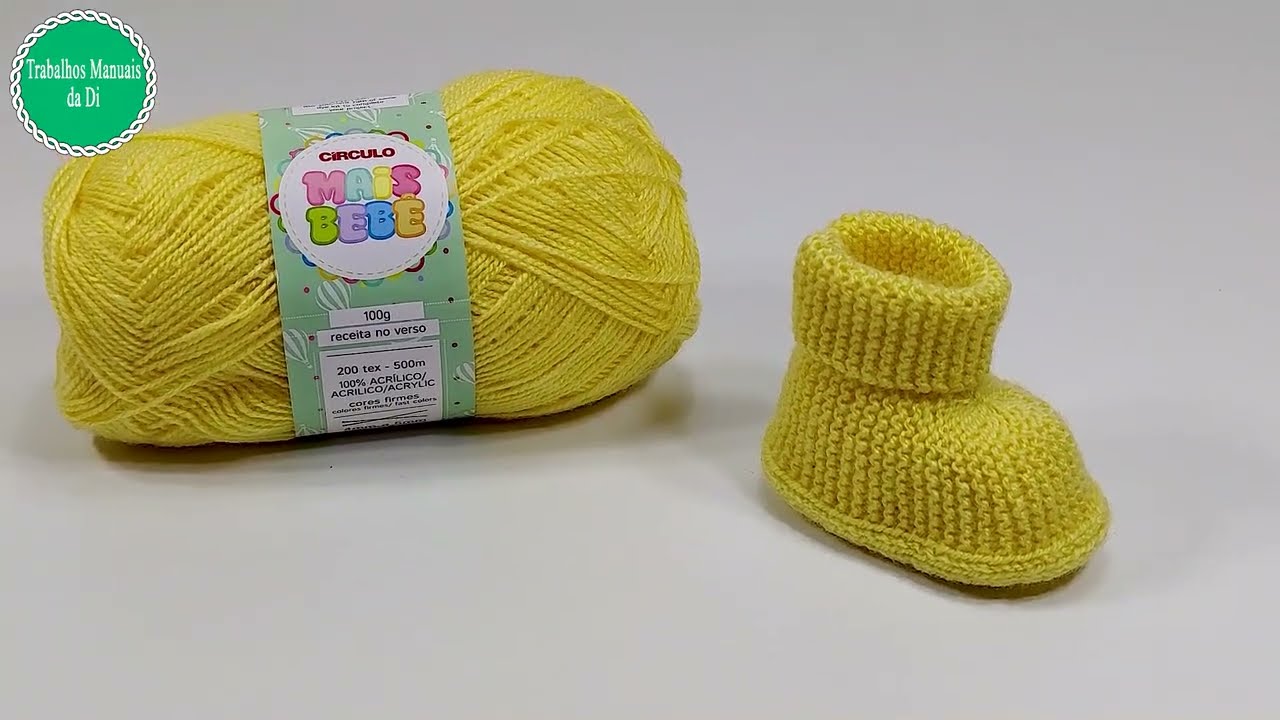
Welcome a little ray of sunshine with these charming knitted baby booties! Featuring a cozy roll-top cuff and a simple garter stitch body, these booties are not only incredibly cute but also super practical for keeping tiny feet warm. The garter stitch makes them stretchy and comfortable, perfect for squishy baby feet.
This pattern is designed to be knitted flat and then seamed, making it an excellent project for beginner knitters looking to create something special.
Skill Level:
Easy
Materials:
- Yarn: DK weight (Light Worsted / #3) baby yarn (approx. 30-50g per pair). The example uses a cheerful yellow.
- Needles: 3.5 mm (US 4) straight knitting needles or circular needles (for working flat)
- Tapestry needle (for seaming and weaving in ends)
- Scissors
Abbreviations (US Terms):
- CO: Cast On
- K: Knit
- P: Purl
- st(s): stitch(es)
- RS: Right Side
- WS: Wrong Side
- garter stitch: every row knit
- stockinette stitch: knit on RS, purl on WS
- ribbing: alternating knit and purl stitches (e.g., K1, P1 rib)
Gauge:
24 stitches and 48 rows = 4 inches (10 cm) in garter stitch
(Important: Please check your gauge! For baby items, accurate sizing is crucial. If your gauge is different, adjust your needle size up or down accordingly.)
Pattern Notes:
- These booties are knitted flat as a single piece and then seamed.
- The main body of the bootie (sole, toe, heel) is worked in garter stitch for a simple, textured look and stretch.
- The top cuff is worked in ribbing to create the roll-down effect.
- This pattern is for size 0-3 months. Suggestions for adjusting the size are provided at the end.
Pattern Instructions
Part 1: The Sole and Lower Heel
Using 3.5 mm (US 4) needles and your chosen DK weight yarn,
CO 36 stitches.
Work in garter stitch (knit every row) for 32 rows. (This section forms the sole of the bootie and the lower back of the heel. The piece should measure approximately 6.5 cm / 2.5 inches wide and 6.5 cm / 2.5 inches long.)
Part 2: Shaping the Heel and Beginning the Instep Opening
This section creates the “U” shape for the heel and the opening for the top of the foot.
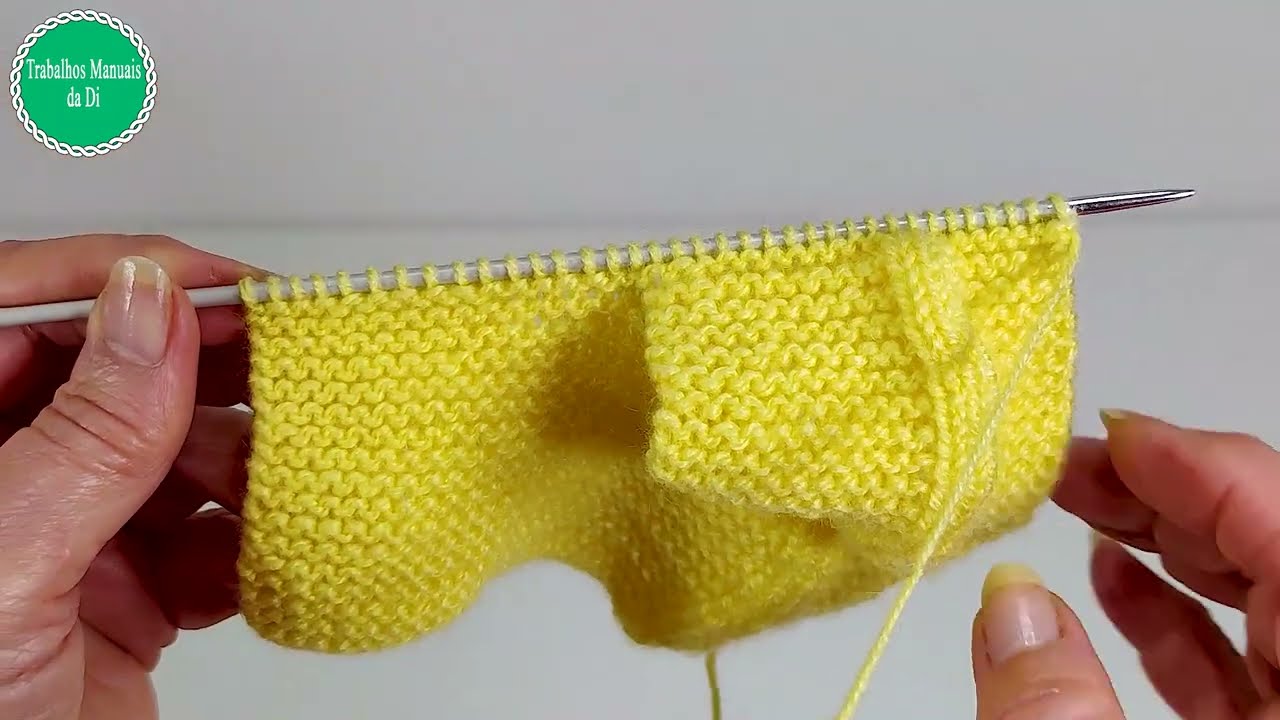
Row 33 (RS): K 13 stitches, bind off 10 stitches, K to the end of the row (13 stitches remaining on your right needle, 13 stitches on your left needle). (26 sts total now on needles)
Row 34 (WS): K across all 26 stitches.
Row 35 (RS): K across all 26 stitches.
Repeat Row 34 and Row 35 for a total of 6 more rows (Rows 36-41). (You should now have a rectangular piece of garter stitch with a “U” shaped cutout in the center.)
Part 3: The Instep and Front of Bootie
Now we will join the sides and work the garter stitch section that forms the top of the foot and the front of the ankle.
Row 42 (WS): K 13 sts (these are the stitches on the left side of the “U” opening), pick up and knit 10 stitches along the bound-off edge of the “U” (this closes the gap), K 13 sts (these are the stitches on the right side of the “U”). (36 sts total now on needles)
Work in garter stitch (K every row) for 20 rows. (This section forms the top of the foot and the lower ankle part before the ribbed cuff. It should be approximately 4 cm / 1.5 inches long.)
Part 4: The Ribbed Cuff
Now we create the stretchy ribbed cuff that will roll down.
Row 63 (RS): *K1, P1* across all 36 stitches.
Row 64 (WS): *P1, K1* across all 36 stitches.
Repeat Row 63 and Row 64 for a total of 16 rows of ribbing (8 repeats of the 2-row pattern). (This cuff should be approximately 3.5 cm / 1.5 inches long when unrolled.)
Part 5: Finishing
Bind off all 36 stitches loosely in the ribbing pattern (K1, P1 as you bind off).
Assembly:
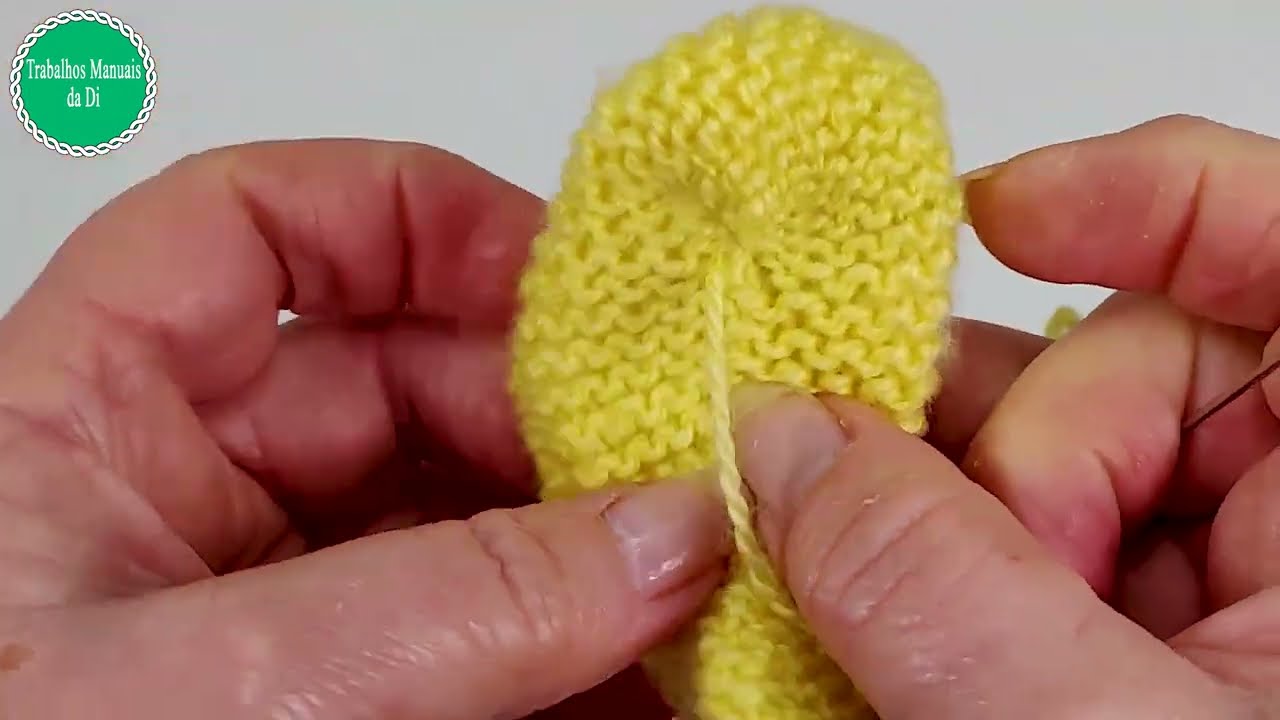
- Fold and Seam: Lay your knitted piece flat. Carefully fold the piece in half lengthwise, bringing the cast-on edge up to meet the bound-off edge.
- Toe Seam: Using your tapestry needle and a long length of your yarn, seam the bound-off edges together from the very top (the end of the ribbed cuff) downwards for about 2.5 – 3 inches. This forms the front of the bootie, including the top of the toe. Use the mattress stitch for a neat, invisible seam, or a simple whip stitch.
- Heel Seam: Now, starting from the cast-on edge (the sole), seam the side edges of the garter stitch section together to form the back of the heel. Continue seaming until you reach the beginning of the picked-up stitches/instep section.
- Side/Ankle Seam: Continue seaming the side edges along the garter stitch instep section and then up the side of the ribbed cuff.
- Weave in Ends: Securely weave in all remaining loose ends.
Repeat all steps for the second bootie!
Video tutorial
Sizing Adjustments (Approximate Guidance):
To adjust the size, you’ll mainly modify the number of stitches and rows:
- For 3-6 Months:
- CO 40 sts.
- Work 36-40 rows in Part 1.
- In Part 2, bind off 12 sts and work 8 rows.
- In Part 3, pick up 12 sts and work 24-26 rows of garter.
- In Part 4, work 18-20 rows of ribbing.
- For 6-12 Months:
- CO 44 sts.
- Work 44-48 rows in Part 1.
- In Part 2, bind off 14 sts and work 10 rows.
- In Part 3, pick up 14 sts and work 28-30 rows of garter.
- In Part 4, work 20-22 rows of ribbing.
(Always adjust based on your personal gauge and the desired finished length of the sole to fit the baby’s foot.)
There you have it – a lovely pair of handmade baby booties, perfect for gifting or keeping little toes snug!
Happy knitting!