 by
by 
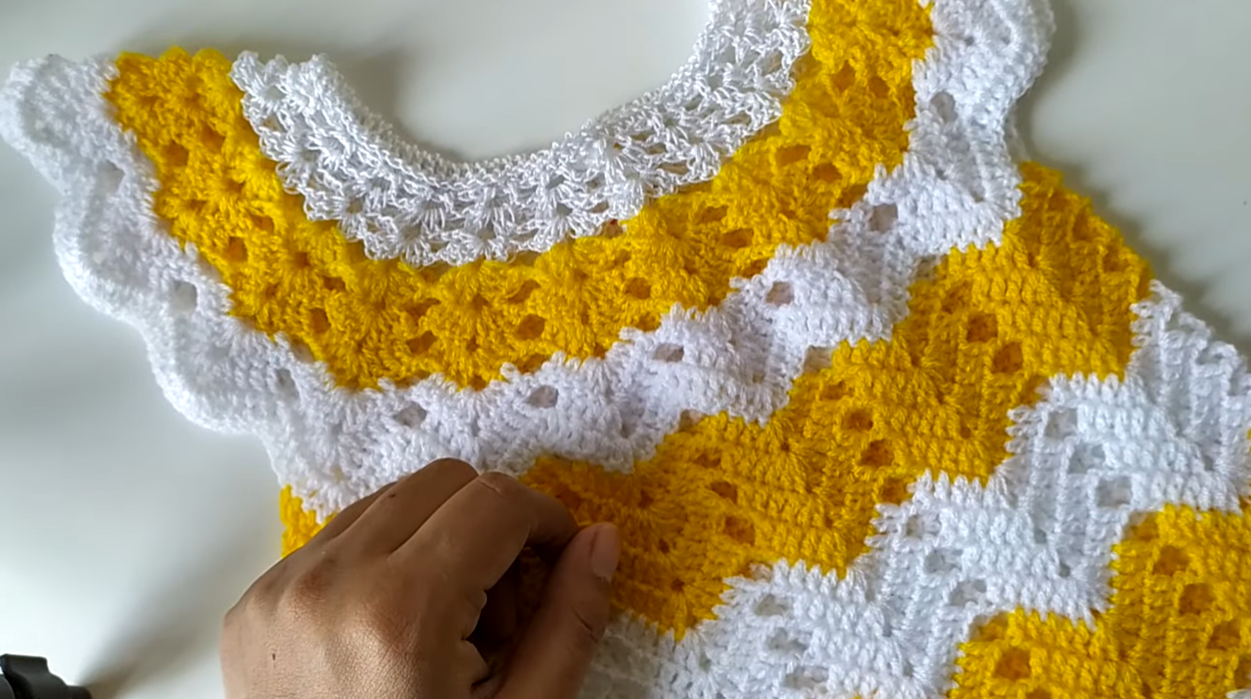
Hello, doting crafters! Are you looking for a sweet and stylish project to make for the little sunshine in your life? This charming crochet baby dress, with its playful chevron (or ripple) pattern in white and sunny yellow, is absolutely perfect! It’s a delightful garment that’s sure to bring smiles and make for precious photo opportunities.
This pattern is a fantastic way to master the rhythmic beauty of the ripple stitch, combined with simple shaping for a baby’s comfortable fit. Don’t worry if you’re new to chevron; I’ll guide you through each step. Let’s get our hooks ready and create this lovely dress!
Skill Level: Intermediate (familiarity with basic crochet stitches and working increasing/decreasing patterns is helpful)
Materials You’ll Need:
- Yarn: DK or sport weight baby yarn (e.g., cotton or acrylic blend)
- Main Color (MC): White – approximately 100-150 grams (depending on size)
- Contrast Color (CC): Yellow – approximately 50-70 grams
- Crochet Hook: 3.0mm – 3.5mm (or hook size appropriate for your chosen yarn to create a soft, flexible fabric).
- Stitch Markers: Helpful for marking the beginning of rounds and pattern repeats.
- Yarn Needle: For weaving in ends.
- Scissors
- Small Buttons (optional): 1-2 for the back closure if desired (or you can sew the seam closed).
Abbreviations Used:
- ch: chain
- sl st: slip stitch
- sc: single crochet
- dc: double crochet
- dc2tog (dc decrease): double crochet 2 together (yarn over, insert hook into next st, yarn over, pull up a loop, yarn over, pull through 2 loops; yarn over, insert hook into next st, yarn over, pull up a loop, yarn over, pull through 2 loops; yarn over, pull through all 3 loops on hook)
- V-st: V-stitch (dc, ch 1, dc in same stitch/space)
- sp: space
- ch-sp: chain space
- FO: fasten off
- st(s): stitch(es)
Gauge: Not critical for a baby item, but consistency is key for an even ripple pattern. A sample swatch of your ripple pattern (e.g., 2 ripple repeats wide) should give you an idea of overall sizing.
Pattern Notes:
- This dress is worked from the top down, starting with the yoke, then splitting for the armholes, and continuing in the round for the skirt.
- The ripple pattern creates waves by increasing at peaks and decreasing in valleys.
- Color changes occur at the beginning of each color stripe.
- This pattern is for roughly 0-6 months, but you can adjust by changing the initial chain and yoke increase rounds.
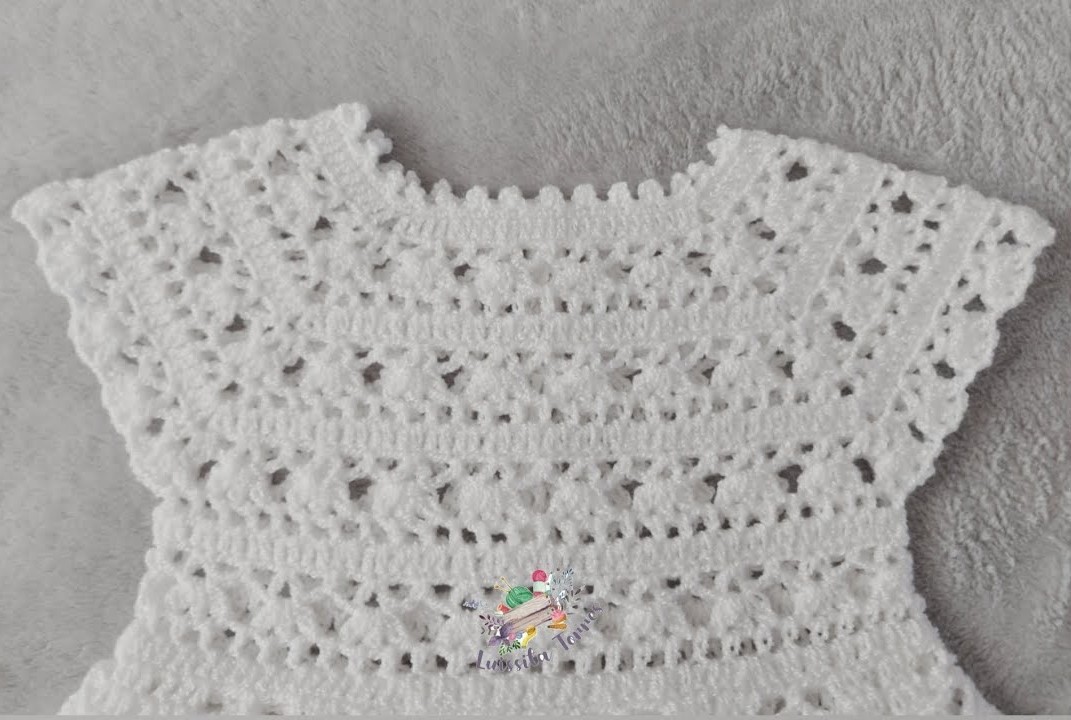
Part 1: The Yoke (Top of the Dress)
We’ll start by crocheting the yoke, which includes the neckline and shoulders. This will be worked flat initially, then joined.

With Main Color (White):
Row 1 (Foundation Chain): Ch 54 (adjust for desired neck size. Ensure your chain is a multiple of 6 plus 6, or simply divisible for front, back, and two sleeves). Row 2: Dc in 4th ch from hook (counts as first dc) and in next 7 ch (front panel). (Dc, ch 2, dc) in next ch (corner 1). Dc in next 10 ch (sleeve 1). (Dc, ch 2, dc) in next ch (corner 2). Dc in next 14 ch (back panel). (Dc, ch 2, dc) in next ch (corner 3). Dc in next 10 ch (sleeve 2). (Dc, ch 2, dc) in next ch (corner 4). Dc in next 8 ch (front panel). Turn. You should have 4 corners marked by ch-2 spaces.
Row 3: Ch 3 (counts as dc). Dc in each dc to first ch-2 sp. (Dc, ch 2, dc) in ch-2 sp. Dc in each dc to next ch-2 sp. Repeat from * 3 more times. Dc in remaining dc. Turn. You are increasing by 8 stitches in each of these yoke rounds.
Repeat Row 3 for a total of 5-6 rows for the yoke (or until it’s wide enough to fit comfortably around the baby’s chest and underarms). The image shows about 5-6 rows for the white yoke. FO Main Color.
Part 2: Joining the Yoke and Starting the Skirt (Ripple Pattern)
Now we’ll join the yoke into a circle and begin the ripple pattern. We’ll skip the sleeve sections.
With Main Color (White):
Round 1 (Skirt Foundation): Join MC with a sl st to the first dc of your last yoke row. Ch 3 (counts as dc). Dc in each dc across the front panel up to the next corner ch-2 sp. Skip the next sleeve section (i.e., skip the ch-2 sp, and all dc across the sleeve, and the next ch-2 sp). Dc in each dc across the back panel up to the next corner ch-2 sp. Skip the remaining sleeve section. Dc in each dc across the second front panel to the end. Join with a sl st to the top of the initial Ch 3. You’ve now created the armholes. Count your total stitches. It should be an even number that’s a multiple of your ripple repeat (e.g., a multiple of 12 for a classic ripple).
Round 2 (First Ripple Row – White): Ch 3 (counts as dc). (This ripple pattern assumes a repeat of 12 stitches: 5 dc, 3 dc2tog, 5 dc, 3 dc in next st. Adjust the number of stitches in between for your final count if it’s not a multiple of 12). Let’s use a standard ripple: Dc in next 3 sts, dc2tog twice, dc in next 3 sts, 3 dc in next st. Repeat from * around. Join with a sl st to the top of the initial Ch 3.
Round 3 (White): Ch 3. Repeat the ripple pattern from Round 2. Join with a sl st. FO Main Color.
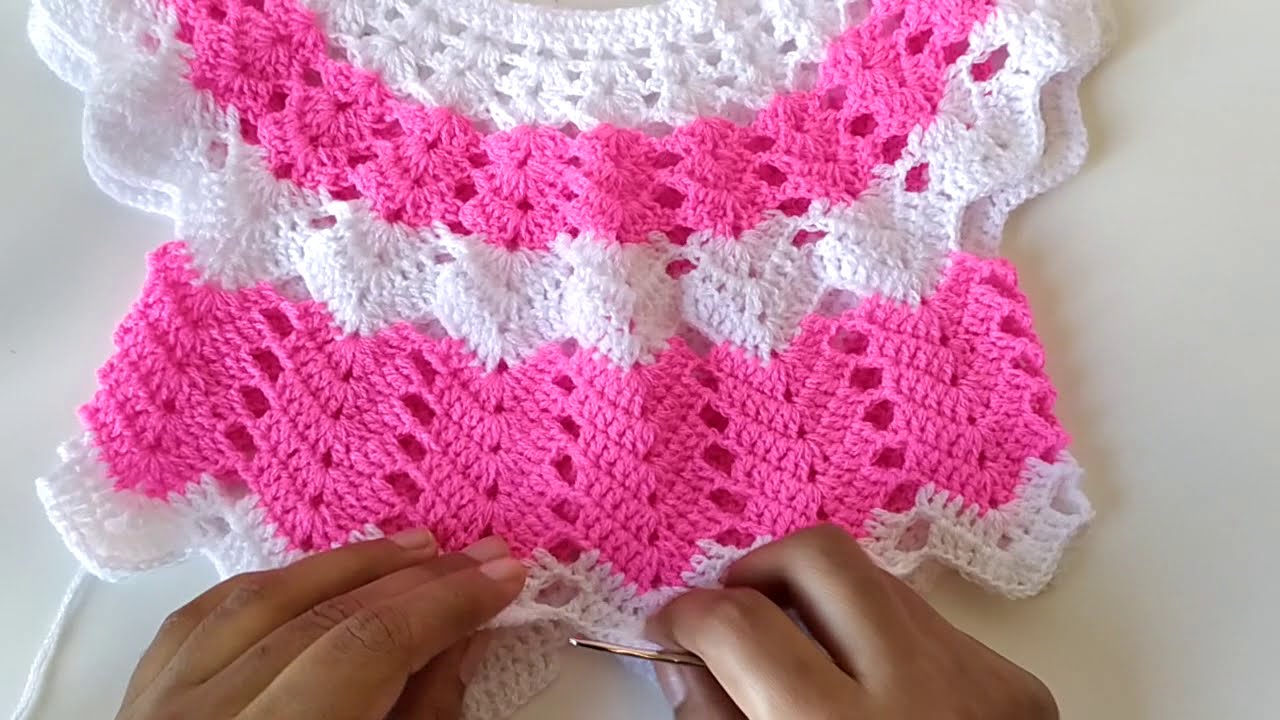
Part 3: The Skirt Body (Alternating Ripple Stripes)
Now for the fun part – the colorful ripple!

Round 1 (Yellow Stripe – Join Contrast Color): Join CC (Yellow) with a sl st into the top of the Ch 3 from the previous round (or where you want your peak to be). Ch 3 (counts as dc). Repeat the ripple pattern from Round 2 of Part 2. Join with a sl st to the top of the initial Ch 3. FO Contrast Color.
Round 2 (White Stripe – Join Main Color): Join MC (White) with a sl st. Ch 3. Repeat the ripple pattern. Join with a sl st. FO Main Color.
Repeat Round 1 (Yellow) and Round 2 (White) until your dress reaches the desired length. The dress in the image has about 7-8 yellow stripes and 7-8 white stripes (including the initial white stripe directly below the yoke).
Part 4: The Neckline & Armhole Edging (Optional – White)
This adds a neat and finished look to the dress.
Neckline: Join MC (White) with a sl st at the back of the neck. Ch 1. Sc evenly around the entire neckline. Sl st to join. FO.
Armholes: Join MC (White) with a sl st at the bottom of an armhole. Ch 1. Sc evenly around the entire armhole opening. Sl st to join. FO. Repeat for the second armhole.
Video tutorial
Finishing:
- Weave in all your loose ends neatly using your yarn needle. This is especially important with color changes!
- Steam block (gently!) your finished dress to help the ripple pattern lie flat and define the shape.
- (Optional) If you didn’t join the back of the yoke, you can sew a few small buttons down the back for closure. The image appears to be a fully closed neck, suggesting it might be joined from the start or a very stretchy sc border. If you prefer buttons, leave a small opening at the back of the yoke and add button loops.
Congratulations! You’ve just created an absolutely adorable and sunny Ripple Baby Dress! This handmade garment is sure to be cherished and make any little one look extra sweet.
Don’t forget to share your finished dress with me on social media! Tag me and use the hashtag #RippleBabyDress. I can’t wait to see your lovely creations!
Happy Crocheting!